[TourBox Tips] How to Add Fade In/Out Effects in DaVinci Resolve?
When working on video editing projects with multiple clips, you're likely curious about quickly adding fade-in and fade-out effects in DaVinci Resolve.
DaVinci Resolve offers two quick commands for this:
- Find In to Playhead: Keyboard shortcut "Shift + Alt/Opt + D"
- Find Out to Playhead: Keyboard shortcut "Shift + Alt/Opt + G"
As the names suggest, these actions involve using the playhead on the timeline. Find In to Playhead adds a fade-in effect to the current clip before the playhead, while Find Out to Playhead adds a fade-out effect after the playhead.
You can set these shortcuts on your preferred TourBox buttons.

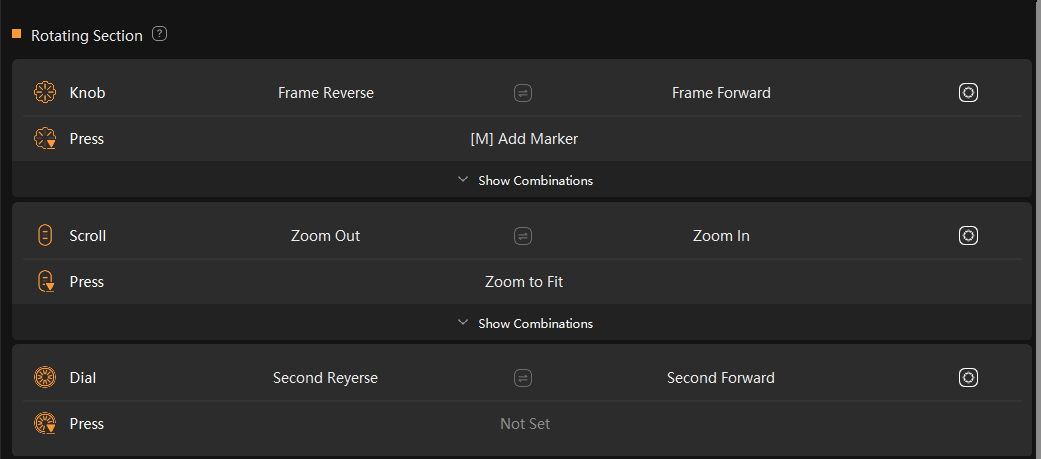
You can customize TourBox's rotation controls (Knob, Dial, Scroll) to handle moving the playhead frame by frame, second by second, and zooming the timeline.
When you import the default DaVinci Resolve preset in the TourBox Console, you'll find that everything is already set up for you.
Now, with precise timeline control combined with fade effects, adding transitions in DaVinci Resolve will feel like second nature.
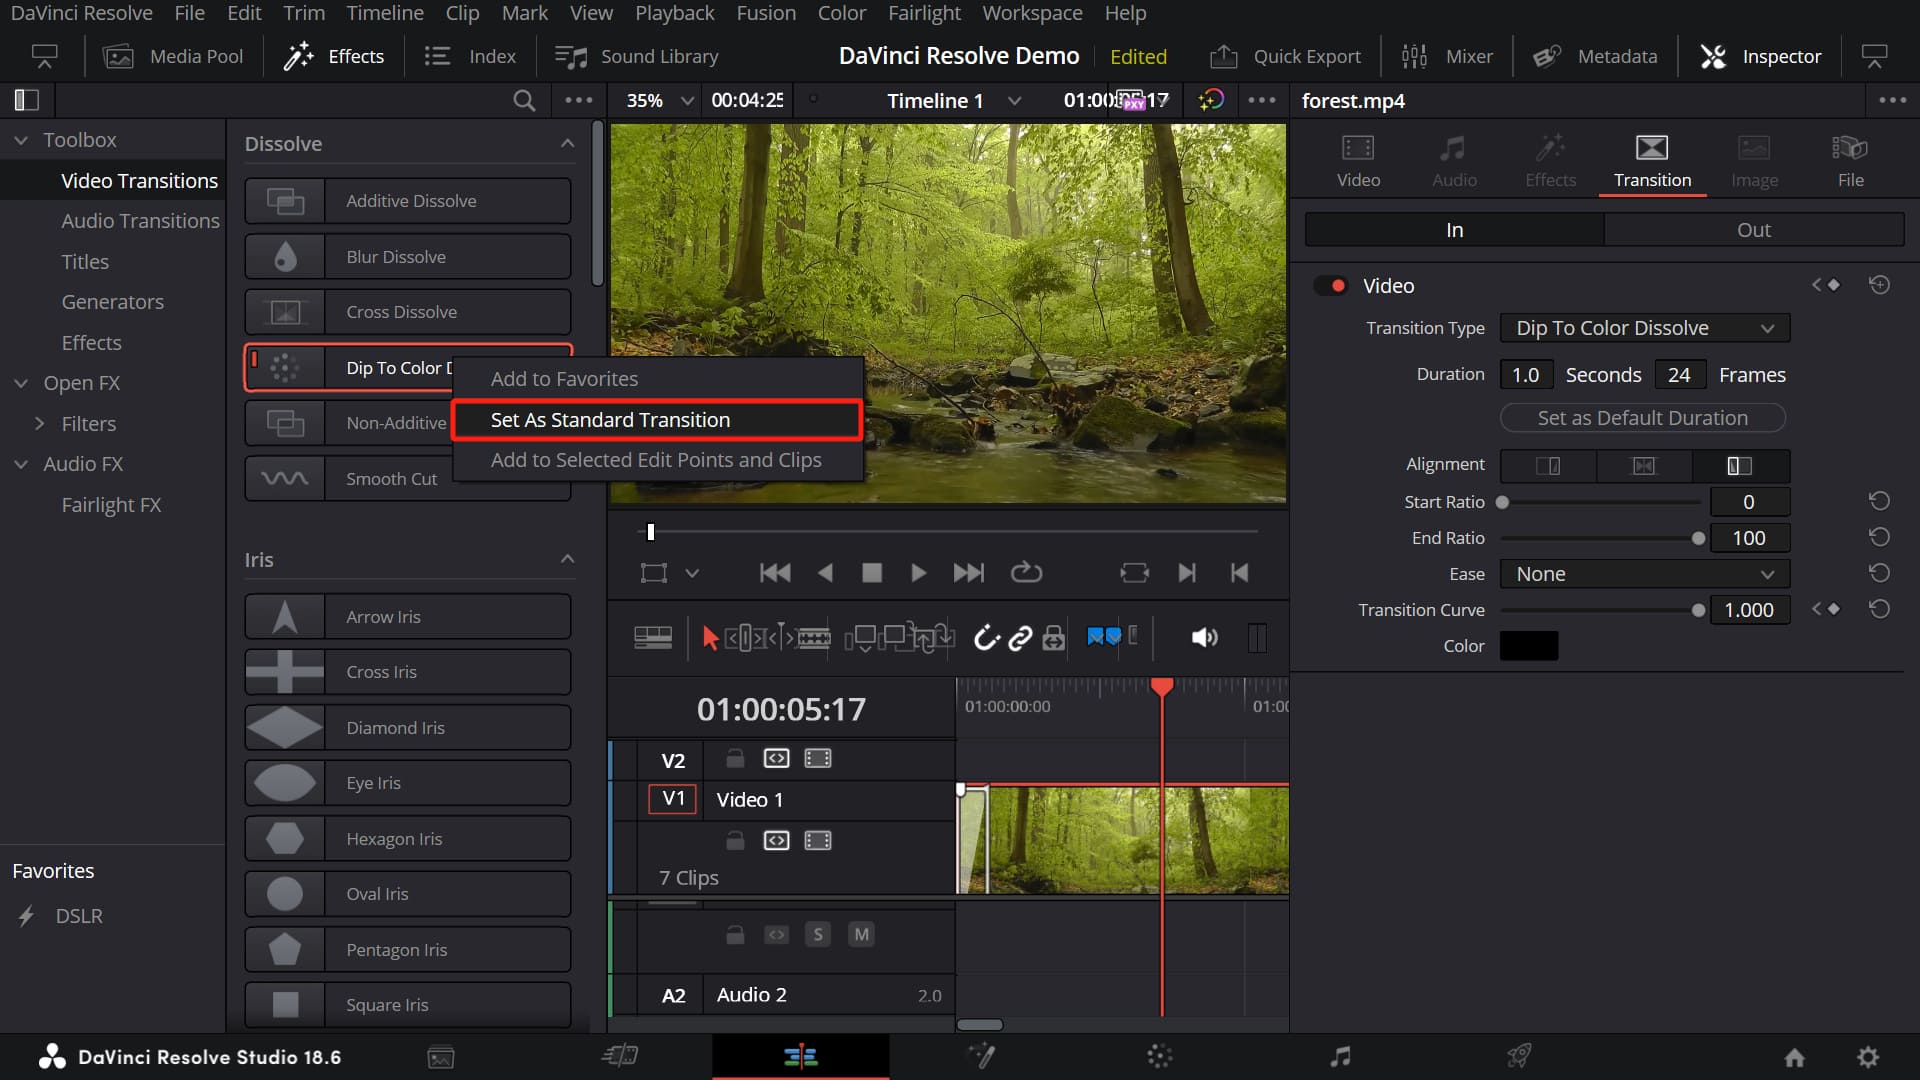
Apart from fade effects, you can also include default transition effects. In the Effects panel of DaVinci Resolve, right-click the transition effect you want to set as the default, and select "Set As Standard Transition."
Then, in the TourBox Console, map the shortcut for adding default transitions, "Ctrl/Cmd + T," to your preferred TourBox button.
Give it a try in your DaVinci Resolve projects today!