[TourBox Tips] How to Add Premiere Pro Transitions Swiftly?
For digital artists and content creators, smooth video transitions are crucial for linking different scenes. When editing a large video project, you might face numerous scene changes.
Further Reading:
To focus on your creative process and ensure seamless transitions between scenes, you may wonder how to quickly add transitions between clips in Premiere Pro using TourBox. Keep reading for our tips.
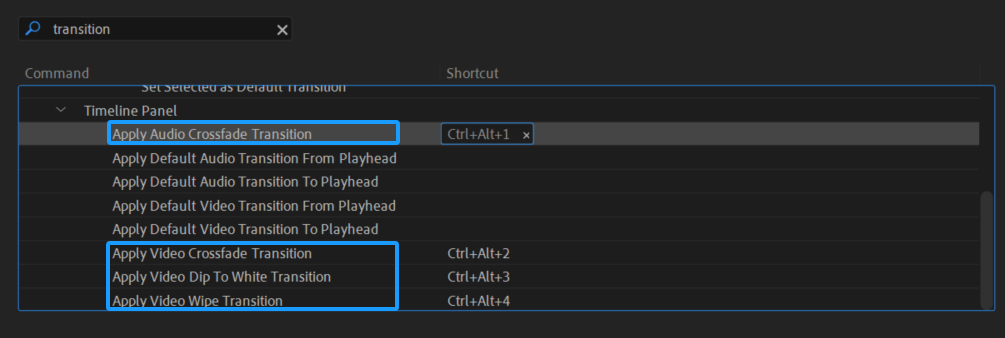
Start by opening your Premiere Pro project and accessing the Keyboard Shortcuts panel. In the search bar, type "transition."
Locate common video and audio transition effects like "Apply Audio Crossfade Transition," "Apply Video Crossfade Transition," "Apply Video Dip to White Transition," and "Apply Video Wipe Transition" in the filtered commands.
Assign custom shortcuts to these four transition effects.
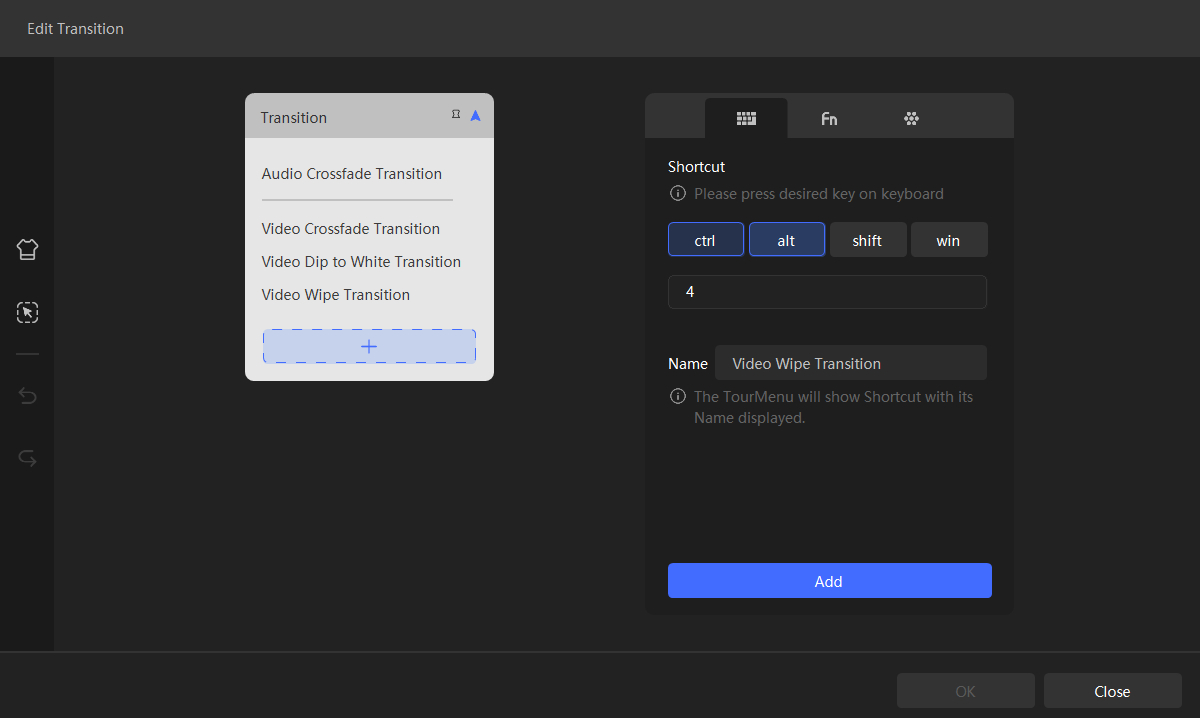
Then switch back to the TourBox Console and create a TourMenu. Include these common transition effects in the TourMenu and label them for easy identification.
You can add dividers in the TourMenu to distinguish between different types of commands.
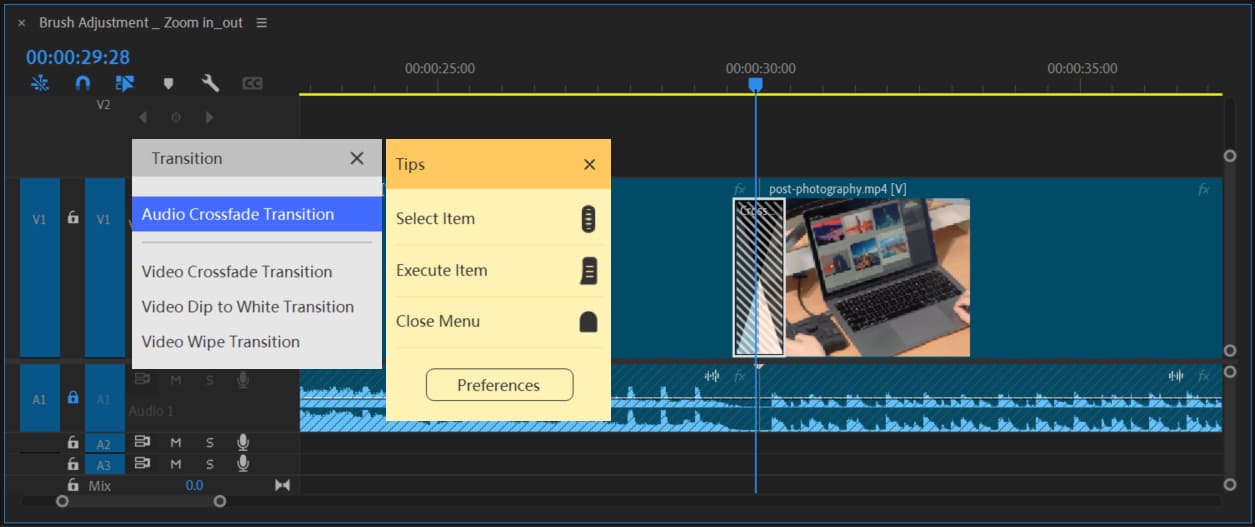
Now, switch back to Premiere Pro. Press the designated TourBox button to access the TourMenu containing transition effects. Scroll through the options using the Scroll and press the Tall button to apply the selected transition effect.
Try it out in your Premiere Pro project now!