Aerial Photography Guide: How to Start Your Drone Journey?
The world is vast, and some places seem almost untouched by people, hidden behind natural barriers. That's when drones, with their "God's-eye view," stepped in, giving photographers a whole new range of heights and angles to capture.
So, if you're new to aerial photography, how do you get started? Check out our simple tips to lift off with confidence.

In this article, you will learn:
- What Is Aerial photography?
- Pre-Flight Prep for Aerial Photography
- Aerial Photography Guide
- Aerial Photography Composition Tips
- Additional Tips for Aerial Photography
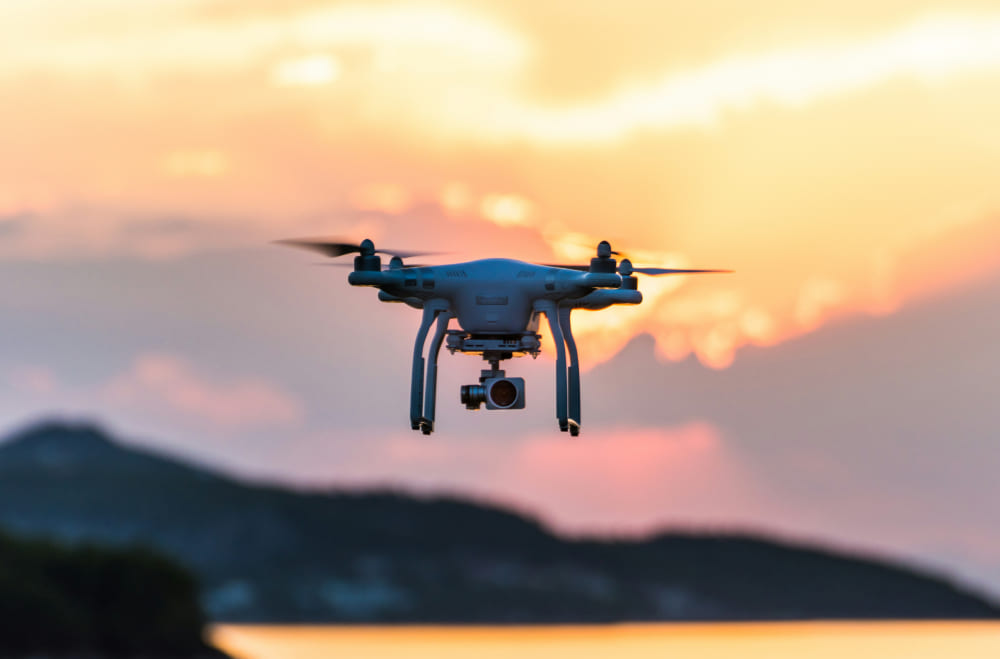
What Is Aerial photography?
Aerial photography uses planes, helicopters, drones, or other flying machines to shoot photos or videos of the ground from above.
Because you're looking down from the sky, you can see land shapes and features more clearly. That makes aerial shots useful in art, mapping, city planning, movies, rescue work, and more.
For most hobby photographers, aerial photos mean flying a drone. That means you need to know the basics of ground photography — things like composition, exposure, and color — and also learn how to use a drone's wide view and smooth flight moves.
Sounds tricky, right? But once you pick up a few simple tips, you'll be taking great aerial shots in no time.

Pre-Flight Prep for Aerial Photography
1. Flight Path Planning
Planning your route might seem basic, but it's key to a safe flight. Think about two things: the shots you want to capture, and any safety risks, like crowded areas, you need to avoid.
2. Pre-Flight Checklist
Make a simple checklist and run through it before takeoff:
- Batteries fully charged
- No damaged or loose parts
- Landing gear inspected
- Compass calibrated
- Camera settings checked
3. Tips for First-Time Flyers
(1) Pick your takeoff spot, set a safe return-home altitude, and mark a battery-low return point.
(2) After takeoff, climb to a safe height first so you can look around for obstacles.
(3) Watch your battery level on the camera display:
- Red zone = critical low
- Yellow zone = low
- H mark = minimum needed to RTH
If it hits red, land or return home right away.
(4) Keep your remote's antenna pointed at the drone for a solid signal.
(5) In high altitudes or very cold weather, fully charge and warm your batteries above 20°C before takeoff.
(6) To avoid accidental collisions, fly in the same direction your camera is facing.
(7) Check the weather and wind. Don't fly in strong winds, rain, or snow.
(8) Learn the local drone rules. Stay out of no-fly zones and away from crowds.

Aerial Photography Guide
This aerial photography guide focuses on consumer drones rather than professional film equipment. Let's continue.
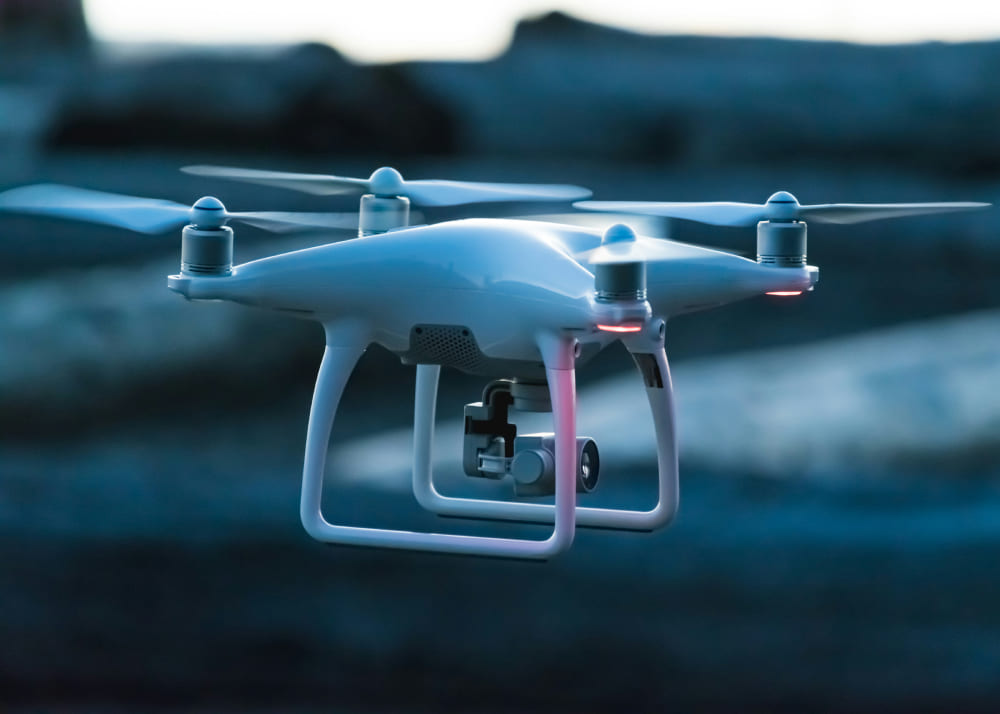
1. What Specs Should You Look at?
This is actually part of your pre-flight prep. There are lots of drone reviews online. Use them to find a model that fits your shooting needs.
When you shop, pay attention to sensor size, lens focal length, maximum resolution, battery life, and wind resistance. These specs help you handle different scenes.
Consumer drones also come with smart shooting modes. Learning these before you fly makes it easier to get pro-looking shots.
Common Modes:
- Focus Track: The drone follows a moving subject at a set distance. It avoids obstacles and can move side by side with your subject. Great for running or cycling shots.
- Circle: The drone flies around a target at a fixed radius in the direction you choose. It keeps the camera locked on the subject, giving you a smooth 360° view. Perfect for buildings, sculptures, or climbers.
- Timelapse: The drone hovers in one spot and takes photos at set intervals. You stitch them into a sped-up video. Use this for rolling clouds, sunrises or sunsets, and city traffic at night to show time passing in seconds.
- Quick Shots: After you pick a subject, the drone flies a preset path and records a short video automatically. An easy way to get a stylish clip.
All of these modes are simple to use, so even beginners can quickly create eye-catching aerial videos. Before you fly, study the specs and try out these smart modes in your own shoots.
2. Flight Moves & Flying Tips
To get pro-looking shots, you need basic drone moves. Here are the most common ones:
- Fly-In / Fly-Out: Move the drone forward to zoom in on your subject, or pull back to zoom out. A fly-in shot makes the viewer feel like they're walking into the scene. A fly-out shot opens up the view. Push the sticks gently and keep the speed steady to avoid shaky footage.
- Slide Shot: Move the drone straight left or right (or forward/back, which is just another slide). Keep the height the same so the horizon and subject stay level. This gives a smooth side-to-side reveal of the scene.
- Spiral Rise: Circle around your subject while slowly climbing. You get a full 360° view plus a rising angle. This works great for showing big buildings, landscapes, or people in their environment. Just watch out for trees, poles, or other tall obstacles.
3. Common Mistakes & Tips
- Jerky Controls: New pilots often push the sticks too fast or stop suddenly. Practice slow, smooth stick movements for clean shots.
- Relying Too Much on Auto Modes: Modes like Follow or Circle can help, but they aren't foolproof. Sensors can miss thin wires or branches. Always keep an eye on your drone and be ready to take control.
- Skipping Safety Checks: Always check GPS signal, battery level, controller link, and propeller mounts before flying. Calibrate your compass, verify video feed, and give the props a quick twist test. Keep the drone in sight at all times.
- Bad Framing: A crooked horizon or off-center subject can spoil an otherwise great shot. Before you fly, tilt the camera to preview your frame. Use gimbal lock and hover mode for a steady angle.
4. Editing & Creative Expression
After you capture your aerial shots, editing is your key step to boost quality and style. Here's a simple workflow:
- Import & Rough Cut
- Color Correction & Grading
Bring your clips into your editor and do a rough cut to arrange them in order. If you shoot still photos, spend time sorting and organizing your favorites first.
Many consumer drones let you record in 10-bit D-Log M or HLG (for example, the DJI Air 3). These modes give you more dynamic range and color data. In your editing software, use LUTs or manual tools to restore or tweak your colors.
If you're working with photos, use photo-editing tools to adjust white balance, color temperature, contrast, and other settings to get the look you want.
Whether you shot video or stills, you'll rely on editing software to manage, cut, and color your work. Editing can feel tedious, especially when you have lots of footage, but every creator goes through it.
That's why we recommend TourBox. It's a favorite controller for photographers and videographers. TourBox speeds up your workflow, whether you're editing photos or videos.

Like a game controller, it lets you perform complex edits with fewer moves. For example, just turn a Knob to see color changes in real time instead of dragging sliders with your mouse.
If you'd like to learn more, visit our photo editing and video editing pages to see how TourBox can help you.

Besides basic editing, aerial shots also need creative flair. For example, FPV-style (first-person view) and low, fast fly-overs have become popular on social media.
Special FPV drones can capture dramatic, rapid movements, but you can mimic that with a regular drone. Try quick dives, sharp turns, or a little camera shake to get that action feel.
You can also mix different shot types: start with a wide-angle shot to set the scene, then switch to a mid-range or close-up on your subject. Or use slow motion to highlight fine details.
More creators are blending aerial footage with VFX. For example, layering 3D models or particle effects can give your video a sci-fi vibe.
In short, let your imagination run wild. Blend hot trends with your own style, and your aerial work will be more expressive and memorable.
Aerial Photography Composition Tips
In this section, we share some simple tips for aerial shots. Try these ideas, then add your own style.
1. Rule of Thirds
Divide your frame into three equal parts, either left to right or top to bottom. Place your main subject along these lines or where they meet. This makes your shot feel balanced. Some people also call this the golden-ratio rule.
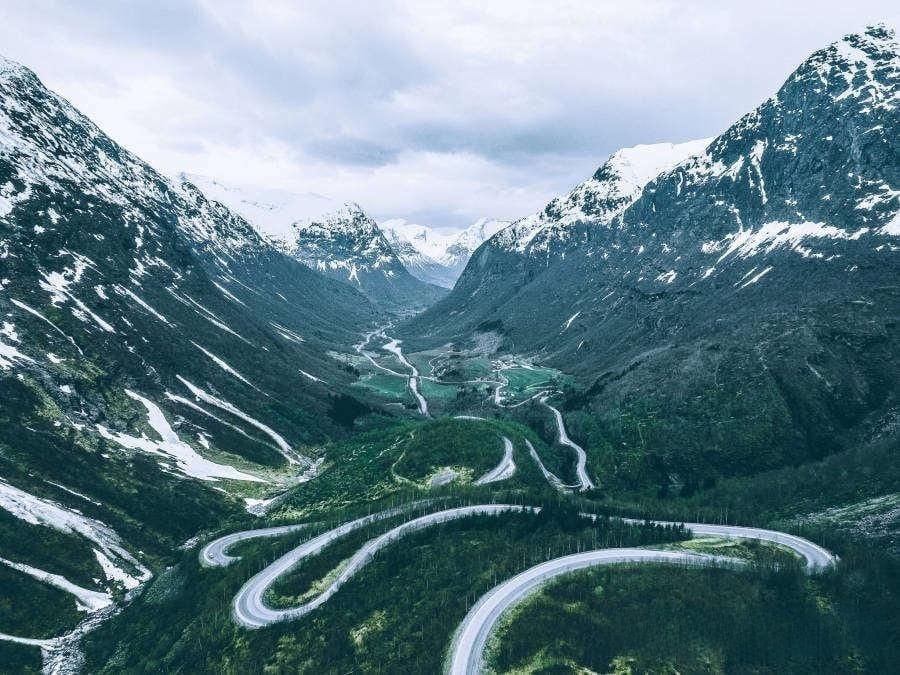
2. S-Curve Composition
Look for an S-shaped curve in the scene, like a winding river or a curved road. Use that curve to lead the viewer's eye through your shot. Curves add flow and grace.
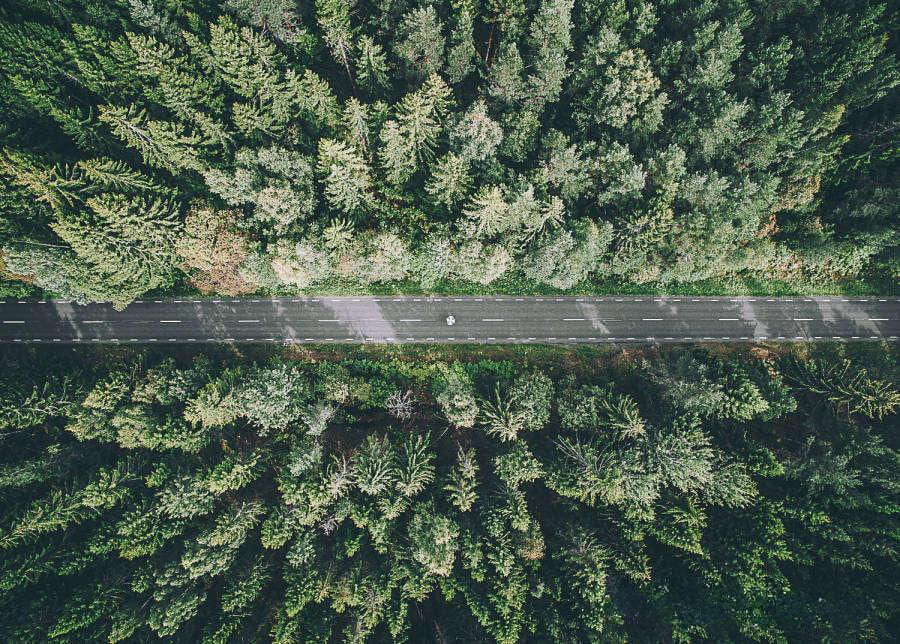
3. Vertical Composition
Place your subject on the center vertical line of your frame. This makes your subject stand out and feel strong.

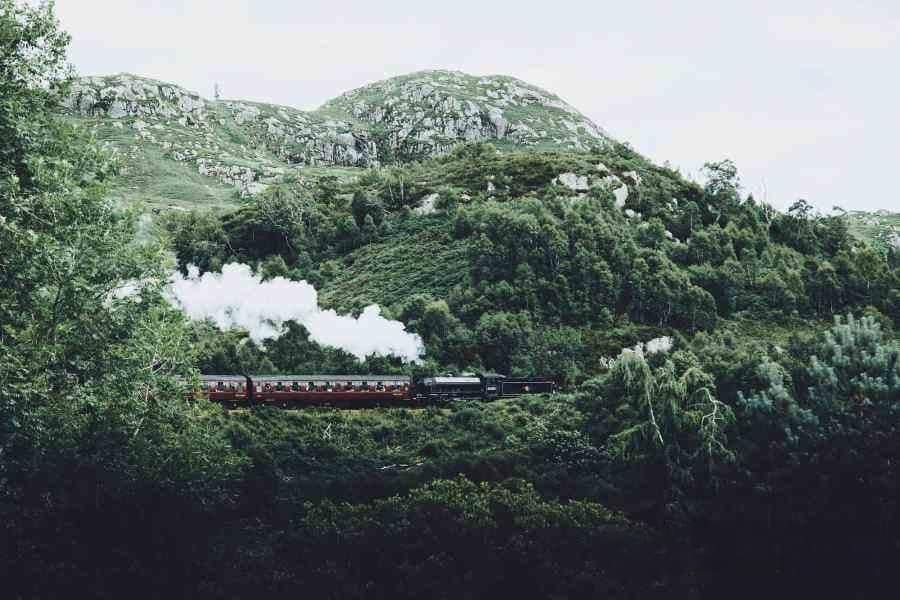
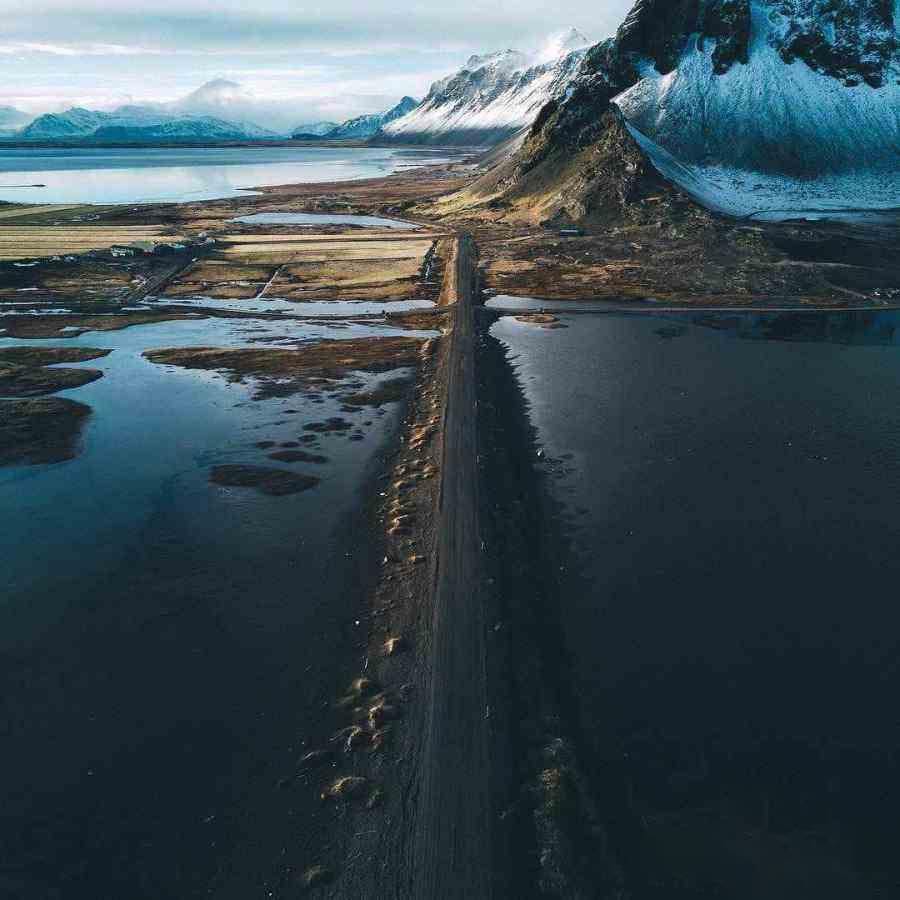
4. Leading Lines
Use natural lines, such as roads, rivers, or ridges, to draw attention to your subject.
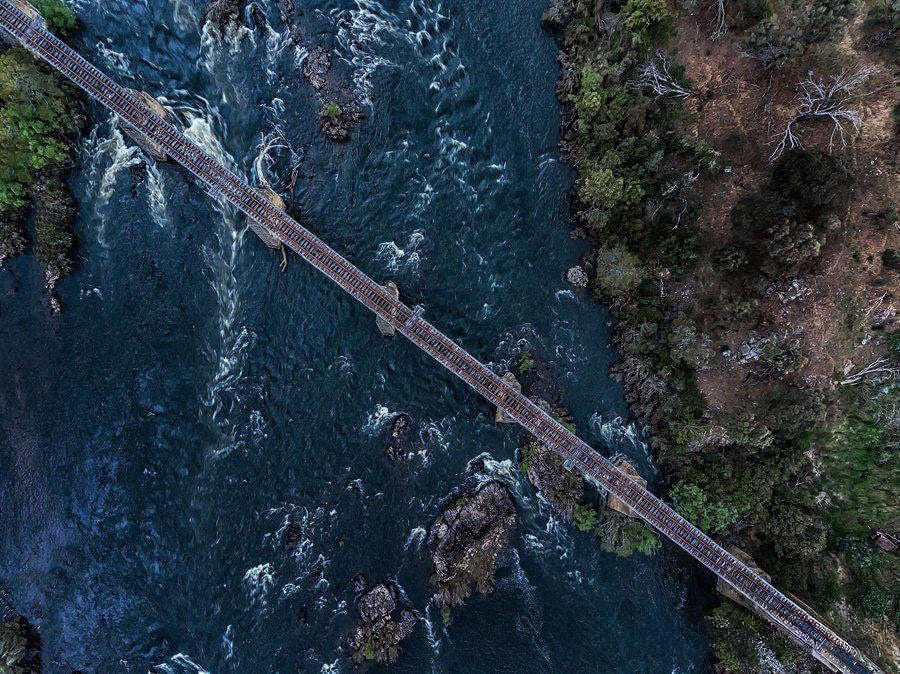
5. Diagonal Composition
Position your main subject near one of the frame's diagonal lines. This adds energy and movement to your shot.
6. Symmetrical Composition
Find symmetry in your scene and center it in your frame. Symmetry feels calm, stable, and harmonious.
Additional Tips for Aerial Photography
At the end of our aerial guide, here are three mindset tips. These aren't about gear or camera tricks, but about how you think while you shoot.
1. Keep the Mystery Alive
Many beginners center their subject and fly in close. That feels flat and predictable. Instead, let your subject enter from the edge of the frame. Reveal it little by little. That builds suspense. You can also start close and fly backward. Either way, you'll draw viewers in.
2. Seize the Moment
Sunrises, sunsets, and other special lights don't last long. Pick your spot ahead of time and be ready. That way, you can catch the best glow. And watch your exposure so you don't blow out the highlights.
3. Play with Your Settings
Your drone lets you tweak many settings. Use every control you have. With each flight, try different settings. Over time, you'll discover the perfect look for your style.