[TourBox Tips] How to Apply Default Transition in Premiere Pro?
Premiere Pro offers a variety of transitions, but you likely have a favorite you prefer using.
Wondering how to set this as your default transition and swiftly apply it between clips in your Premiere Pro projects using TourBox?
In Premiere Pro's keyboard shortcuts panel, search for "Transition." Locate "Set Selected as Default Transition" and assign a custom shortcut to this command.
To apply default transition in Premiere Pro, you'll need four key actions:
- Set Selected as Default Transition
- Apply Video Transition
- Apply Audio Transition
- Apply Default Transition to Selection
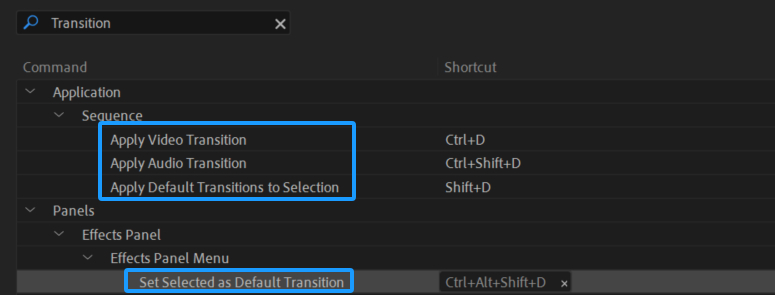
While "Set Selected as Default Transition" requires custom key assignment, the other three actions have default shortcuts.
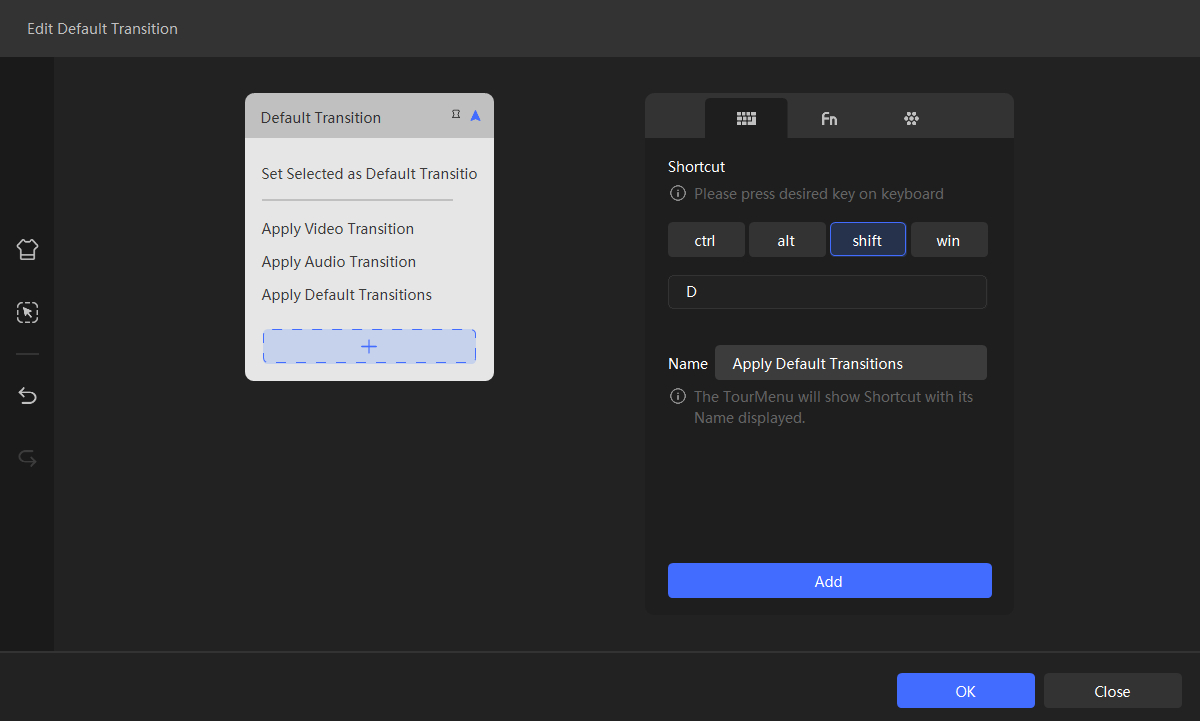
Switch back to the TourBox Console and create a TourMenu for your favorite button. Include these four actions in the TourMenu.
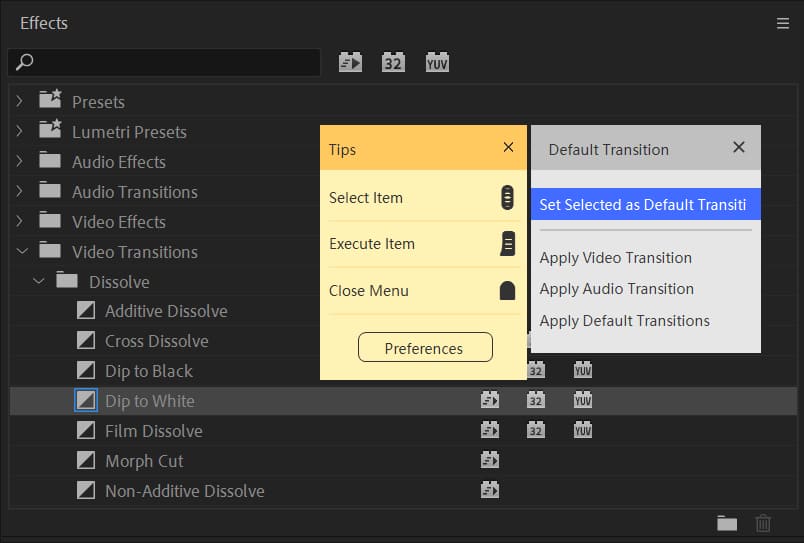
In your Premiere Pro project, try applying the default transition with TourBox. Choose your preferred video and audio transitions from the Effects panel. Use the TourMenu to set your chosen transition as default.
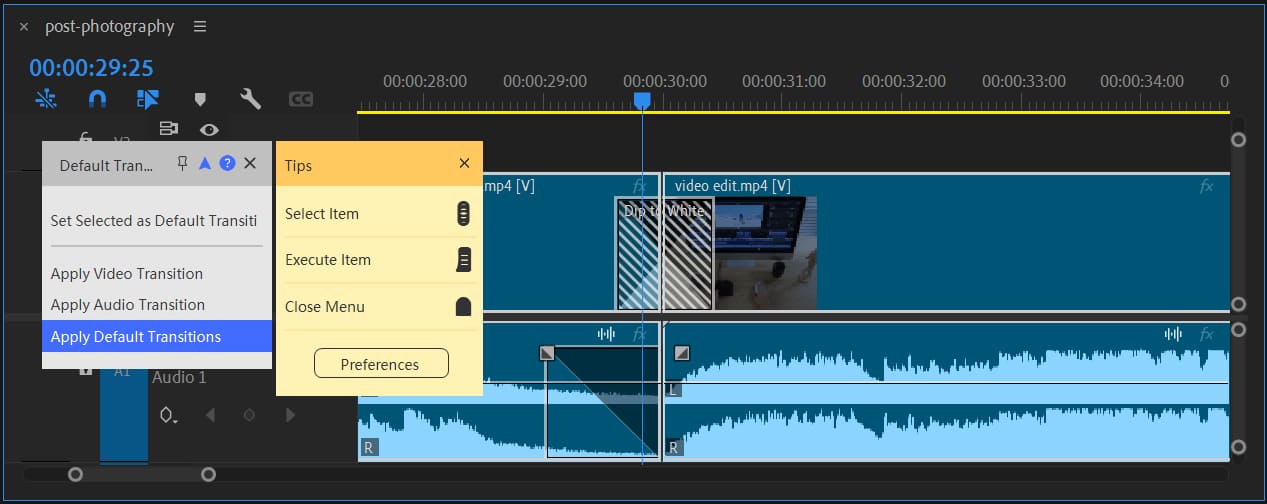
Subsequently, apply the default video transition with "Apply Video Transition" and the default audio transition with "Apply Audio Transition" between clips. Alternatively, use "Apply Default Transition to Selection" for both video and audio transitions at once.
If you prefer a different control setup than the TourMenu, configure these actions individually on TourBox buttons or as combination actions based on your preference.
Further Reading:
Experiment in your Premiere Pro project to swiftly apply default transitions and enhance your editing workflow!