Camera Filters Guide: Types, Uses, and Buying Tips
For many beginner photographers, choosing a camera filter for the first time can feel confusing. What are UV filters, ND filters, and CPL filters actually for? Should you buy the expensive ones or the cheap ones?
In this post, we will help you sort out the most common types of filters in photography, so you can spend your money where it really matters. Let's not waste any time and get started.
In this article, you will learn:
Types of Camera Lens Filters
A camera filter is, at its core, a piece of glass or resin that sits in front of the lens. Its job is to control the light entering the lens to some degree, so photographers can protect the lens, adjust the image, or create special effects.
By use, camera filters can be divided into three main groups: basic protection filters, landscape filters, and creative effect filters. Even though each filter works differently, they can all be very useful when used the right way.
1. Basic Protection Filters
The main job of this type of lens filter is to protect the front lens element from dust, scratches, rain, and fingerprints, while keeping image quality loss as low as possible.
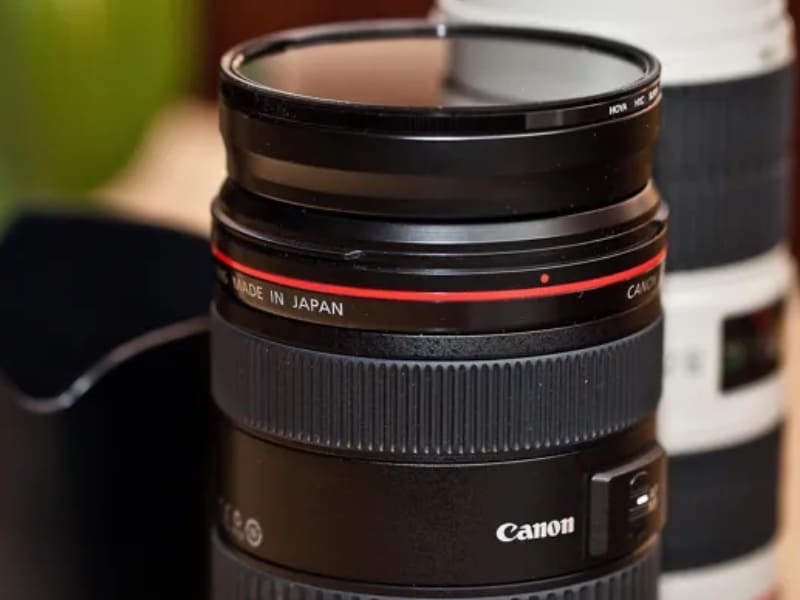
The most common one is the UV filter. In the film era, UV filters were mainly used to block ultraviolet light and reduce haze in distant scenes. In the digital age, their most important job has become protecting the lens.
For people who often shoot outdoors, travel a lot, or use their camera in windy, sandy, or beach environments, a UV filter is almost the most practical first lens filter to buy.
Even though it sounds simple, it protects the most fragile and expensive part of the lens, so it really matters.
When buying one, do not go too cheap. Low-quality lens filters can hurt clarity and even cause glare or ghosting. It is better to choose a well-made lens filter with multi-coating, since it usually gives better light transmission and better glare control.
2. Landscape Filters
If you like shooting beaches, mountains, or city views, the next three camera lens filters are the ones you will see most often, and they are very useful.
(1). CPL polarizer
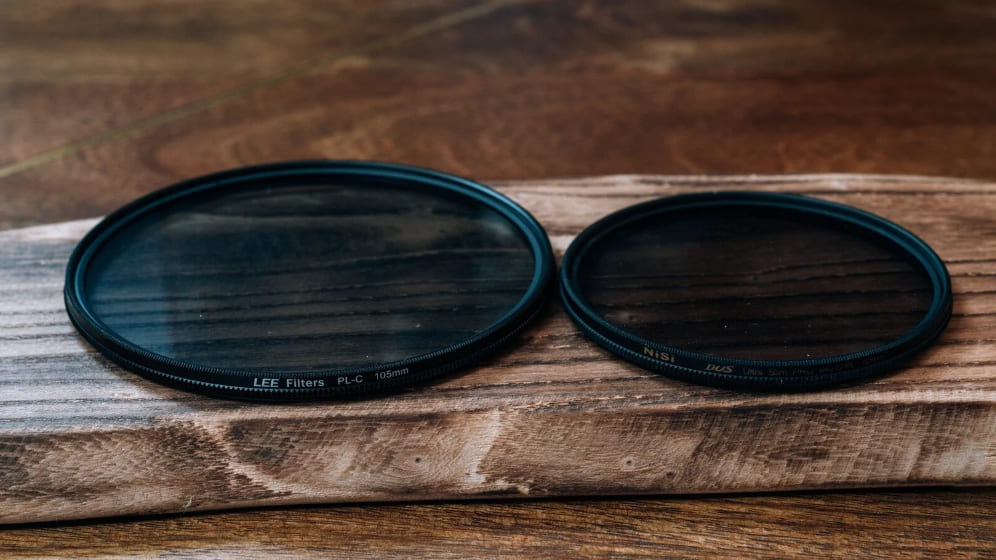
The CPL polarizer is one of the most classic camera filters in landscape photography. Its main job is to selectively cut reflected light and reduce reflections on non-metal surfaces, making the image look clearer and cleaner.
For example, when shooting the sky, it can make the blue look deeper and make the clouds stand out more. When shooting water, glass, or wet leaves, it can reduce reflections and make details easier to see. Because of this, CPL filters are often used to boost color and improve the overall look of an image.
One thing to keep in mind is that a CPL filter usually costs you about 1 to 2 stops of light, so in low-light situations, it is not the best lens filter to leave on the lens all the time.
(2). ND Filter
An ND filter is like putting sunglasses on your lens.
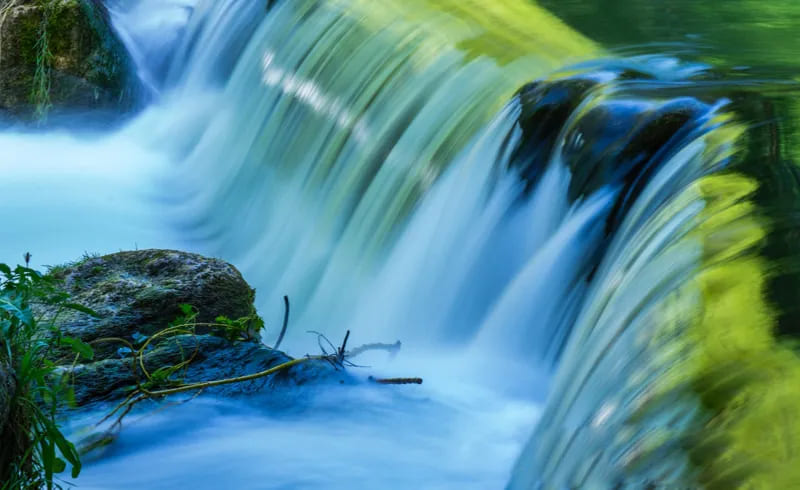
Its job is to reduce the amount of light entering the lens evenly, without changing the color of the image very much. This lets photographers use a slower shutter speed or a wider aperture in bright light and still get the exposure and effect they want.
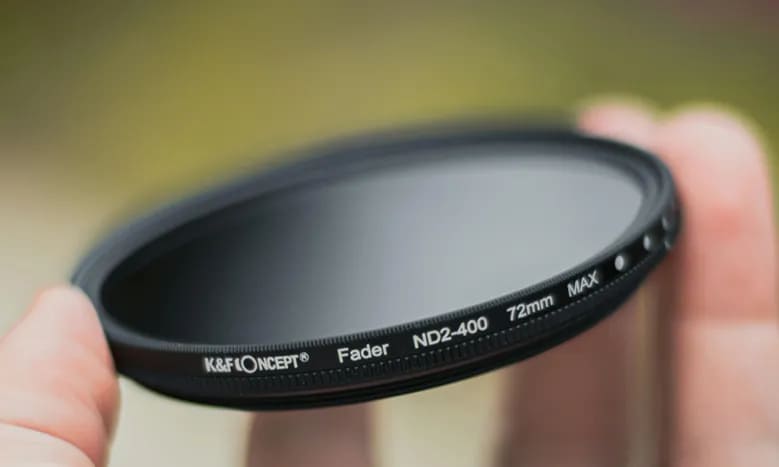
ND filters are most often used for long exposure photography. They help create smooth, silky water, misty waves, moving clouds, and even light trails from traffic.
(3). GND Filter
A GND filter is mainly used to solve the common "high contrast" problem in landscape photography.
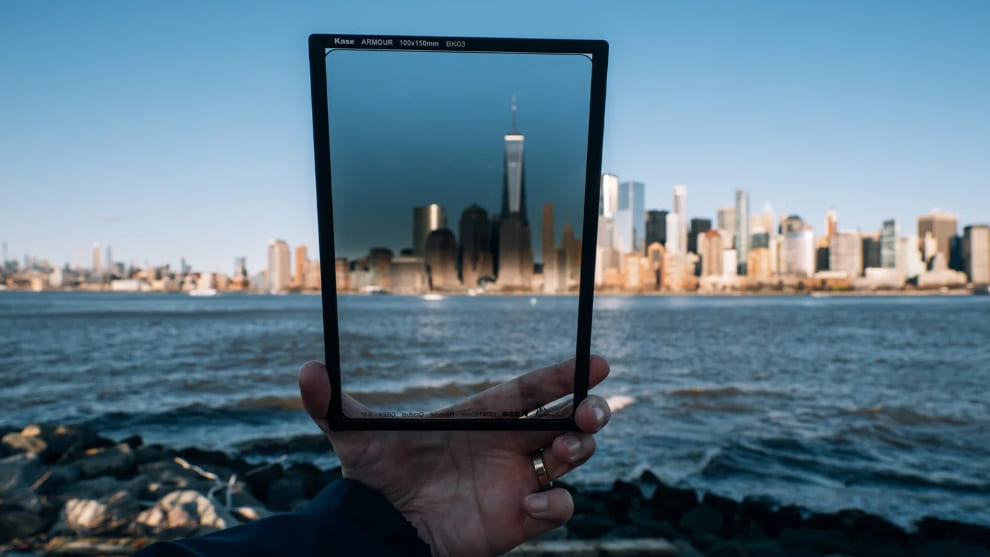
One part of the filter is clear, while the other part has a neutral gray density that darkens the brighter area of the frame, such as the sky. This helps balance the exposure between the bright and dark parts of the image and keeps more detail.
This is especially common in sunrise, sunset, beach, and mountain shots, because the brightness difference between the sky and the ground is often very large.
Based on the transition, GND filters come in soft-edge and hard-edge types. Soft-edge filters look more natural and work well for scenes with uneven shapes, like mountains and trees. Hard-edge filters create a stronger line and are better for flat scenes like the ocean or a horizon.
3. Creative Effect Filters
Besides these practical filters, some lens filters are not meant to "fix" the image. Their job is to create a more special look.
(1). Close-Up Filter
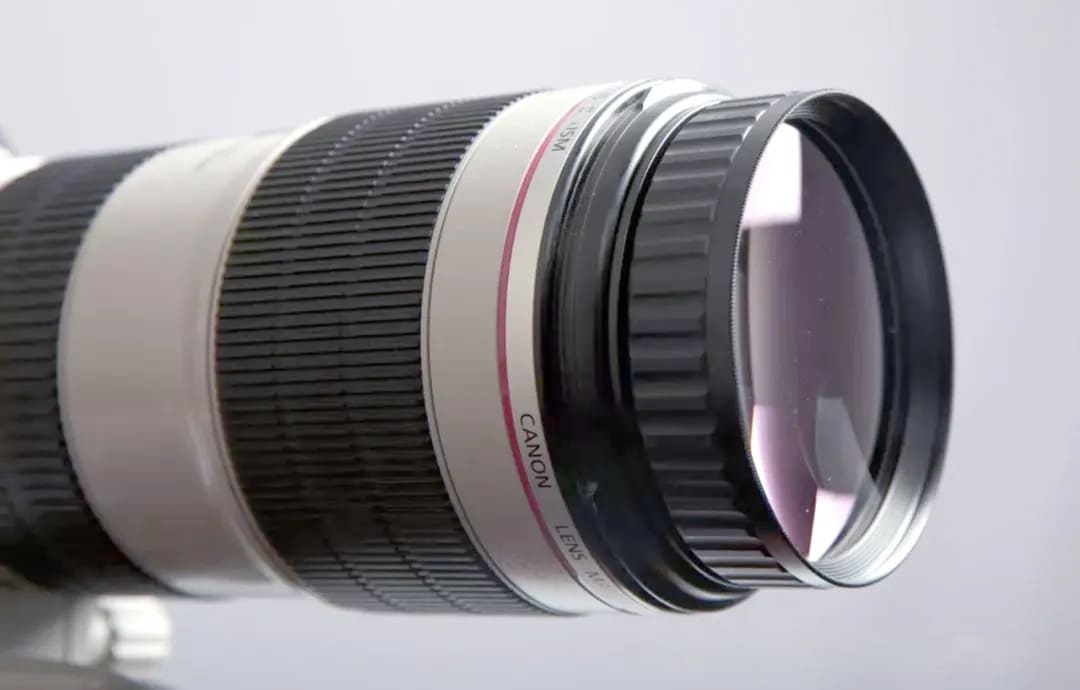
A close-up filter is a bit like a magnifying glass placed in front of the lens. It shortens the minimum focusing distance, so a normal lens can focus much closer.
For people who want to try macro photography without spending a lot at the start, a close-up filter is an easy choice. It cannot fully replace a real macro lens, but it is still very useful for flowers, small objects, and detail shots.
(2). Star Filter
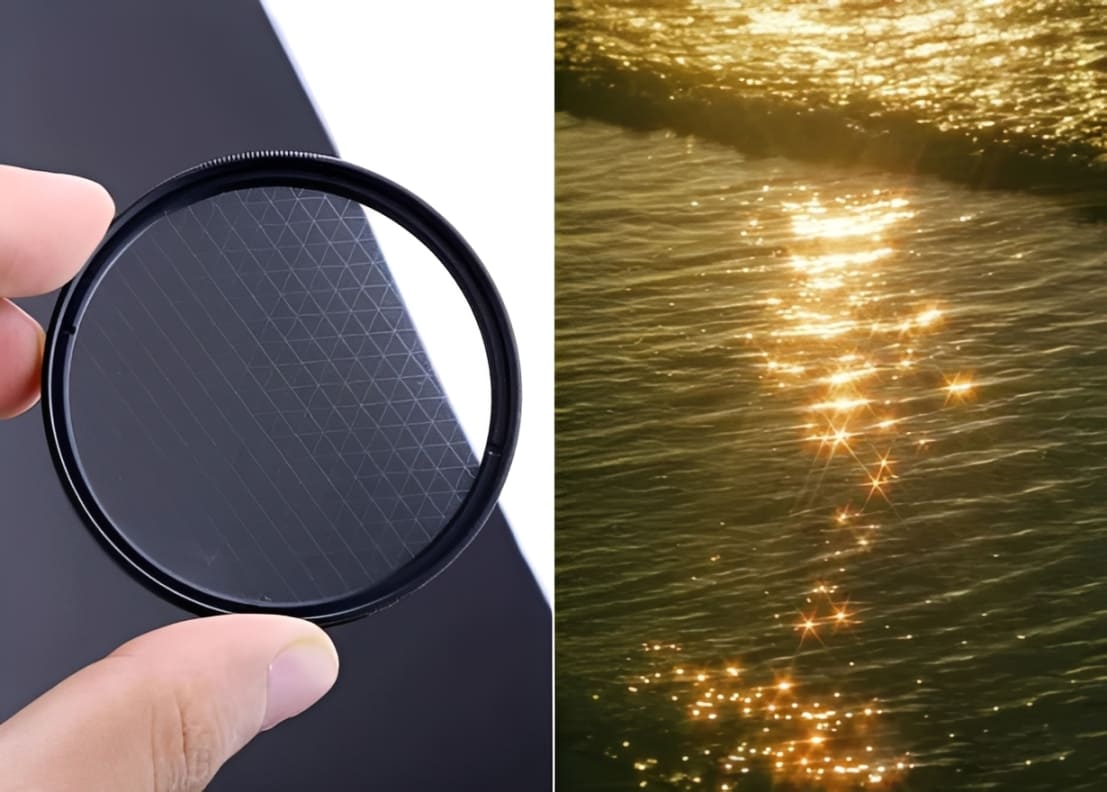
A star filter makes point light sources in the image, such as street lights, car lights, reflections on water, or highlights on jewelry, turn into star-like rays.
This effect is often used in night scenes, holiday photos, and some product or still-life shots. It adds a bit of sparkle and a dreamy feel.
(3). Soft Focus Filter
A soft focus filter makes the light in the image look softer and more spread out, creating a hazy and dreamy look.
It is often used in portrait photography, especially when you want to soften skin flaws and create a gentle mood. In landscape photography, it can also make the image feel more romantic and emotional.
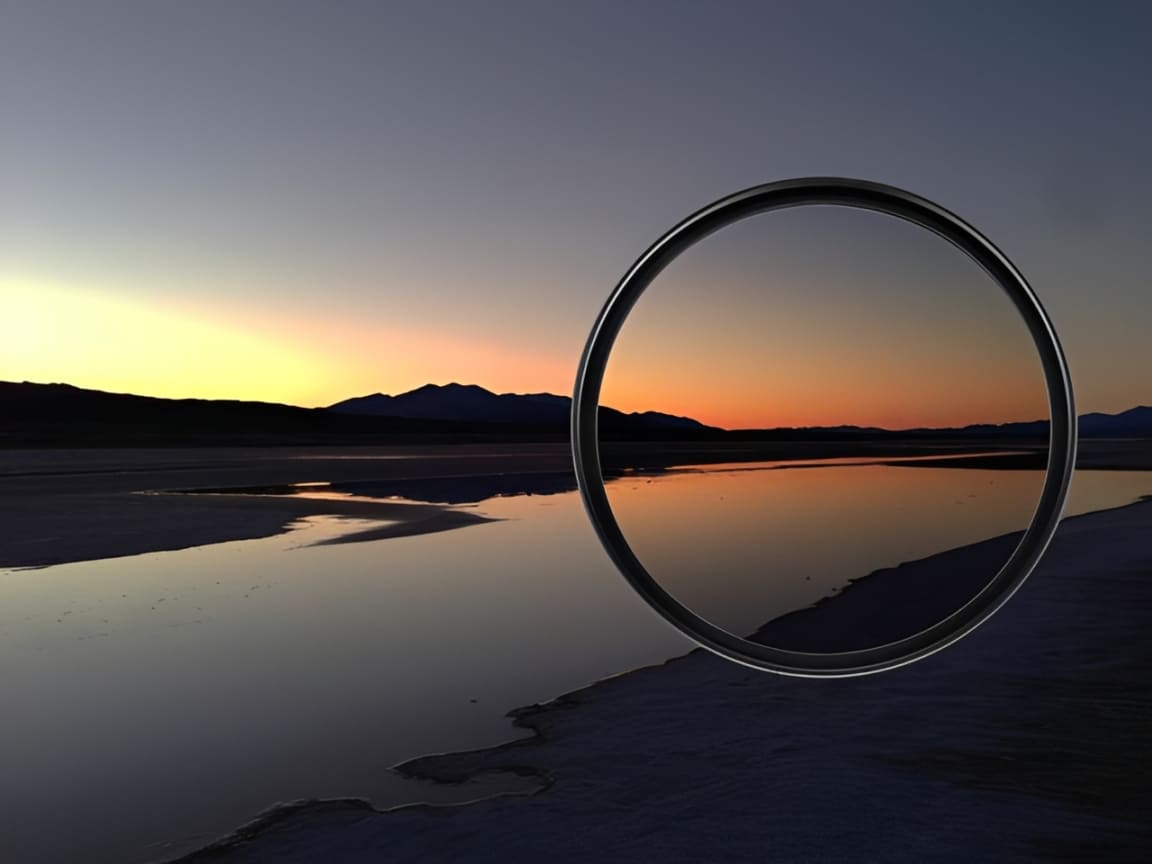
Buying Tips for Lens Filters
1. Start with the Filter Size
Before buying a filter, the first thing to check is not the brand or the price. It is your lens filter size.
Usually, you can find a number printed on the front ring of the lens or near the lens cap, such as φ67mm or φ72mm. That number is the filter size you need to buy. If you get the wrong size, the filter will not fit, so do not skip this step.
Also, when choosing a filter, it is better to go with one that has multi-coating. It usually lets in more light and helps reduce reflections, ghosting, and glare, which is better for image quality.
2. You Get What You Pay for
A filter may look like just a small piece of glass in front of the lens, but it can affect image quality very directly.
Cheap, low-quality filters may seem like a good deal, but they can easily make photos look flat, soft, or overly reflective. In some cases, they can even drag down the performance of a good lens. The difference is especially clear in backlit scenes, night shots, or bright light.
So a filter does not have to be the most expensive one, but it should not be too cheap either. If you care about image quality, it is usually safer to choose one with solid build quality and good coating.
3. Start with What You Really Need
If you are a beginner or if you do not want to buy too many filters at once, the most practical approach is to start with the ones you will use most.
A simple order to consider is:
- UV filter: mainly for lens protection, good for everyday use.
- ND filter: good for long exposure shots, like flowing water, waves, and car light trails.
- CPL filter: good for reducing reflections and making images look clearer, especially in landscape photography.
If your budget is limited, buying one filter you will actually use is a much better deal than buying a bunch of filters you may never need.
Conclusion
A lens filter may only be a small accessory in front of the lens, but it can play a big role in photography. Whether it is used to protect the lens, cut reflections, or help with long exposures and special effects, a filter can make shooting more flexible and give you more stable and more expressive results in scenes that are otherwise hard to capture.
For photography lovers, understanding what different filters do can help you avoid a lot of trial and error.
And after the shoot, the process of organizing your photos and bringing out the look you want is just as important. Many people focus on shooting itself, but overlook editing speed and comfort.
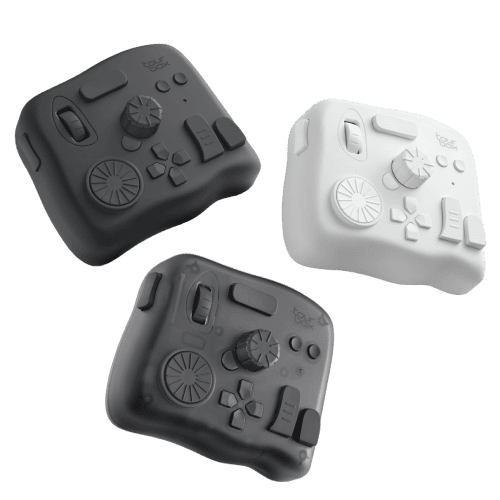
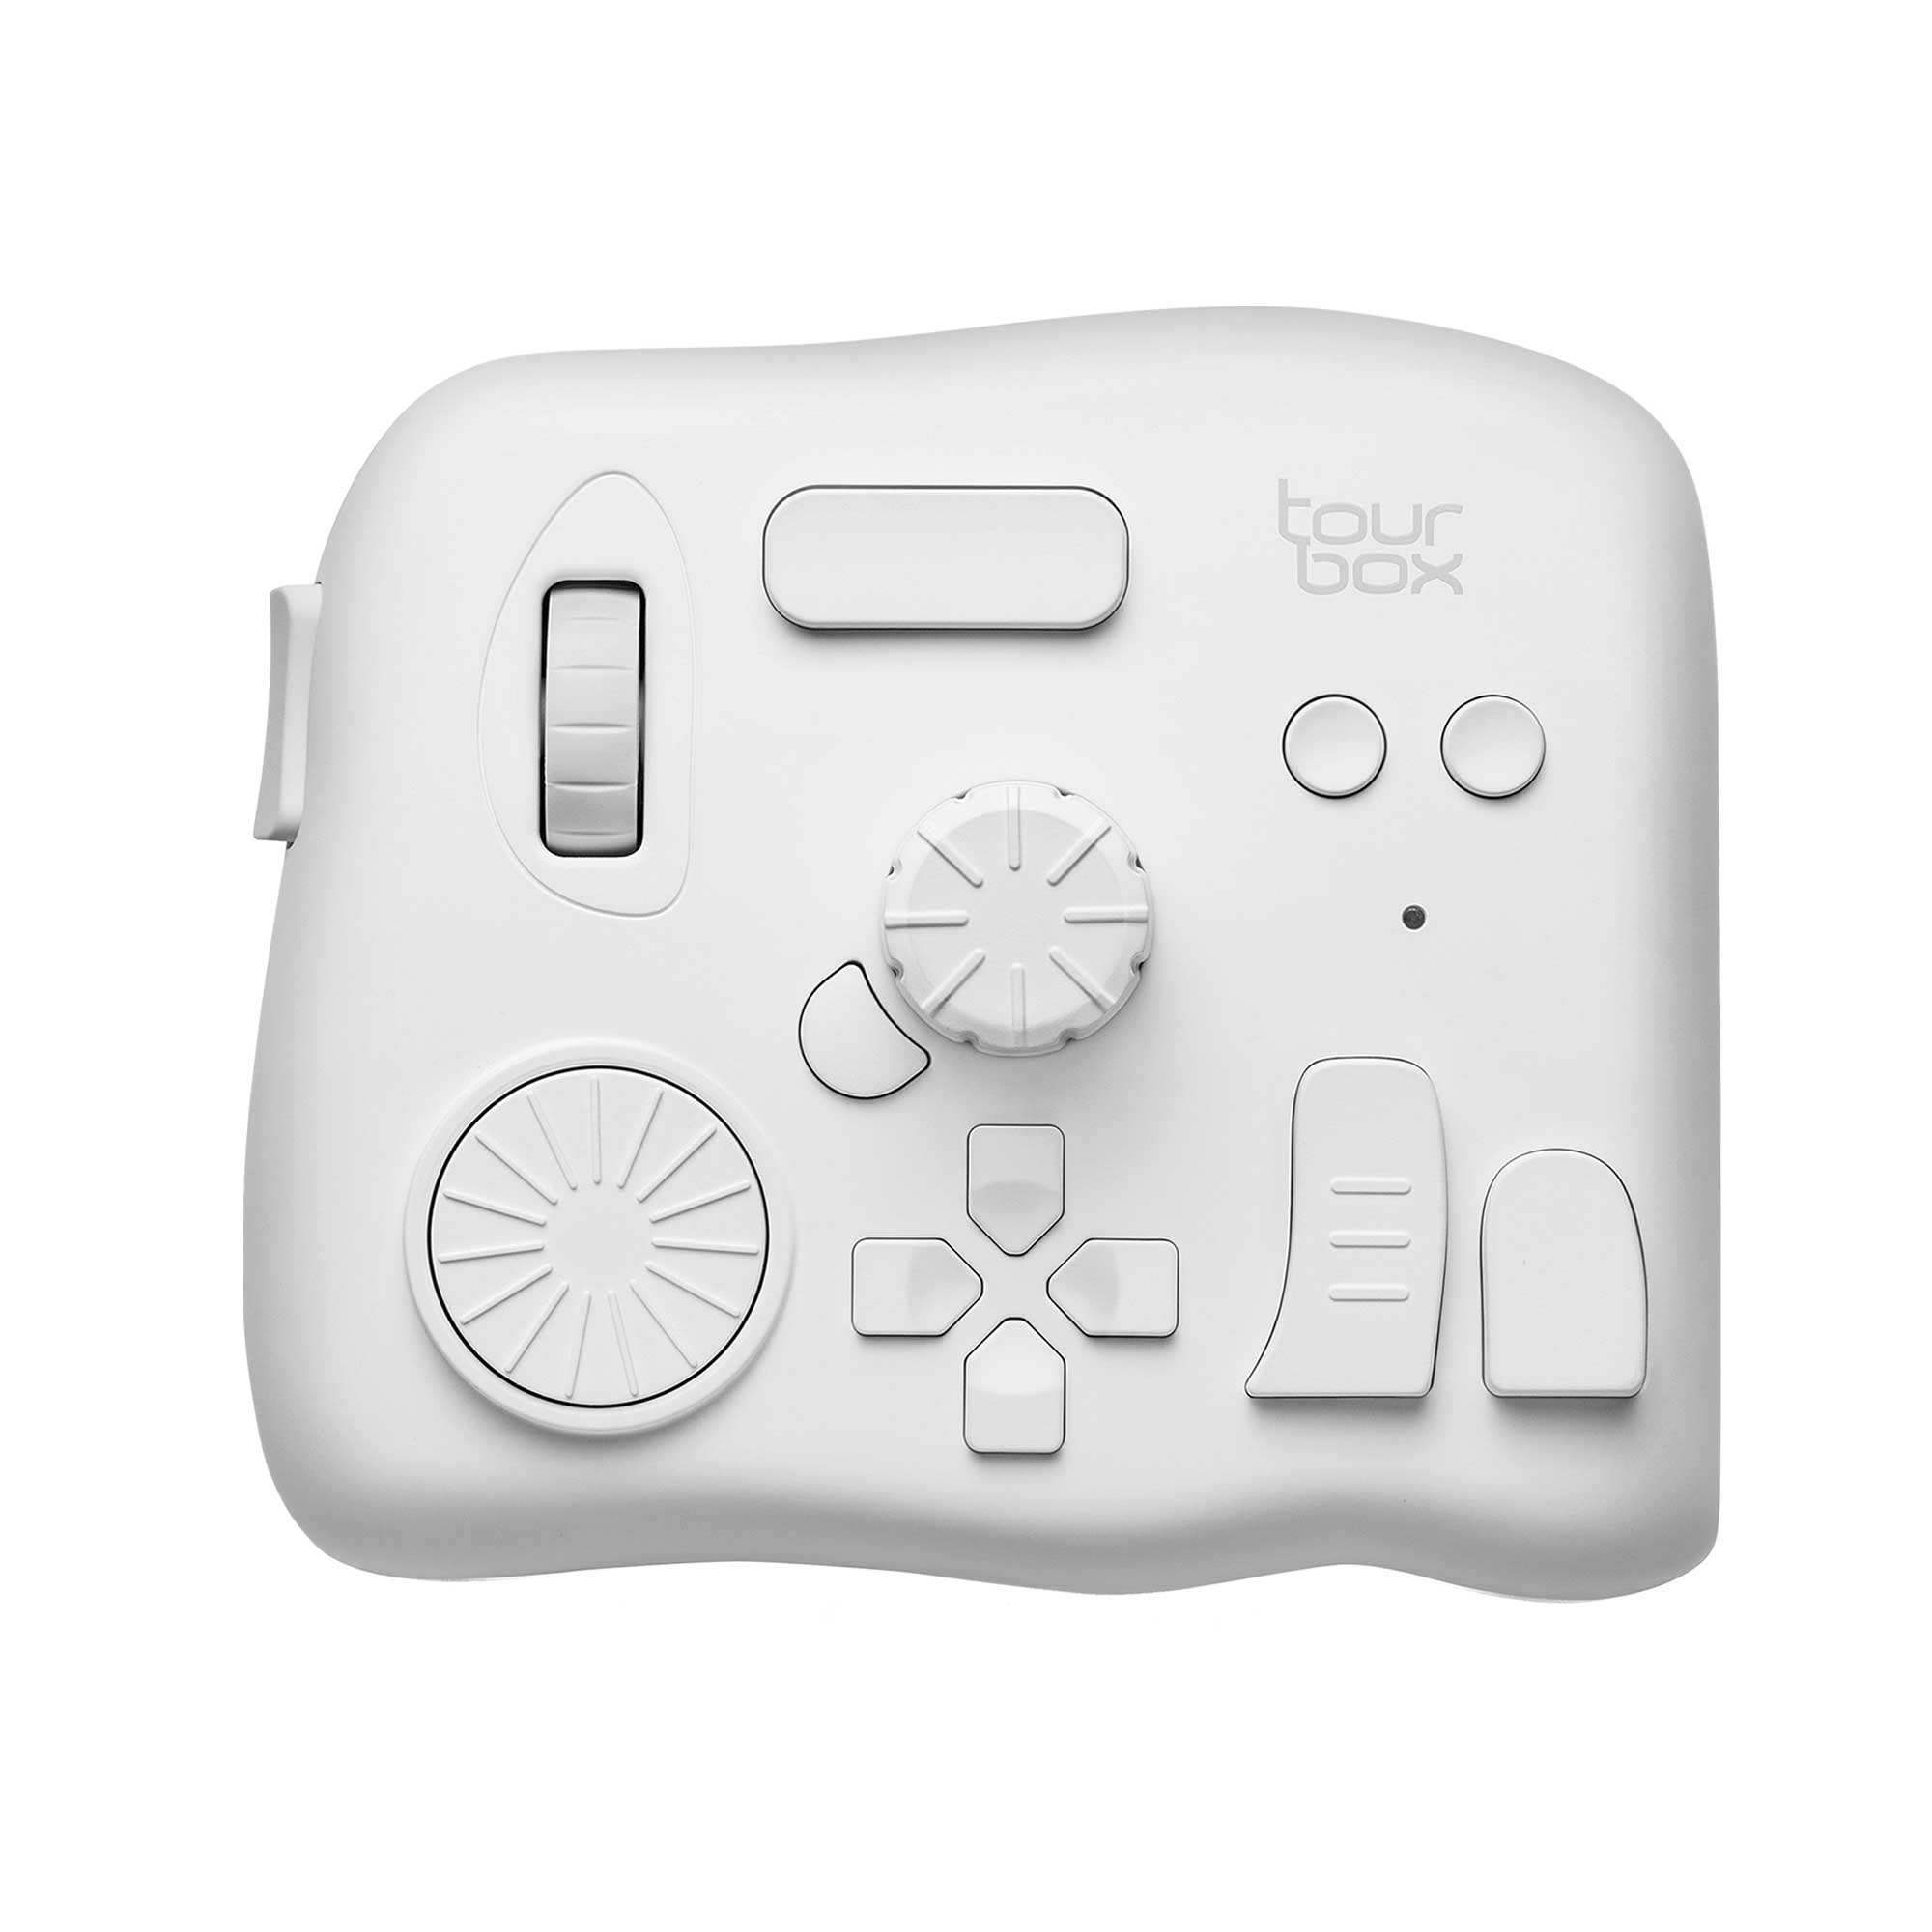
A creative controller like TourBox is a great fit for tasks like photo editing, color grading, and video editing. It brings common tools and shortcuts together in one place, making post-production smoother and helping you stay more focused. For anyone who works with photography a lot, tools like this can make a real difference.
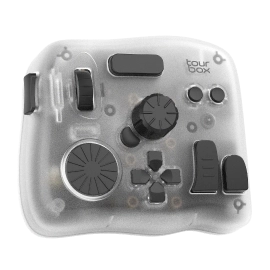
If you are interested in how TourBox can improve photo editing workflow and the final quality of your work, please visit our Photo Editing page to learn more.


