CPL Filter Guide: Uses, Tips, and Buying Advice
Why does almost every photographer have a CPL (circular polarizing) filter in their camera bag? And do you really need one too?
In this article, we'll talk about what a CPL filter is, what it's actually used for, and how to use it in real shooting situations. Let's get started!
In this article, you will learn:
- What Is a CPL Filter?
- When Should You Use a CPL Filter?
- What to Consider When Buying a CPL Filter?
- How to Use a CPL Filter?
- Conclusion
What Is a CPL Filter?
CPL stands for circular polarizing filter. It is a very common photography filter. Its main job is to reduce reflections and glare, so your photos look clearer and cleaner.
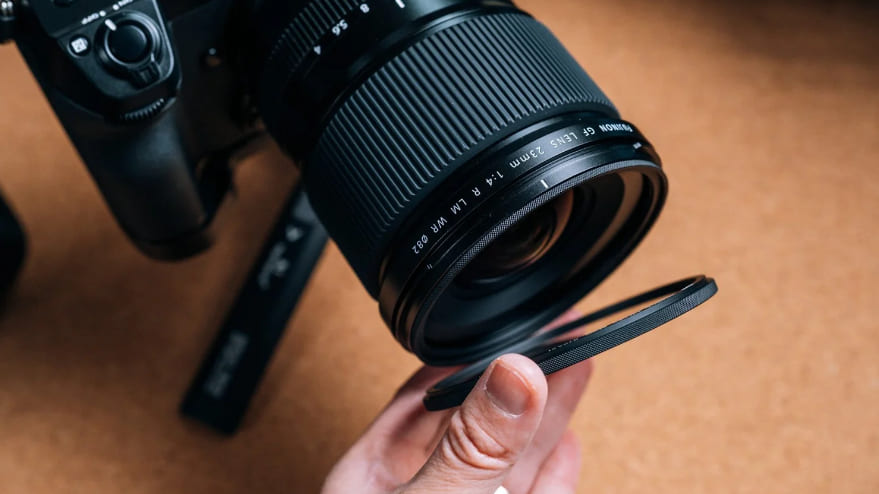
Structurally, a CPL filter usually has two layers of glass, with a special polarizing material in between. It does not work by blocking all light. Instead, it filters out certain polarized light. That is why it can reduce reflections on water, glass, leaves, and other shiny surfaces. As a result, the subject looks clearer, and the colors often look richer and more vivid.
When using a CPL filter, you usually need to rotate the front ring slowly until you find the right angle. As the angle changes, the strength of reflections, the saturation of the sky, and the texture of objects in the frame will also change.
If you notice that the image hardly changes at all, it usually means the filter has not been turned to the best angle yet.
When Should You Use a CPL Filter?
In photography, a CPL filter is most often used to reduce reflections, boost color, and make the image look clearer. In general, it is very useful in the following situations.
1. When Photographing Plants
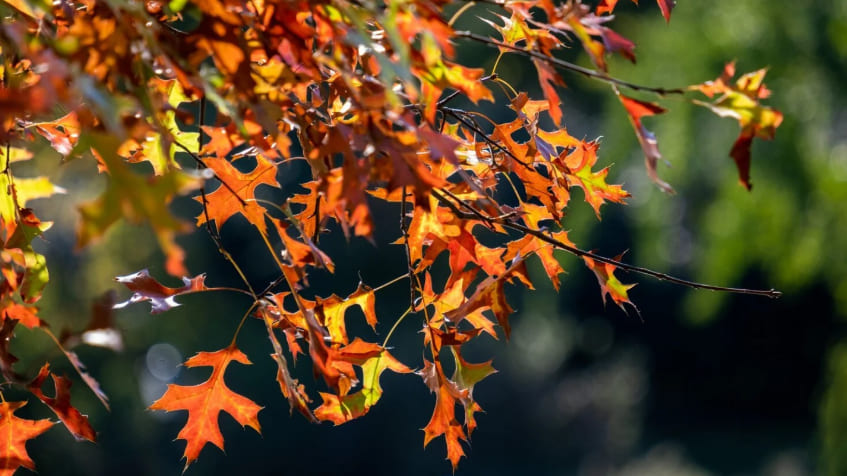
When you shoot plants with thick leaves or shiny surfaces, especially in direct sunlight, the reflections on the leaves can be very strong. This can make the photo look washed out, too bright, or less detailed.
A CPL filter can help reduce some of that reflected light. It can make the plant colors look more natural and the details easier to see. One thing to keep in mind is that, because leaves face different directions, a CPL filter cannot remove all reflections completely. But it can usually improve the image a lot.
2. When Photographing Water
When shooting near a river, lake, or sea, the water often creates strong reflections. This can make it harder to see the reflection in the water or make the image look less clear.
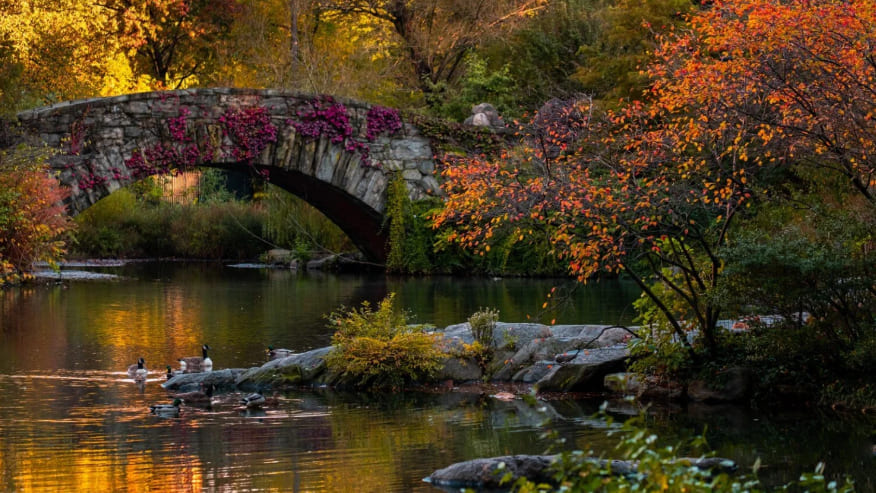
With a CPL filter, you can reduce those reflections and make the details under the water and the reflections on the surface easier to see. For example, you can capture the reflection of buildings on the water, or make the water itself look cleaner and clearer.
That said, if you want to keep the reflection on the water, such as the golden or orange light at sunset, then a CPL filter may not be necessary. Sometimes, those reflections are part of the scene.
3. When Photographing the Sky
Another very common use for a CPL filter is improving the look of the sky. Especially on a sunny day, it can help darken the sky a little, make it look deeper and bluer, and increase the contrast and detail in the clouds.
That is why many landscape photographers and city photographers like to use a CPL filter. It can make the sky look richer, and the whole image feel clearer and more open.

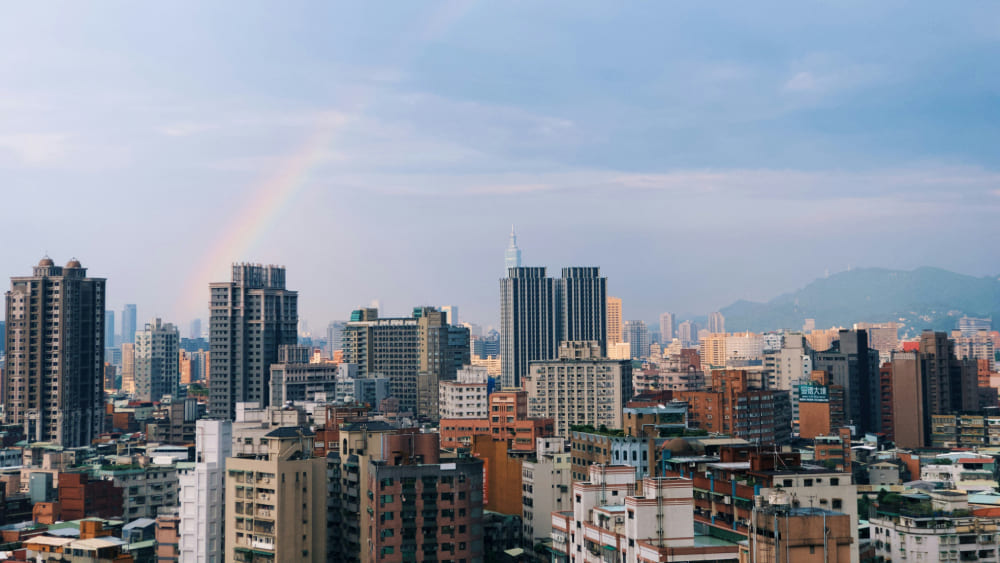
4. When Photographing City Buildings
When people travel, one of the most common subjects is city buildings. But in bright daylight, reflections from glass walls, metal surfaces, and the surrounding environment can make buildings look dull or hazy.
A CPL filter can reduce some of that surface glare and reflection. That makes building edges look sharper, colors look fuller, and the whole image feel more three-dimensional. For anyone who likes city scenes or building details, this filter is very useful.
5. When Photographing Objects and Food
If you like shooting products, food, or still life scenes, a CPL filter can also help a lot. Materials like plastic, glass, and metal often create strong highlights, and those reflections can get in the way of the subject details.
A CPL filter can reduce that extra glare and make the image look cleaner. It also helps show the texture of the subject more clearly. If you want your still life photos to look more refined and layered, this is a tool worth trying.
6. When Photographing Shop Windows or Display Cases
When traveling, visiting exhibitions, or going to museums, we often run into a frustrating problem: the subject is behind glass, and it is easy to catch your own reflection or the reflection of the surroundings.
That is where a CPL filter comes in handy. It can help reduce reflections on the glass and make it easier to photograph the subject itself. Of course, the result also depends on the angle of the light. It cannot remove every reflection completely, so it is still important to adjust your shooting angle and find the best position.

What to Consider When Buying a CPL Filter?
As we mentioned above, a CPL filter has a very clear job: it reduces reflections, boosts color, and makes the sky look clearer. But when it comes time to buy one, many people find that it is not as simple as just picking any CPL filter. The mounting style, how it works with other filters, and even the thickness and size can all affect the final experience.
1. Mounting Style
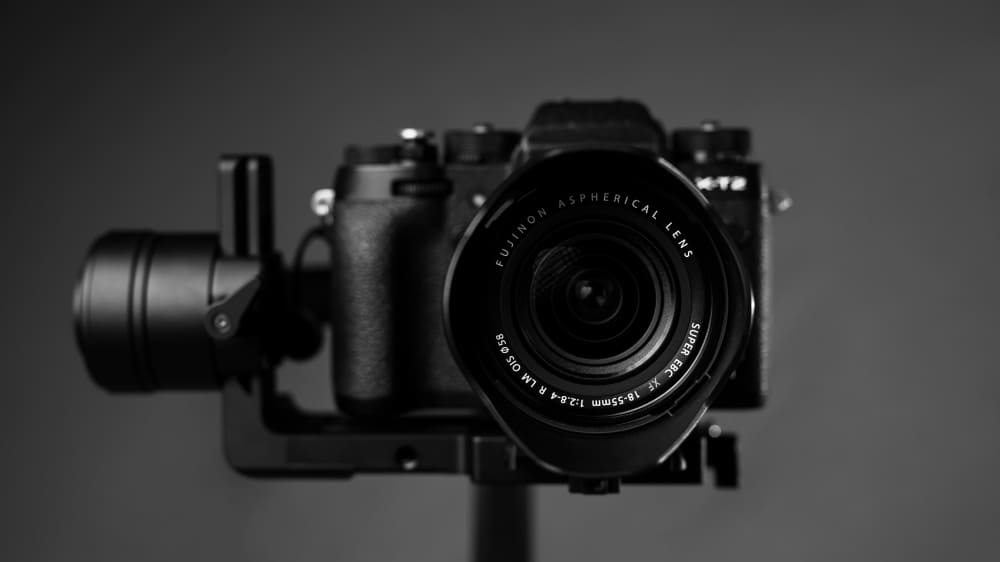
There are two common ways to mount a CPL filter. One type screws directly onto the front of the lens. The other type fits into a filter holder. They may both be polarizing filters, but they are used in different situations.
If you may use square or rectangular filters later, such as a graduated ND filter or an ND filter, it is best to pay attention to the filter holder design before buying. Many filter holder systems now have a CPL built right into the holder.
That means once you buy that system, you often do not need to buy a separate screw-on CPL filter.
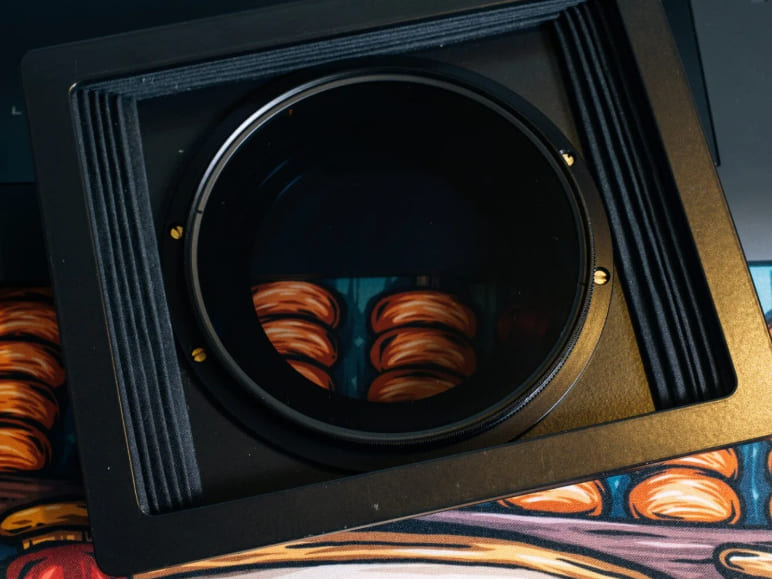
For people who plan to use filter holders long term, this kind of all-in-one design is actually easier and often more cost-effective. After all, if you are going to use a filter holder system anyway, buying a separate screw-on CPL first can feel a bit like paying twice.
Besides the built-in filter holder option, there is also the front-mounted CPL design. In simple terms, screw-on CPL filters are smaller and easier to carry, so they are better for everyday use on their own. CPL filters that go into a filter holder are better when you want to use them together with graduated filters or ND filters.
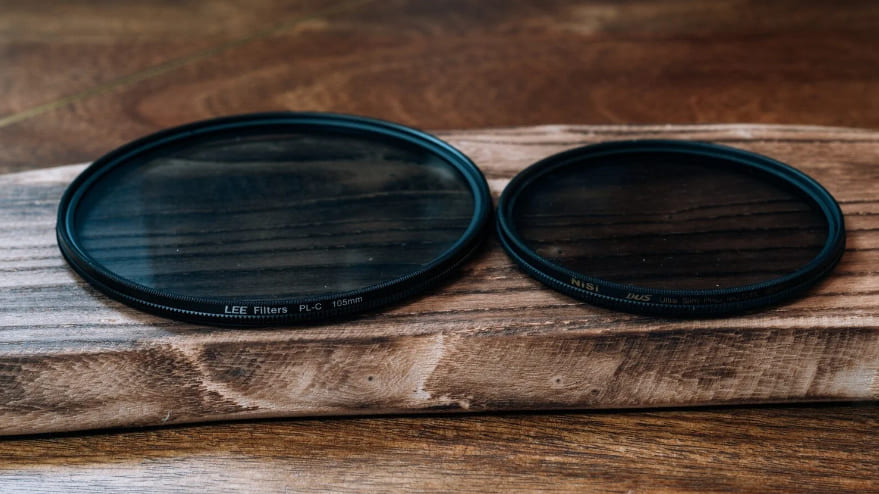
In other words, if you only want one polarizing filter for everyday landscape, building, or water shots, a screw-on CPL is usually enough. But if you want to stack two or more filters at the same time, a filter holder system gives you more flexibility.
2. Thickness
Thickness is another important detail that is easy to overlook when buying a CPL filter. This matters especially with wide-angle lenses. If the filter is too thick, it can cause vignetting, which means the corners of the image may get dark or cut off a little.
To avoid this, wide-angle lenses are better paired with an ultra-thin CPL filter. By comparison, telephoto lenses are less sensitive to filter thickness, so you have more options.
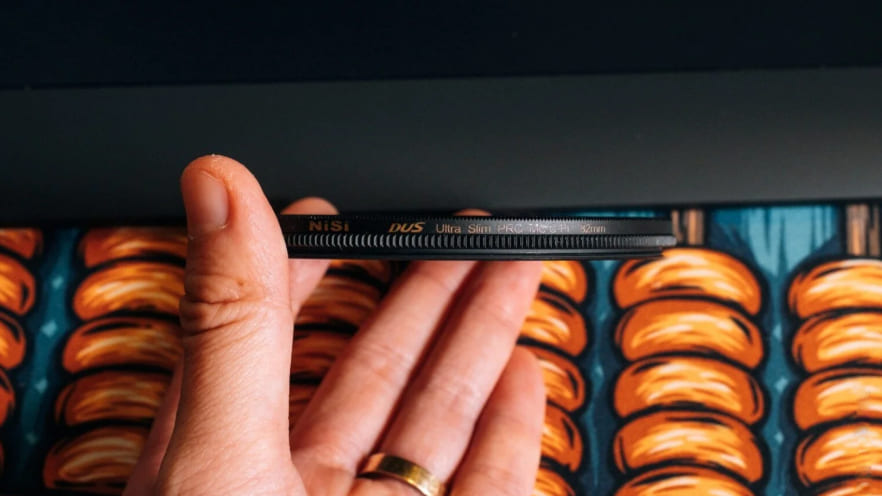
3. Size
Size is another practical issue. Different lenses have different front thread sizes. If you own several lenses and want to use a CPL on all of them, you do not necessarily need to buy one for each lens.
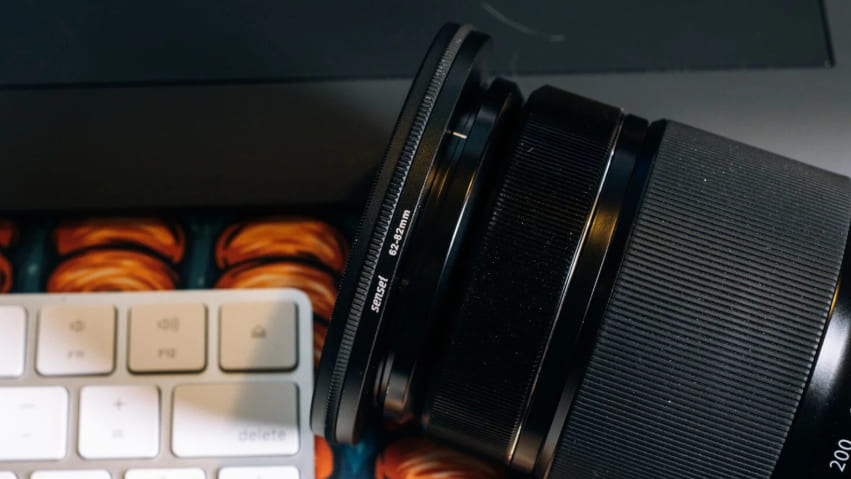
A more budget-friendly choice is to buy one CPL filter based on the largest lens size you own, then use step-up or step-down rings for the other lenses. That way, you can use the same CPL on different lenses, which gives you much better value.
That said, this method has one small drawback. A screw-on CPL filter can make it harder to use a lens hood, especially if your hands are large or the space at the front of the lens is tight. In that case, adjusting the polarizing angle may be less convenient. A safer approach is to set the CPL filter first, then attach the lens hood.
If your lens hood has a built-in window, that will make things much easier, since you do not need to keep taking it on and off while adjusting. If you use adapter rings, the outer size of the filter is often larger than the original lens front, and in that case, the lens hood may no longer fit.
So when buying a CPL filter, it may seem like you are just choosing a polarizing filter, but there is actually a lot to think about: whether you will use it alone or with square filters later, whether you shoot wide-angle or telephoto, whether you change lenses often, and whether you need to use a lens hood. All of these can affect which CPL filter is best for you.
How to Use a CPL Filter?
A CPL filter does have some light-reducing effect, but it is not very strong. It usually cuts about 1.5 to 2 stops of light.
That means if you use it only as a neutral density filter, the effect is not very obvious. But it will still slow down your shutter speed a little. So if you stack it with other filters, you should keep that in mind.
A CPL filter can darken the sky and make blue skies look clearer, but the result is not the same as a GND filter. Since the polarizing effect depends on the angle, the sky may look uneven in some shots. This is especially easy to notice with a wide-angle lens. The sides of the frame may look less darkened, while the center looks more obvious, which can make the sky color look less even.
Because of this, CPL filters are usually not recommended for panoramic shots. Otherwise, stitching the images later can be tricky and may affect the overall look of the final photo.
Still, the reason CPL filters remain so useful is that they can create effects that are hard to fully copy in post-processing. For example, they can remove reflections from water, glass, and plant leaves, which makes the image cleaner and the colors richer. That is where a CPL filter is most valuable.
As for whether you should buy one, our advice is this: if you care a lot about image quality and often shoot landscapes, buildings, reflections in glass, or water, then a CPL filter is definitely worth getting. It is also best to choose a higher-quality one if you can, since it can make a noticeable difference in many situations.
But if you only use it once in a while, or you still do not have a clear need for it, then there is no rush to buy one. Even though CPL filters are usually one of the more affordable filters, buying something you do not use is still a waste.
Conclusion
A CPL filter is not just a nice extra to have. In many shooting situations, it is a very useful tool that can truly improve image quality. It cannot replace every other filter, and you do not need to use it every time you shoot. But once you understand how it works and use it in the right situations, it can take your photos to the next level in color, glare control, and clarity.
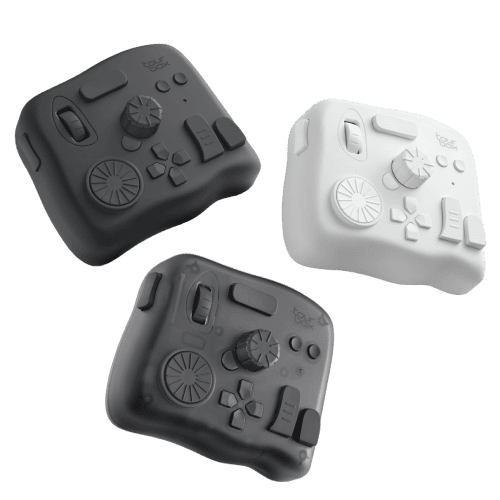
And when you edit those photos, if you also want a smoother and more efficient workflow, take a look at TourBox. It can help photographers cut down on repeated steps during color grading, retouching, and fine-tuning, so the whole creative process feels more focused and smoother.
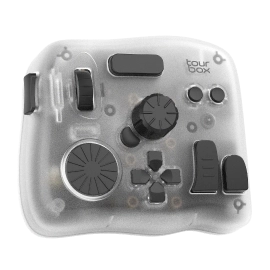
For people who shoot and edit often, TourBox can make a big difference in workflow efficiency, and it can also help improve the final quality of your work. If you are interested in TourBox, please visit our Photo Editing page to learn more.


