[TourBox Tips] How to Quickly Insert Clips in DaVinci Resolve?
We want to share a simple tip for using TourBox in DaVinci Resolve: how to quickly insert selected clips from the Media Pool into the timeline track while browsing through your footage.
It involves the concept of In and Out points. In video editing, In and Out points are used to define the starting and ending positions of a clip. They help you select specific parts of a video clip for editing or output:
- In Point: Marks the starting position of a clip.
- Out Point: Marks the ending position of a clip.
Once you grasp the concept of In and Out points, the process becomes straightforward.
In the default DaVinci Resolve preset on the TourBox Console, the Knob is set to control frame-by-frame forward and backward movement.
You can move the Knob to the left to move back one frame and to the right to move forward one frame.

Next, you need to map three key operations to buttons on the TourBox:
- I: Mark In
- O: Mark Out
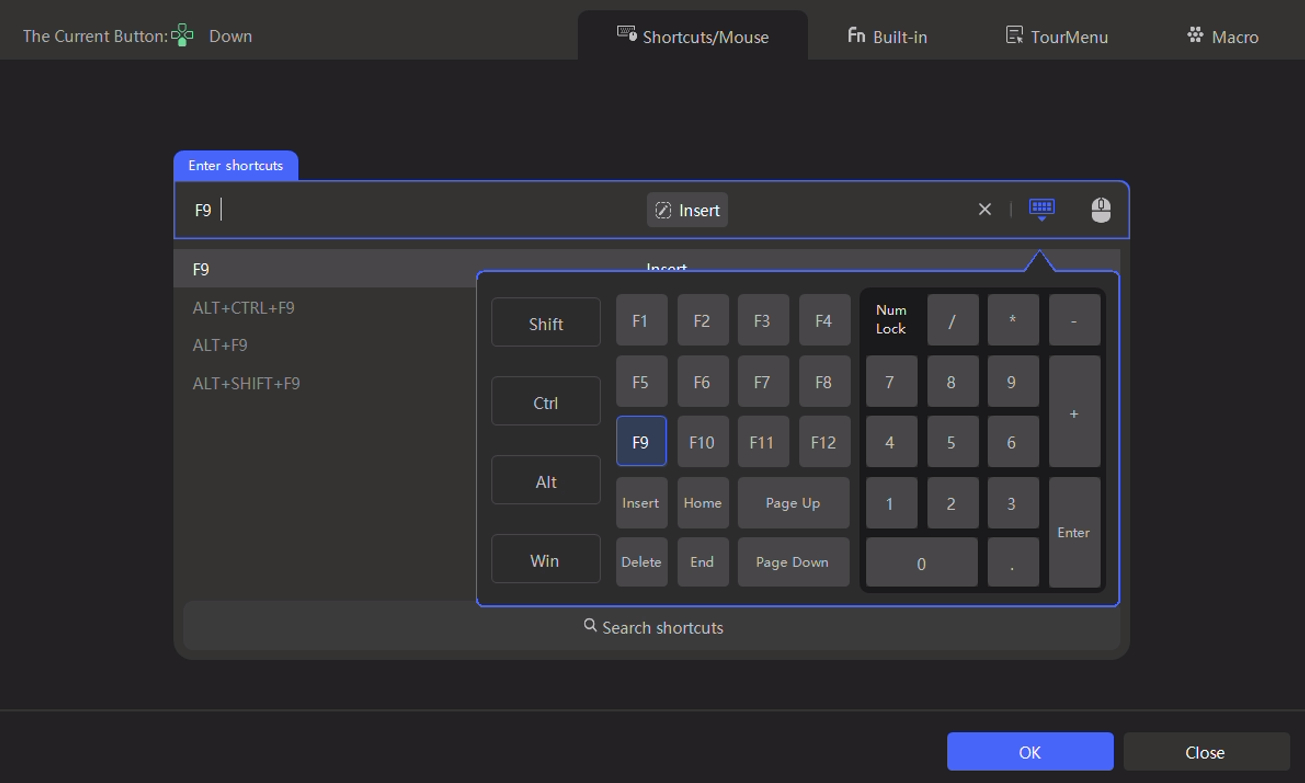
- F9: Insert
Map these three shortcut keys to buttons on the TourBox, and then you can give it a try in DaVinci Resolve.
Browse through the clips in the media pool by turning the Knob, mark the In and Out points, and then press the insert button to place the marked segment onto the timeline track. Isn't this method efficient and effortless?
You can quickly filter and insert clips if you have multiple clips in the Media Pool, along with mouse selection.
Go ahead and give this efficient little trick a try in your DaVinci Resolve project!