Two Incredibly Useful Preset Tips in DaVinci Resolve
After adjusting various parameters in DaVinci Resolve, how can you quickly apply these settings in your next project?
DaVinci Resolve allows you to "save presets" of these current settings.
In this article, we will share two easily overlooked yet highly practical preset creation techniques in DaVinci Resolve, which include:
- Subtitle Track Preset
- Rendering Output Preset

In this article, you will learn:
- How to Create Subtitle Track Preset in DaVinci Resolve?
- How to Create Rendering Output Preset in DaVinci Resolve?
- Final Thoughts About DaVinci Resolve Preset
How to Create Subtitle Track Presets in DaVinci Resolve?
Both the Cut and Edit pages offer automatic subtitle creation features in DaVinci Resolve.
You can convert audio on the timeline into text and automatically transcribe it into the subtitle track on the timeline, allowing you to adjust various parameters.
If you want to maintain consistency across multiple projects with subtitles or set your current custom subtitle style as a standard, you can save the subtitle track as a preset. This eliminates the need to check parameters each time, reducing repetitive work.
1. Create and Customize Subtitles
Let's take the Edit page as an example. Switch to the Edit page, select a clip on the timeline, then click on the top navigation bar and choose "Timeline" → "Create Subtitles from Audio."
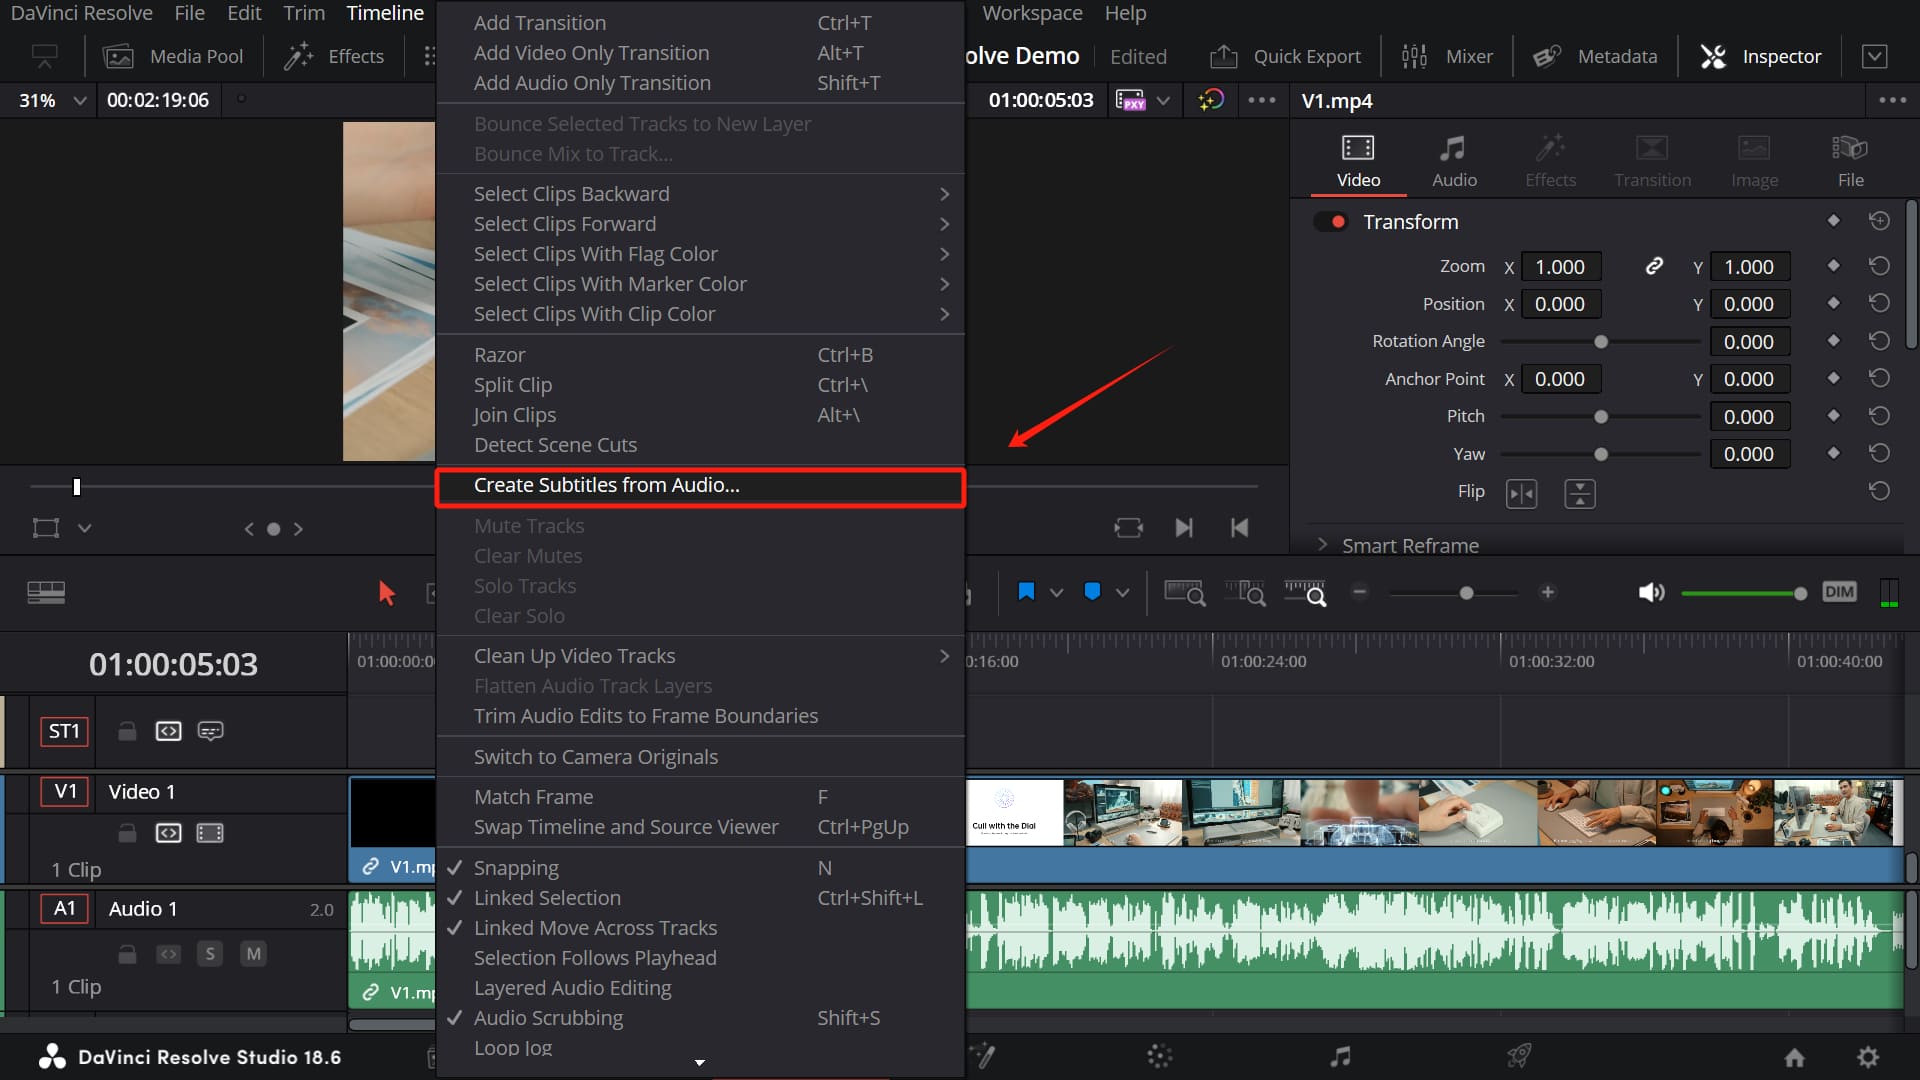
Extra Tip:
This feature is available in DaVinci Resolve 18.5 and above versions.
In the pop-up dialog box, you can set the appropriate "Language" (or choose "Auto" for DaVinci Resolve to automatically detect the language of the speaker), "Caption Preset," "Maximum Characters per Line," and other settings. Then click "Create" to generate the subtitles.

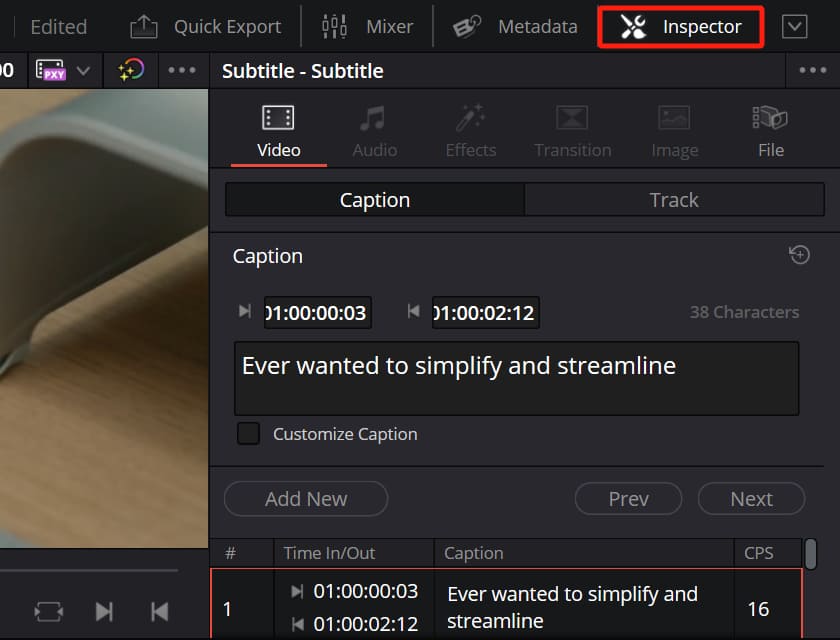
After DaVinci Resolve finishes the analysis, click on the respective subtitle in the subtitle track. You can proofread the subtitles in the inspector panel on the right and customize the subtitle style by adjusting various parameters.
2. Save Track as Preset
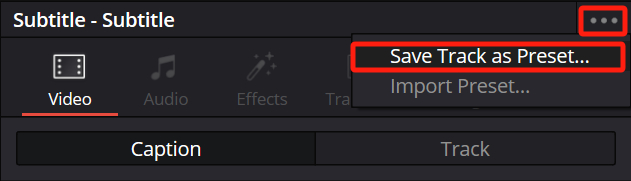
Click on the ellipsis button (three dots) in the top right corner of the inspector panel. From the dropdown menu, select "Save Track as Preset."
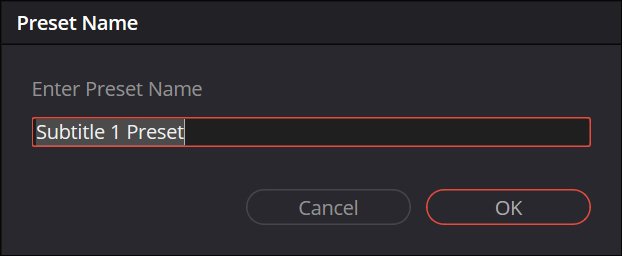
In the pop-up dialog box, enter a name for your preset, then click "OK." Your DaVinci Resolve subtitle track preset is now created.
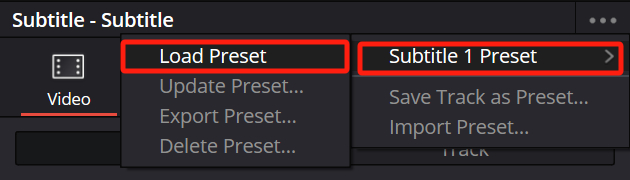
After creating a subtitle track, click on the ellipsis button (three dots) in the top right corner again. Choose the name of the preset you've previously created, then load the preset. This will apply the subtitle preset to the new subtitle track.
How to Create Rendering Output Preset in DaVinci Resolve?
In the DaVinci Resolve Deliver page, the Render Settings panel on the left lists all the rendering settings you can adjust when configuring your render.
By default, you'll see a basic set of render options, and clicking "Advanced Settings" reveals more options.
If you don't want to go through the hassle of reconfiguring your render output settings every time you finish a project or worry about forgetting to check the "Burn into Video" option before adding to the render queue, you can save the current output settings that meet your project requirements as a preset.
1. Customize Render Settings
In the Render Settings panel on the Deliver page, you can customize output settings based on your project requirements, such as customizing file names, storage locations, formats, and more.
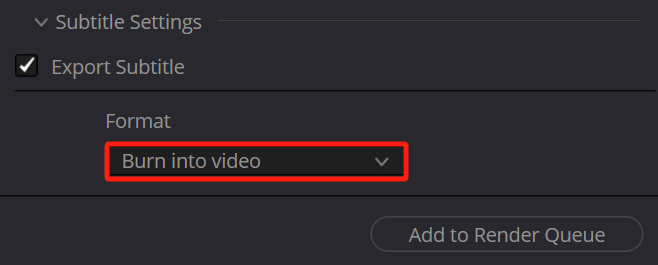
If needed, you can expand the hidden area of Subtitle Settings, then check "Export Subtitles" → "Burn into Video" to burn the created subtitles into the video.
2. Save as New Preset
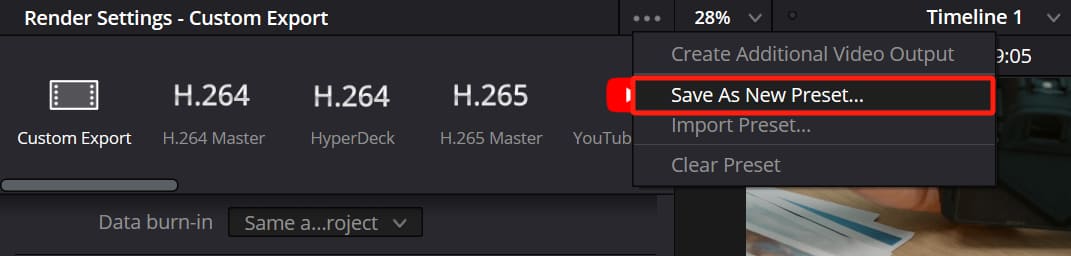
Click on the ellipsis button (three dots) in the top right corner of the Render Settings panel. From the dropdown menu, select "Save as New Preset."
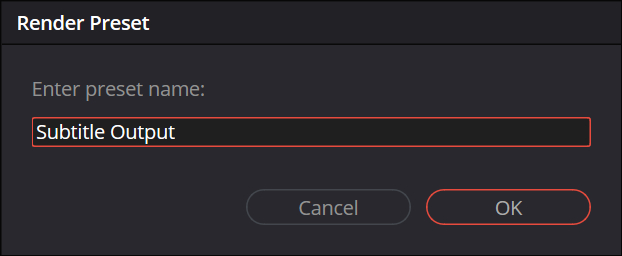
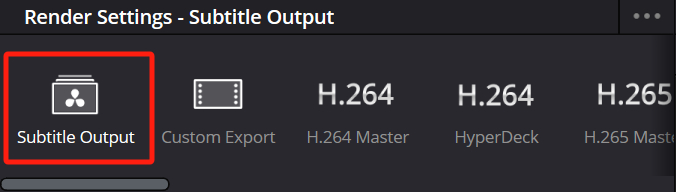
In the pop-up "Render Preset" dialog box, enter a name for the preset. You can choose any name you like. Let's use "Subtitle Output" as an example here.
After clicking OK, the newly created rendering output preset will appear at the top of the list in the Render Settings panel. Click on it to apply, and you can also make modifications based on this preset.
Final Thoughts About DaVinci Resolve Preset
In this article, we've shared two practical tips for creating DaVinci Resolve presets. Saving your commonly used settings as presets can make them easily accessible, thereby boosting your workflow efficiency.
If you enjoy efficient workflows, besides using presets within the software, you might find the TourBox, a creative controller, to be right up your alley.

Apart from mapping common software shortcuts to TourBox buttons, you can also record a series of actions onto a TourBox macro. This way, you can effortlessly repeat these steps at any time with TourBox.
TourBox enables you to perform various tedious operations with fewer actions. Like an extension of your hand, you're sure to appreciate the excellent user experience that TourBox offers.

Imagine editing your DaVinci Resolve projects with a game controller. Check out our video editing page to see how TourBox simplifies every step of video editing.