How to Add Fonts to Photoshop: Step-By-Step Guide
When it comes to designing in Photoshop, one of the benefits is the ability to use a wide variety of font styles to give your creations a unique look and feel.
However, you may find that the built-in fonts in Photoshop are limited and don't meet your specific needs. If you're wondering how to add fonts to Photoshop, this tutorial will provide you with the answer you're looking for.

In this article, you will learn:
- How to Add Fonts to Photoshop?
- Frequently Asked Questions About Adding Fonts to Photoshop
- Final Thoughts About Adding Fonts to Photoshop
How to Add Fonts to Photoshop?
Adding fonts to Photoshop is quite simple. All you need to do is install the font onto your computer's hard drive, making it a system font. Photoshop will automatically recognize and include the newly added font.
In other words, if you have a font installed on your computer, Photoshop will have access to it. Understanding this concept simplifies the process of adding fonts to Photoshop to just how you add fonts to your computer.
Step 1: Download the Font Files
First, make sure to download the font files you want to import from a reliable source.
There are hundreds of websites on the internet that offer free and beautifully designed fonts. Usually, a simple search will provide you with plenty of safe options to choose from.
However, if you want to ensure the absolute safety and reliability of the fonts, or if your work involves commercial use, you can purchase paid fonts from various font websites, font stores, or font bundles that offer commercially licensed and secure font files.
Extra Tip:
Font files typically have extensions such as .ttf (TrueType Font) or .otf (OpenType Font).
Step 2: Install the Font Files
Once you've downloaded the font, unzip the file and open the font folder. You will see the fonts you downloaded.
The next step is to install them on your operating system. Whether you're using Windows or Mac, the quickest way to install fonts is by double-clicking the font file and clicking the "Install Font" button to complete the installation.
This method is suitable when you have a relatively small number of fonts that you want to add.
Of course, you can also choose alternative methods to add fonts, especially when you need to install multiple fonts at once.
You would need to select all these fonts and paste them into the designated "Fonts" folder on your computer. The location of the "Fonts" folder varies between the Windows and Mac operating systems:
- Windows: You can place the downloaded fonts in any directory, such as "C:\Windows\Fonts" or "Control Panel > Appearance and Personalization > Fonts".
- Mac: If you have administrator privileges, use "/Library/Fonts/". If you don't have sufficient privileges, use "/Users/<username>/Library/Fonts/" by replacing <username> with your own username.
Step 3: Confirm the Font is Installed
After installing the font, you need to confirm that it has been successfully installed on your system. Here's how to check the installed fonts:
- Windows: Open "Control Panel", and go to "Appearance and Personalization" > "Fonts" to view the list of installed fonts.
- Mac: Open the "FontBook" application to view the list of installed fonts.
Step 4: Use the Added Fonts in Photoshop
Once the fonts are successfully installed on your system, you can start using these imported fonts in Photoshop.
Create a new document in Photoshop or open an existing one. Select the "Text Tool" (T) from the left toolbar and click on the area where you want to add text to your project.
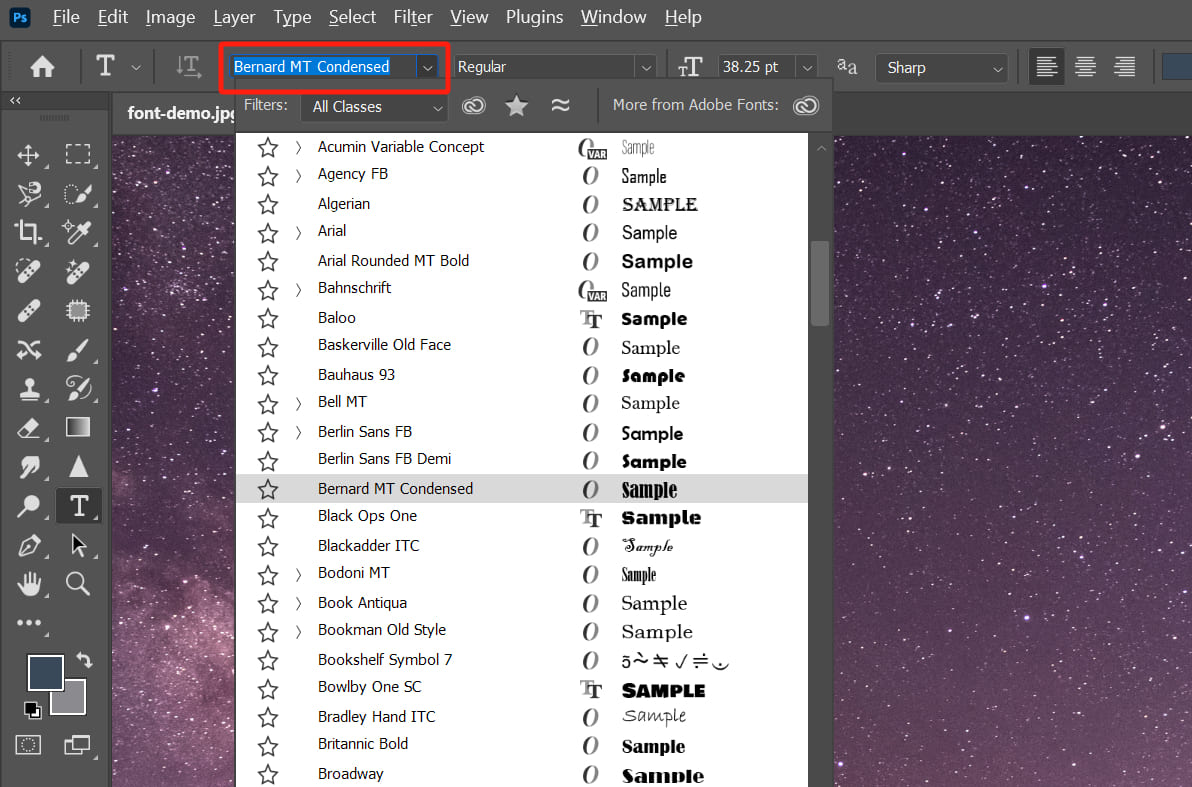
After activating the Text Tool, click on the "Font" dropdown menu in the toolbar at the top of Photoshop. You will see a list of all the available fonts in your system, including the newly imported ones.
Choose the desired font from the dropdown menu and simply type in the text you want to add.
When working on creative designs in Photoshop, you may encounter frustrations such as constantly switching layers, brushes, fonts, and adjusting various tool properties.
It can be incredibly frustrating, especially when you're focused on your creativity. You often have to interrupt your flow of thought, navigate through long menus, and select the desired functions or clumsily use unfamiliar keyboard shortcuts.
That's where TourBox comes in to simplify your workflow. TourBox is a beloved creative tool among designers and digital artists. It allows you to focus on your creativity and significantly enhances your work efficiency.

Frequently Asked Questions About Adding Fonts to Photoshop
Question: Can't Find the Installed Fonts?
After installing fonts, a few people may have trouble finding them in Photoshop. This could be because you missed the font name.
To resolve this issue, you can double-click on the font file with your mouse to view its name and then search for that font within Photoshop.
Question: Fonts Are Installed, but the Typed Text Is Not Displayed?
Some fonts may not display properly because they require specific language input methods. If you're using the corresponding language input method and still can't see the text, the font's character set may be incomplete.
In that case, consider changing the font or using alternative characters.
Question: Can't Extract Downloaded Font Files?
This issue usually occurs when your computer doesn't have properly installed compression software or lacks sufficient user permissions. If you don't have compression software installed, please download and install one first.
If you have confirmed that the compression software is correctly installed, try right-clicking and selecting "Run as Administrator."
Question: Why Does a Project File Created with a Specific Font Display Differently When Opened in Photoshop on Another Computer?
The other computer may not have the same fonts installed as your computer. Make sure that both computers have the exact same font installed to ensure consistent display.
Final Thoughts About Adding Fonts to Photoshop
Adding stylish fonts to Photoshop can enhance your design choices and make your creations more diverse and personalized.
In this article, we have provided a detailed guide on how to add fonts to Photoshop, but there are a few important points to keep in mind:
- Copyright Issues: Ensure that the fonts you download and use are legal and have the proper licensing rights. Avoid infringing on others' copyrights.
- Font formats: Photoshop supports common font formats like ".ttf" and ".otf," but not all font formats are supported. When downloading font files, make sure to choose formats that are compatible with Photoshop.
We hope the above information helps you smoothly add and use your favorite fonts in Photoshop.
Product Recommendation:
If you're interested in TourBox, you might want to check out our latest product, TourBox Lite. TourBox Lite is a lightweight version of TourBox with excellent cost performance. You're sure to love the changes it brings.
