How to Add LUTs to DaVinci Resolve?
In this tutorial, we'll show you how to add LUTs to DaVinci Resolve. We'll also give a brief introduction to what LUTs are and what they do. Let's get started!

In this article, you will learn:
What Is LUT?
LUT stands for Look-Up Table. It's simply a reference chart that tells the processor, "If you see this color value, change it to that color value."
LUTs are used in many fields, but in image and video work they're mainly used for color grading. With a LUT, you can remap original colors to new ones to create a specific style, like a movie look or a vintage filter.
Because the lookup process is so simple, it has a few key features:
- It runs very fast.
- It works on the whole image instead of just parts.
- The conversion is one-way.
- It has fixed precision.
There are two types of LUTs: 1D and 3D. A 1D LUT is used for quick adjustments on one channel, such as brightness or contrast, which is important when performance is a priority.
The most common type is the 3D LUT. Whether it's for changing color spaces or for stylistic grading (like converting camera Log to Rec. 709 or 2020, or from Log to linear), 3D LUTs are used.
To sum up:
- 1D LUT: Adjusts brightness or a single color channel.
- 3D LUT: Handles complex mapping of the RGB channels with higher precision and is widely used in film post-production. Usually, when we say "LUT," we mean a 3D LUT.
Another important idea with LUTs is "precision." This is what the numbers 17, 33, or 65 in a LUT file name refer to.
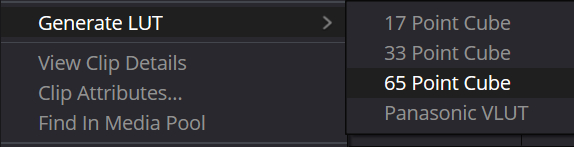
This number tells you how accurately the LUT converts all the colors in an image. The more complex the image, the more colors, the more details, and the wider range of brightness, the better a high-precision LUT will work.
In other words, a 65 Point Cube LUT has the highest color accuracy because it has the best resolution. However, it also means a larger file size and higher processing needs. For most color grading and production work, a 33 Point Cube is plenty.
How to Add Luts to DaVinci Resolve?
In DaVinci Resolve, you can add a LUT to an image in four ways.
Method 1: Clip-Level LUT
On the Color page, right-click a clip in the Media Pool or on its thumbnail in the Clips to apply a LUT. Both actions work together and stay in sync.
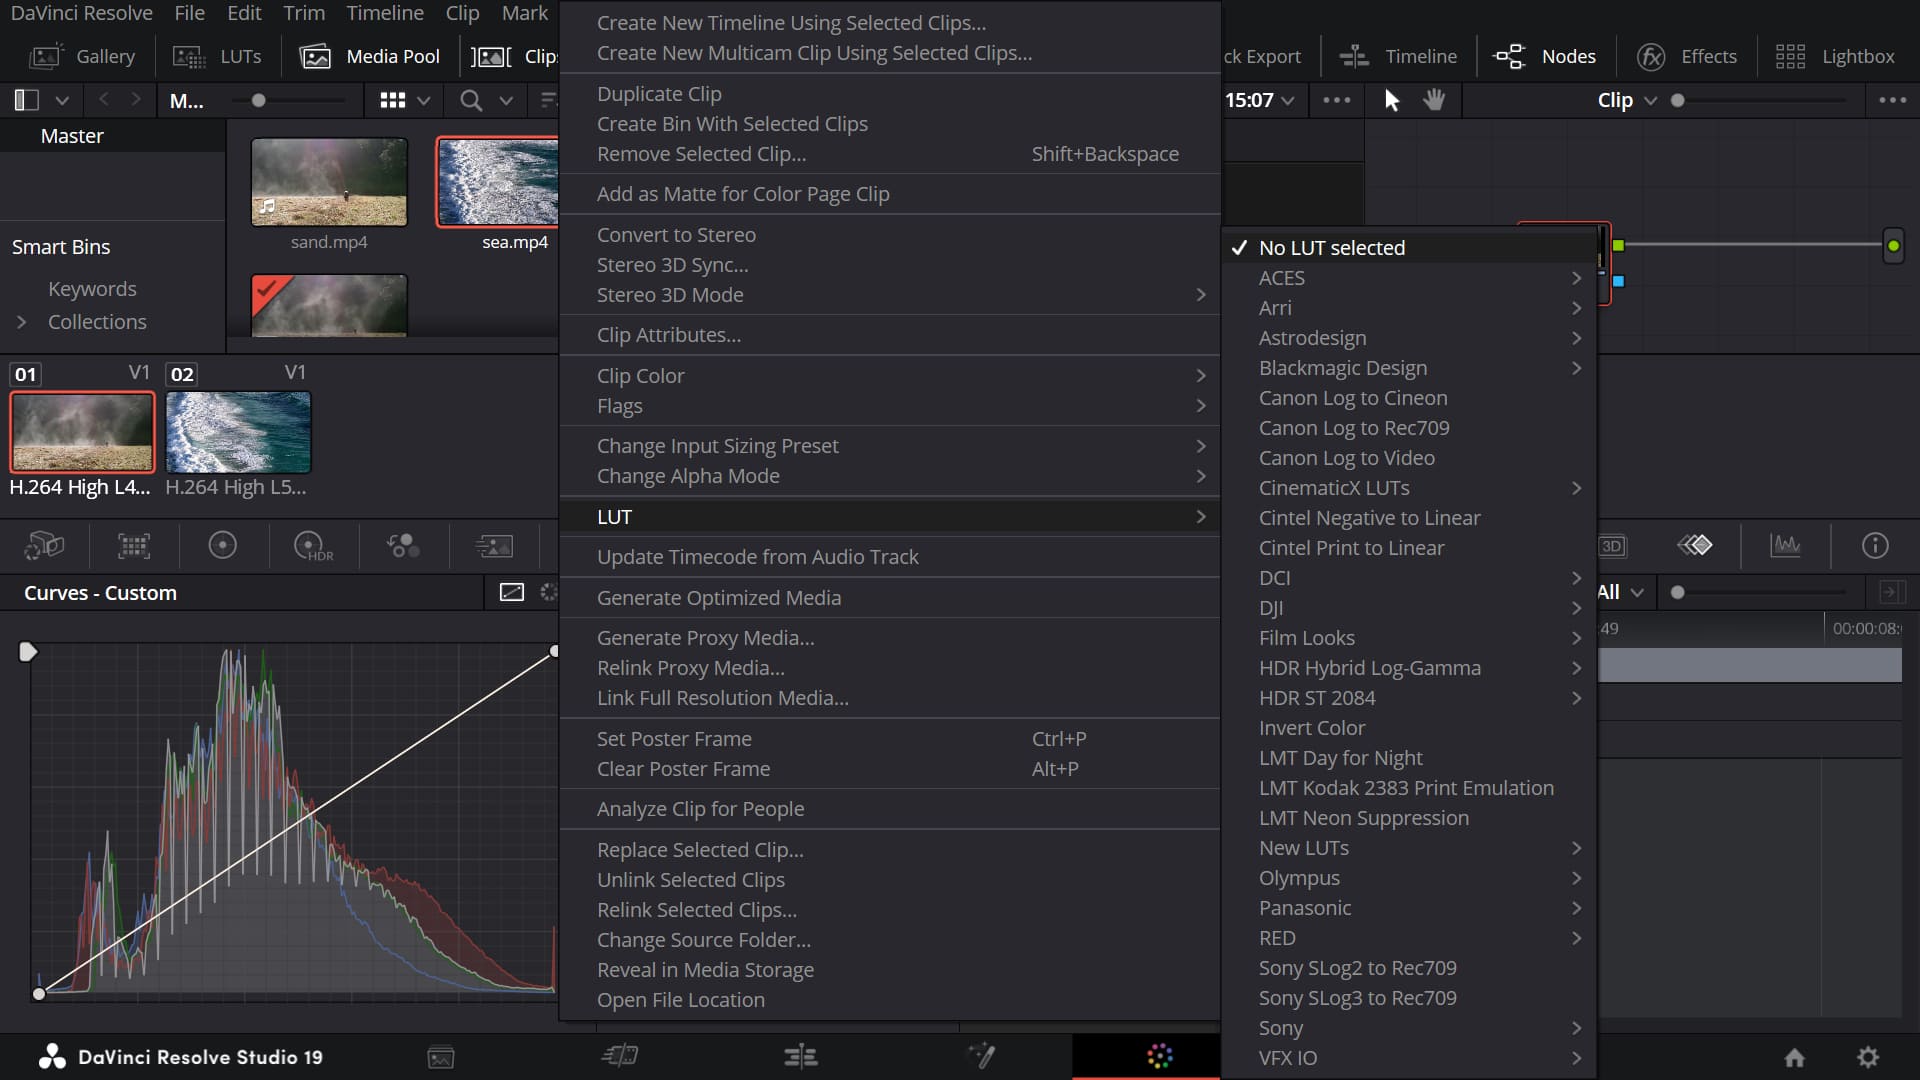
The benefit is that no matter where you move the clip, the LUT stays applied.
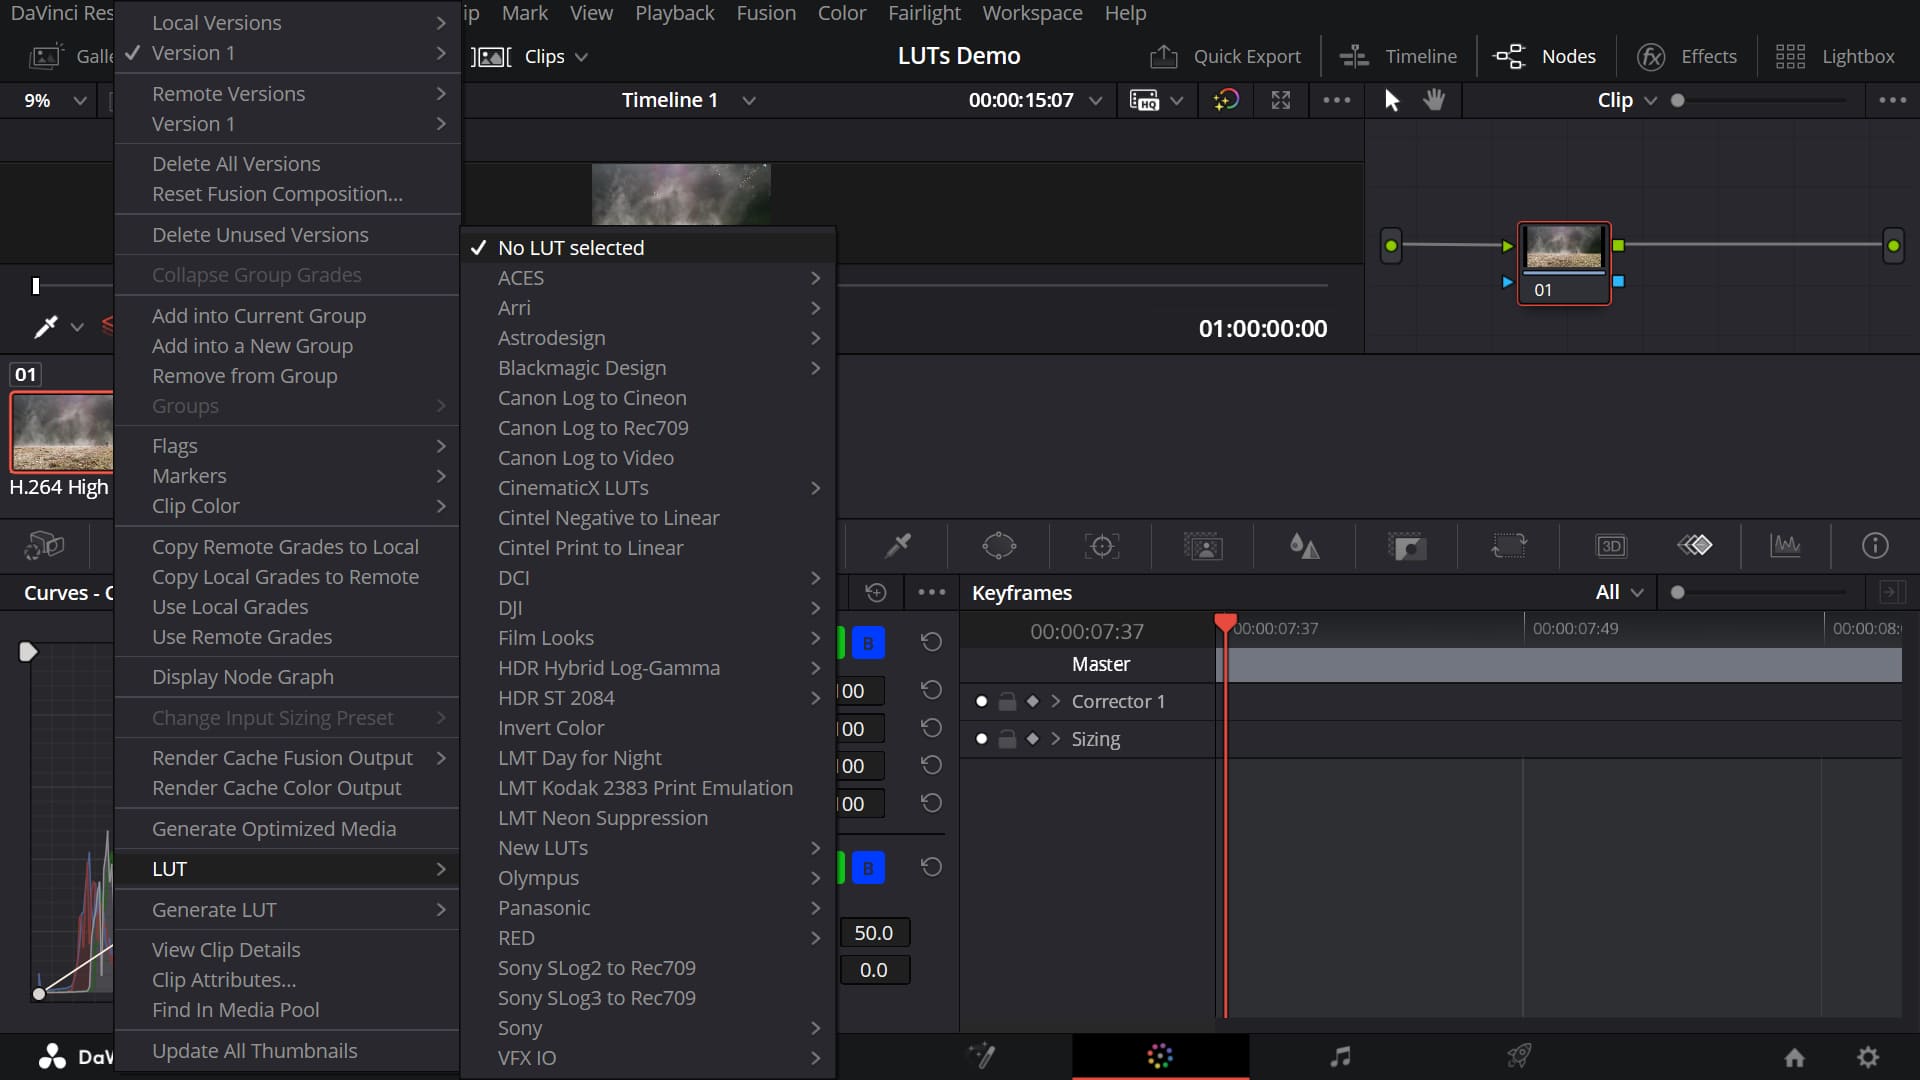
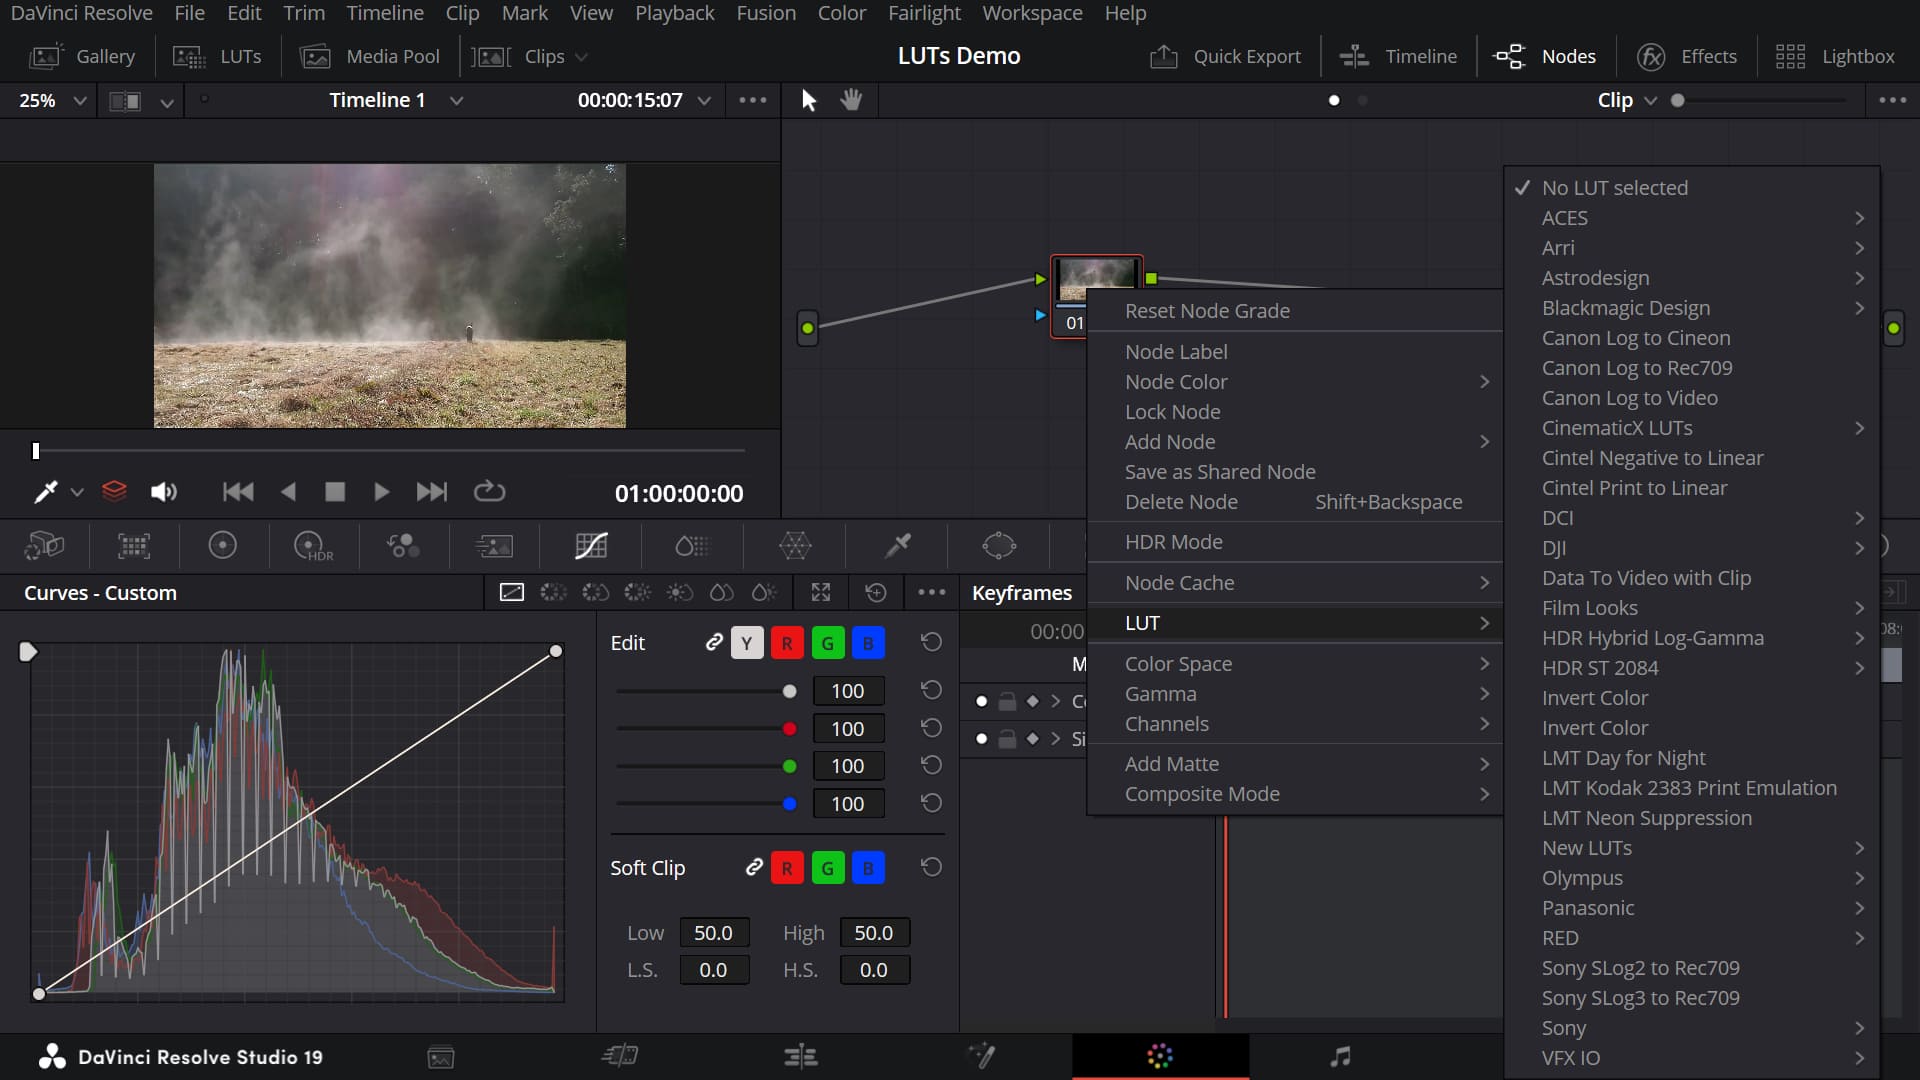
Method 2: Node-Level LUT
The most common method is to assign or load a LUT on a node in the node panel. This LUT only affects that particular node.
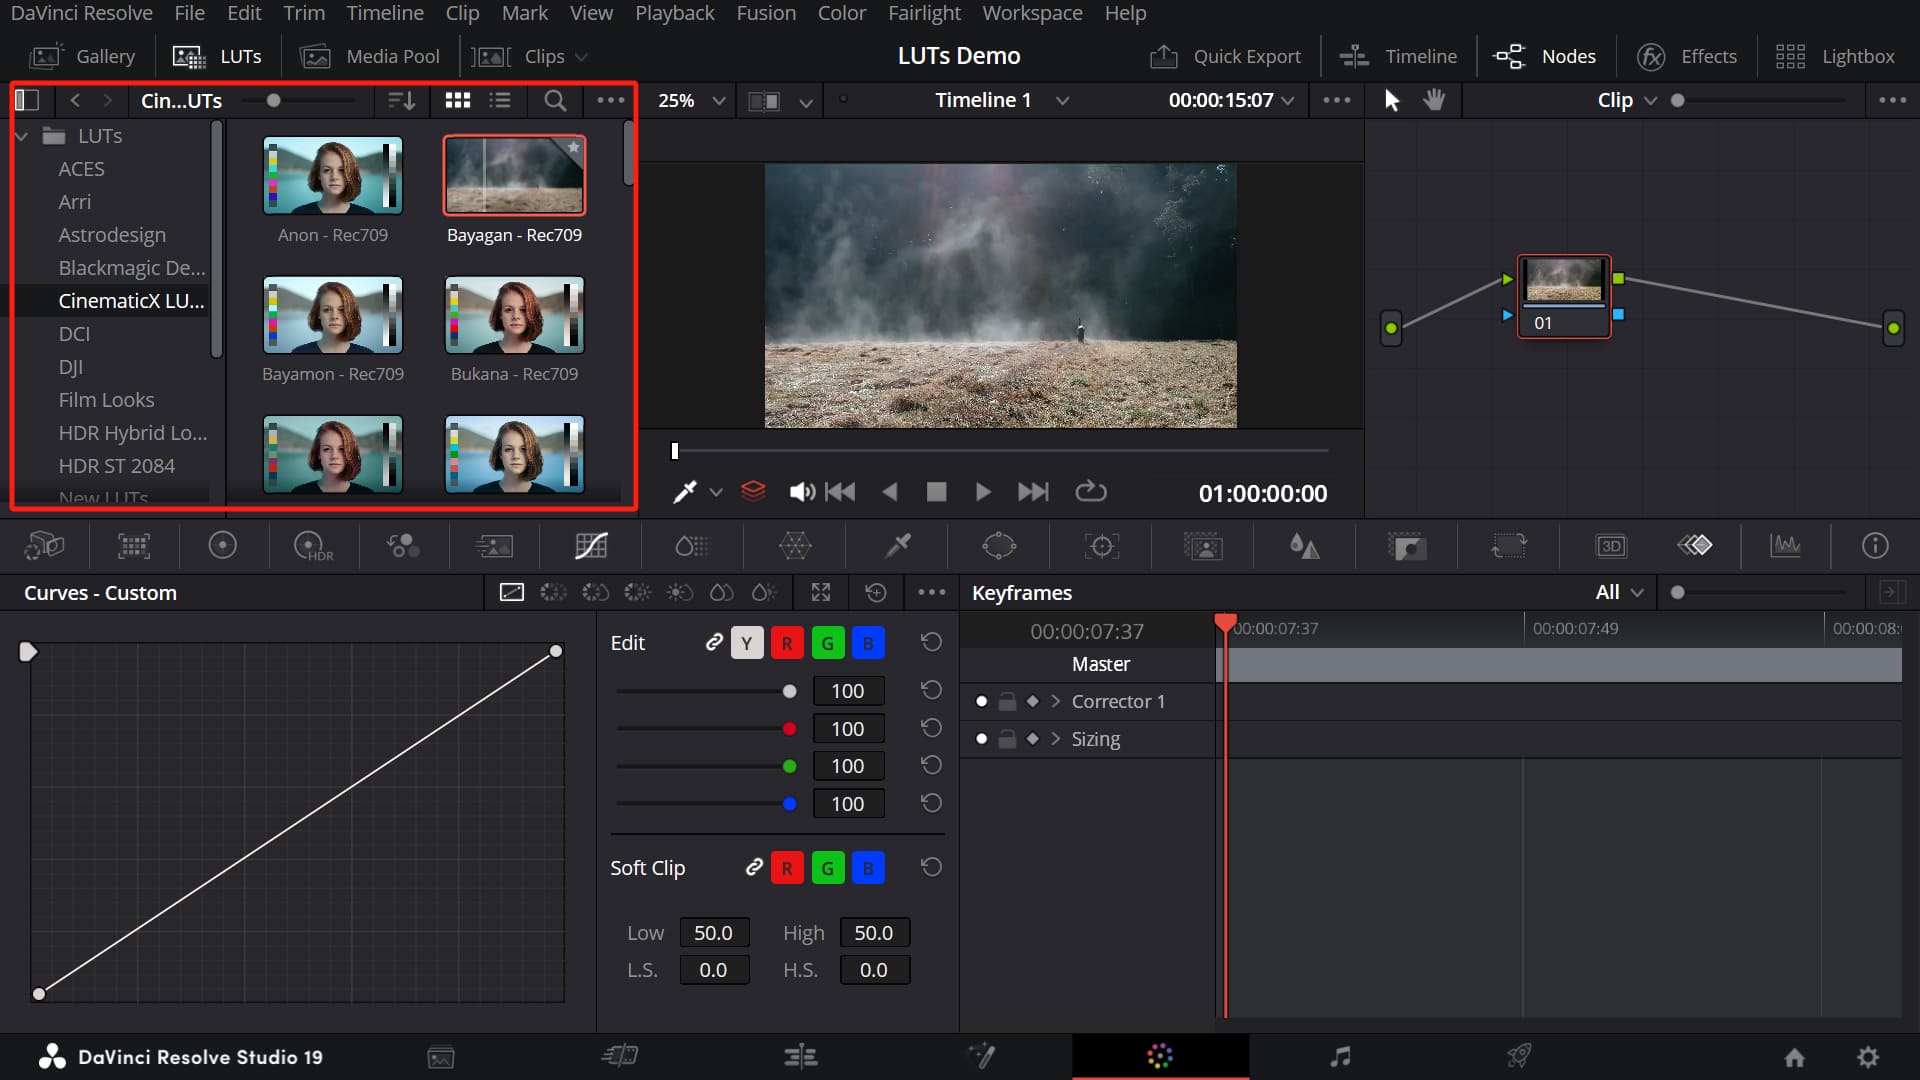
Method 3: LUTs Library Panel
Use the LUT Library Panel by picking a LUT and dragging it onto a thumbnail in Clips or a node.
When you hover over a LUT file, you'll see an instant preview of its effect in the Viewer.
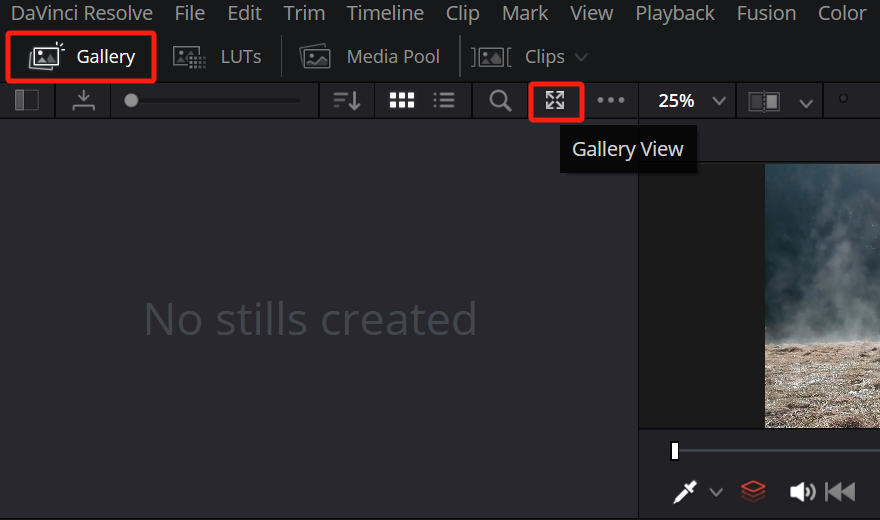
Method 4: Gallery View
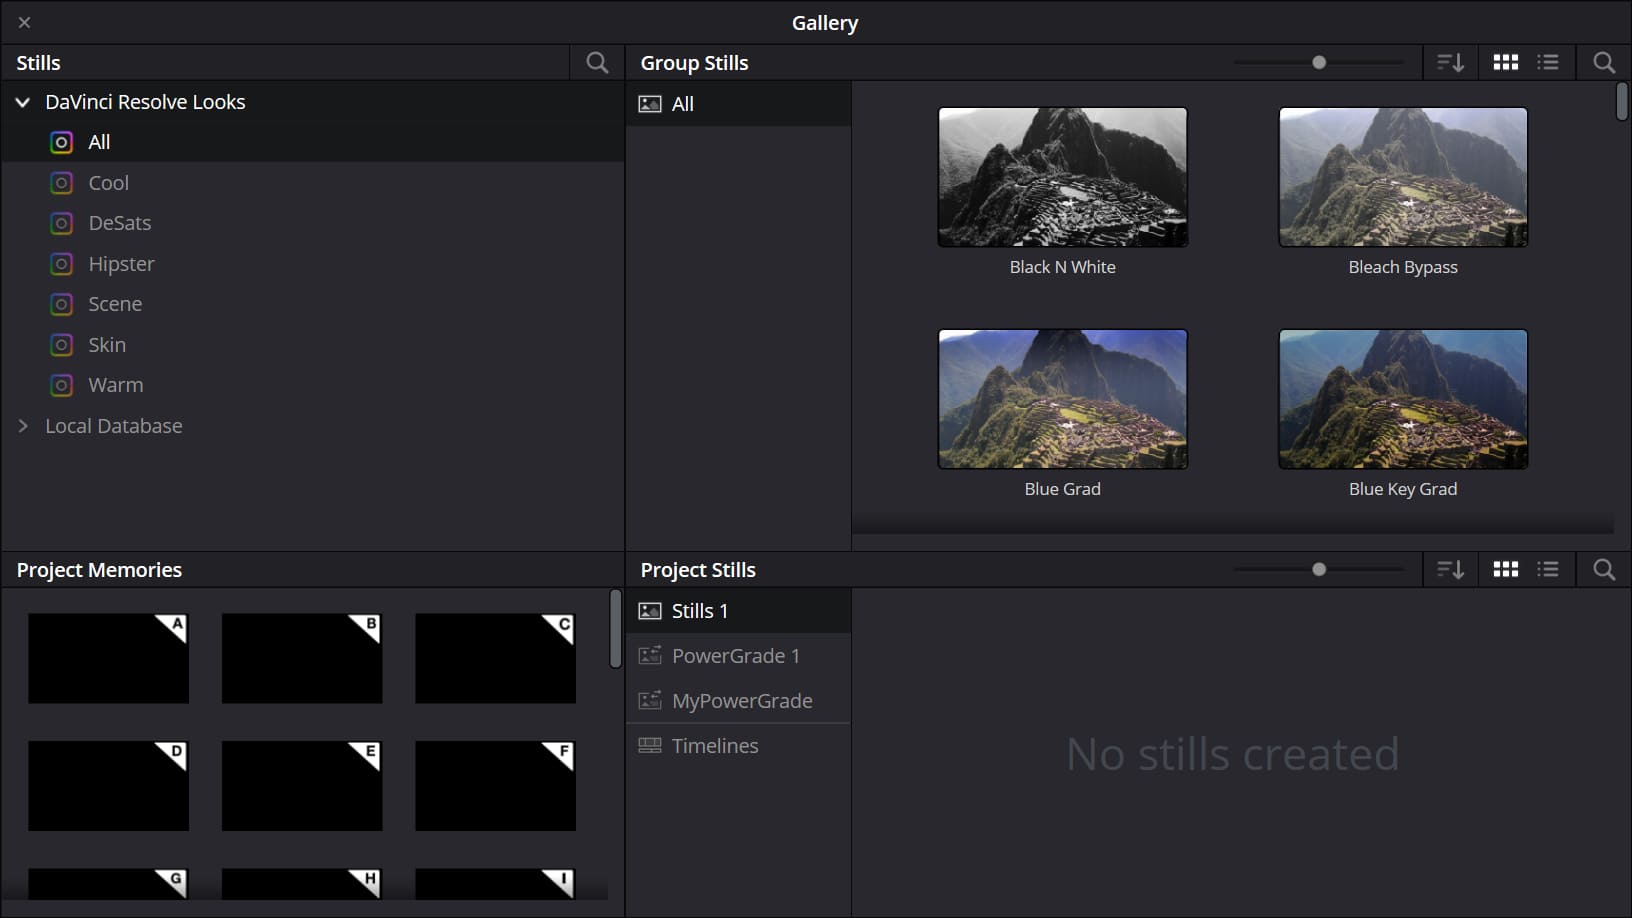
If you click the Gallery View button at the top right of the Gallery panel, a new window will open.
This window shows some of the built-in filters in DaVinci Resolve. They are essentially LUT effects, so if you're curious, give them a try.
How to Add LUT Files to Your LUT List?
If you want to add your own or downloaded LUT files, just put them in DaVinci Resolve's LUT folder.
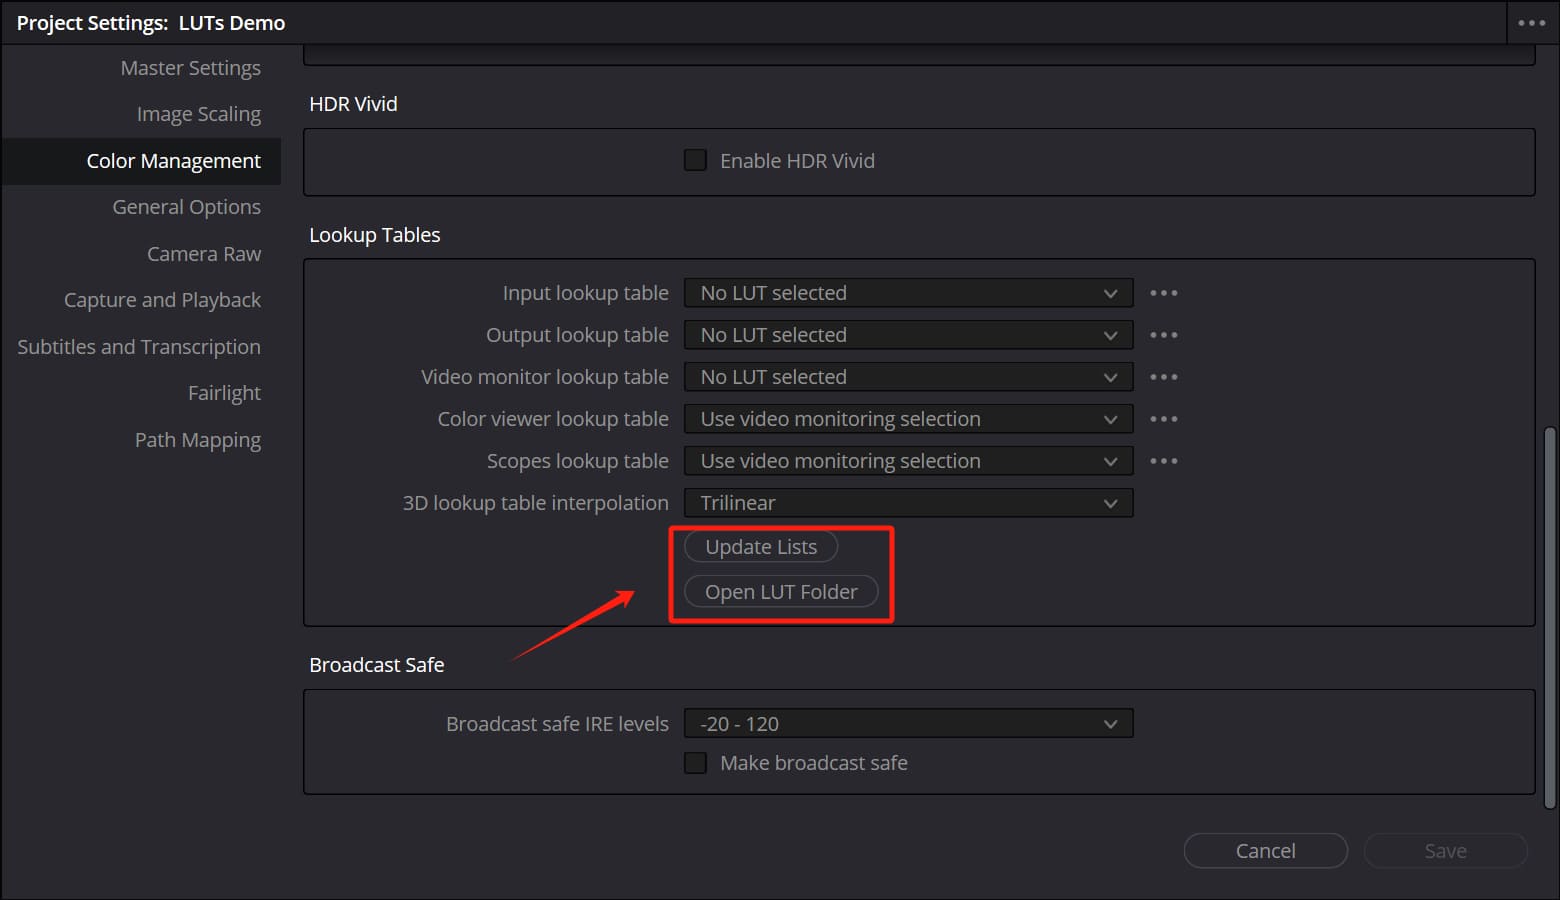
First, click the File menu at the top of DaVinci Resolve and select Project Settings (or press Shift + 9). In the Project Settings window, choose "Color Management" on the left and scroll down to the "Lookup Tables" section.
Here, you can click "Open LUT Folder" and create a custom folder. Your folders will show up in the LUT list in a hierarchical order.
After adding your files, remember to click "Update Lists" so the changes take effect.
Conclusion
That's all there is to adding LUTs in DaVinci Resolve. If you want to learn more about how LUTs work in DaVinci Resolve, click the link below to see our detailed guide.
Further Reading:
Finally, we'd like to recommend the TourBox creative controller, which can really boost your editing speed and experience.

You can map your favorite shortcuts to the TourBox. Functions like zooming the timeline and moving the playhead are built in and can be easily set up. Plus, you can use advanced features like macros and the TourMenu to expand your workflow.

Using TourBox for video editing is like playing a video game with a game controller — simple, easy, and efficient. You won't need to memorize shortcuts or repeat tedious tasks. Instead, you can focus on being creative and enjoy the best editing experience.
If you're interested in TourBox, click the link to our video editing page for more details.
That's the end of our guide on adding LUTs in DaVinci Resolve. We hope you found it helpful.