How to Add Subtitles in Premiere Pro: The Most Efficient Method
Maximizing efficiency is a goal shared by every editor and content creator. Want to learn how to quickly and accurately add subtitles to your videos?
Adding subtitles in Premiere Pro is an essential part of video production, but it can often be a time-consuming and challenging task, even for experienced filmmakers.
In this tutorial, we will guide you through the most efficient methods of adding subtitles in Premiere Pro, so you no longer have to feel overwhelmed when faced with a large volume of subtitle requirements. Let's dive in and discover the secrets to streamline your workflow!

In this article, you will learn:
- What Is the Professional Process for Adding Subtitles in Film and Video?
- How to Generate Captions from Video & Audio Files?
- How to Add Subtitles in Premiere Pro?
- Boost Your Workflow in Premiere Pro
What Is the Professional Process for Adding Subtitles in Film and Video?
Even in the professional film and video production industry, adding subtitles has never been an easy task.
Firstly, the creation of a subtitle script is necessary. If there is a large volume of subtitles, the assistance of a professional stenographer may be required.
Next comes the proofreading stage. Why is proofreading important? In professional film and television programs, any mistakes in subtitles can lead to on-air mishaps.
In the realm of professional video production, such as movies, TV shows, commercials, and documentaries, HD subtitle machines are used to create subtitles. This process is quite complex.
In simple terms, the subtitle script needs to be properly segmented, and then, while playing the video, the subtitles are added using the HD subtitle machine. This process takes at least three times the duration of the video. Therefore, it's clear that adding subtitles can be both tedious and cumbersome.
If you're adding subtitles to your videos, this entire process may not be feasible. So why not learn how to add subtitles in Premiere Pro?
How to Generate Captions from Video & Audio Files?
Before adding subtitles in Premiere Pro, you need to extract the dialogue and speech from your video and convert it into subtitle files for editing.
If your video contains clear dialogue and speech, adding subtitles in Premiere Pro will be a straightforward task.
Therefore, it is important to ensure that the audio in your video is clear and free from excessive background noise to minimize the need for extensive proofreading and editing.
Here, we will provide you with three methods to choose from.
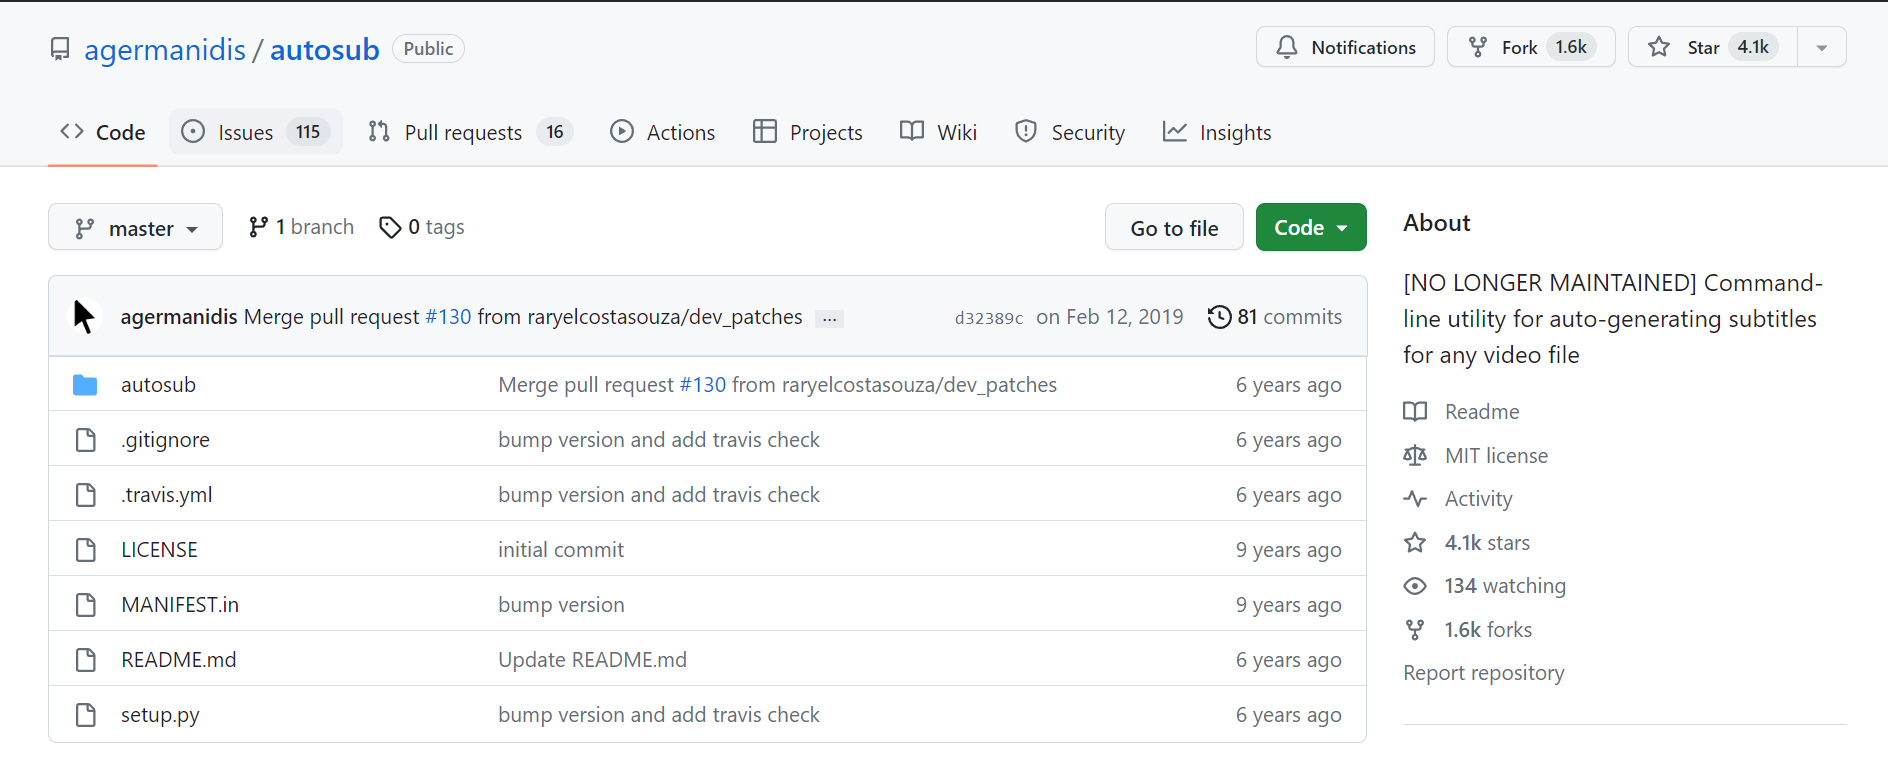
1. Open-source Project: Autosub
Link: https://github.com/agermanidis/autosub
Autosub is an open-source project on GitHub that utilizes the Google Web Speech API to generate subtitles in SRT format or simple JSON.
One of its notable features is its speed - it can convert a two-hour audio file into subtitles within a matter of minutes. Additionally, it supports over 90 languages.
However, one limitation of this open-source project is that while it is free and efficient, it does require a certain level of programming knowledge and skills. Furthermore, it is worth noting that this open-source project is currently no longer being maintained.
2. Exporting SRT Files Directly Through CapCut
As a convenient and efficient video editing software, CapCut may not be suitable for complex video editing projects. However, you can still use CapCut (PC version) to quickly fulfill certain editing needs.
For instance, you can utilize CapCut's Auto Captions feature to recognize speech in the video and generate auto-captions. Then, you can export the SRT subtitles and continue further editing using other software like Premiere Pro.
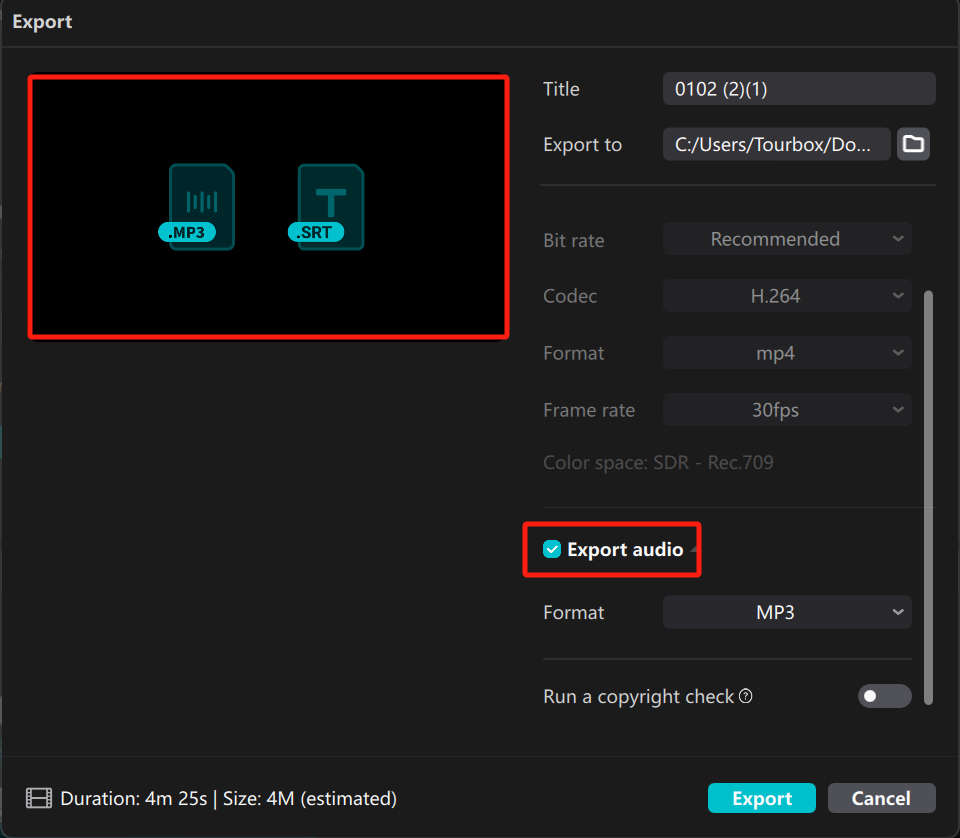
Import the video into the timeline in CapCut, then click on the "Text" option in the top-left toolbar. Select the "Auto captions" feature and choose the appropriate language and whether to clear current captions based on your needs. Finally, click "Create."

When it comes to exporting, only select the "Export audio" option. This way, you can export the audio and SRT subtitle files to the specified folder.
3. Transcribe Sequence in Premiere Pro
In previous versions, Premiere Pro could not automatically generate subtitles based on speech, as CapCut does. You may have needed to manually input subtitles in Premiere Pro, line by line, based on the audio in the video, or use specific subtitle plugins.
However, starting from the Premiere Pro 2022 version, you can generate subtitles based on audio. Nevertheless, this feature still seems to be in its early stages and has a relatively high error rate in the generated subtitles (with an accuracy rate of around 70% for general content).
Additionally, controlling the content and layout of the subtitles can be challenging. Therefore, after using the Transcribe Sequence feature, you will still need to carefully proofread and edit the generated content.
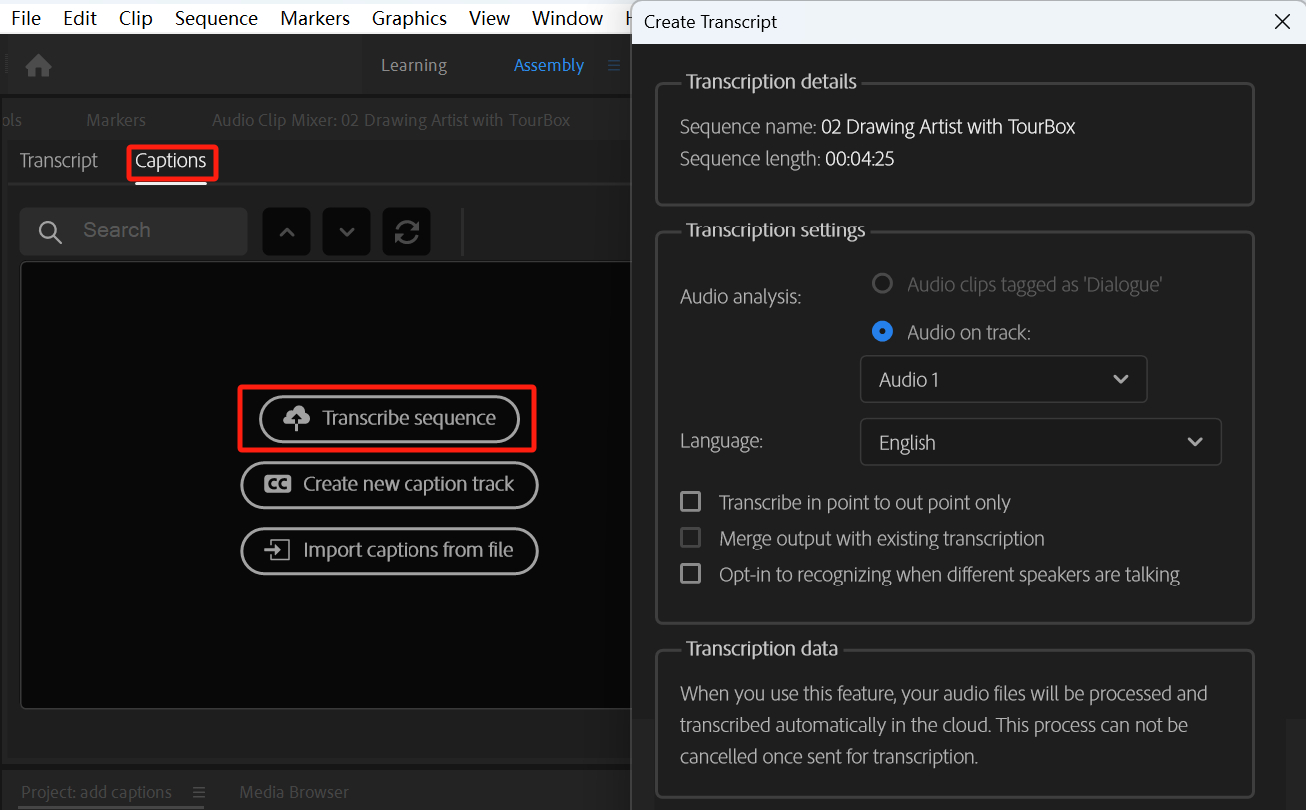
To access the "Text" panel in Premiere Pro, select "Window" from the menu bar at the top and click on "Text." Switch to the "Captions" workspace within the Text panel, and click on "Transcribe Sequence."
Choose the appropriate options based on your needs, and then click "Transcribe" and wait for a few minutes.
How to Add Subtitles in Premiere Pro?
In the previous section, we discussed three methods for creating subtitle files. Of course, you can also search for conversion services online that can convert videos or audio into subtitle files. However, these services usually come with a fee and may not guarantee security.
Considering that Premiere Pro's generated subtitles often have a high error rate, we suggest the following best workflow when adding subtitles in Premiere Pro:
- Use CapCut's Auto Captions feature to generate subtitle files.
- Import the subtitle files into Adobe Premiere Pro.
Now, you can open Premiere Pro, import the subtitle files, and drag them onto the timeline.
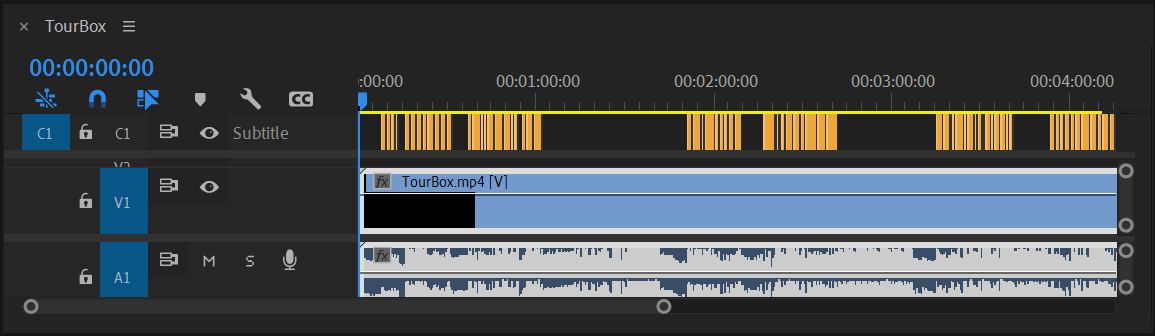
As you play the video, you can see that subtitles have been successfully added to Premiere Pro. However, the appearance of these subtitles may not be ideal.
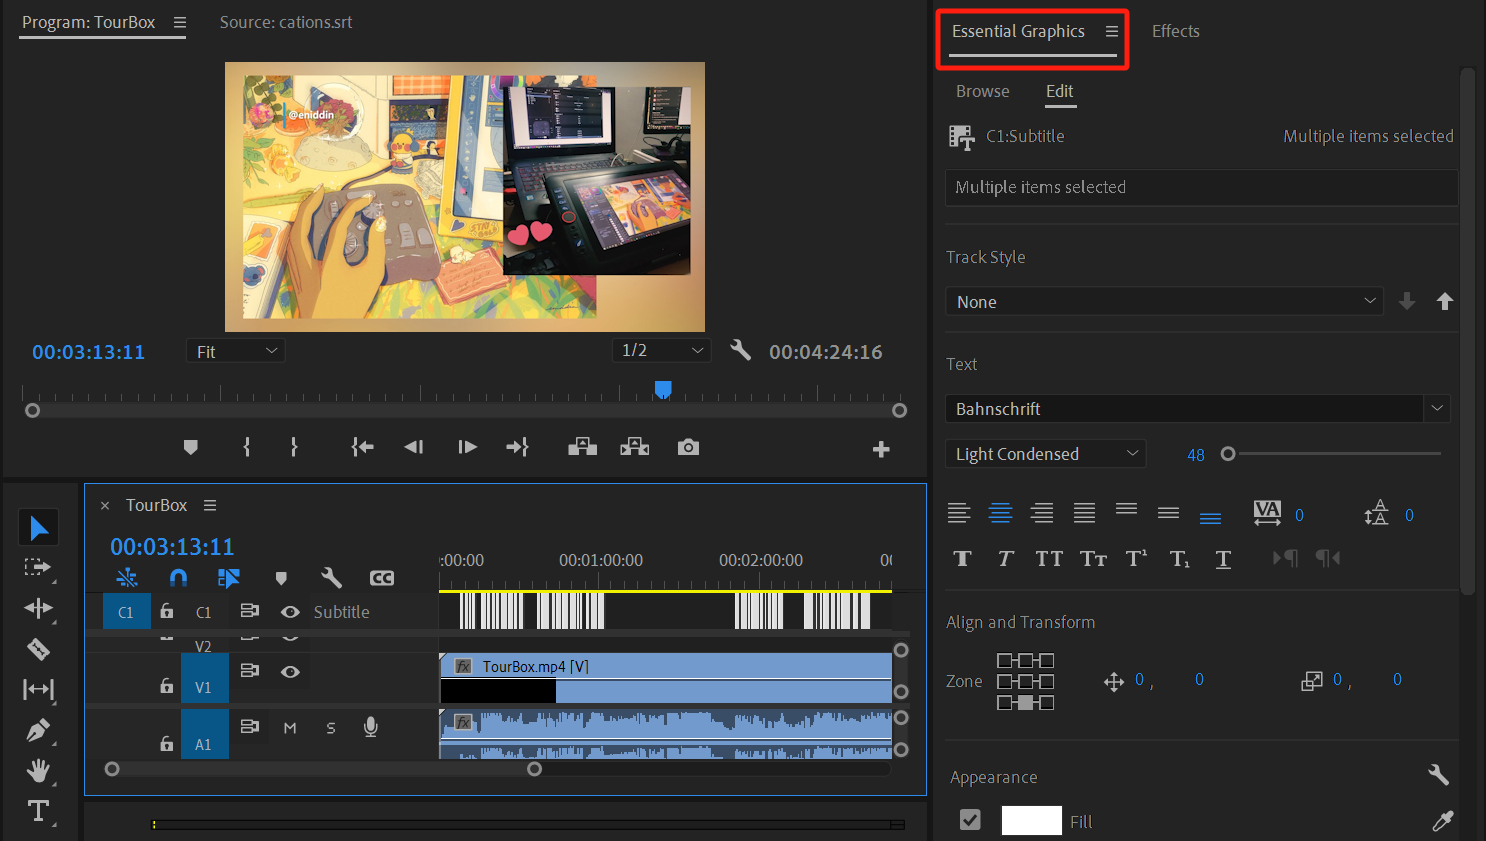
You can hold down the left mouse button and drag it to select the entire subtitle track, allowing you to make modifications to all the subtitles at once.
Next, you can customize the subtitle style in the Essential Graphics panel located on the right side of Premiere Pro. You can adjust settings such as font, size, and shadow based on your specific requirements.
Additional Tip:
If you want to adjust the position of the subtitles, you can directly modify the position of the entire subtitle layer in the Effects Controls panel.
Now that you have added subtitles in Premiere Pro and customized the subtitle style, it's time for proofreading.
Although the accuracy of the subtitles generated by CapCut's automatic feature is generally high, there may still be some errors. If you notice any mistakes, simply click on the subtitle you want to modify in the subtitle panel to make the necessary changes.
Boost Your Workflow in Premiere Pro
In this tutorial, we have explored efficient methods for adding subtitles in Premiere Pro. Now, to further enhance your editing experience and streamline your workflow, let us introduce you to an incredible tool called TourBox.

With TourBox, you can effortlessly navigate through the Premiere Pro interface, making the process of adding subtitles even more seamless. Its ergonomic design and customizable buttons give you instant access to commonly used functions, reducing the need for repetitive mouse movements and keyboard shortcuts.
When it comes to fine-tuning your subtitles, TourBox provides unparalleled editing control. Its intuitive dials and knobs allow you to adjust parameters such as font size, position, and timing with precision.
You can easily scrub through the timeline, select individual captions, and make real-time adjustments, ensuring your subtitles perfectly complement your video content.
And that concludes our guide on how to efficiently add subtitles in Premiere Pro. We hope this has provided you with inspiration and assistance in your subtitling endeavors.