How to Clean Your Camera: A Complete Guide
Camera maintenance is actually very important. Keeping your camera clean does not just make it look better. It also makes it nicer to use. In the long run, good care can help keep your gear in better shape. And when it is time to sell it, the used price is often better too. So, how should you clean a camera the right way? This blog will walk you through it step by step.

In this article, you will learn:
- What to Prepare Before Cleaning?
- How to Clean the Outside of Your Camera?
- How to Clean Camera Lenses and Filters?
- How to Clean the CMOS Sensor?
- Conclusion
What to Prepare Before Cleaning
Before you start, it is best to find a room that is fairly closed off and has less dust. Try to avoid working in a windy place or anywhere with a lot of dust in the air. If the air is very dry, you can also use a humidifier first to improve the environment a little. That way, dust will not fly around as much.
If your hands sweat easily, or if you are cleaning your camera in very dry weather, it is safer to wear a pair of anti-static gloves. This can help reduce the effect of static electricity and also keep oil and dirt from your hands off the camera body.
How to Clean the Outside of Your Camera?
Cleaning the outside of a camera is not very hard. It mostly comes down to blowing off dust and wiping away dirt. After a trip, dust can easily build up on the camera body, in the small gaps, and around the ports. It may also pick up some oil or mud spots, so regular cleaning is important.
In general, it is best to do a full exterior cleaning at least once a month. It is also a good idea to clean your camera after every trip. The area around the lens, the gaps around buttons, the edges of dials, and the ports are all places where dust likes to hide.
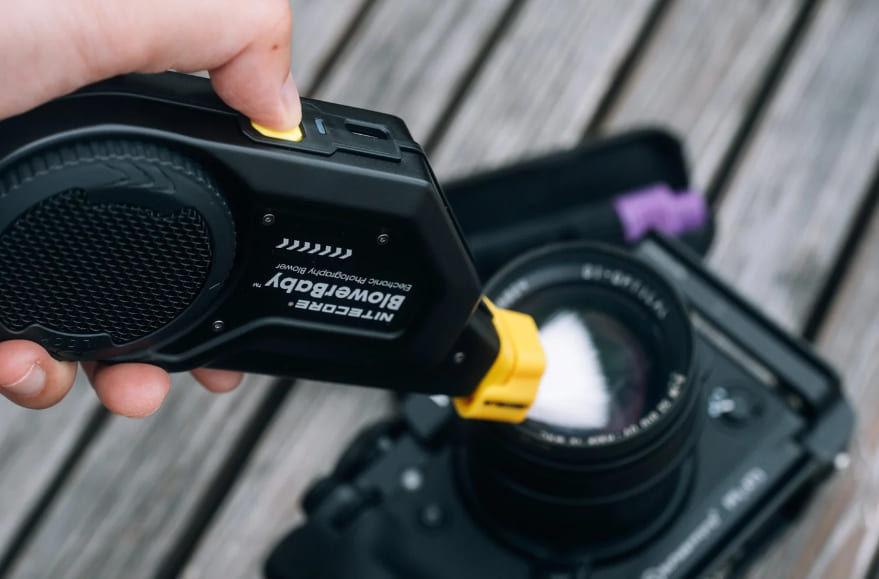
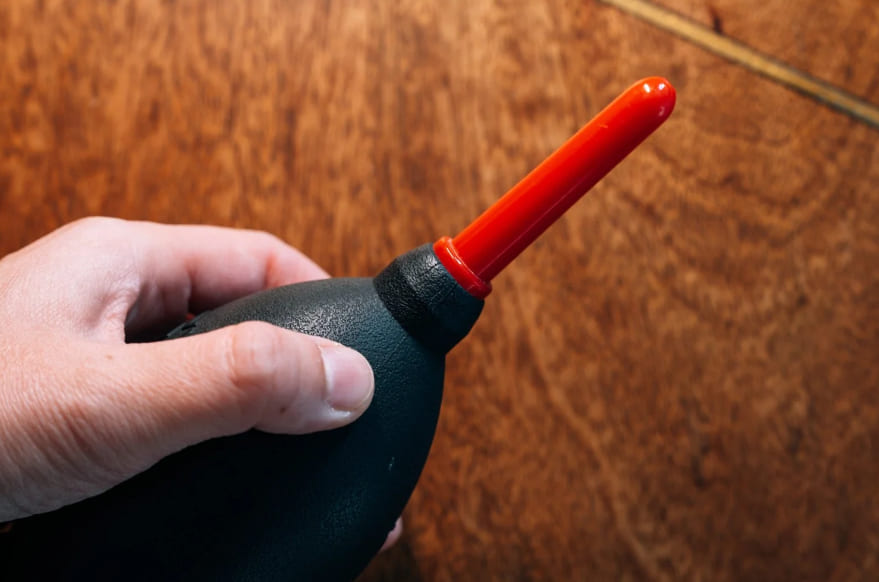
For basic cleaning, you only need three tools: a blower, a cleaning cloth, and cotton swabs.
Start by using the blower to remove dust, hair, and loose dirt from the surface. In fact, whether the blower is cheap or more expensive, the main cleaning result is about the same. An electric blower is easier to use, but a manual one works just fine too.
The blower is mainly for surface dust. After that, use a cleaning cloth to wipe off tougher dirt stuck on the camera body, such as around the lens mount or along the edges of the body. Many camera accessories and other electronics come with a cleaning cloth, and if you save them, that is usually enough for daily use.
As long as the cloth is not very dirty, it works well for basic cleaning. If it gets dirty, just replace it. There is no need to keep using one until it is too worn out.
Sometimes the camera may look clean, but after wiping it with a cloth, you may see that the cloth turns dark. That usually means there was still quite a bit of dirt on the camera body.
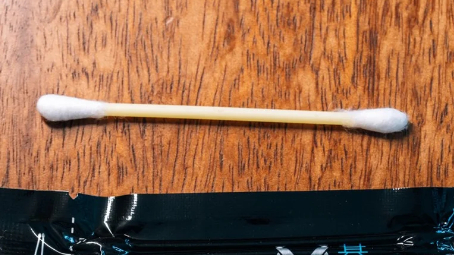
Finally, use cotton swabs to clean small gaps that are hard to reach, such as around buttons, along the edges of dials, and in the corners near the ports. Lint-free swabs are better for this.
They are less likely to leave fibers behind, and the pointed tip makes it easier to reach into small spaces. Dust and sweat can also build up on the zoom ring and focus ring of a lens, especially on rubber parts, so those areas need attention too.
One important note: do not wipe rubber zoom rings with alcohol. It can damage the material and make it look white, old, or worn out. A safer method is to gently wipe in one direction with a lint-free swab. If you do not have one, a regular cotton swab will also work, but it is more likely to leave lint behind. It is best for simple exterior cleaning.
Before using a cotton swab, gently roll the tip between your fingers to make the cotton a little tighter. This helps keep it from shedding and makes it easier to clean deep inside small gaps.
How to Clean Camera Lenses and Filters?
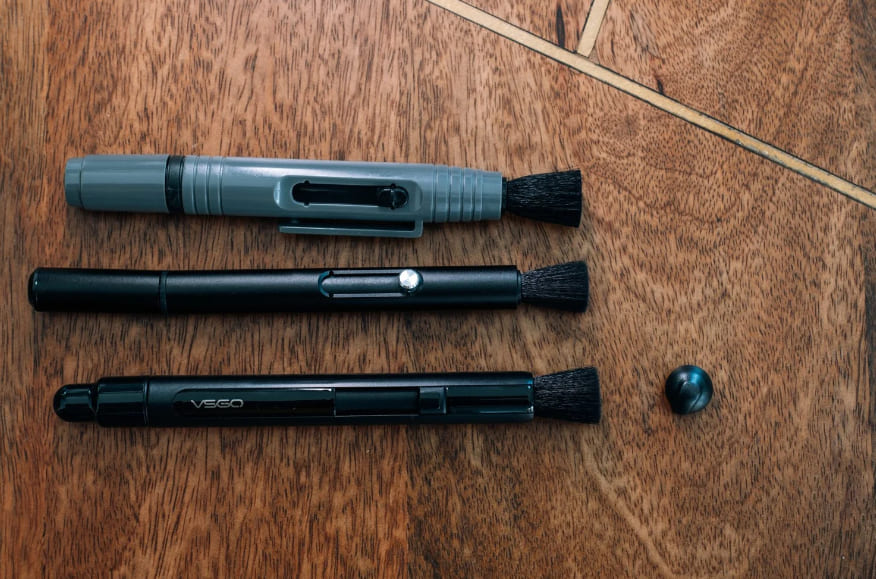
The first step is still to use a blower to remove dust from the surface. If a blower is not enough, you can also use the brush tip of a lens pen to gently sweep away the dust.
One thing to keep in mind is that some lens pens have two brush types, soft and hard. In general, the soft brush is better for the lens surface, while the hard brush is better for the lens barrel or the camera body.
You do not need to overthink the purchase. Most lens pens from different brands are pretty similar. The main differences are how soft the brush is, the small details in the build, and how they feel in use. Just choose a brand with good reviews and a solid reputation that fits your budget.
After you remove the loose dust, blow it once more. At that point, the lens and filter are usually already quite clean. For everyday use, that is usually enough.
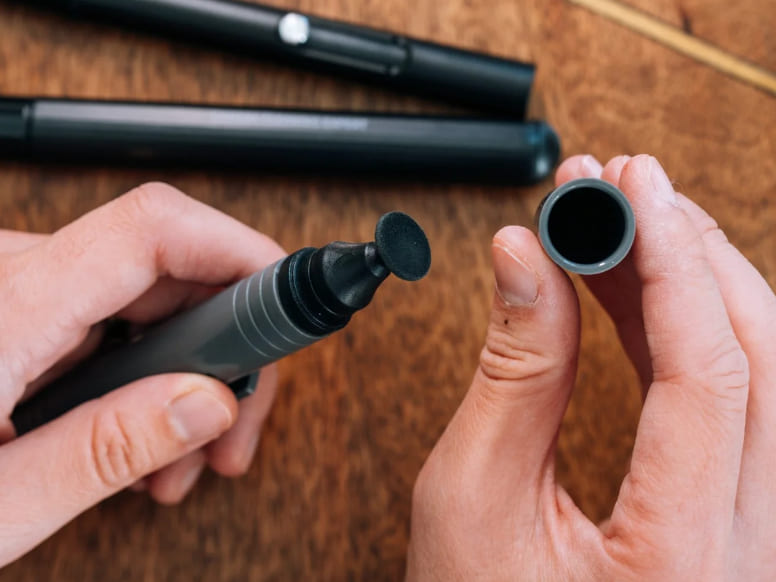
Of course, sometimes the lens will have more stubborn marks, like oil spots from food or fingerprints. In that case, you can use the other end of the lens pen, the carbon tip.
The carbon tip usually comes with a cap because it picks up dust easily, so it should be kept as clean as possible. Cleaning the lens with it is simple. Gently make circles over the dirty spot until the oil mark or fingerprint is gone.
If you are using several lenses in a row, remember to put the cap back on after each use, then twist it a little. The cap usually has a small sponge inside, which can help clean off any leftover residue on the carbon tip. That makes it ready for next time.
One thing to note is that after cleaning with the carbon tip, there may still be a small amount of carbon powder left on the lens surface. Do not worry. That is when you move on to wet cleaning.
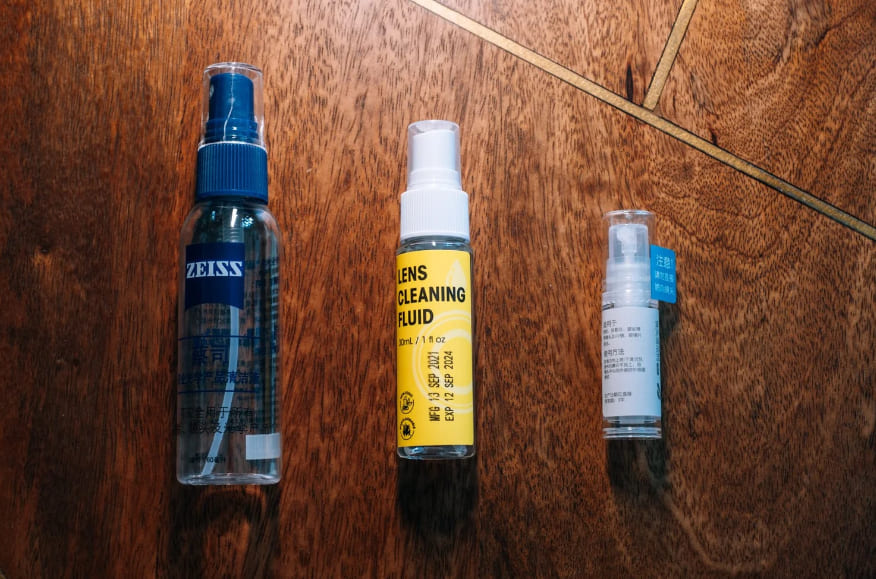
Wet cleaning usually uses lens cleaner plus lens paper or a lens cloth. It is not a good idea to use napkins or toilet paper on a lens. They shed fibers easily, and those fibers may also scratch the lens coating.
Lens paper is a better choice. It is not expensive, and one box can last a long time. Usually, one or two sheets are enough for one lens. A lens cloth is usually made of microfiber. Many come in separate packaging, and they also clean well, but they are a bit more of a luxury. For regular care, lens paper is usually the better value.
When cleaning, spray the cleaner onto the lens paper or cloth first, then gently wipe the lens in circles until the dirt is fully gone.
As for the cleaner itself, it mostly comes down to personal preference. For example, Zeiss cleaner has a stronger smell, and some people even find it a little sharp. Nitecore and VSGO products usually have a much lighter smell, or almost none at all, and they also work well. In the end, aside from the difference in smell, the cleaning power is about the same.
After you finish, check the lens surface one more time to make sure the carbon powder and dirt are gone. Then give it one last light blow, and the lens and filter are clean.
Further Reading:
How to Clean the CMOS Sensor?
Compared with the lens and the camera body, the sensor does not need to be cleaned very often. In daily use, as long as you build good habits, you can greatly reduce the chance of dust getting on the sensor.
A few things matter a lot:
- Try not to change lenses outdoors when it is windy or dusty.
- When changing lenses, it is better not to do it while the camera is on a tripod. This is especially true for mirrorless cameras, since the sensor is exposed longer and can pick up dust more easily.
- Try to move quickly when swapping lenses so the sensor stays exposed to the air for less time. You can loosen the rear cap of the new lens and the body cap of the old lens first, but do not remove them yet. Then point the camera body downward and finish the swap quickly. That is safer and more efficient.
Even if you are careful, dust can still build up on the sensor over time. When you start seeing small black spots in photos, especially in the sky, on white walls, or on plain backgrounds, that usually means it may be time to clean the sensor. Sometimes you can even see the spots directly when you shine light at it.
There is also a simple test you can do. Set the aperture to F16 and the ISO to 200. Find a clean sheet of white paper, fill the frame with as much white as possible, and take a photo.
After taking the shot, zoom in and check it. If there are only one or two small black spots, it usually is not a big deal. But if there are a lot of spots, it is better to clean the sensor soon. That not only improves image quality, but also saves a lot of editing time later. Otherwise, removing dust spots from every photo by hand can be a real pain.
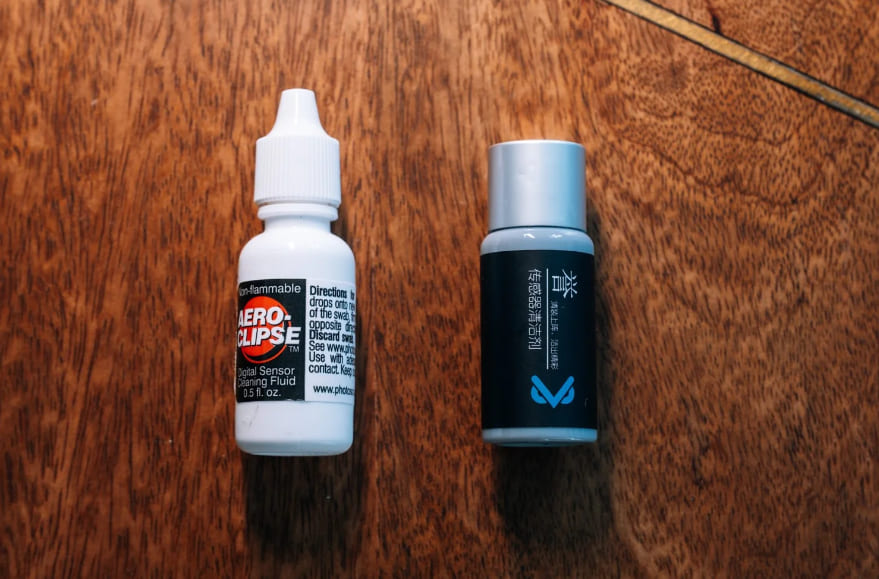
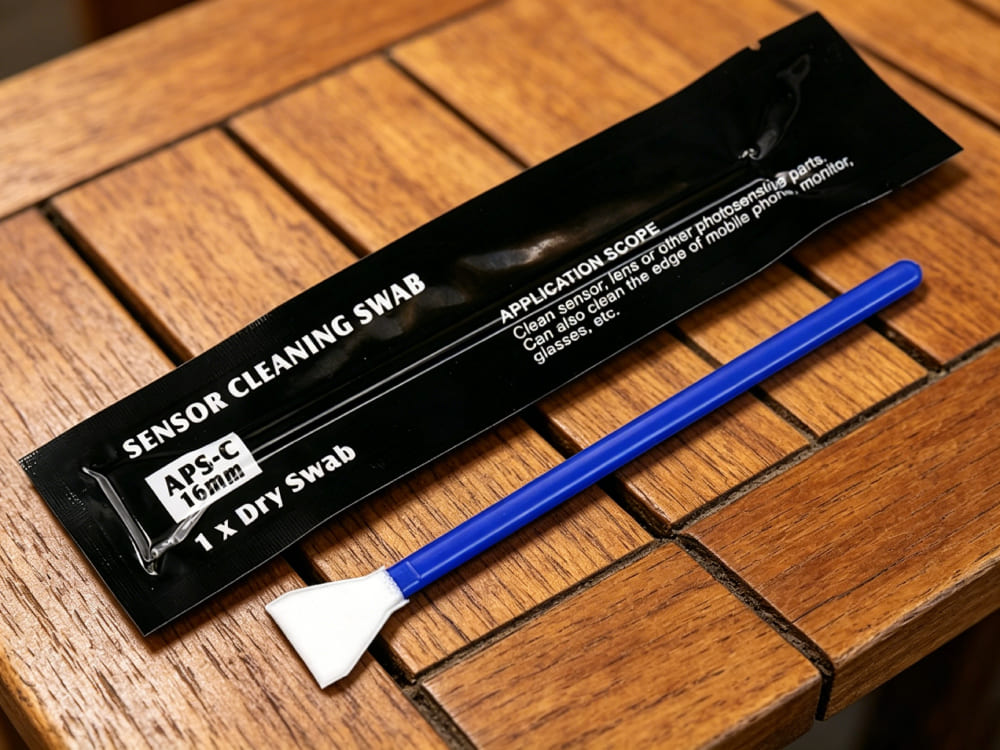
Sensor cleaning is not as hard as many people think. The key is using the right tools. In most cases, you only need a blower, sensor cleaning fluid, and a sensor swab.
One thing to pay close attention to is that swabs come in different sizes. Be sure to choose the right size for your sensor. If you use both a full-frame camera and an APS-C camera, or any other format, you should buy the matching swabs for each one. Do not mix them up.
When cleaning, first put one or two drops of sensor cleaning fluid on the edge of the swab tip. You do not need much. Just make sure the tip is evenly damp.
When wiping, hold the swab at the right angle and swipe smoothly from one side of the sensor to the other. Do not press too hard.
After that, flip the swab over and wipe back with the other side. In general, one pass each way is enough. You do not need to keep wiping over and over. More wiping does not mean a cleaner sensor.
Also, sensor swabs are usually single-use. Do not use one again after cleaning. It may already have dust or dirt on it. Reusing it can lead to poor cleaning and may even scratch the sensor.
There are also cleaning pens made for sensors. The tip is also a carbon head, and the angle can be adjusted so it is easier to reach inside the camera body. But in reality, sensors rarely get oil stains or fingerprints. Most of the time, it is just normal dust, and a blower can usually handle that.
So in practice, buying a separate sensor cleaning pen just for the sensor is often not very necessary, since it may not get used that much.
Conclusion
That is the full camera cleaning guide. As for dust inside the lens, there is not much you can do. If it does not affect the photos, then it is fine and does not need to be cleaned. This is really a sealing issue, and it can happen after long use. It is mostly just unpleasant to see.
When it comes to choosing a brand of camera cleaning products, we still recommend bigger brands. They have spent years developing cleaning products, so they are usually more professional.
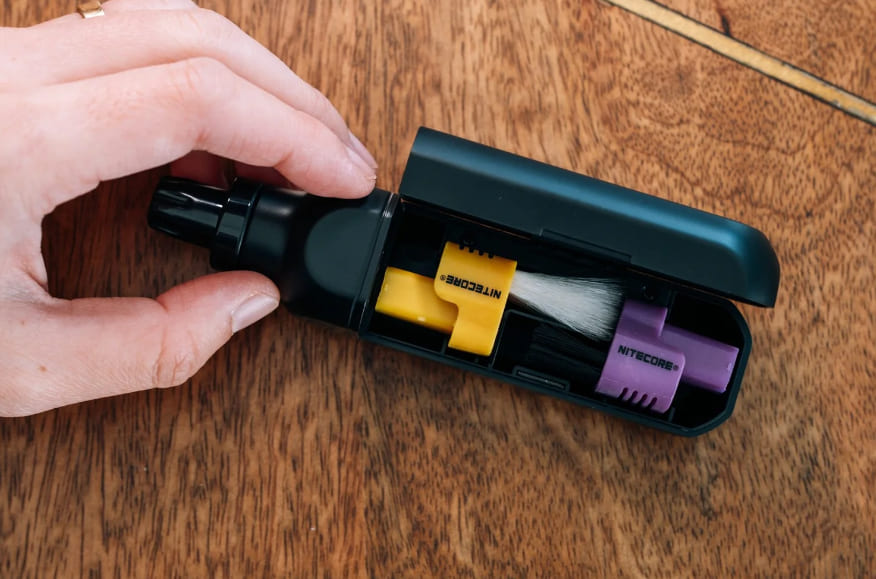
If you just bought a camera, you can start with a cleaning kit. Even if each item in the kit is not very large in amount, it is usually enough to solve your immediate needs. Later, you can buy specific cleaning tools one by one based on your own needs and how often you clean.
Finally, we would like to recommend TourBox, a creative controller that can help improve your photo editing workflow and the quality of your final work. If you are interested, you can click through to our photo editing page to learn more.

When you edit photos with TourBox, you can clearly feel the change from each small adjustment. It feels more like touching and shaping the image by hand, not just using software. That kind of control is something a mouse and keyboard cannot really match.

Also, using TourBox's physical dials to adjust settings is more precise and detailed than dragging sliders with a mouse. You do not have to keep watching the slider position. Instead, you can make small, step-by-step changes, just like fine-tuning focus by hand, until everything feels right. This image-first workflow can also greatly improve the final quality of your work.