How to Draw Hands: A Step-by-Step Guide
Many beginner artists are afraid to draw hands. But once you learn them, a character's emotions and movements instantly come to life. In this tutorial, we'll walk you through a few simple, clear steps to help you quickly master drawing hands. Let's get started.

In this article, you will learn:
- Step 1: Hand Shape
- Step 2: Hand Gesture
- Step 3: Sketching & Linework
- Step 4: Base Color
- Step 5: Build Light and Shadow
- Step 6: Add Warm–Cool Contrast
- Conclusion
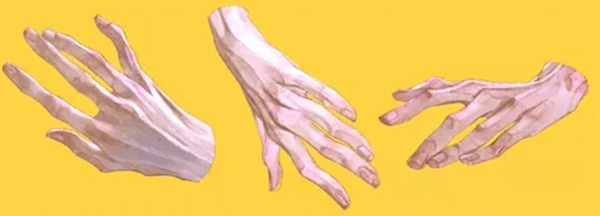
Step 1: Hand Shape
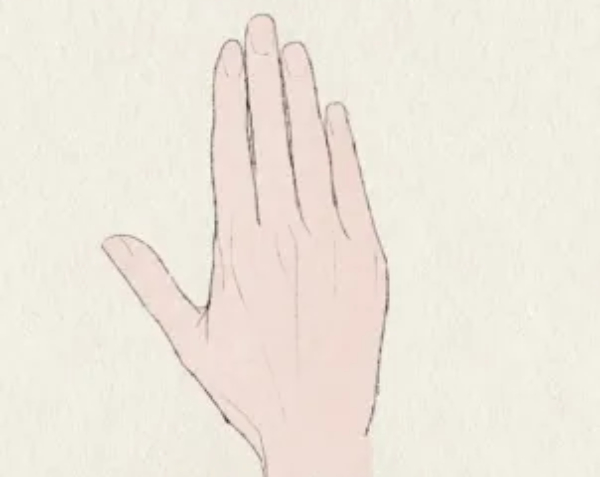
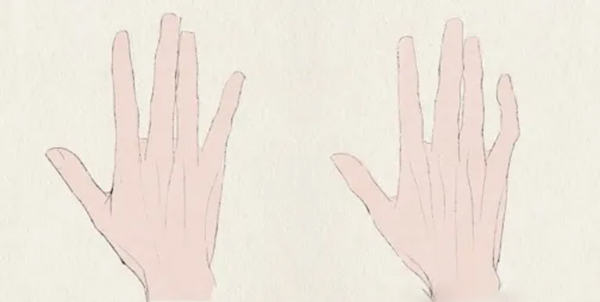
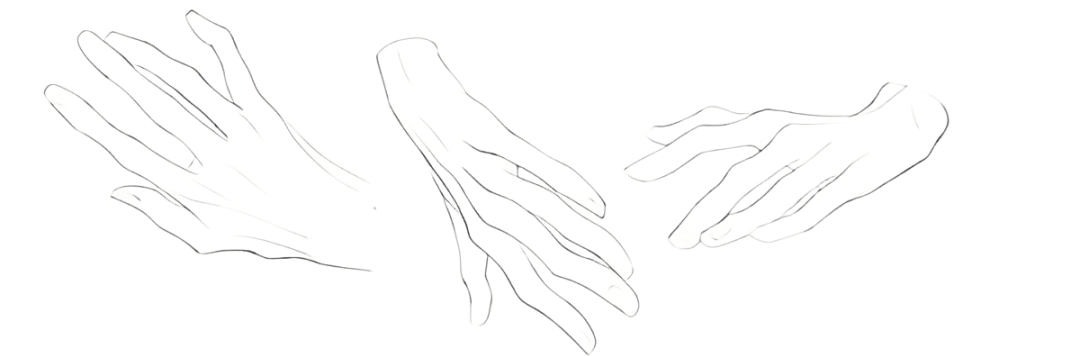
Most people's hands look like the image below.
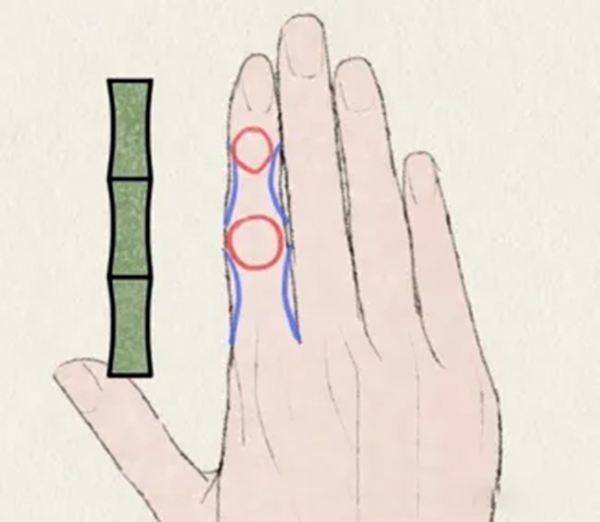
If you want a bony look, don't just make the fingers thinner. Emphasize the knuckles — that's what makes a hand look "bonier."
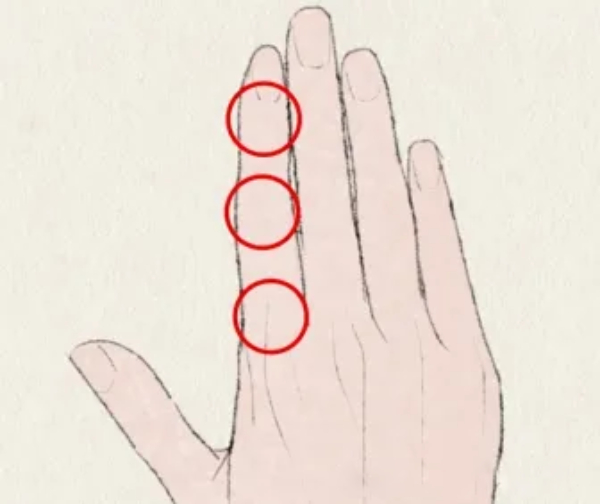
Think of each finger like a bamboo stalk. The line that links the knuckles can be drawn as a slightly inward curve to show each joint more clearly.
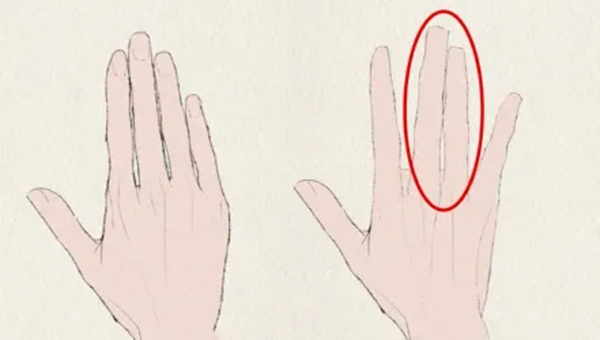
One detail people often miss: there can be gaps between the fingers. Compare the two hands in the image — the one on the right looks slimmer and bonier because the spaces between the fingers are shown, which helps bring out the hand's curves.

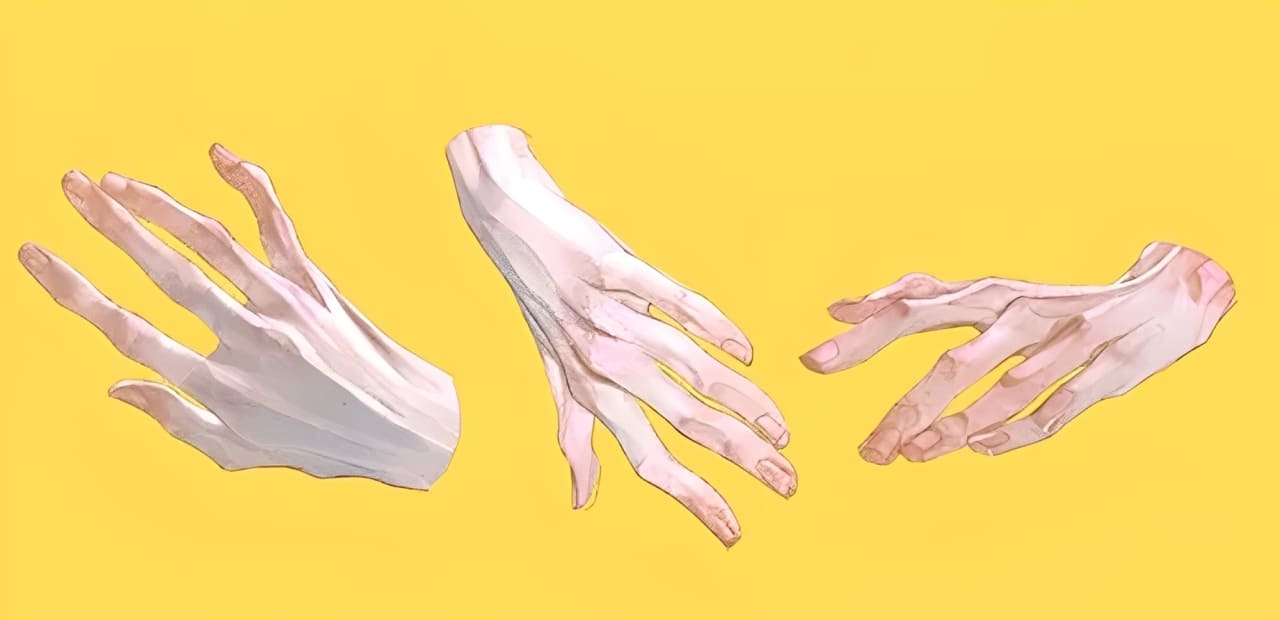
Step 2: Hand Gesture
Once you know the basic hand shape, the next step is choosing the gesture — the hand's pose or movement.
If you want a graceful, elegant hand, a simple trick is to keep the middle and ring fingers together.
You may have noticed dancers hold their hands like this when they strike a pose. You also see this gesture a lot in game concept art.
You can go a step further by letting the pinky add character. Bend the pinky slightly. That way, the hand isn't just a bunch of straight lines — it gains nice, flowing curves too.
To make a hand look beautiful in your drawing, avoid spacing the fingers evenly. Give them slight bends and varied spacing to build a more interesting, natural gesture.
Step 3: Sketching & Linework
When you start the lineart, first block the hand with a trapezoid, then rough in the main flow of the fingers. Don't jump into details yet. Get the overall pose and energy of the hand down first.
One good approach is to sketch twice. The first pass is a rough base that captures the overall shape — roughly like the image below.
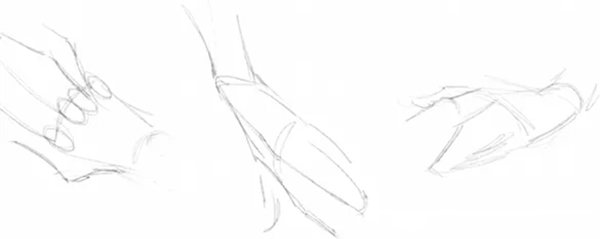
The second pass adds structure. In this stage, lay out each part of the hand. It's fine to be loose with your strokes.
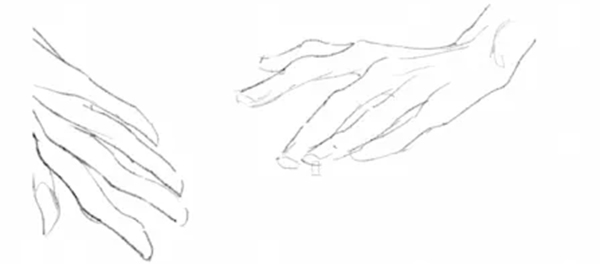
After the sketch is ready, move on to the final linework. This step is about how you use your pen. Be more decisive than in the rough sketch. Avoid scratchy, nervous lines — aim for confident, flowing strokes that feel steady and complete.
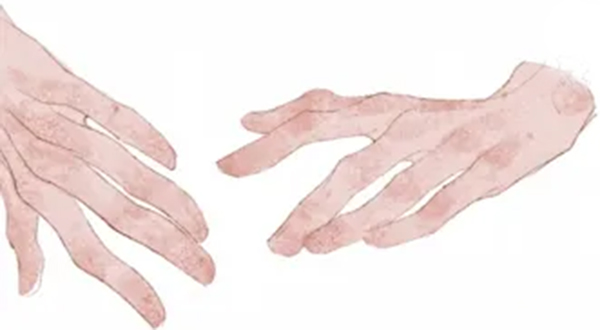
Step 4: Base Color
When you lay down the base color, start by tinting each joint with a touch of red. The famous painter Egon Schiele often painted the joints red to emphasize a thin, bony look. You can borrow that trick to bring out the hand's bone structure.
Step 5: Build Light and Shadow
In this step, you paint the highlights and the shadows on the hand. This takes regular practice to learn how light falls on forms.
Start by deepening the shadows at each joint and fold to make the hand's structure clearer. You can also add a new layer and set it to Multiply to darken the shadow areas more easily.
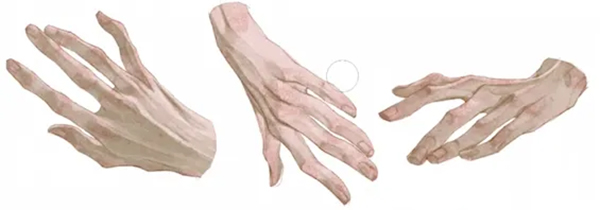
In our example, we warmed the shadow side so the hand's tones match the background better.
Finally, keep adjusting the details and strengthening the contrast between highlights and shadows until the hand reads clearly.
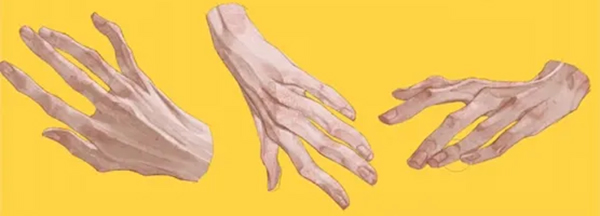
Step 6: Add Warm–Cool Contrast
The last step is to give the hand a warm-vs-cool color contrast.
Create a new layer and set its blend mode to Overlay.
On the shadow side of the hand — usually the back of the hand, where veins look bluish — lightly paint a wash of blue-green (cyan) on that overlay layer. Use a low-opacity brush and build it up slowly.
The cool blue of the veins against the warm reds at the joints makes the hand read more clearly and gives it a lively, natural contrast.
Conclusion
In this article, we shared tips for drawing hands. Hands aren't as hard as they seem, but the toughest part is using hand shapes to show a character's personality. That takes regular practice and paying attention to small details in everyday life.
Finally, we'd like to recommend TourBox, a creative controller.

In digital painting, switching back and forth between tools, brushes, and layers can break your flow. TourBox turns common commands into physical buttons, dials, and wheels so you don't have to keep reaching for the keyboard and mouse.

It helps you focus on line work and expression, speeds up your workflow, and reduces hand fatigue. If you want a smoother painting process, try putting a TourBox on your desk. If you create on an iPad, you'll especially appreciate what the TourBox Elite Plus can do for your workflow.