How to Draw a Torso: Step-by-Step Guide for Beginners
For beginner artists, drawing the torso can be really frustrating. New artists often aren't clear on proportions, and rendering the body's muscles can feel tricky. Today we'll use a simple example to show how to draw the torso.

In this article, you will learn:
Proportions and Muscle Structure of the Torso
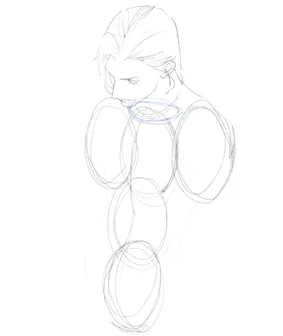
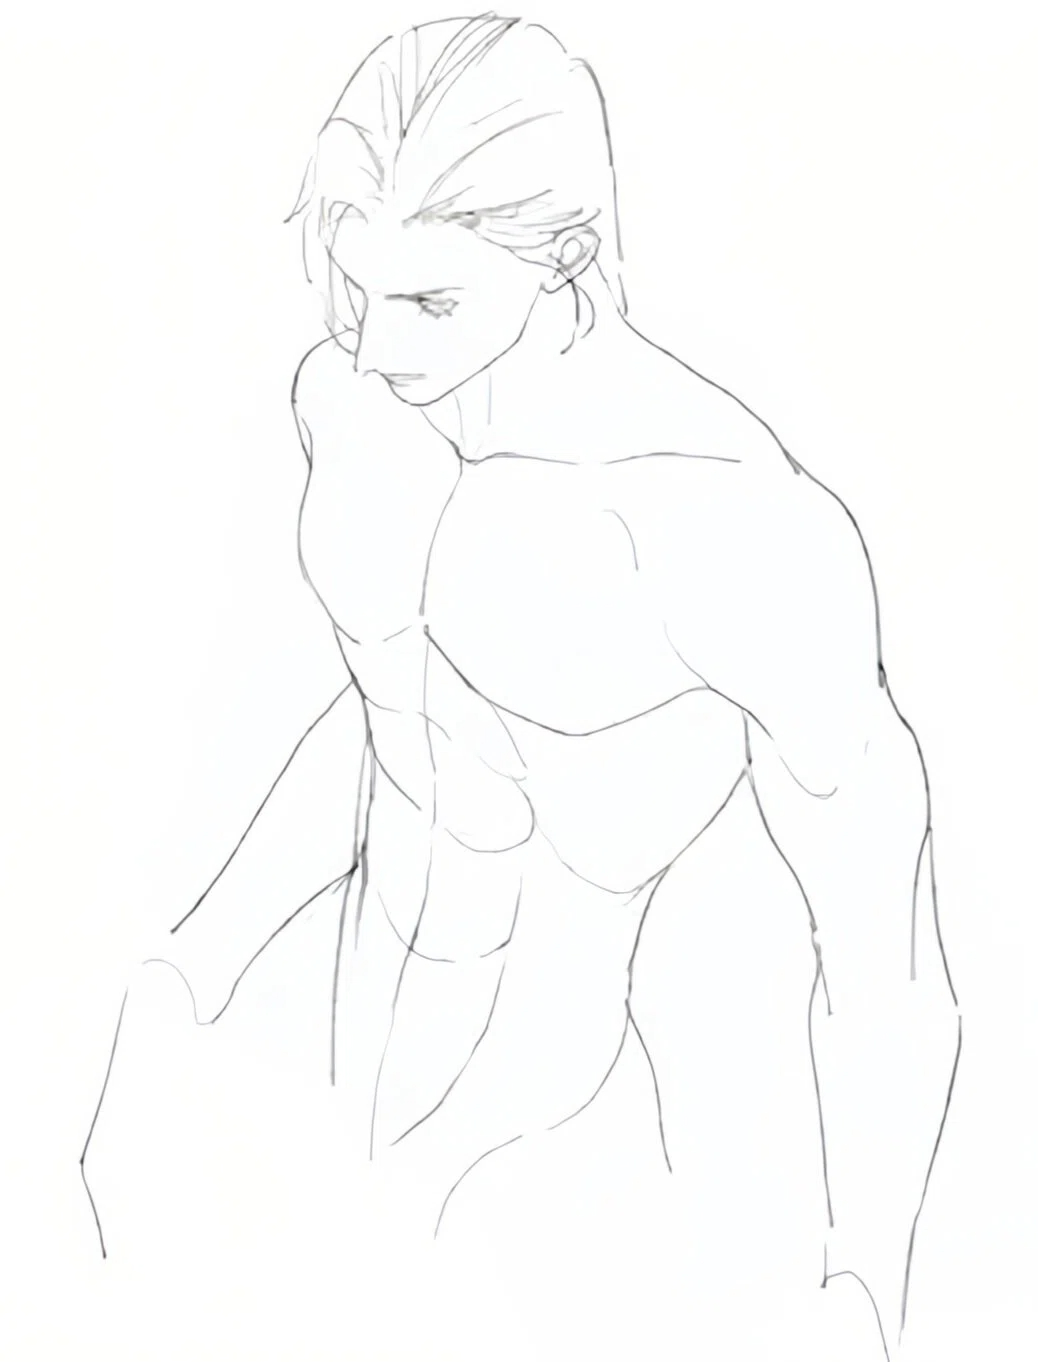
First, figure out the proportions. The torso is about three heads tall.
In our example, the view is from slightly above, so parts overlap. The torso is also about three heads wide.
The chest sits at the halfway point of the torso.
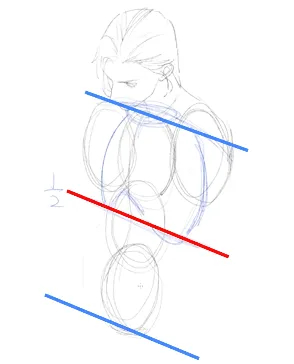
Divide the torso into three equal parts. The navel is roughly two-thirds down the torso. The elbow usually falls above the navel, so you can estimate the elbow from the navel's position.
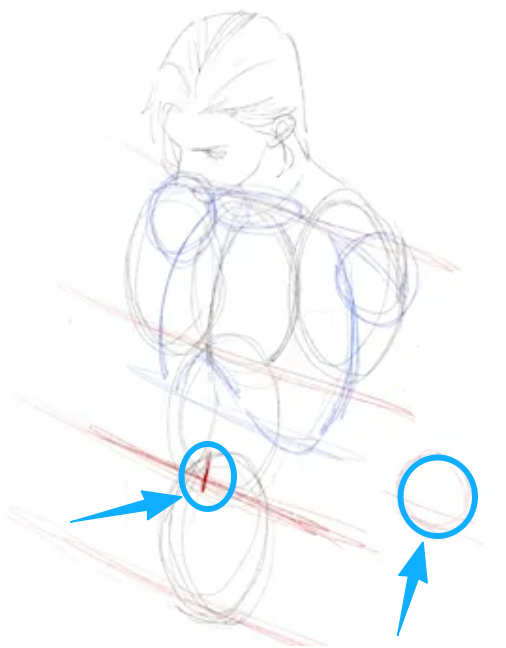
With the chest, navel, and elbow as anchor points, you can map out the basic torso shape. After that, add the details.
In this example we want a muscular character, so we'll show more muscle detail.
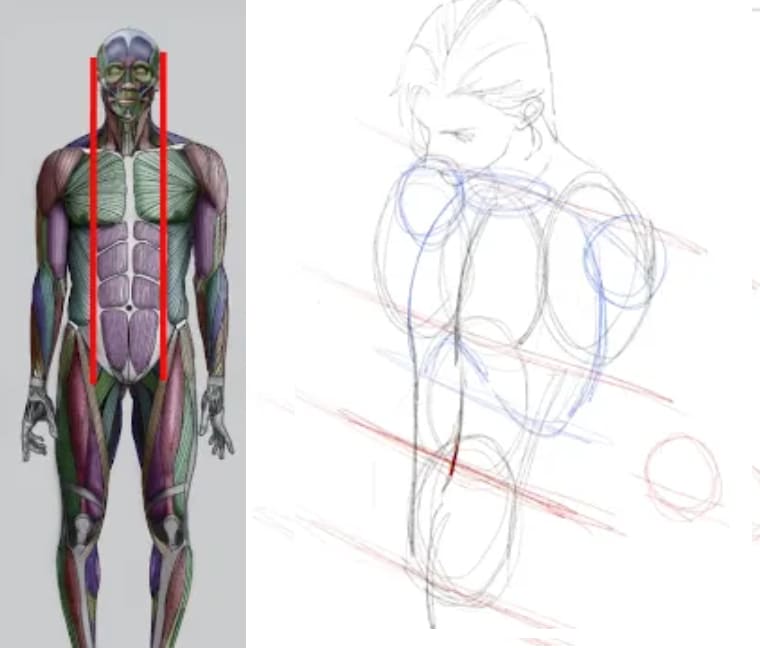
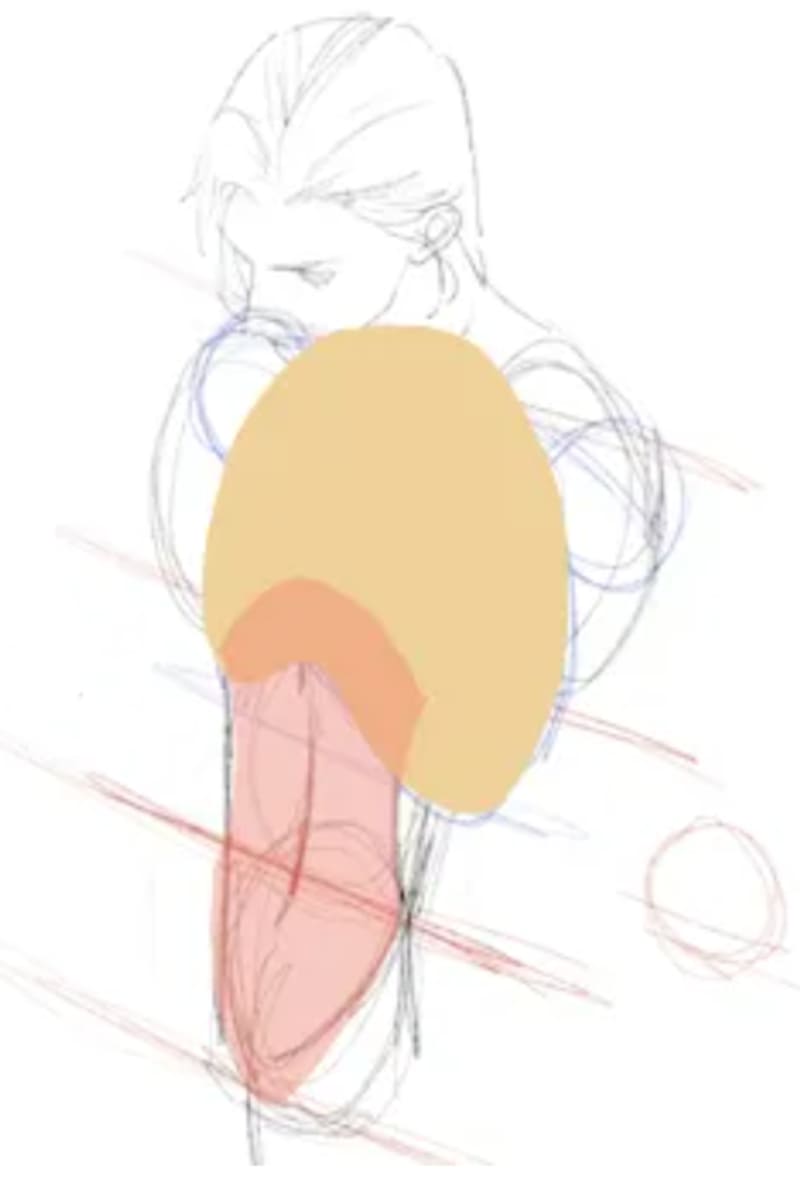
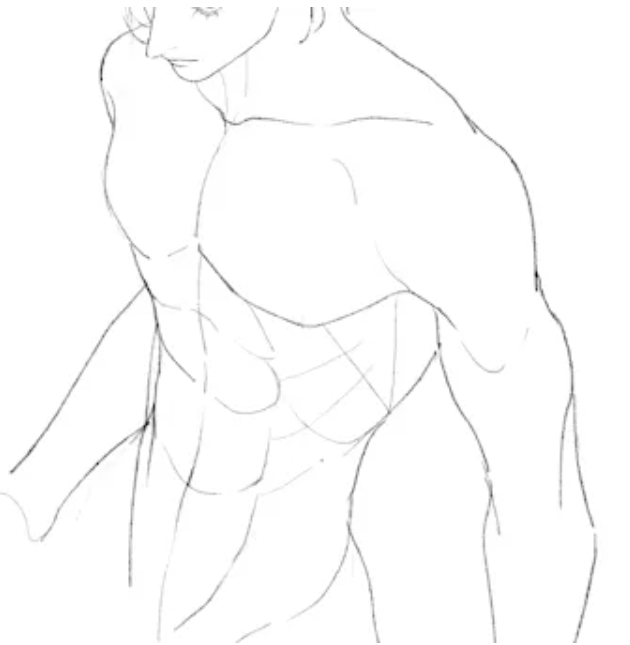
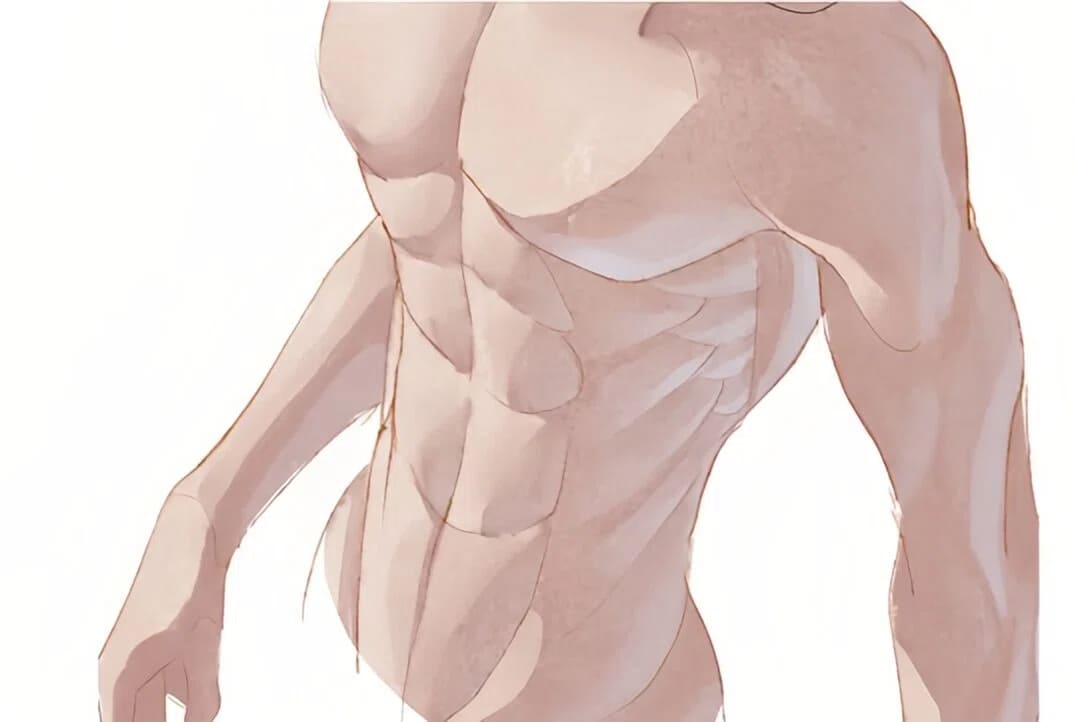
Start with the abs. The abs area is usually about as wide as the head. If the character is very muscular, the abs area will be a bit wider.
Don't draw the abs as rigid, parallel lines — that looks stiff. Give them a curved shape to make them more lively.
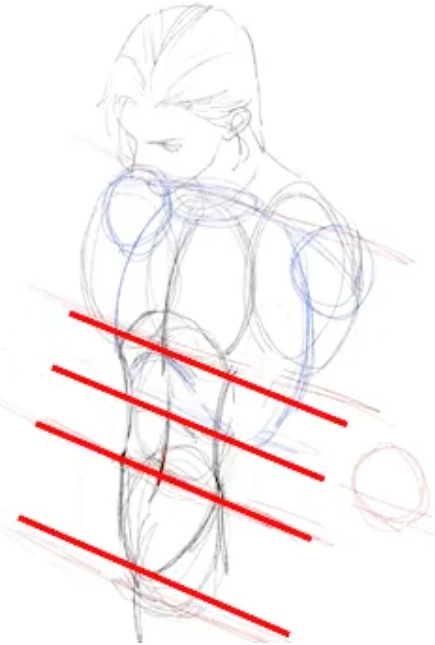
Typically, there are four rows of abs. The top row sits under the ribcage and is the narrowest, so keep that in mind.
The third row lines up with the navel. The second row sits between the first and third rows. The second and third rows are about the same height.
The lowest pair of abs is the longest. Each of those is roughly twice the height of the second or third rows.
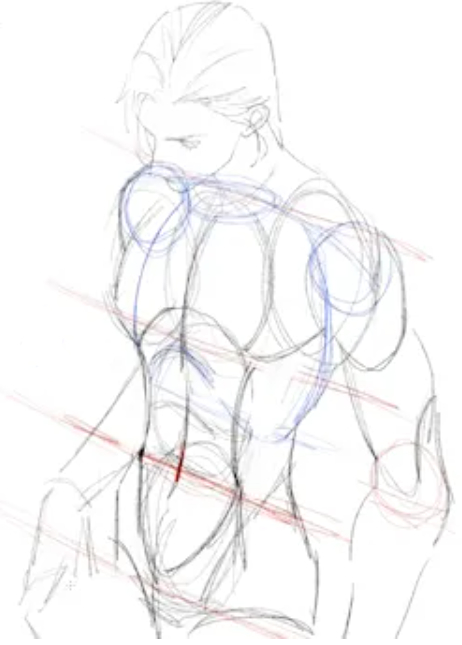
Following the abs' shapes also helps you sketch the outer contour of the chest muscles.

And now the main muscles of the upper body are finished.
Let's quickly review the key points we just covered:
- The torso's height and width are each about three head-lengths.
- The ribcage (chest) sits halfway down the torso.
- The navel is about two-thirds down the torso.
- The abdominal area is about as wide as the head.
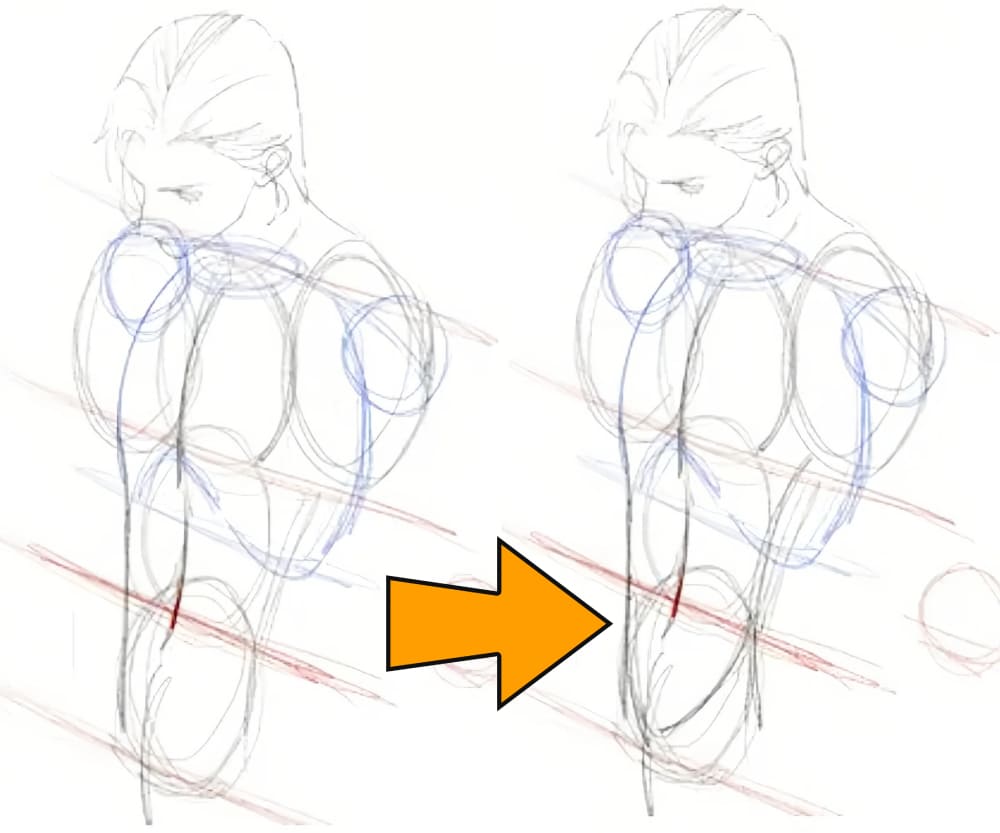
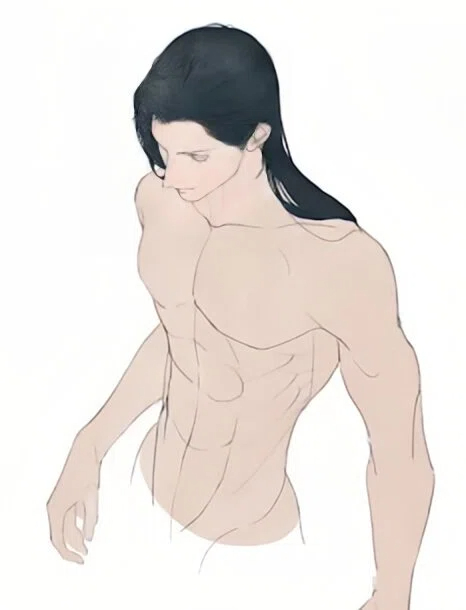
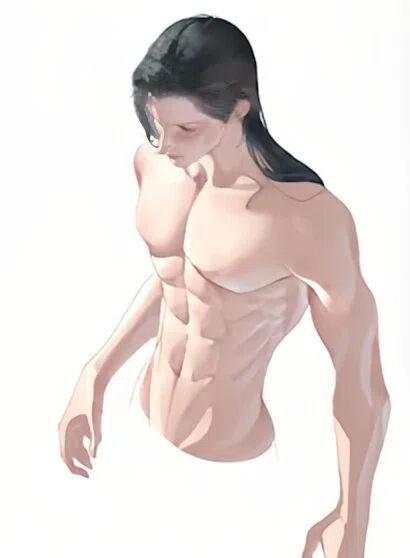
Now we'll do a quick line sketch to show the smaller muscles. Then tweak the perspective so the figure looks more dynamic.
Of course — if you want your character's muscles to look more realistic, add details like the lats (latissimus dorsi), the serratus (serratus anterior), and the external obliques. These names sound fancy, and drawing their shapes well takes some basic knowledge of muscle anatomy.
The best way to learn is to study often. Look at artworks and photos that show muscle structure. When you're drawing, pull up reference images online. That helps you understand the shapes faster than trying to memorize them by rote.
How to Color the Torso?
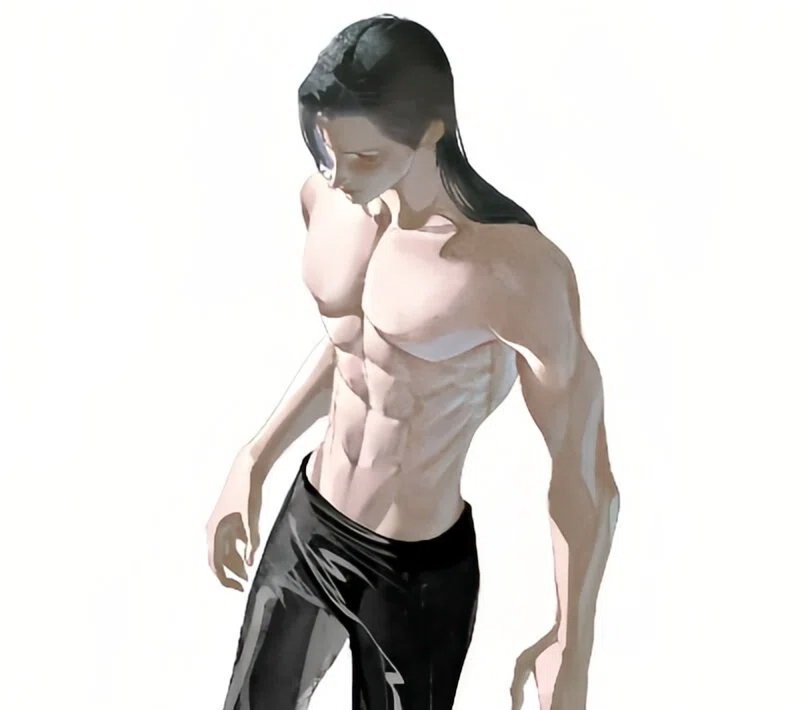
Once the proportions and muscles are clear, you can start coloring the torso.
First block in two big areas: highlights and shadows. Then refine them bit by bit.
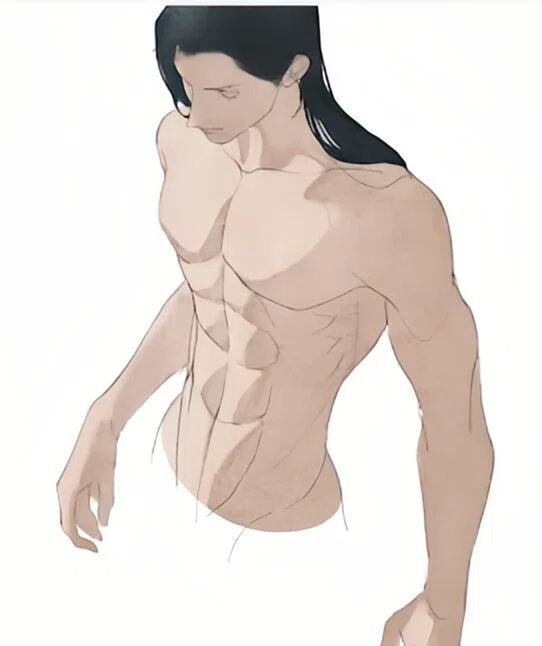
When you paint shadows, don't be too rigid. Use a blue brush to add some reflected light, and put that on an Overlay (or similar) layer. This does two things: it creates a cool/warm contrast that breathes life into the image, and it uses the reflected light to show the form on the dark side.
Note: the reflected light comes from below. So paint blue on the underside of the muscles.
Next, use the smudge tool to make a soft gray transition inside the shadow areas.
If the contrast still feels weak, brighten the lit areas. Add a layer set to Color Dodge and gently sweep a soft airbrush over the highlights. That quickly gives a stronger sense of light.
Finally, tweak the color and brightness to your taste. That's about it — now check the finished piece.
Conclusion
In this article, we covered how to draw the torso from three angles: proportions, structure, and coloring. Drawing a believable torso isn't that hard. If you get the body proportions right and separate the highlights from the shadows to create contrast, you can make a torso feel real.
Finally, we want to recommend a handy tool for digital artists: TourBox. It can really help while you draw and speed up your workflow.

Instead of hunting through menus for brushes, tools, and layer commands, you can map those common actions to TourBox's physical buttons and knobs. That means less reaching for the keyboard and mouse, and no need to break your creative flow to follow a specific sequence of steps.

TourBox makes the drawing process smoother, and its ergonomic design can reduce hand fatigue. Try putting a TourBox on your desk and see the difference. If you mainly create on an iPad, check out the TourBox Elite Plus — you might love it.