How to Edit a Smart Object in Photoshop?
Smart Objects are a common feature in Photoshop. When you convert a normal layer into a Smart Object, you can't edit its pixels directly with tools like the Brush or Eraser — this prevents changes to the original data. Instead, you can edit Smart Objects in two main ways.
In this article, we'll look at how to edit Smart Objects in Photoshop. Let's get started.

In this article, you will learn:
- How to Edit the Contents of a Smart Object?
- How to Edit the Applied Effects of a Smart Object?
- How to Replace the Contents of a Smart Object?
- Notes About Smart Objects
- Conclusion
How to Edit the Contents of a Smart Object?
A Smart Object is basically a container that holds the original data. To change the image, layers, or vector content inside it, you must edit indirectly by opening the Smart Object window.
Further Reading:
Master the Power of Smart Object in Photoshop: An Essential Tutorial
Step 1: Open the Smart Object
In the Layers panel, find the Smart Object layer you want to edit. There are two ways to open it:
Double-click the layer's thumbnail icon.
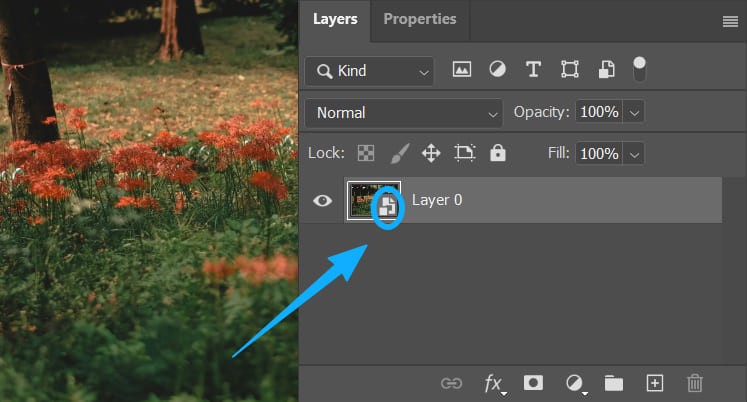
Or right-click the layer and choose "Edit Contents."
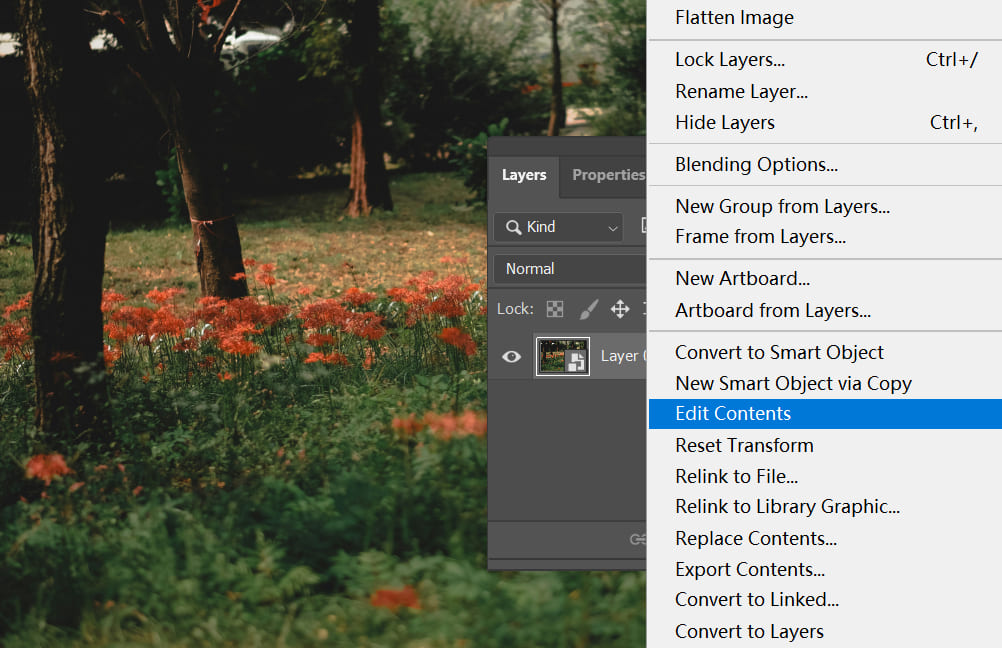
At this point, Photoshop will show two windows: a new Smart Object editing window and the original main Photoshop document.
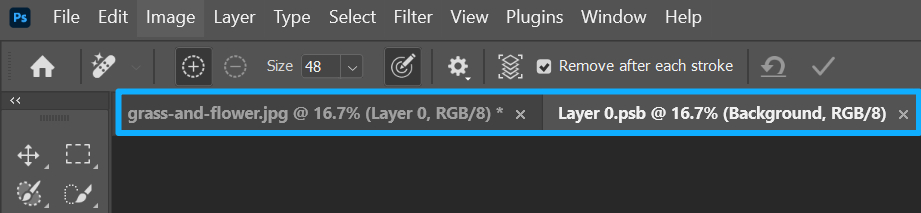
Step 2: Edit in the New Tab
Photoshop opens the Smart Object source file in a new tab. This file is usually saved as a .psb.
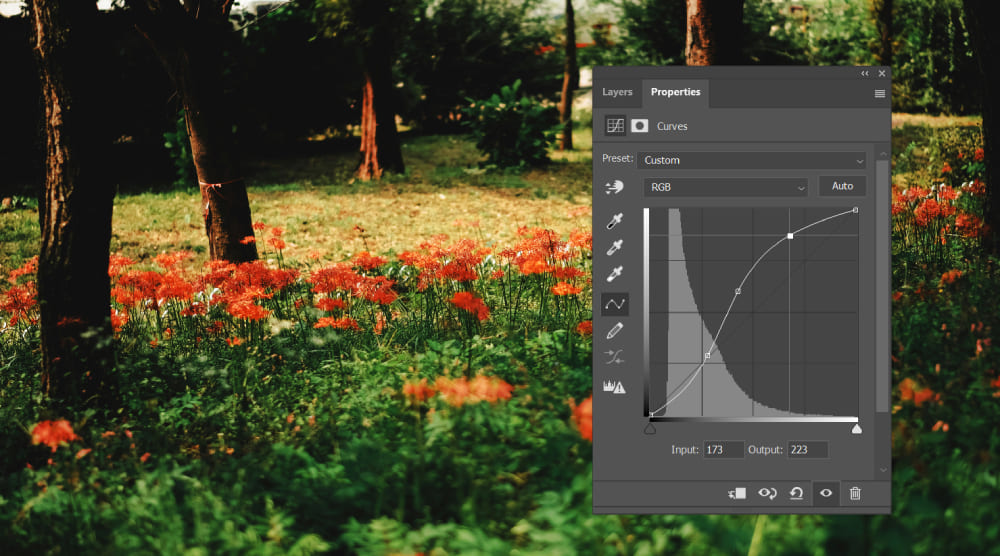
You can make any changes in this new file, for example:
- Change colors, or adjust Levels/Curves.
- Paint with the Brush tool or erase with the Eraser.
- Add or remove other elements.
- Edit text layers (if there are any).
Note: All layers packaged into the Smart Object remain editable within this .psb file.
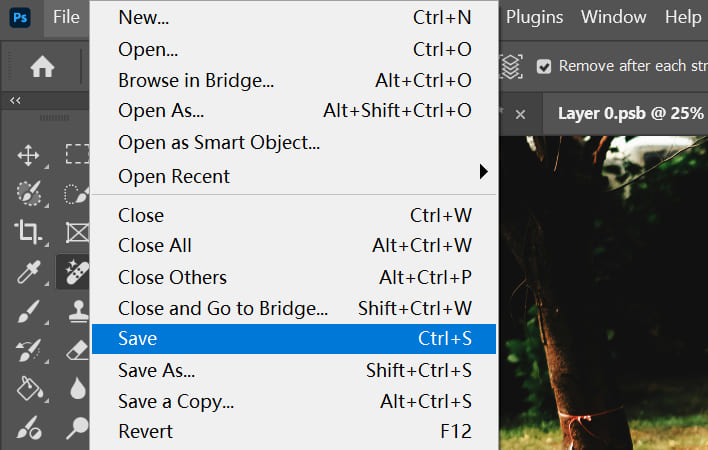
Step 3: Save and Close
When you finish editing the new file, the most important step is to save it. Press Ctrl/Cmd + S or go to File > Save.
After saving, close the .psb tab. The changes will be applied automatically to the Smart Object layer.
Step 4: Check Automatic Updates
Go back to the original main document — the Smart Object you edited will update automatically.
How to Edit the Applied Effects of a Smart Object?
If you only need to change a Smart Object's external effects — like filter settings, scale, or blend mode — you don't have to open the Smart Object's contents. You can make these changes right in the main document:
1. Modify Smart Filter Settings (Most Common)
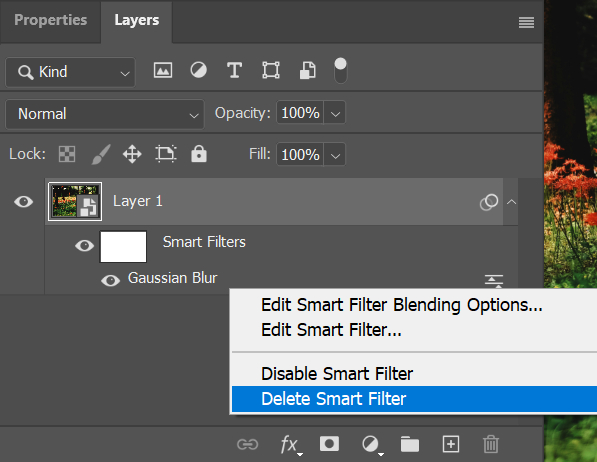
Smart Filters applied to a Smart Object appear under the layer as "Smart Filters" and can be changed at any time:
- Double-click the filter name (for example, "Gaussian Blur") and change the values in the dialog (for example, change blur radius from 5 px to 3 px).
- Click the eye icon to the left of the filter to temporarily toggle it off and see the image without that filter.
- Right-click the filter → choose "Delete Smart Filter" to remove the filter (this does not change the original content).
2. Adjust Transform Effects (Scale, Rotate, Etc.)
Transforms like scale and rotation are non-destructive and can be changed repeatedly:
- Select the Smart Object layer and press Ctrl/Cmd + T to bring up Free Transform.
- Drag the control handles to resize or rotate, or right-click inside the transform box to choose modes like Skew or Perspective.
- Press Enter to confirm. You can press Ctrl/Cmd + T again later to edit the transform — the original image quality stays the same.
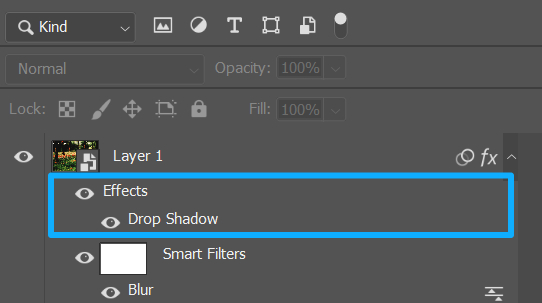
3. Edit Layer Styles (Like Drop Shadow, Inner Glow)
You can add or edit layer styles on a Smart Object, and their settings stay adjustable:
- Right-click the Smart Object layer → choose "Blending Options," or click the "fx" icon at the bottom of the Layers panel to add effects like Drop Shadow or Inner Glow.
- Double-click a style name (for example, "Drop Shadow") and change the settings (such as distance or opacity).
How to Replace the Contents of a Smart Object?
When you don't want to edit the current content but instead want to replace it entirely with a new image, while keeping all effects applied to the Smart Object (like transforms, layer styles, Smart Filters, etc.), use this method.
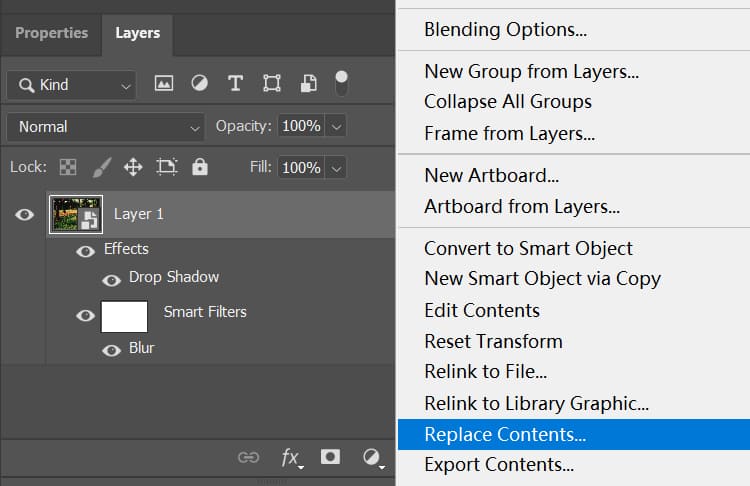
- In the Layers panel, right-click the Smart Object layer.
- Choose "Replace Contents".
- In the dialog that appears, select a new image file.
- Click "Place".
- The new image will immediately replace the old one and inherit all previous transforms and effects.
What's this useful for? For example, if you run a photography or design studio and make picture-frame templates, UI mockups, or product showcase layouts, you can use this feature to quickly swap different images into the Smart Object.
Notes About Smart Objects
- Edit window is temporary: The Smart Object edit window (the .psb file) is created temporarily. It will be deleted automatically when you close the original PSD file.
- Multiple duplicate layers update together: If you duplicate a Smart Object into multiple layers (hold Alt/Opt while dragging the layer), editing the contents of any duplicate will update all instances automatically. This is useful when you need to change repeated elements all at once.
- Avoid rasterizing: Right-click the Smart Object → "Rasterize Layer" turns it into a regular layer and removes the non-destructive benefits of a Smart Object. Don't rasterize unless you're sure you won't need to edit it later.
Conclusion
In this article, we shared a few simple methods and tips for editing Smart Objects in Photoshop. The core idea is to tell the difference between a Smart Object's internal content and its external effects.
That means: if you want to change the original image or layers, double-click the thumbnail to open the edit window. If you want to adjust filters, transforms, or other effects, do that directly on the Smart Object in the main file. This keeps the original data safe while keeping your edits flexible.
Finally, we'd like to recommend a controller that can speed up your workflow and make creating more comfortable: TourBox. With TourBox, you don't have to memorize software shortcuts. You can map your most used shortcuts and actions to TourBox's physical buttons and dials. It works like a game controller, replacing some keyboard use and making work more intuitive.

TourBox is more than a shortcut mapper. It includes many built-in functions for different creative apps and gets regular updates. Those features give you more freedom and possibilities in your workflow.

If you like working on a tablet, check out the TourBox Elite Plus. It switches smoothly between desktop and tablet, streamlines your workflow, and is a great choice for creators who need to move between devices.