How to Full Screen in Premiere Pro?
While editing your video, using full screen preview helps you check every detail. It lets you see the subtitle placement, adjust colors, fine-tune the composition, and show your client exactly how it will look.
This article explains several ways to get a full screen preview in Premiere Pro and offers some simple tips and things to watch out for.

In this article, you will learn:
How to Full Screen in Premiere Pro?
First, we need to activate the preview window. To ensure the panel is selected, click Program Monitor or Source Monitor. This step is important, or our later actions may not work.
Method 1: Using Keyboard Shortcuts for Full Screen
In Premiere Pro, you can enlarge a window in two ways: maximize or go full screen. Both methods use default keyboard shortcuts.
The first shortcut maximizes the window. Just press the "~" key (located to the left of the "1" key) to make the panel under your mouse fill the screen. Press it again to return to normal.

Note that when you maximize, the toolbar still shows up, so it's not a true full-screen view.
Besides that, pressing Shift + "~" will also maximize the window. So what is the difference between pressing Shift + "~" and just "~"?
"~" does not require the panel to be selected. All you need to do is move your mouse over the panel. While Shift + "~" requires that the panel is selected.
These two maximize shortcuts work not only for the Program Monitor or Source Monitor, but you can also use them to enlarge other panels like Effects or the Timeline.
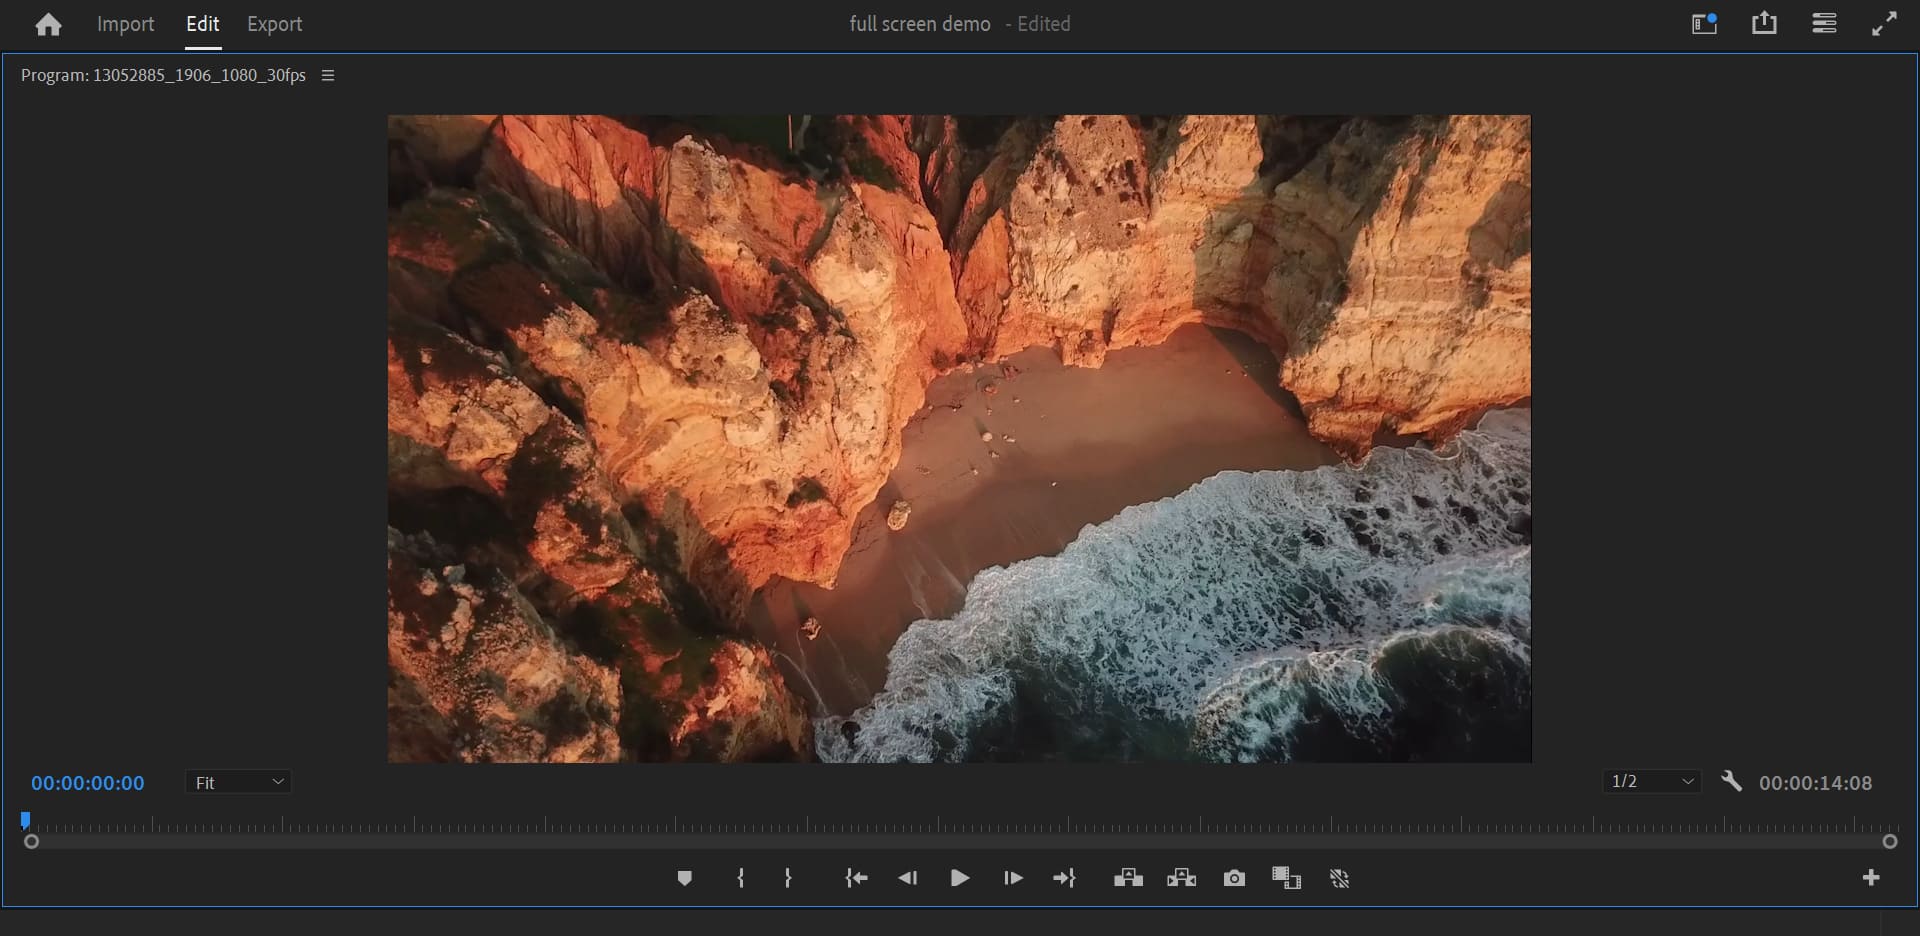
The second shortcut is to hold down Ctrl + "~" (on Windows) or Cmd + "~" (on Mac). This gives you a "real" full-screen preview where nothing but the image is shown. Press the same keys again to go back.
Please note that this full-screen shortcut works only on Monitor panels.

Before using the shortcuts, make sure you switch your input method to English and check that no other programs or system settings are using them.
To sum up:
- "~" key: Maximizes the panel your mouse is hovering over.
- Shift + "~": Maximizes the panel that is currently selected.
- Ctrl/Cmd + "~": Puts the monitor panel into full screen mode, which enlarges the view and hides other interface elements. This is great for presentations or detailed checks.
If you're not used to these shortcuts, you can easily change them in Premiere Pro's keyboard shortcut settings. Just search for "full screen" and "maximize," assign new keys that work for you, and save your changes.
Method 2: Use the Interface Icon for Full-Screen Preview
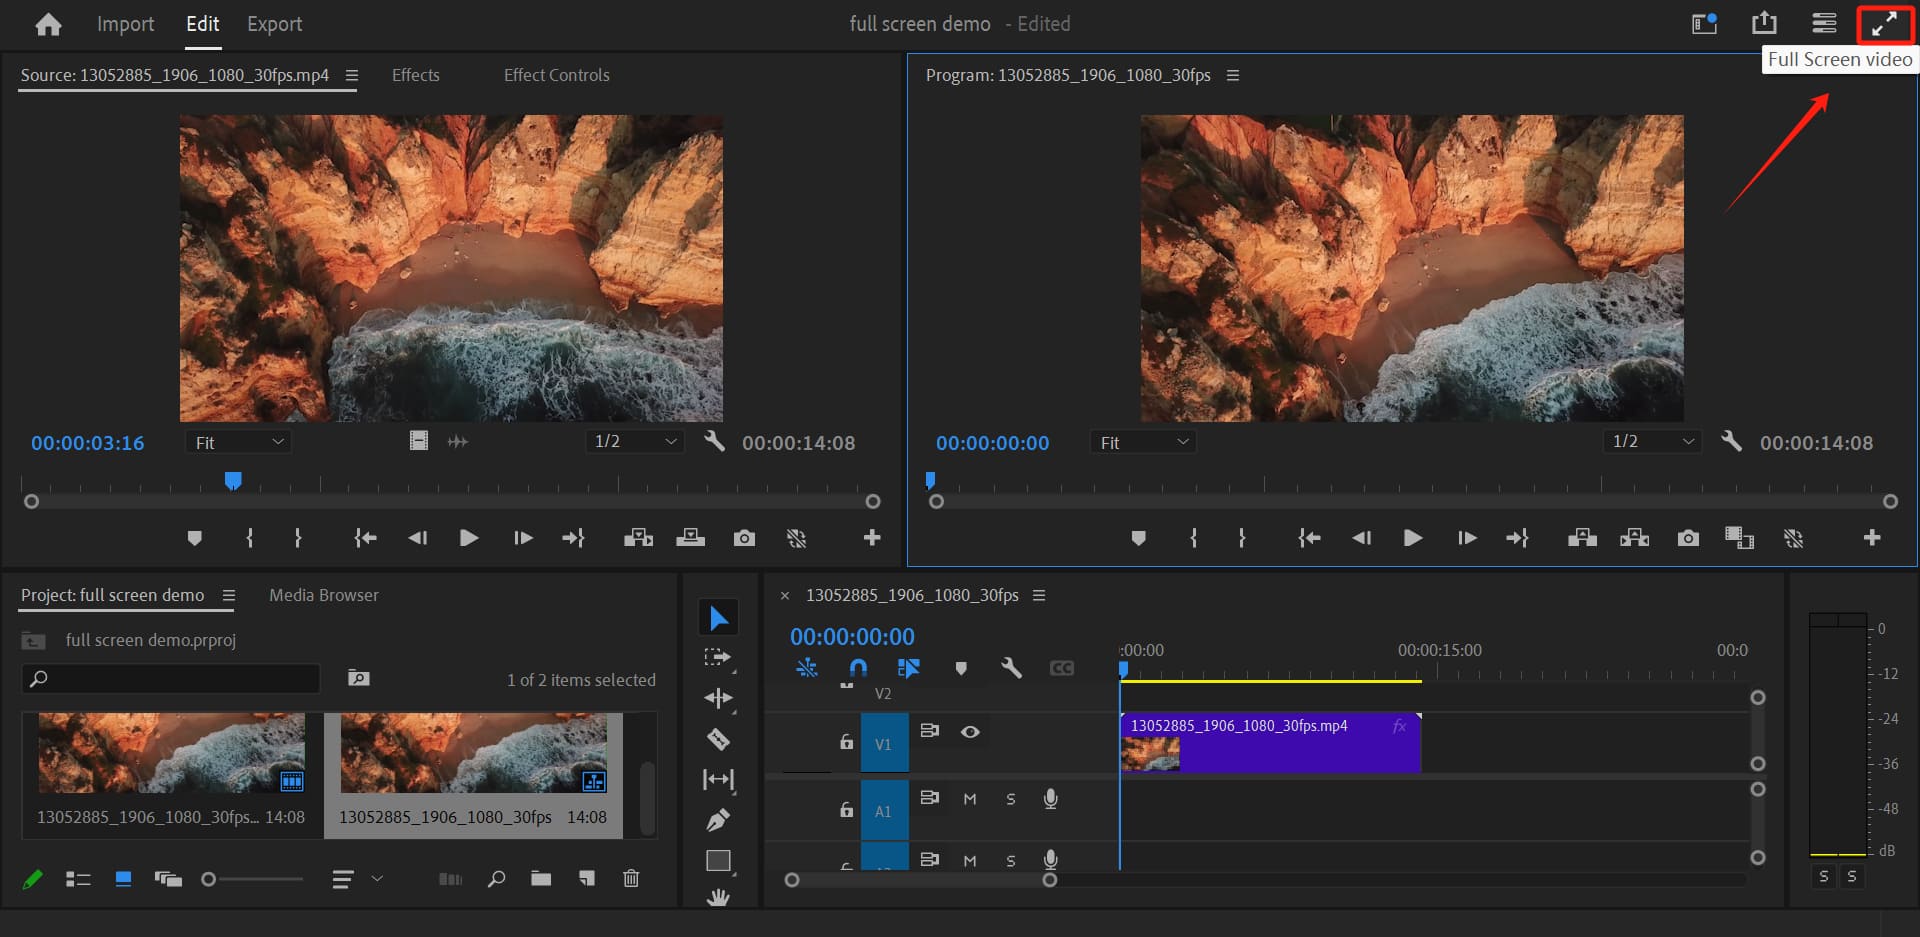
If you don't like keyboard shortcuts, you can click the Full Screen Video button at the top right of Premiere Pro. This only works for Monitor panels.
To exit full screen, press the Esc key to go back to your original layout.
Truth be told, using the icon is not as fast or convenient as using a shortcut.
Method 3: Map the Shortcut to a TourBox
We recommend the TourBox, a creative console that can boost your editing speed and experience.

You can map the Premiere Pro full-screen shortcut to your TourBox. This way, you don't have to remember any shortcuts or click on icons. Just use one hand on the TourBox, much like a game controller.
If you're interested in this setup, click the link below for the steps or visit our video editing page for more details on TourBox.
Further Reading:
How to Full-Screen Preview with Multiple Monitors?
If your computer is hooked up to a second monitor, you can use it for full-screen playback. This is very handy when you need to show your work to clients.
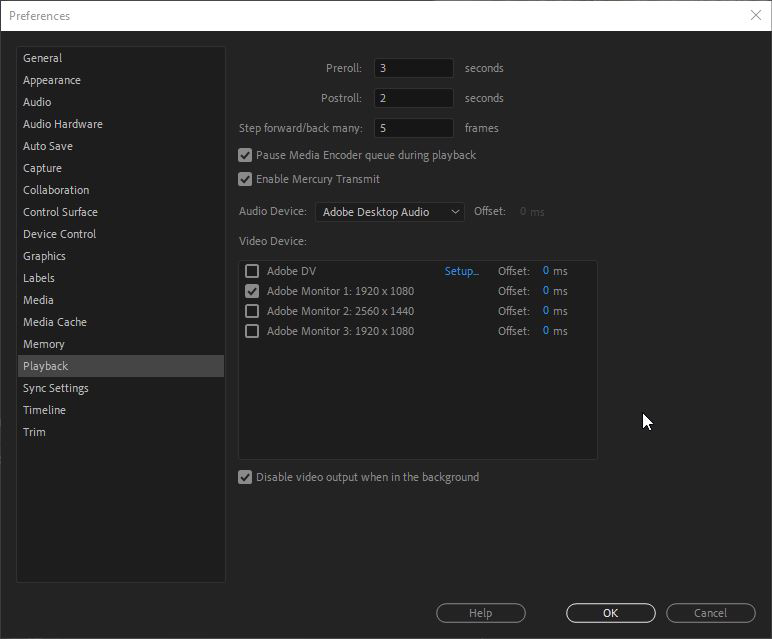
Setting up the external monitor is simple. In the menu bar, click Edit, then Preferences, and finally Playback.
In the Playback window, check the "Enable Mercury Transmit" box. This lets Premiere Pro send the preview signal to the external monitor.
Next, choose the external monitor you want to use under the Device option. Click OK, and your external monitor will now show the full-screen preview.
Conclusion
With these methods, you can set up a full-screen preview in Premiere Pro to match your work setup and needs. We hope you find this tutorial helpful.

Lastly, if you like editing and creating on an iPad, the TourBox Elite Plus might be just your style. Click our link above to learn more.