How to Paint Realistic Skin in Digital Art: A Simple Guide
For beginner digital artists, painting realistic skin texture can be really frustrating. In this simple tutorial, we'll explore a few practical tips for creating believable skin. Let's jump right in!

In this article, you will learn:
How to Draw Skin?
When you look closely at your skin, you can see tiny hills and valleys in its surface.
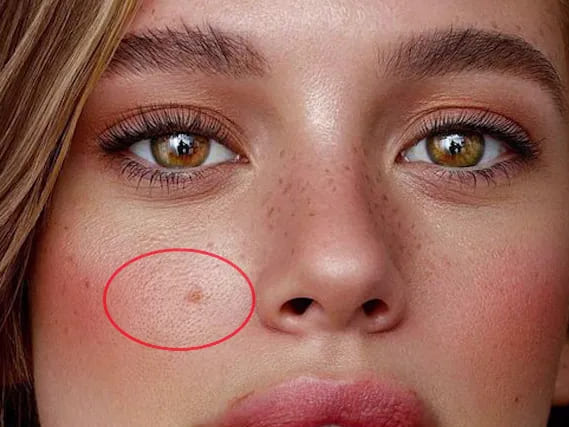
For example, you might spot dot‑like pores, like in the image below:
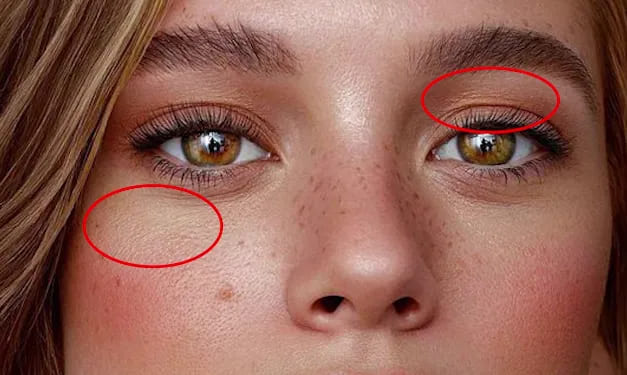
Or you might notice fine, stripe‑like lines, like this:
These small shadows and highlights are everywhere, even on skin that looks smooth. It's these little details that make skin feel real and textured.
But if you're not striving for hyper‑realism, painting every single pore isn't always the best approach. So how can you paint skin more quickly and easily?
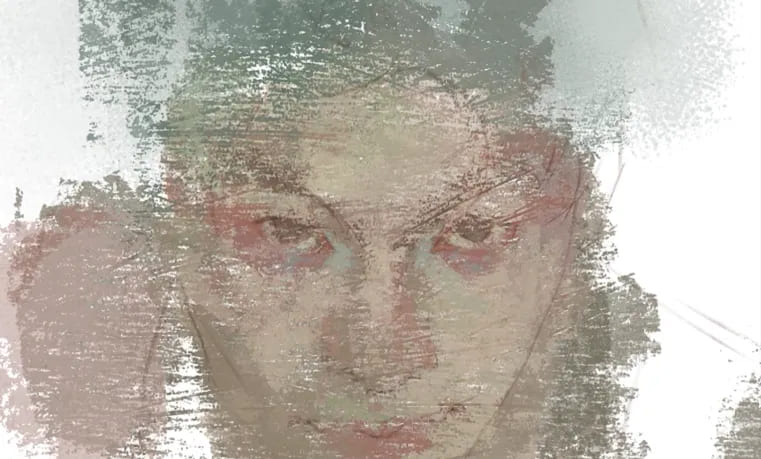
First, in your rough sketch stage, pick a brush with a coarse, textured tip — like the one shown below.

That not only gives the skin some grain but also adds a bit of that random, hand‑painted oil‑paint look.
So how do you really show skin texture? Here's a key rule: shadows should always have less detail than the lit areas. You only need to paint fine details where the light hits.
In classic oil painting, artists load heavy paint onto the highlights to build form, while shadows stay smooth with almost no visible strokes. That trick creates the illusion of real skin.
When you're painting skin, use a smudge tool to soften the shadows. Then, on the highlights — like the cheekbones, nose bridge, and inner eye corners — switch back to your brush and add texture there.
For dot‑like skin details — think pores — use a grainy brush and lightly tap over those areas.

Focus on spots like the nose bridge and inner eye corners. Use your eyedropper to grab a nearby skin tone, raise the brightness a bit, and then sweep gently. You'll get that subtle pore look in no time.
For the striped textures, switch to a brush that lays down parallel lines. Don't just scribble. Follow the natural flow of the face's planes and curves.

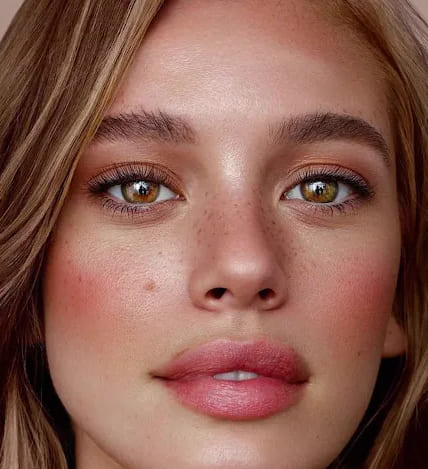
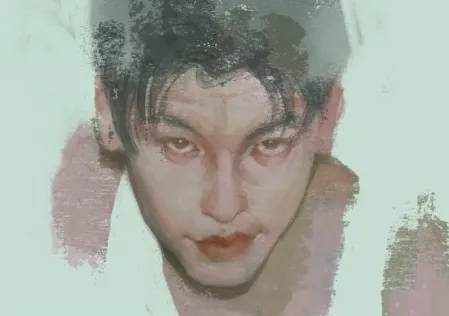
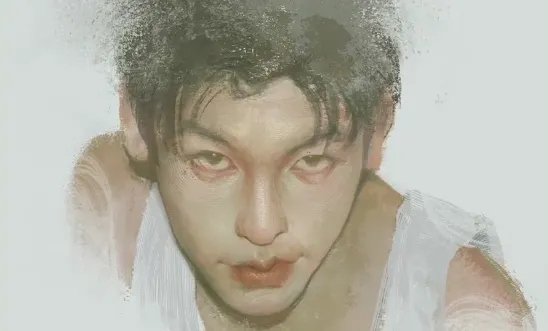
Now, let's take a look at the final result!
Some Practical Tips for Painting Skin
Here are a few handy tricks for painting natural, textured skin:
1. Use Rich Color Layers
- Don't stick to one flat skin tone. Real skin shows up through a subtle blend of colors. On your base color (let's use a light‑skinned portrait as an example), layer in tiny touches of red on the cheeks, lips, and joints; yellow on the forehead and the tops of the cheekbones; and a hint of blue or purple around the eyes, along the sides of the nose, and in the neck shadows.
- Add a tiny bit of warmth in the highlights and a touch of cool tones in the shadows to boost the 3D look.
2. Pay Attention to Edge Details
- Edges aren't always sharp. Soften outlines against dark backgrounds or deep shadows with a soft brush.
- Keep edges crisp where the light hits — like the bridge of the nose or the top of the cheekbones.
- Drop in some tiny, semi‑transparent strokes to suggest stray hairs casting faint shadows. It brings a lifelike touch.
3. Step Back and Tweak
- Zoom out now and then to check your overall shapes and values. If a small area is too detailed, it can feel out of place. So blur or tone it down.
- Use layer blend modes like Overlay or Soft Light to quickly tweak skin saturation and contrast in one go.
4. Observe and Reference
- Before you start, gather photos of different skin tones and lighting, both studio shots and everyday pics.
- Study key spots (under the eyes, beside the nose, at the mouth corners) for folds, pores, or tiny veins. Then simplify those textures into just enough brushwork to keep their character.
Conclusion
In this quick tutorial, we've shared easy tips for painting skin in digital art and making it look more realistic and textured.
Feel free to mix and match these tricks. But remember, the real key is practice and observation. Treat every skin study like a mini anatomy and lighting experiment. Over time, you'll discover your own favorite way to paint skin.
Before you go, we'd like to introduce TourBox, a creative controller loved by digital artists. With TourBox, all those repetitive tasks you face when painting skin — switching brushes, tweaking brush settings, zooming the canvas, toggling layers — can be handled easily with one hand.

TourBox not only speeds up your workflow but also feels great in your hand thanks to its ergonomic design. It's like using a game controller: no more hunting through menus or memorizing complex shortcuts. Just turn a knob or press a button, and you're set.

If you're curious about TourBox, click over to our Digital Painting page to learn more.