How to Remove Objects in DaVinci Resolve?
In color grading or video editing, we often run into problems like a drone suddenly flying into the shot, dust spots on the lens in the corner of the frame, or an extra person who should not be there. Manually fixing these frame by frame takes a lot of time, and it can still leave visible traces.
In fact, DaVinci Resolve Studio's Object Removal effect can automatically solve these problems for you. It works especially well for moving objects or lens dust spots on a stable background. It also tends to work better with small objects than with large ones, though the final result still depends on the footage.
So without further ado, let's take a look at how to remove objects in DaVinci Resolve.

In this article, you will learn:
- How to Remove Objects in DaVinci Resolve?
- Common Object Removal Problems and Tips for Better Results
- Conclusion
How to Remove Objects in DaVinci Resolve?
The Object Removal effect in Resolve is especially useful in these situations. So if your footage has any of the cases below, do not hesitate to follow our steps and remove the object:
- Remove moving objects from a still background, such as a drone flying through the frame or a person walking by.
- Remove dust spots or smudges on the lens in moving shots.
- Clean up small unwanted elements in the frame, such as wires or stickers.
Step 1: Isolate the Object You Want to Remove
First, switch to the Color page and add a serial node to the target clip.
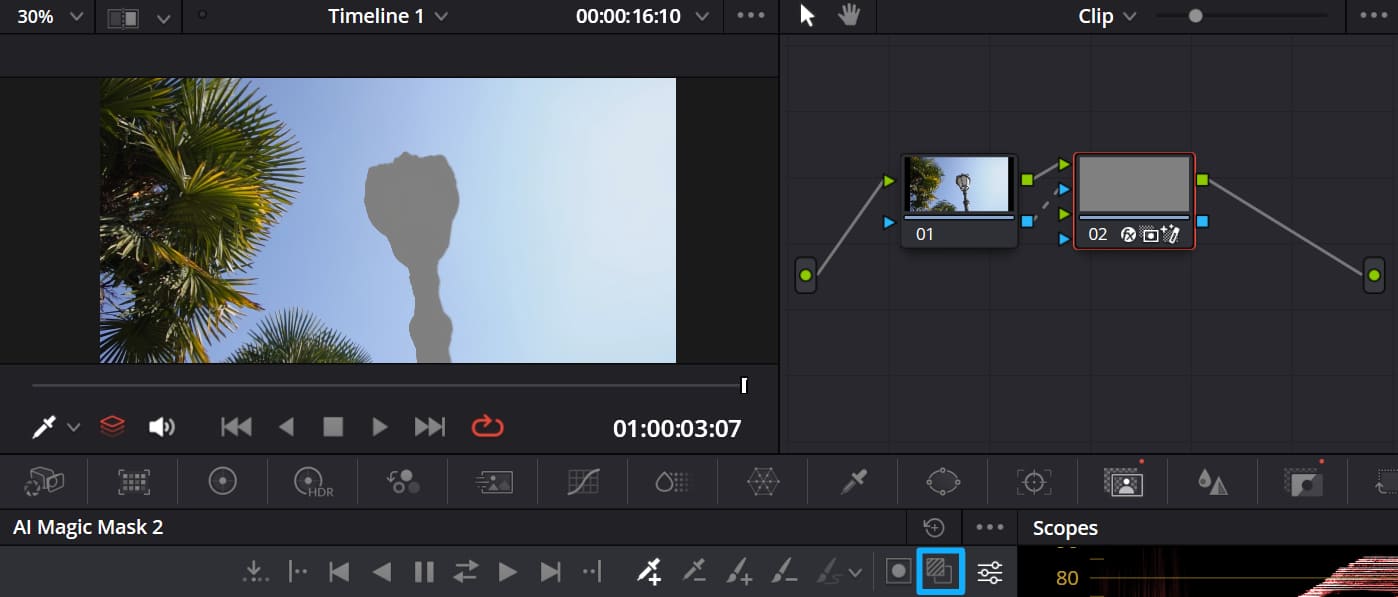
Then, open the AI Magic Mask panel in the toolbar below. Use the Add Click tool and click directly on the person or object you want to remove, such as the lamppost in our example.
A blue point will appear in the Viewer, and Resolve will analyze the image and create an initial mask. If the mask overlay is not turned on yet, you can click Toggle Mask Overlay to enable it and clearly check the result.
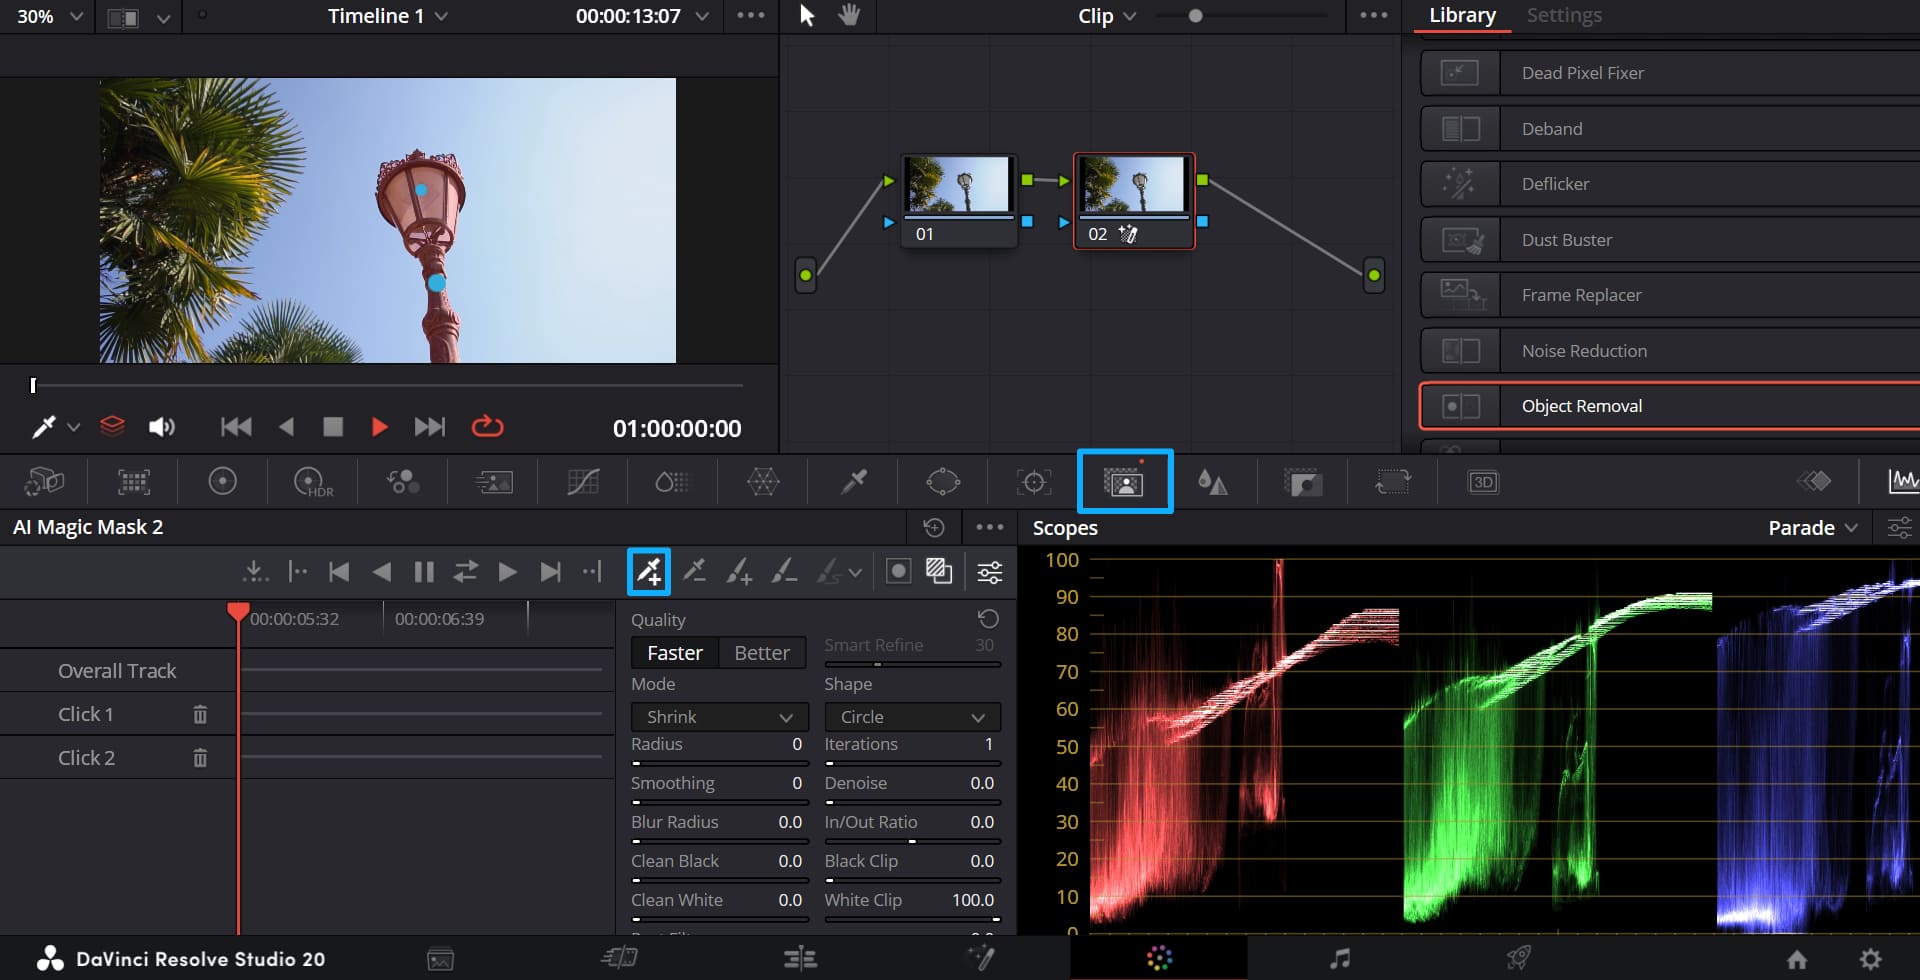
Before you start tracking the object, there is one more important tip. You should expand the mask a little instead of drawing it too tightly around the object. If the mask is too precise, you may see an unnatural outline after removing the object, such as a bright or dark ring, or a visible break in the texture.
In simple terms, object removal is not just about fixing the object itself. It also needs to cover the area around it, since that is where traces are easiest to notice. That is why we should widen the mask a bit in the AI Magic Mask panel.
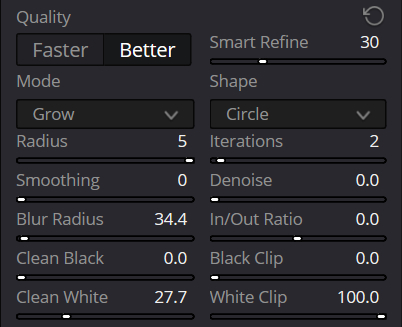
For the settings, choose Better for Quality, Grow for Mode, 5 for Radius, and 2 for Iterations. You can also raise Blur Radius and Clean White a little.
Once you get a good initial mask on the current frame, you can click Track Forward or Track Backward to let Resolve analyze the object's movement.
Resolve will then calculate the tracking, which may take some time, so just wait patiently.
![]()
Of course, you can also use the Window tool to box in the object, then track that window or set keyframes so it keeps following the object you want to remove. You can also soften the edge a little to make the transition look more natural.
Step 2: Apply the Object Removal Effect
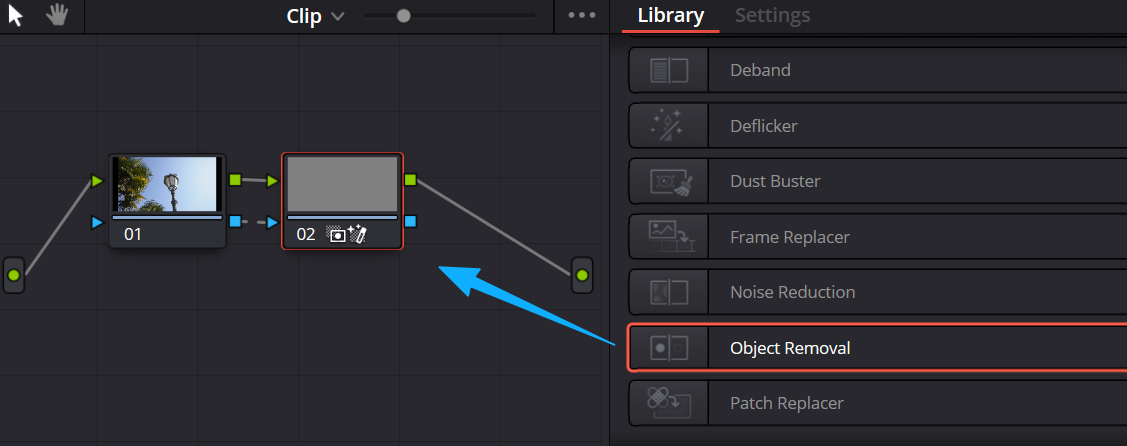
Now move on to the next step. Go to the Nodes and connect the Alpha channel of the node with the tracked object to the Alpha input of the node before it.
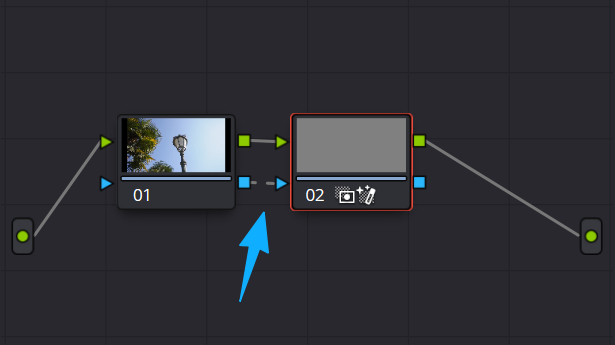
In Effects Library → Resolve FX Revival, find Object Removal and drag it onto the node where you isolated the object.
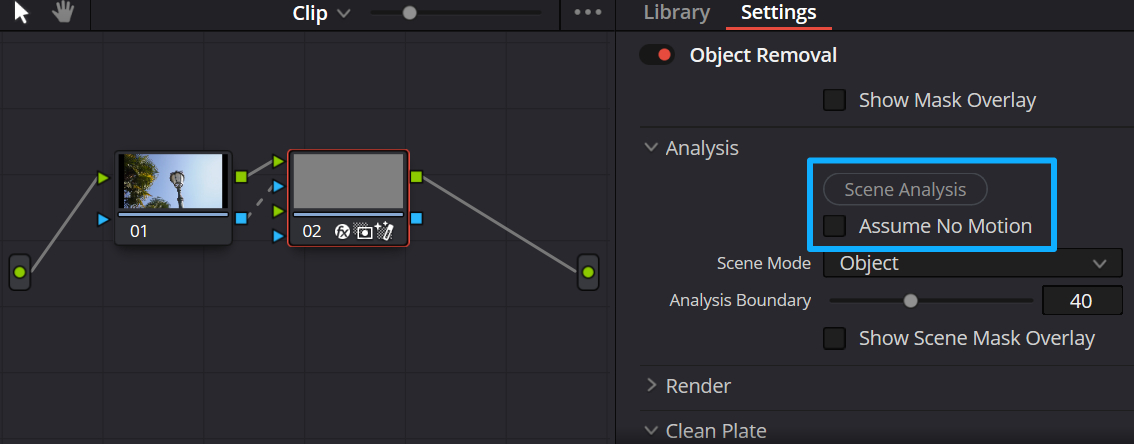
Step 3: Analyze and Let Resolve Do the Work
In the Object Removal settings panel, click Scene Analysis and wait for the algorithm to finish analyzing the shot.
If your camera is locked off but the object is moving, you can also check Assume No Motion. This can help improve the result even more.
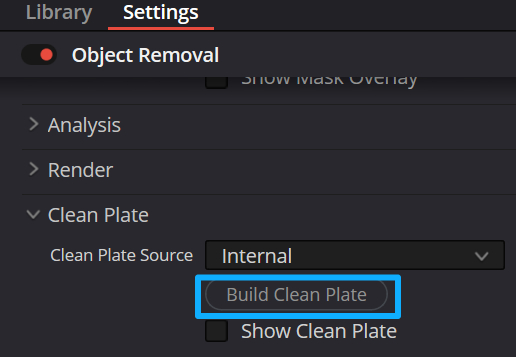
Click Toggle Mask Overlay first to turn off the mask view. You will see that the object's original spot in the Viewer is now replaced with a gray fill.
Then, in the settings panel, click Build Clean Plate. This lets the algorithm build the background from frames where it can fill in the area correctly.
In our demo, the object removal result looks very natural!

Common Object Removal Problems and Tips for Better Results
The Object Removal effect depends a lot on the footage, so it will not always look perfect. You may need to adjust it a few times. If you run into gray fills or hard edges, try these tips:
1. Gray Fill Appears in Some Areas
(This means the algorithm could not find a good background.)
- Adjust the search range: increase the Search Range slider, for example, to 80. This gives the algorithm more frames before and after the current one to search for replacement details.
- Build a clean plate: click Build Clean Plate so the algorithm can first build the background from frames where it works well, then use that to fill the frames that failed.
2. The Edge Does Not Blend Well with the Background
- Change the blend mode: the default is Linear, but you can try Adaptive Blend. It handles color and brightness differences better, though it may be a little slower.
- Adjust the scene analysis mode: choose the right option in the Scene Mode menu based on your footage.
3. The Object Mask Shifts in Some Frames
If you use the Window tool, the mask may drift in some frames. Adjust the keyframes by hand to make sure the Window stays close to the object you want to remove. You can also increase the edge softness a little to reduce the jump between frames.
Conclusion
Object Removal is a powerful and efficient cleanup tool in DaVinci Resolve Studio. It lets Resolve handle work that used to require frame-by-frame fixes, which greatly improves editing and color grading speed.
Once you know the three steps — isolating the object, scene analysis, and problem fixing — you can easily clean up unwanted elements in your shot and make the image look cleaner and more professional.
Of course, Object Removal is not a magic tool. It usually works best on footage with small objects and a stable background, where the results can look especially impressive. For larger objects or more complex motion, you may still need to combine it with manual frame-by-frame cleanup.
At the end of this tutorial, we would like to recommend TourBox, a controller that can greatly improve your editing and color grading workflow in Resolve.

Think of it as a game controller or a custom keyboard. You can map the commands you use most in Resolve, or even other video editing software, to TourBox's buttons and dials, so you no longer need to memorize so many shortcuts.
With its ergonomic design and great feel, TourBox makes editing feel more direct and natural, like you are shaping the image by hand instead of just using software. That is something a mouse and keyboard cannot easily match.

TourBox also includes HoverAdjust, a feature made for DaVinci Resolve color work. Just hover over any color control in Resolve and turn a TourBox dial to make quick adjustments. If you are interested, take a look at our Dedicated Page.