How to Replace Color in Photoshop?
In this post-editing tutorial, we'll share some handy tips so you can easily replace color in Photoshop. Without further ado, let's get started!

In this article, you will learn:
How to Replace Color in Photoshop?
In your travel photos, the shirt or dress you wore might not match the scene or the look you're aiming for in post. You might want to use Photoshop to change your outfit's color, but feel a bit lost on where to start.
Next, we'll use changing the color of clothing in a photo as an example to share some Photoshop color‑replacement tips. Of course, swapping clothes colors is just one case. You can use the same tricks to replace any object's color in your image.
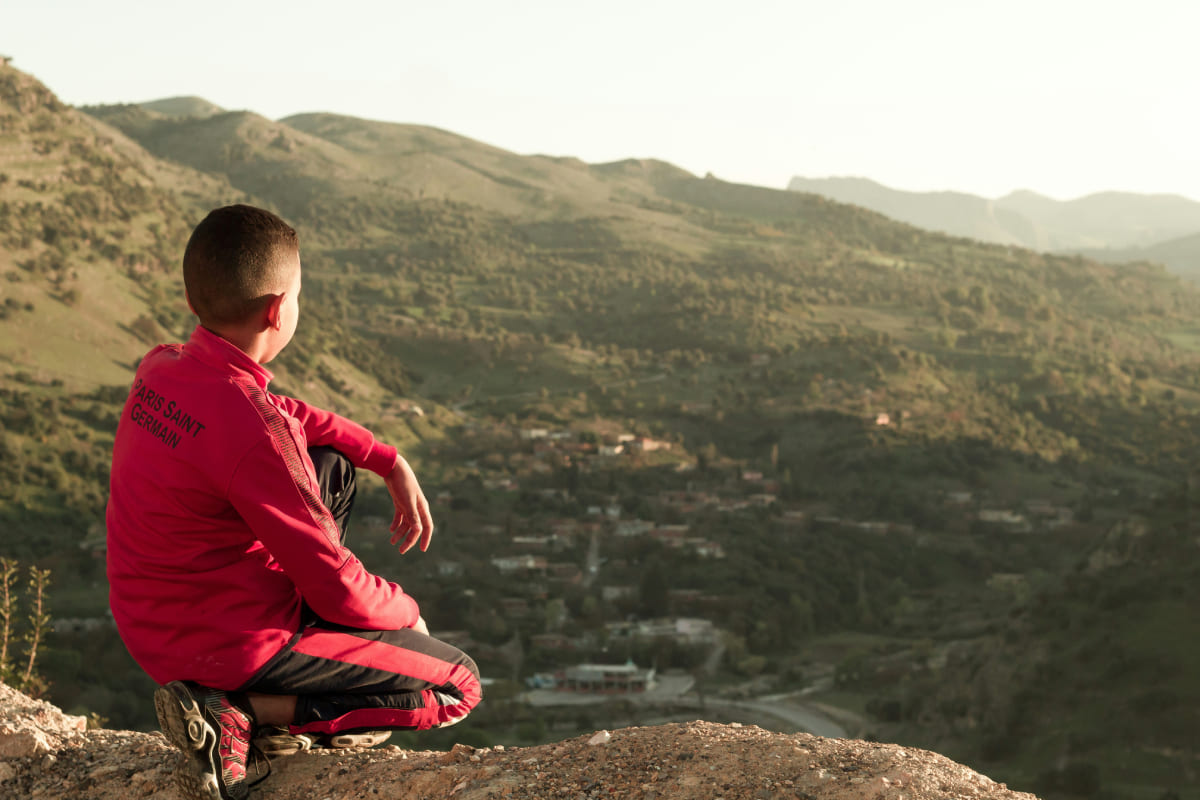
First, let's look at this photo. The boy is wearing a bright red jacket. There's no red in the background, so his jacket stands out clearly.
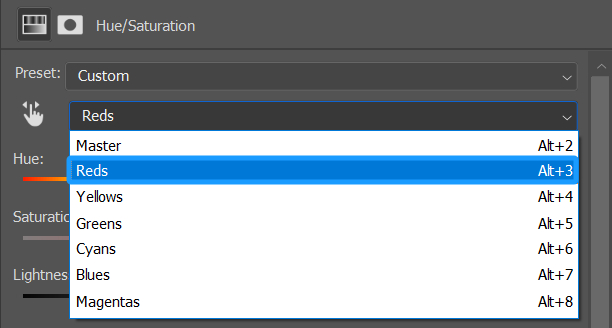
In this situation, replacing color in Photoshop is very easy. Just add a Hue/Saturation adjustment layer. Then choose the jacket's red in the dropdown and drag the Hue slider.
Say you want to swap red for blue — you'd simply move the Hue slider until the jacket turns blue. You'll also need to tweak the Saturation and Lightness sliders so the new color looks natural.
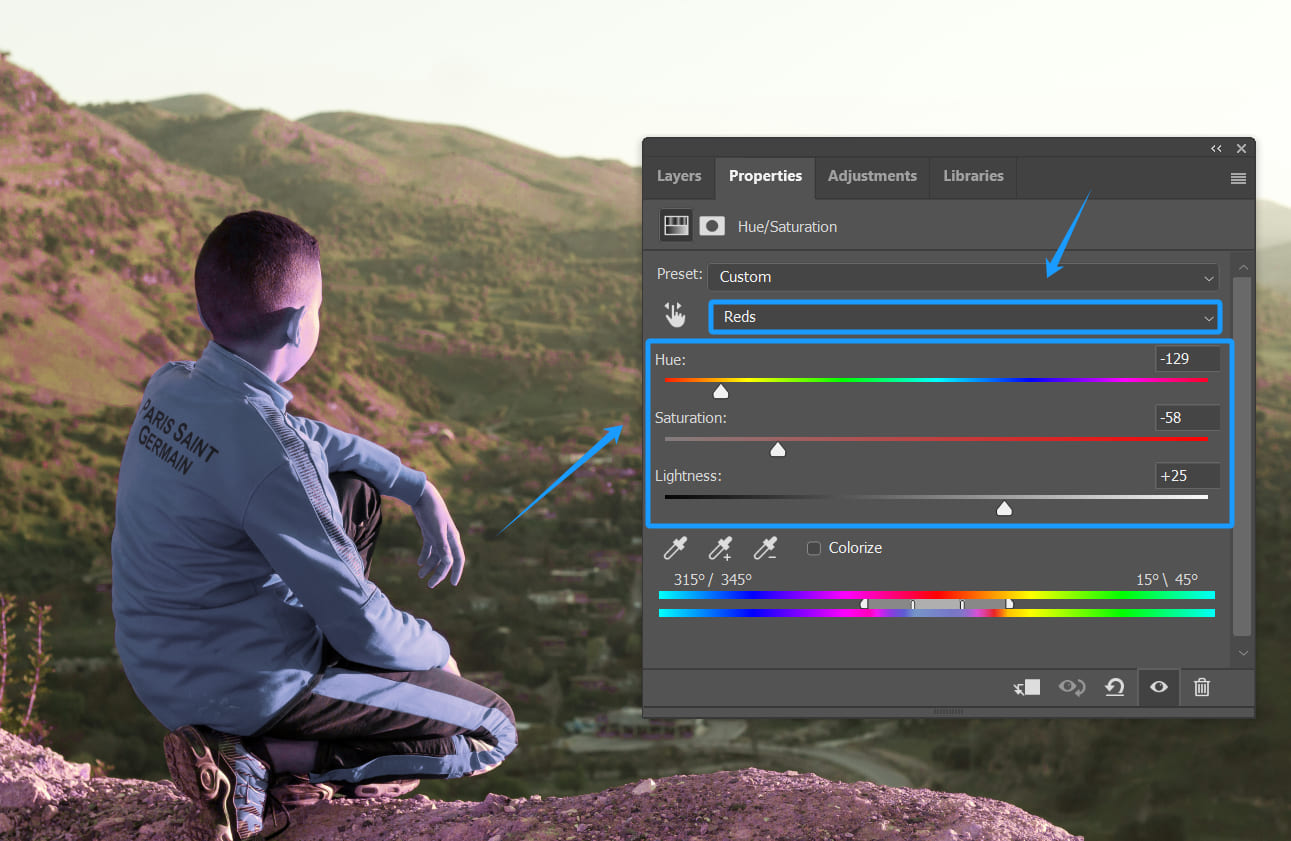
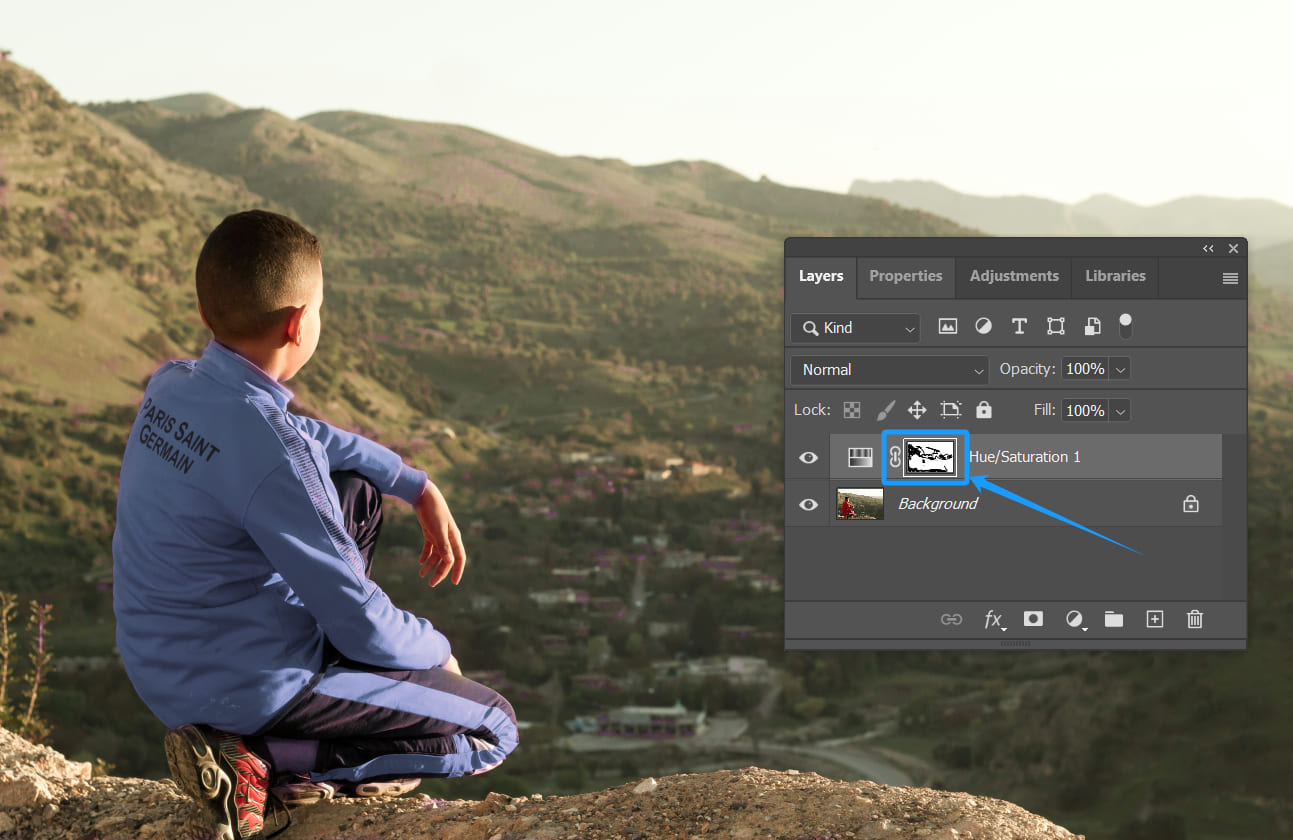
You may notice that parts of the background — like the hills, ground, or even the boy's face — shift hue, too. That's no big deal. Just grab a black brush and paint over those areas on the Hue/Saturation layer mask to hide the effect there.
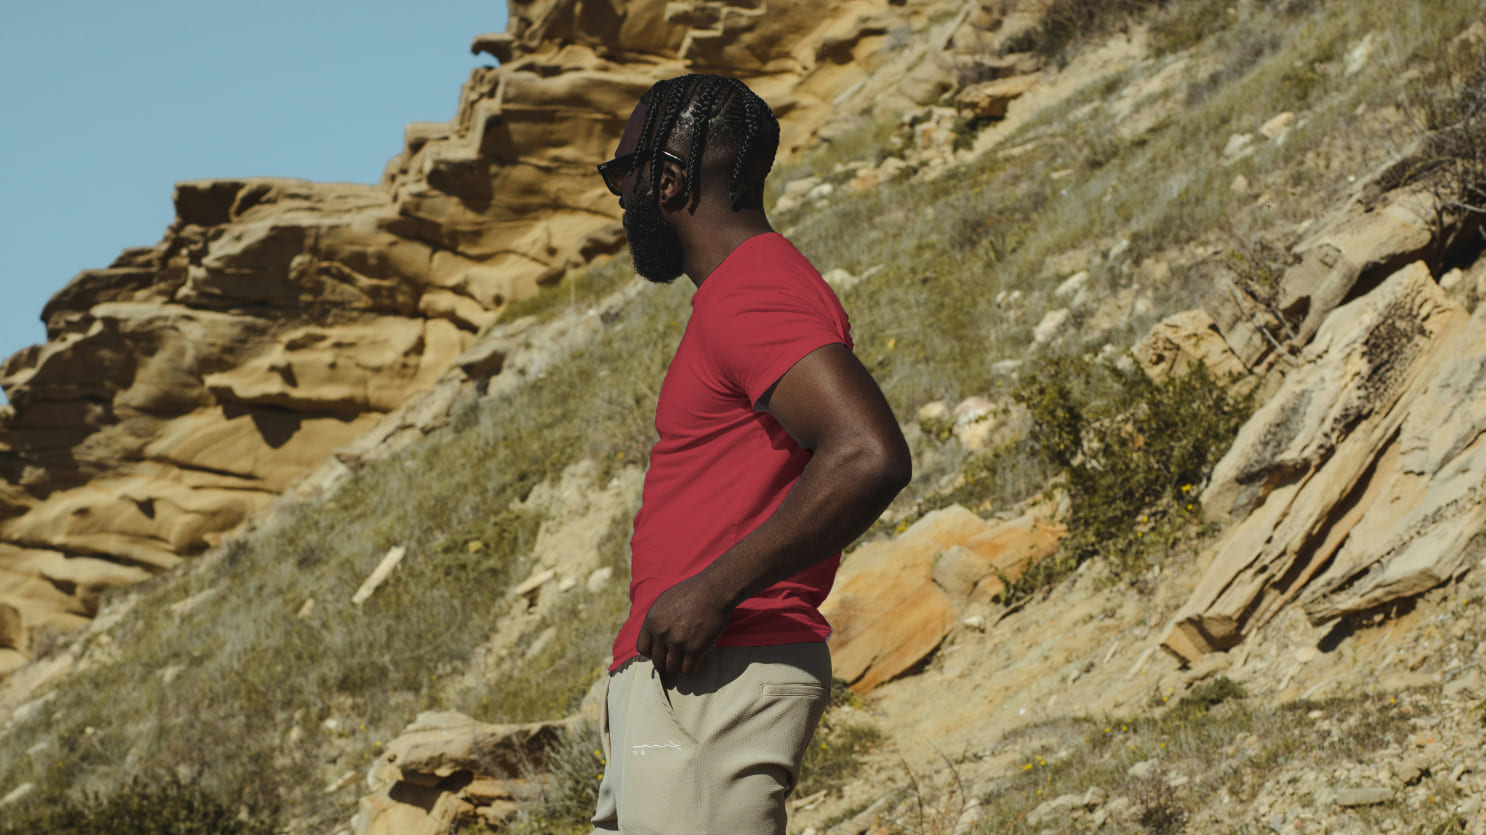
The method we showed above won't work in most cases. Take the man in this photo: his white T‑shirt is too light.
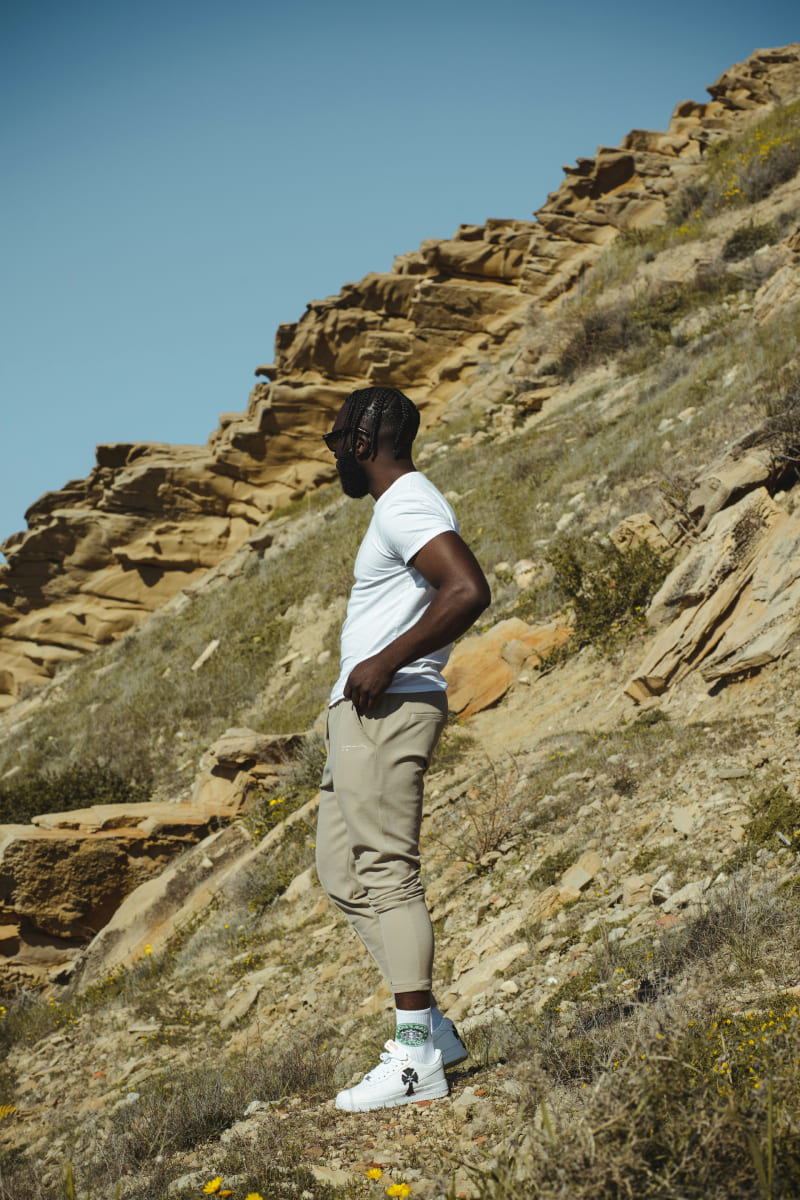
If you select the shirt with a selection tool and then try to adjust it with Hue/Saturation, you'll see the Hue slider does nothing. You can't replace the shirt's color.
Next, let's look at how to solve the problem of colors that are too pale to change with Hue/Saturation.
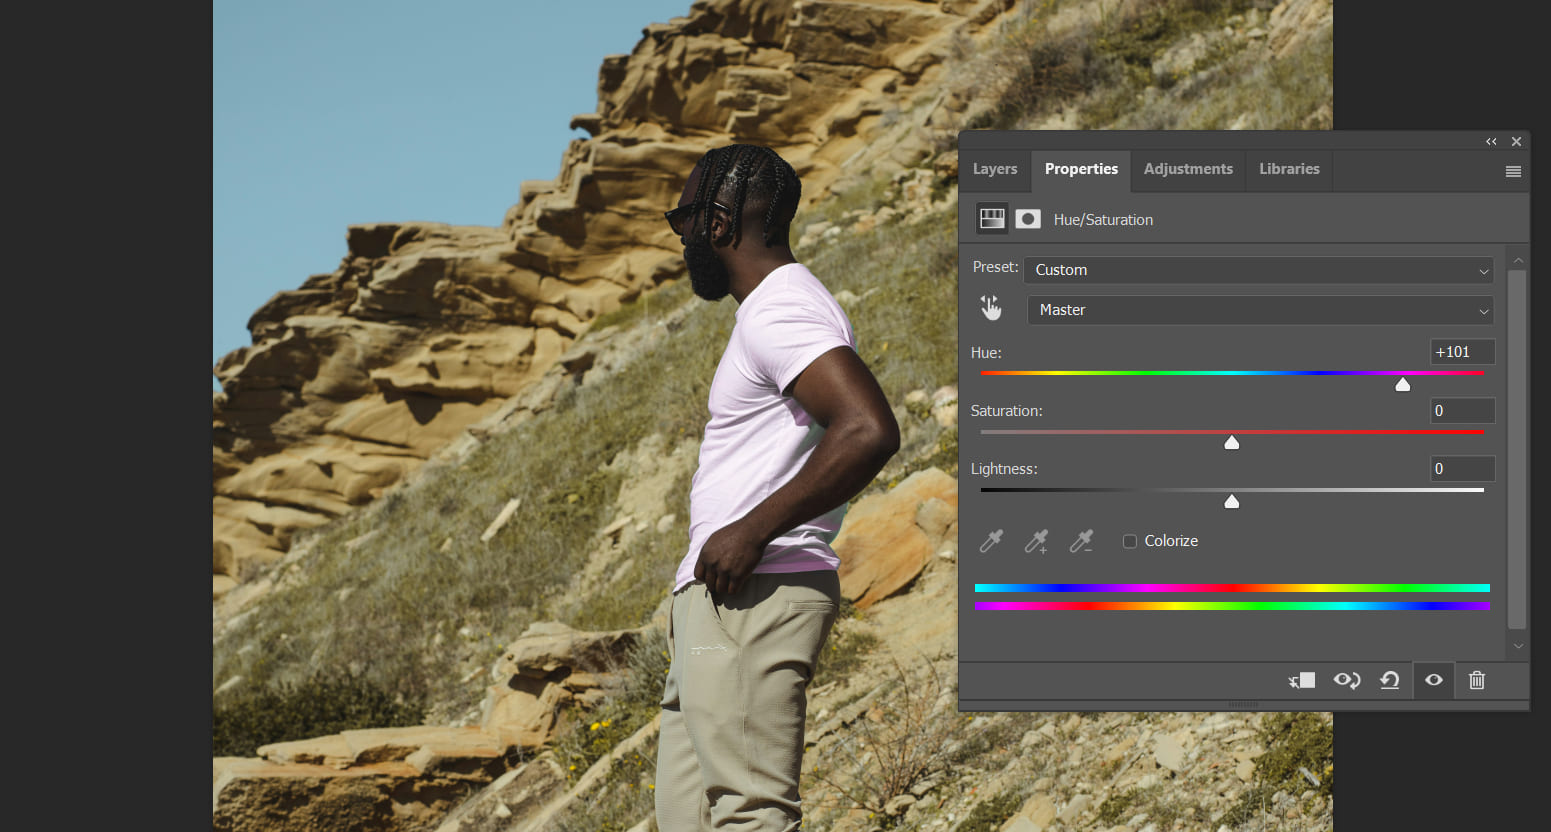
First, select the shirt using the Quick Selection tool or any selection tool you like.
Next, create a Hue/Saturation adjustment layer. Then drag the Saturation slider down to the minimum to remove any stray colors.
Because you started with a selection, Photoshop automatically added a layer mask of the selection to the adjustment layer. This means your saturation change only affects the T‑shirt, not the whole image.
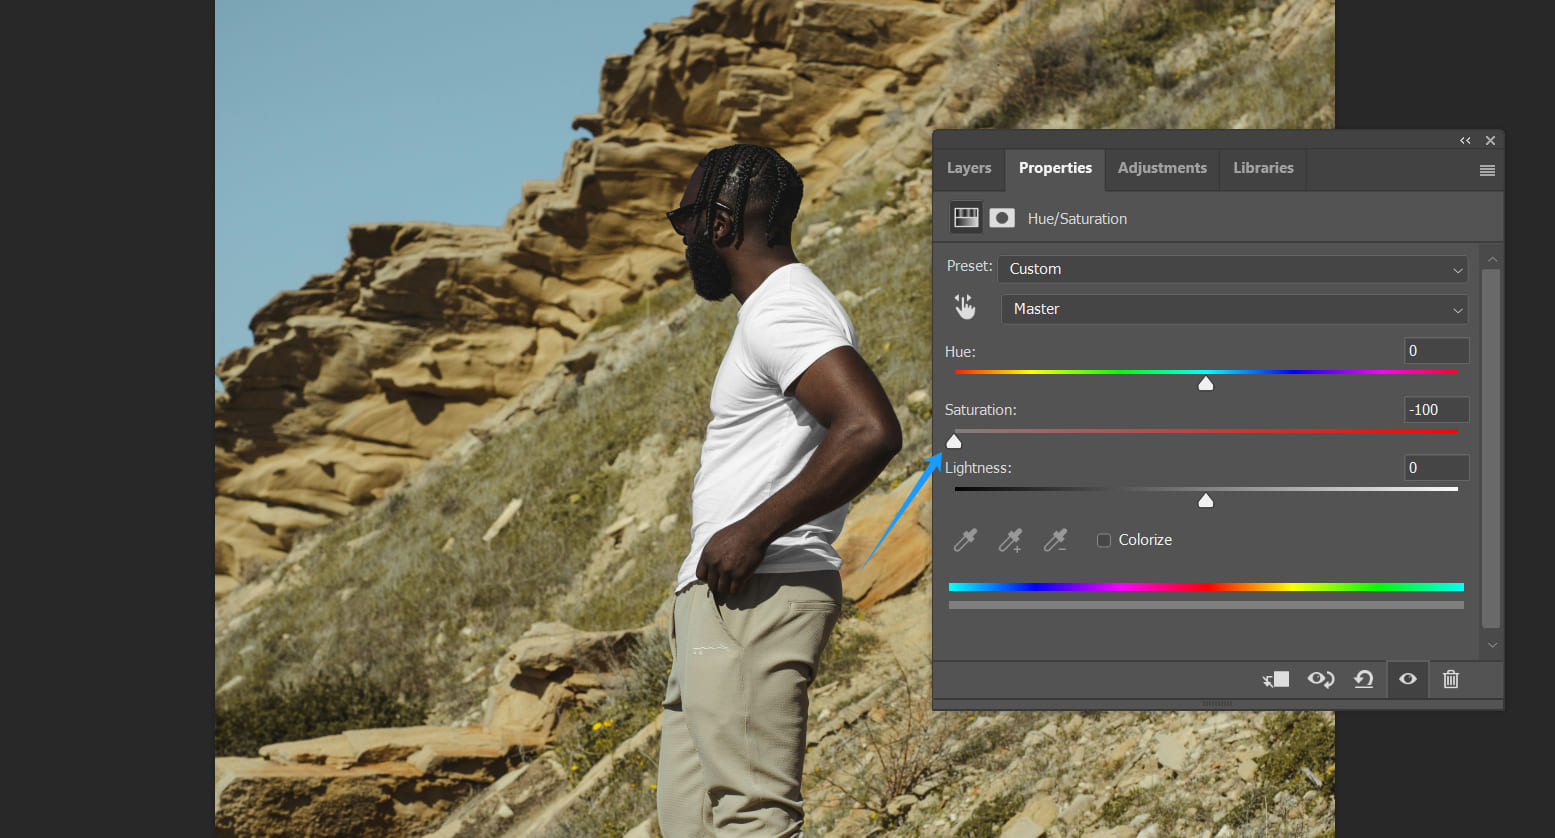
Next, create a Solid Color adjustment layer. Pick any color you like. Red is a good choice here.
Keep in mind, you rarely see a shirt that's 100% saturated, bright red in real life. A slightly darker, deep red will look more natural.
After you add the Solid Color layer, check its layer mask. If the mask is white, you've applied it to the whole image instead of just the T‑shirt.
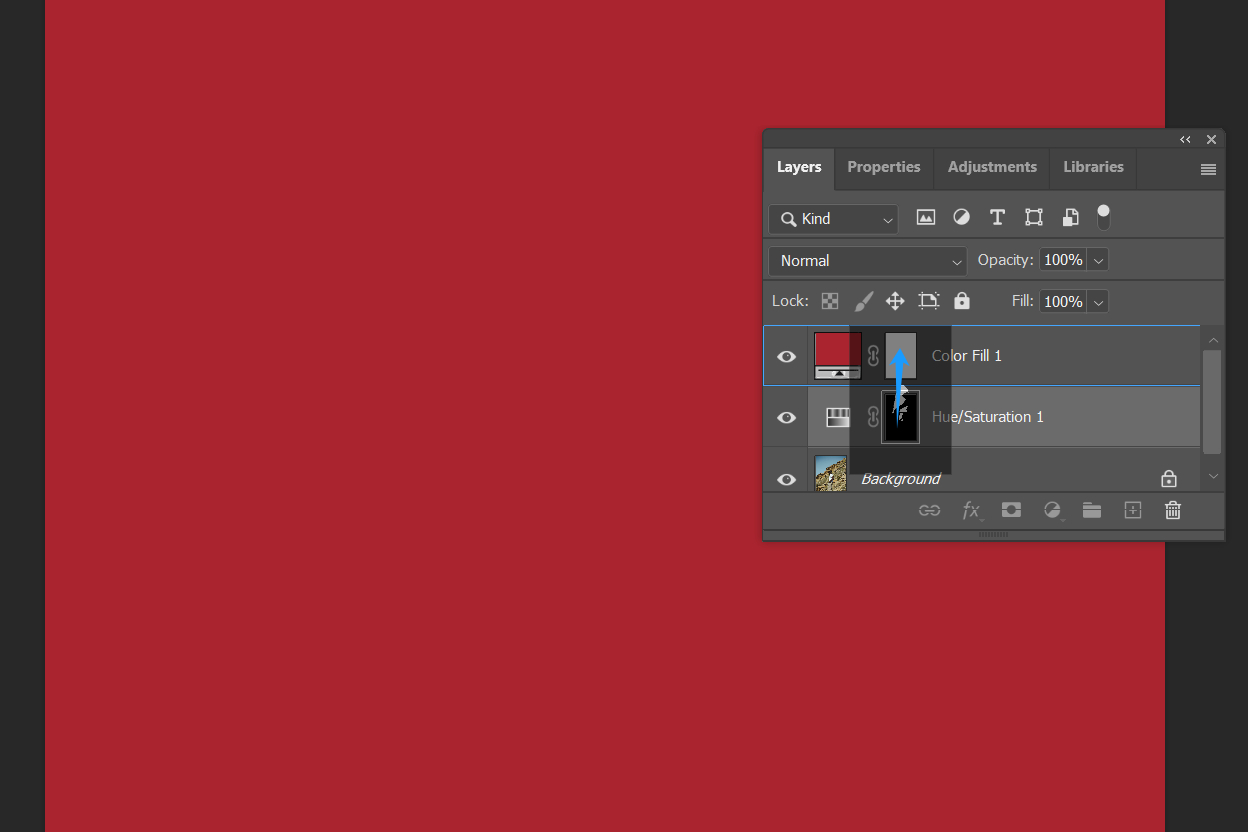
To fix that, hold Alt (Option on Mac) and drag the Hue/Saturation layer's mask up onto the Solid Color layer's mask. This copies the T‑shirt selection mask.
Alternatively, you can select the Background layer (while the selection is still active), then add the Solid Color layer. Finally, drag it above the Hue/Saturation layer.
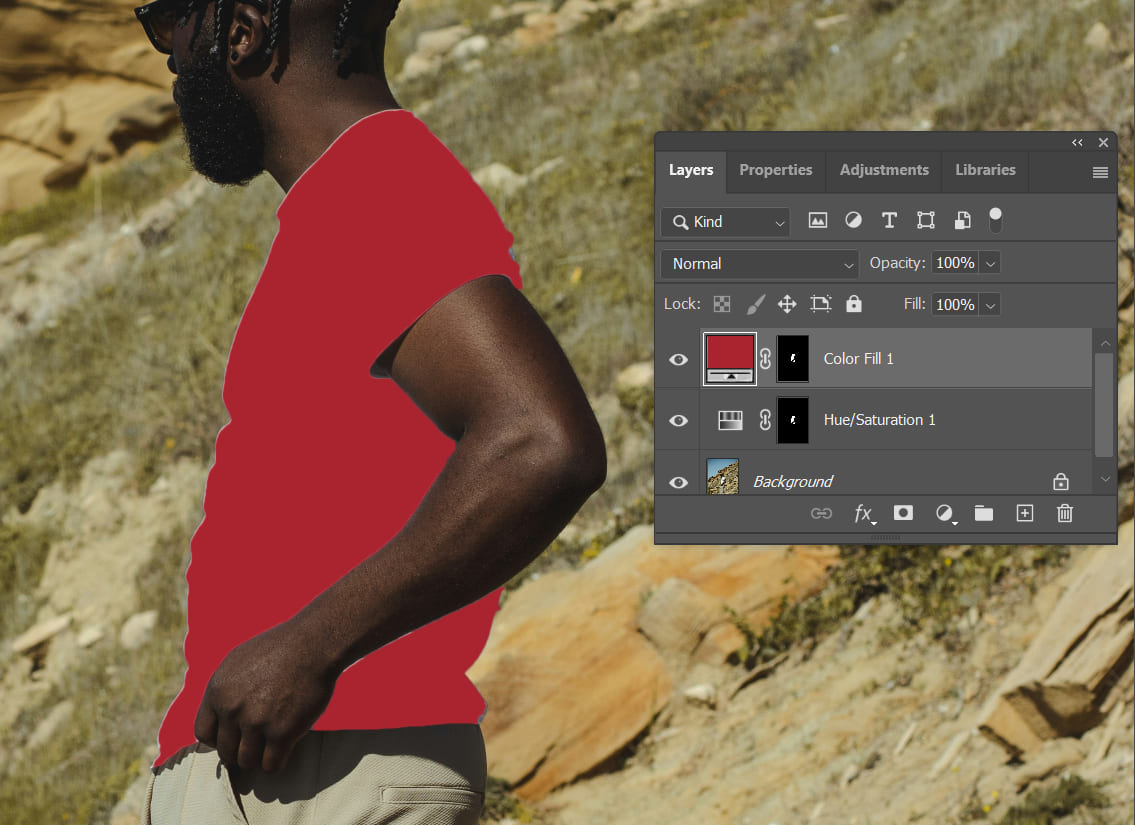
Now the white T‑shirt in the photo has turned red.
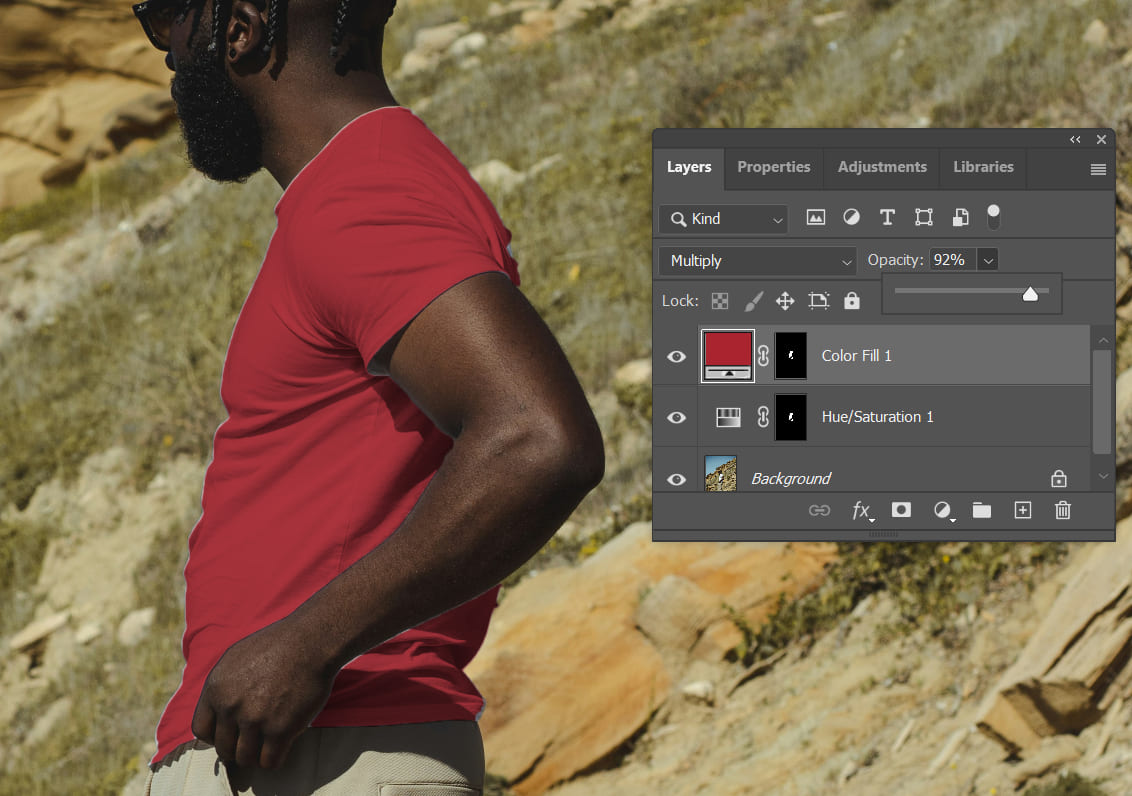
Of course, it doesn't look natural yet. For the final step, change the Solid Color layer's blend mode to Multiply and lower its opacity to make the color blend in.
This uses layer blend modes. If you're swapping a light gray item, Overlay might work better. Don't worry if you're not sure what each mode does. Just try them and pick the best result.
Further Reading:
Mastering Photoshop Blending Modes: How to Blend in Photoshop?
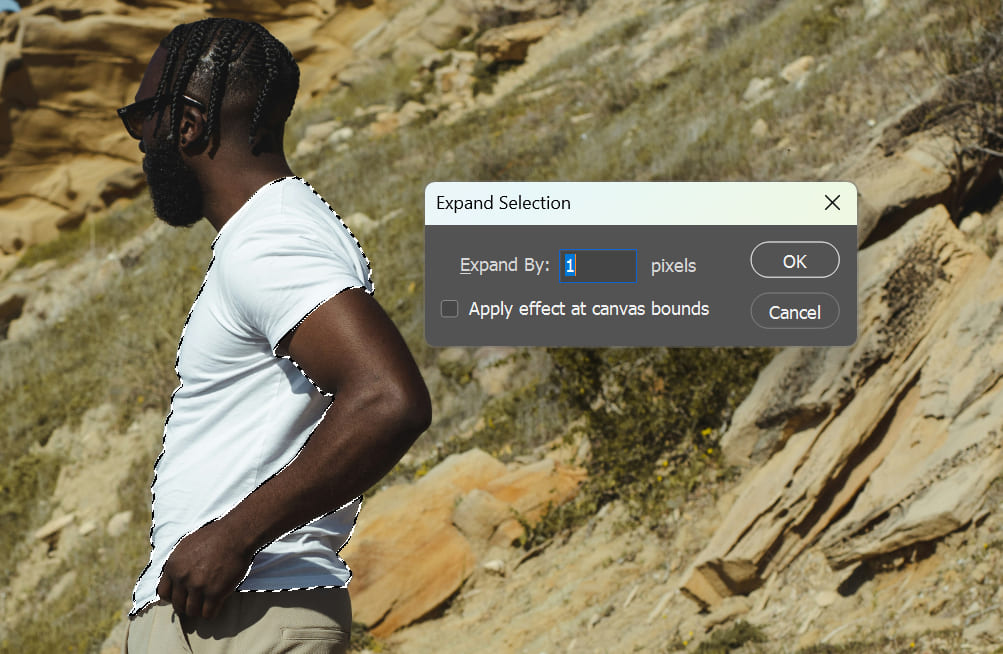
All finished? Hang on a bit longer. Look closely at the shirt's edge and you'll see a thin white line. This is a common issue.
Photoshop usually applies feathering or anti-aliasing to edges to avoid harsh lines. But feathering makes edge pixels semi‑transparent.
If the original background is light (especially white), those semi‑transparent pixels keep some of that color, and you end up with a white halo when you add a new background.
Fixing this is easy: right after you make your initial selection, expand it by 1 pixel. Then follow the same steps. No white edge will remain.
All set! Let's take a look at the final result.
Conclusion
In this tutorial, we showed you how to replace color in Photoshop. We mainly used the Hue/Saturation adjustment layer. If you want to learn more about using this adjustment layer, click the link below to read our other article for extra tips.
Further Reading:
Finally, if you find creating adjustment layers in Photoshop a bit tedious, you might want to try TourBox, a controller favored by many digital artists and photographers.

With TourBox, you just press a button to create the adjustment layer you need. You can map your favorite shortcuts and actions to TourBox, making complex tasks feel as easy as using a game controller.

TourBox can seriously speed up your workflow and improve your experience in creative software like Photoshop. Whether you're editing photos or doing digital painting, TourBox simplifies your process so you can focus on creating. If you're interested, give it a look!