How to Undo in Premiere Pro?
A complete video project requires multiple adjustments, modifications, and comparisons before it's finalized. However, even the most experienced editing masters make mistakes. That's where the undo feature becomes crucial.
Premiere Pro's undo functionality allows creators to revert their most recent changes. In this tutorial, we'll guide you through mastering the techniques of how to undo in Premiere Pro.
You can effortlessly and quickly undo errors in Premiere Pro, eliminating frustrating moments of defeat.

In this article, you will learn:
- How to Undo in Premiere Pro?
- How to Redo in Premiere Pro?
- How to Use the History Panel to Undo in Premiere Pro?
- Final Thoughts About Undoing in Premiere Pro
How to Undo in Premiere Pro?
When editing videos or audio in Premiere Pro, if you've made a mistake in your previous step or are unsatisfied with the results, you can use the "Edit > Undo" command in the top menu bar to undo that action.
By selecting the command consecutively, you can undo multiple previous steps.
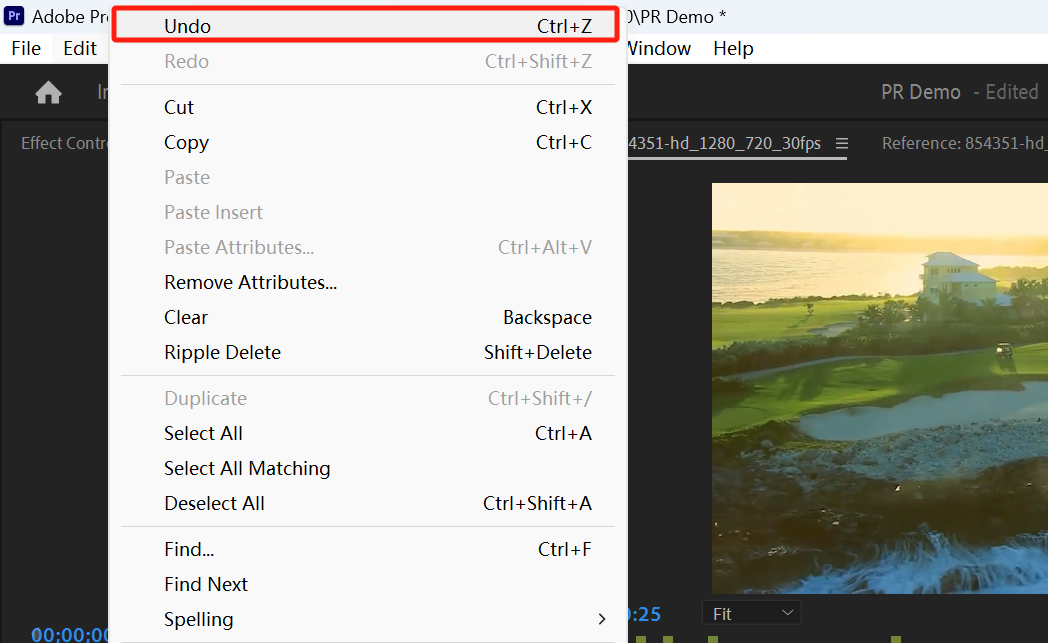
In addition to selecting the command from the top menu bar, you can use the keyboard shortcut "Ctrl + Z" (or "Cmd + Z" on Mac) to undo the most recent action.
Using keyboard shortcuts allows you to quickly undo the most recent changes, making it much easier than navigating through the menu bar.
Similarly, if you want to undo multiple steps, you can press the keyboard shortcut multiple times to revert to the desired step you want to restore.
The advantages of using keyboard shortcuts for undo in Premiere Pro are evident. It allows you to quickly revert to a previous state without wasting time searching for the undo command in the menu.
Of course, another creative tool can make tedious video editing tasks much easier: TourBox, a beloved tool among digital artists and content creators.

You can assign the undo operation in Premiere Pro to one of the buttons on TourBox. With just one hand controlling TourBox, you can accomplish various complex tasks with fewer actions.
Check out our video editing page to learn how TourBox simplifies every video editing process step.
How to Redo in Premiere Pro?
Since Premiere Pro has the undo feature, it naturally also has the redo command, which allows you to reverse an undo action.
You can redo the previously undone action by selecting the "Edit > Redo" command from the top menu bar in Premiere Pro.
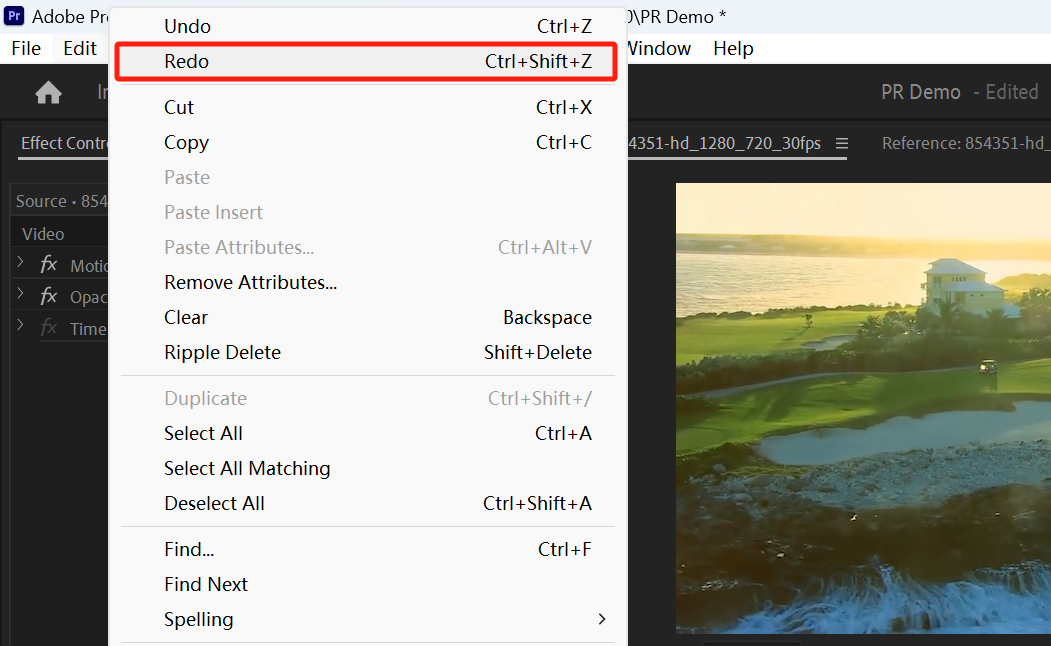
For example, if you delete a clip on the timeline and later decide to undo that action, you can restore the clip using the "Undo" command.
However, if you change your mind and still want to delete the restored clip, there's no need to repeat the deletion process. Simply execute the "Edit > Redo" command.
The keyboard shortcut for redo in Premiere Pro is "Ctrl + Shift + Z" (or "Shift + Cmd + Z" for Mac). You'll notice that the undo and redo shortcuts in Premiere Pro are the same as those used in most other software applications.
How to Use the History Panel to Undo in Premiere Pro?
If you want to undo several steps and bring your project back to a specific state since it was opened, the History panel might be a better option for you.
The History panel is usually located on the right side of your Premiere Pro workspace. If you can't find it, you can reactivate the panel by going to the "Window" dropdown menu in the top menu bar.

Extra Tips:
- Once you close and reopen your project, you won't be able to restore previous states from the History panel.
- When selecting a state in the History panel, the history changes below it will appear dimmed. If you make additional changes to the project at this point, all the previously dimmed history states will be removed.
Final Thoughts About Undoing in Premiere Pro
Undo is a crucial feature in Premiere Pro as it allows you to experiment with new editing techniques with confidence, knowing that you can always revert any changes.
However, there are a few things to keep in mind when using the undo feature:
- In any Premiere Pro panel, you can only undo the most recent 32 project changes in a row. If you've made many changes and want to go back to an earlier state, you'll need a backup file or manually revert the project.
- If you rely too heavily on undoing in Premiere Pro, you may lose track of the changes you've made, making it harder to find and identify errors.
Therefore, our advice is that Premiere Pro's undo feature doesn't guarantee absolute safety for your project. It's always a good editing habit to frequently save and back up your projects.
That concludes our tutorial on how to undo in Premiere Pro. We hope it helps you on your creative journey.
Product Recommendation:
If you're hearing about TourBox for the first time, why not try our latest product, TourBox Lite? TourBox Lite offers excellent value for the price, and you're sure to love it.
