Night Sky Photography: A Beginner's Guide to Shooting and Editing
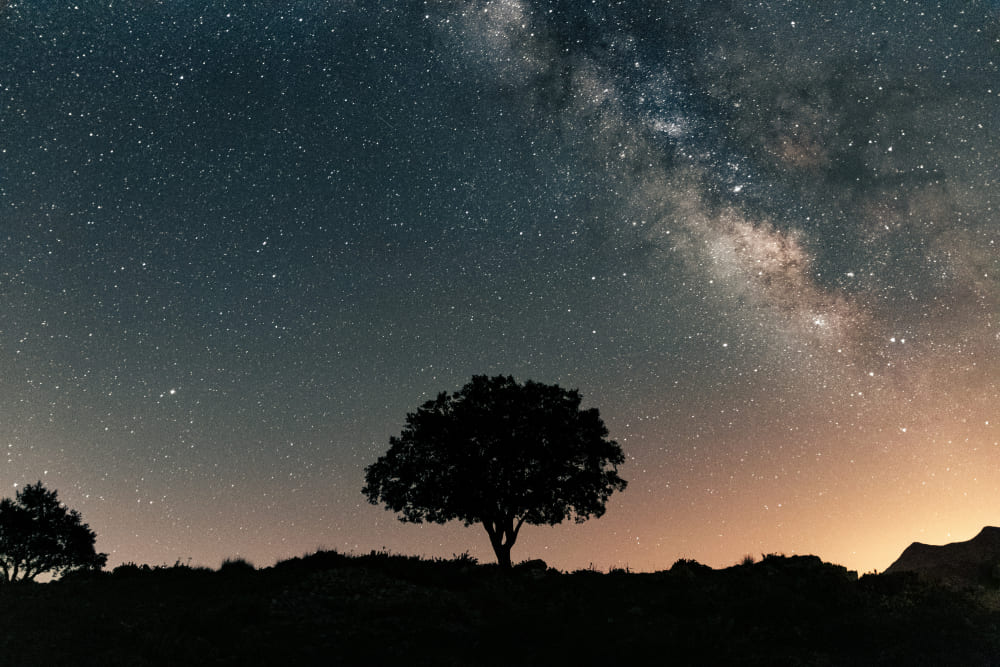
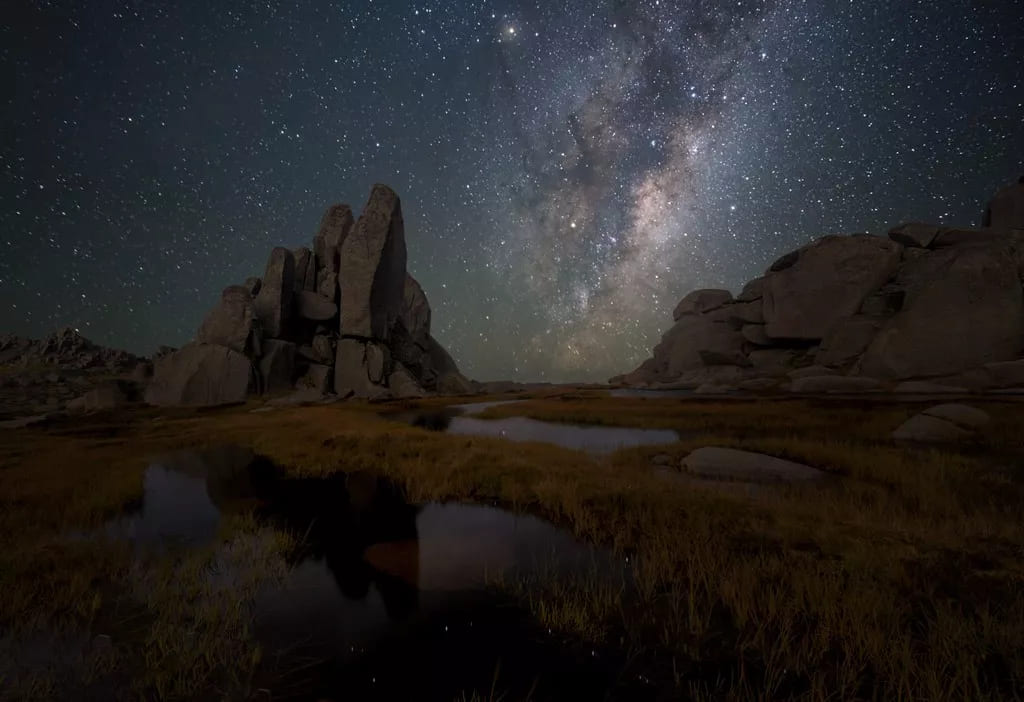
There's a romantic idea in astrophysics: the atoms in your body were born in the stars. If you've ever been far from the city and watched the Milky Way flow across the night sky, you probably felt it — a deep, quiet peace.
So, have you ever wanted to try night sky photography but didn't know where to start? Night sky photography may seem hard, but with some basic astronomy knowledge and the right camera techniques, many beginners can get great results.
In this article, we'll cover both shooting techniques and post-processing ideas to help you get started quickly with night sky photography.

In this article, you will learn:
- What Is Night Sky Photography?
- Shooting Tips for Night Sky Photography
- How to Post-Process Night Sky Photos?
- Conclusion
What Is Night Sky Photography?
Night sky photography can be divided into two main types: deep-sky (astrophotography) and nightscape (landscape + stars).
Deep-sky photography usually focuses on celestial objects like the Moon, the Sun, nebulae, and star clusters.
It can be split into close-up (planetary) and wide-field deep-sky work. This type often requires specialized, often expensive gear — guiding systems, equatorial mounts, cooled CCDs, telescopes, and so on. That's what people usually mean by "astrophotography," and we won't go deep into it here.
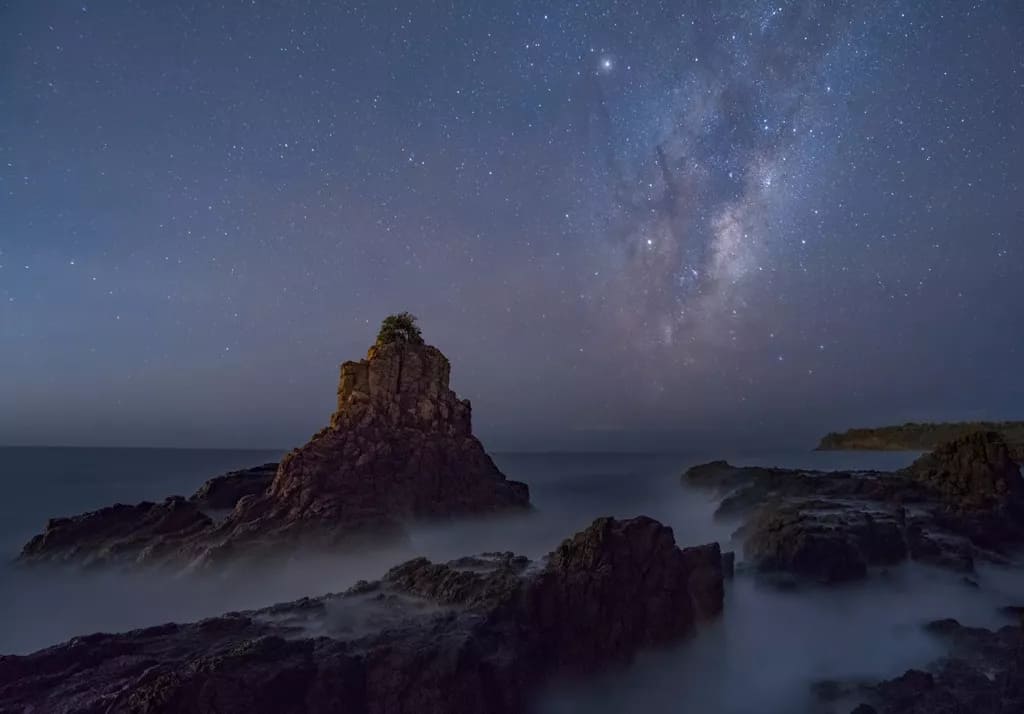
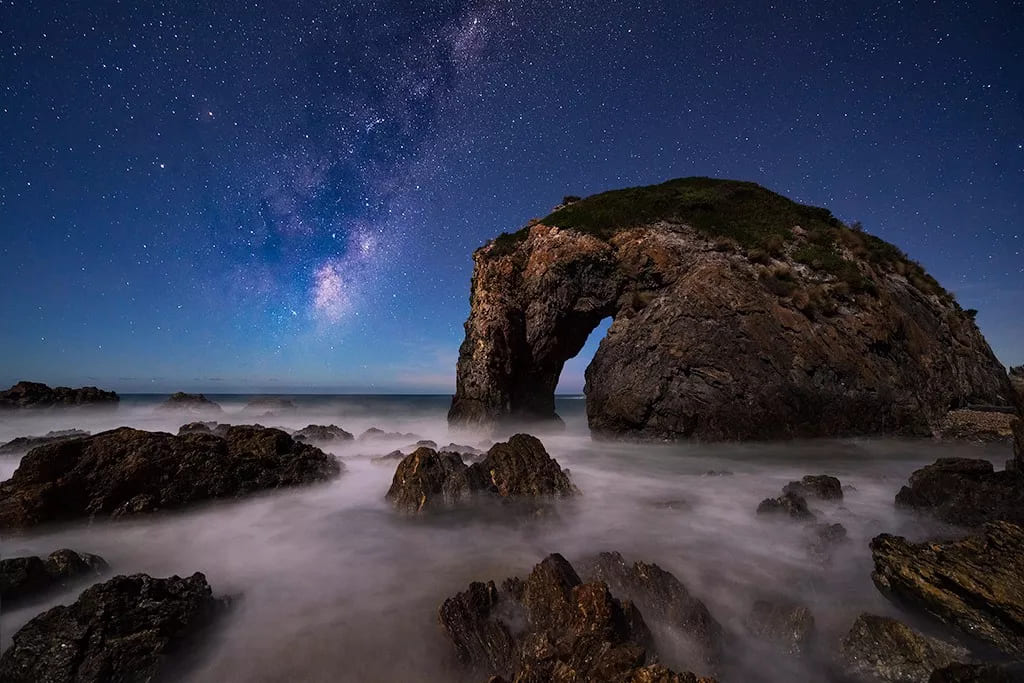
Nightscape photography, on the other hand, pairs foreground landscapes with the starry sky — the Milky Way, star trails, meteor showers, etc.
This is the kind of star photography you'll see in landscape work. Compared with deep-sky imaging, nightscape photography is more accessible. It relies more on composition and post-processing, which is exactly what this article will teach.
Shooting Tips for Night Sky Photography
1. Basic Astronomy You Should Know
Why do other people's photos show a sky full of stars, while your excited trip to shoot the Milky Way ends with only a few stars and a lot of disappointment? The simple reason is that the Milky Way wasn't actually in the part of the sky you were shooting.
Night sky photography is a special subject. It needs good shooting and post-processing skills. But knowing some basic astronomy is also key to getting it right.
(1) How the Milky Way Looks in the Northern Vs. Southern Hemisphere
The Milky Way is the milky band that crosses the sky. It's made of countless stars. Different parts of it have different brightness and width. The narrowest parts are about 4–5 degrees across, and the widest parts can reach about 30 degrees.
You can see the Milky Way on clear nights year-round. But when photographers talk about "shooting the Milky Way," they usually mean the galactic center. The galactic center is the brightest and most dramatic part.
If you've shot the night sky before, you know the galactic center appears in different places at different times. Its direction and the time it is visible change with the month and the season. Careful planning before the shoot is essential.
In the northern hemisphere, the galactic center is highest and most visible in summer. In winter in the north, you mostly see the fainter arm regions. The opposite is true in the southern hemisphere. Why does this change happen?
It's about the relationship between Earth, the Solar System, and the Milky Way. The Sun and the Solar System move around the center of the Milky Way. Because of the tilt and the angles involved, the part of the Milky Way we see changes with the seasons.
If you stay in the same place, though, the galactic center will appear in basically the same spot in the sky at the same clock time on nearby days. Small daily shifts are negligible.
Generally speaking, in most parts of the northern hemisphere, the galactic center can be seen from March through October. In most parts of the southern hemisphere, it's visible from February through October.
In the other months, you'll only be able to photograph the Milky Way's arm regions. Also note that the time it appears shifts later by about two hours each month on average. For example, in February–March the galactic center rises just before dawn. By October, it is setting below the horizon after sunset.
In northern winter and southern summer, the galactic center is up during daytime, and so we can't see it at night. That happens because Earth's position in its orbit puts the Sun and the galactic center roughly in the same direction.
Because your location on Earth and the tilt of the axis matter, the Milky Way's shape and position look different in the two hemispheres. When you shoot the night sky, aim for scenes that can actually appear in nature. Avoid creating unrealistic composites in Photoshop that won't ever happen in the real sky — that can be embarrassing.
Overall, the southern hemisphere often has slightly better natural conditions for shooting the galactic center.
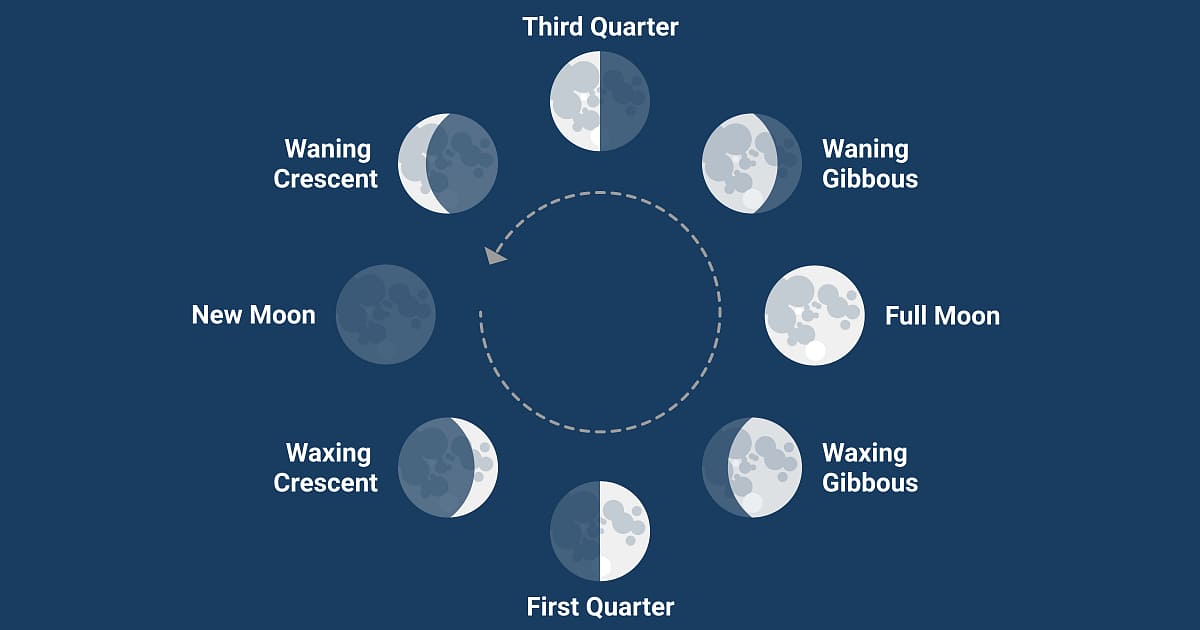
(2) How to Use Moonlight to Improve Your Shots?
Night sky photography always involves the Moon. When the Moon is full and high in the sky, it can wash out many stars. A bright moon night often leaves just a few visible stars.
Shooting the Milky Way under a bright Moon usually gives poor results. Learning the Moon's phases and rise/set times is essential for planning your shoot.
Many people think the Moon only rises at night. That's not true. Moonrise and moonset do not always match the day–night cycle. Sometimes the Moon rises during the day, and that's why you sometimes see the Sun and Moon in the sky at the same time.
Each month, there are nights with no Moon at all, and nights when the Moon is up all night.
To avoid strong moonlight when shooting the Milky Way, you have two main options: shoot before moonrise or after moonset, or shoot during a crescent phase. A thin crescent gives you useful foreground light without washing out the Milky Way.
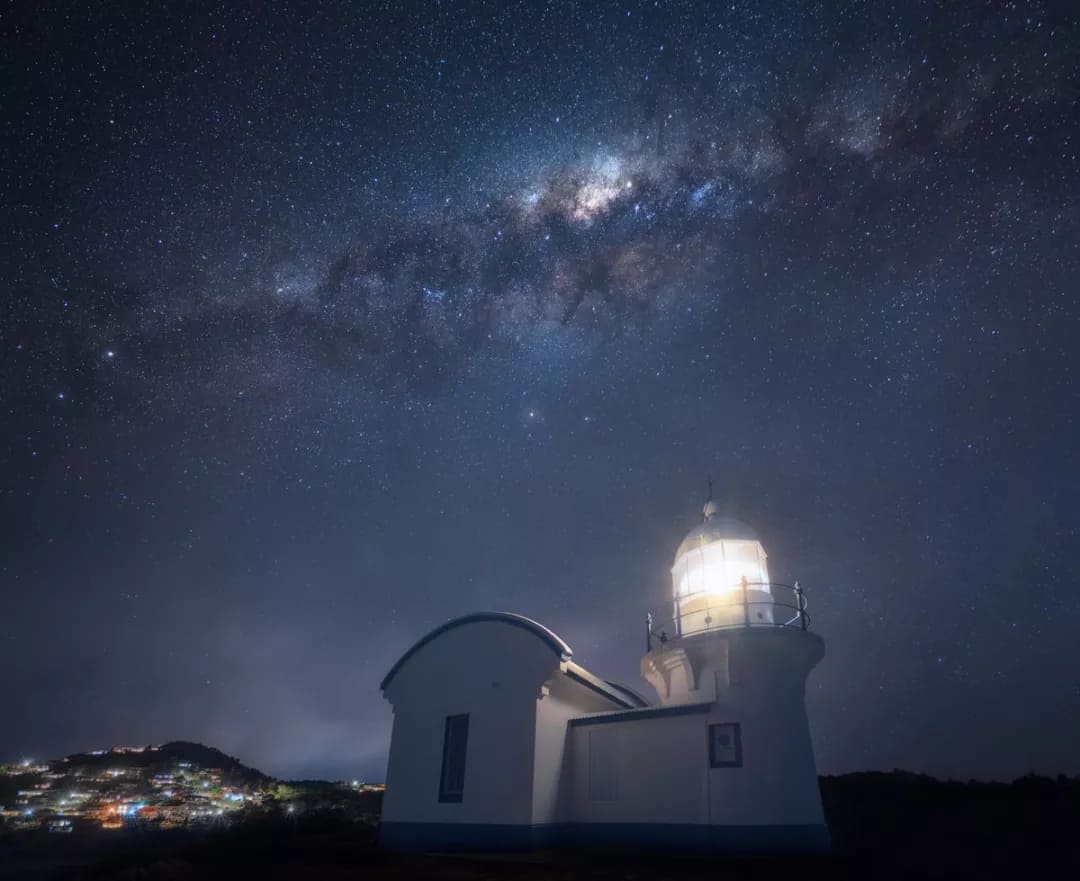
Used well, the Moon can actually improve your image. A more advanced technique is to shoot around moonrise so the Milky Way and the rising Moon appear together. Moonrise often colors the sky in warm tones, similar to sunrise. Watching that warm light spread over the landscape at night can look magical.
But the window for this shot is short, only a few minutes, because once the Moon rises fully, it will quickly overpower the Milky Way. This method requires precise planning and solid shooting skills.

2. Shooting Conditions for Night Sky Photography
(1) Weather
Pick a clear night or one with only thin clouds. Check the weather forecast and satellite cloud maps before you go. Thin clouds can act like a soft filter and give the stars a dreamy look.
(2) Location
City lights wash out the stars, so go somewhere with little light pollution. Air quality matters too — higher elevations usually have cleaner air and clearer skies.
You can check global light-pollution maps at these sites:
- http://www.lightpollutionmap.info/
- http://darksitefinder.com/maps/world.html
- https://blue-marble.de/nightlights
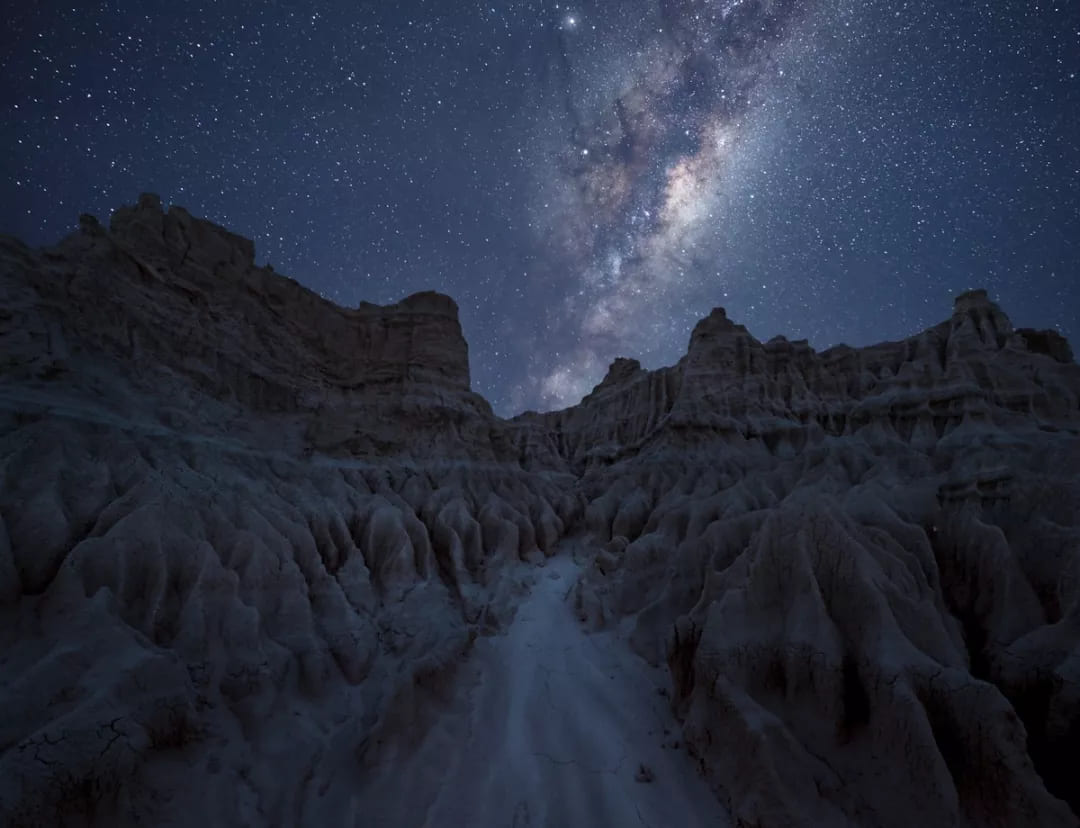
For example, in remote, clear parts of central Australia, the Milky Way can hang bright and detailed above the horizon. Photos taken there will show much more detail than shots taken near Sydney.

(3) Timing
First, pick the right season for the Milky Way. Then check when the galactic center rises and sets. Finally, use the moon phase to choose the best date and time.
Apps like PlanIt! for Photographers, PhotoPills, Distant Suns, and Stellarium give very accurate moon and Milky Way data. Use them to plan your shoot in advance.
3. Gear for Night Sky Photography
(1) Camera
A full-frame camera with good high-ISO performance is a big advantage over APS-C for night sky photography. You'll often shoot at ISO 3200–6400, sometimes even ISO 12800, so low-noise high-ISO performance matters for image quality.
(2) Lens
Use a fast, ultra-wide lens so you can fit both the foreground and the sky in the frame. Wide angles make composition easier.
Good choices include the Nikon 14–24mm f/2.8 and the Zeiss 15mm f/2.8. Other popular options are the Sigma 14mm f/1.8, Laowa 12mm f/2.8, and Samyang/Rokinon 14mm f/2.8.
These lenses can be expensive or heavy, and some have distortion to manage. Pick a wide, fast lens that fits your budget and needs.
(3) Tripod
Night sky shots need long exposures. A sturdy tripod is essential.
(4) Headlamp & Flashlight
Shooting away from cities means you'll often work in very dark places. A headlamp or flashlight is important for safety and for putting light on the foreground. They also help with focusing.
Other useful accessories: a remote shutter release (or cable release), GPS or location tools, warm clothes, insect repellent, and anything else that keeps you safe and comfortable in the field.
4. How to Shoot the Night Sky (Night Sky Photography)?
What should you shoot in night sky photography? Many people think that simply getting the Milky Way or star trails means success. They then forget about the foreground.
As we said above, night sky photography is part of landscape photography, not deep astrophotography. So the same composition rules apply.
Choosing the right foreground (the landscape) often decides whether a photo works. The Milky Way is like the sun or clouds — it's the big element in the scene and should work with the foreground. A common mistake is chasing star detail while ignoring the overall composition.
Technically, shooting the night sky is more complex than many other subjects. Light pollution forces us to shoot in dark places. That makes exposing the foreground and the sky correctly a big challenge.
Long exposures can brighten the foreground, but Earth's rotation makes stars move across the sky. If your exposure is too long, stars will streak and form star trails.
So how do you keep stars from trailing while still getting a proper exposure?
(1) Camera Settings
Start in Manual mode (M) and set your exposure so the stars stay sharp. Use the 500 rule: exposure time (seconds) should be less than or equal to 500 divided by the lens focal length (mm).
For example, with a 16mm lens: 500 ÷ 16 ≈ 30 seconds — so don't expose longer than 30 seconds. If you want less trailing at the edges, use the 400 rule: 400 ÷ 16 = 25 seconds.
Note: those rules are for full-frame cameras. For APS-C cameras, divide the result by your crop factor.
Shooting in such dark places with short exposure times can make images very dark. That's where aperture and ISO come in. Use a fast wide-angle lens and a high ISO to capture the Milky Way's detail. ISO 3200–6400 is a good starting point.
Won't high ISO create lots of noise? We will cover noise reduction methods later — modern workflows and tools can handle it. As for aperture, aim for f/2.8 or faster. f/4 is the practical minimum — the wider the aperture, the more Milky Way detail you'll capture.
(2) How to Light the Foreground?
In night sky photography, using the camera settings above without any extra light often leaves the foreground too dark. The scene can look black with no detail. How do you fix that?
The best option is to shoot around a thin crescent moon. Moonlight can softly light the foreground, and it looks natural. Ideally, the Moon is less than one-third lit. And remember: the brighter the Moon, the more it washes out Milky Way detail.
If you can't shoot on a crescent night, light the foreground yourself with a headlamp or flashlight. Practice is key — sweep the light gently so the result looks soft and even, not harsh.
Another common method is to shoot the sky and the foreground at different times and combine them in post. For example, take foreground shots after sunset or at dawn, and shoot the sky when the galactic center is visible. Or shoot the foreground during Blue Hour, then shoot the Milky Way later.
The big rule: do not move the camera between shots. If you're at the coast, check the tide times first.
You can also use long exposures (several minutes) for the foreground and blend that with a sky shot in Photoshop using masks. But long exposures and high ISO bring a lot of noise. Turn on your camera's long-exposure noise reduction, or use image stacking and shoot dark frames to improve quality.
(3) Manual Focusing Tips
In the dark, your camera usually can't autofocus. Switch to manual focus and use Live View. Zoom in on a bright star or a distant light on the screen, then turn the focus ring until the star looks sharp.
To focus the foreground, shine your headlamp on it so you can see details on the screen, then switch back to manual focus and fine-tune.
(4) Depth-of-Field Blending (Focus Stacking)
When you shoot with a wide-open aperture in low light, a close foreground may be out of focus in the same shot as the sky. One quick fix is depth-of-field blending.
Take two photos with the camera fixed on a tripod: one focused on the stars (foreground will be soft), and one focused on the foreground (sky will be soft). In post, use the sharp parts from each image and blend them in Photoshop to get everything in focus.
5. Quick Summary for Night Sky Shooting
- The Milky Way season is roughly March–October each year. April–July are the best months to shoot.
- Pick clear or mostly clear nights. Go far from city lights and try to avoid bright moonlight.
- Gear: a full-frame camera with good high-ISO performance, a fast wide-angle lens, and a sturdy tripod.
- Settings: ISO 3200–6400, f/2.8–f/4, 25–30 seconds.
- For composition, pay attention to how the sky and foreground work together. Use suitable methods to light the foreground.
How to Post-Process Night Sky Photos?
Because night sky photos use high ISO and long exposures, noise can seriously hurt image quality. Noise reduction is an essential step in night sky photography.
Which noise-reduction method is best? To answer that, first we need to understand how noise is made and what kinds of noise exist. Knowing that helps you pick the right fix.
1. How Is Noise Produced?
The size and design of a camera's sensor are big factors in how much noise appears. Different sensor designs and image processors handle noise differently, so noise levels vary by brand and model. Still, no digital camera has completely eliminated noise.
Noise comes from the sensor (CCD/CMOS) as it converts light into an electronic signal. During this process, unwanted random variations appear in the image. These look like tiny speckles or stray pixels and are often caused by electronic interference.
Bright areas get a strong signal, so their signal-to-noise ratio (SNR) is high and noise is low. Dark areas get a weak signal, so their SNR is low and the noise is high. In short, low light is the root cause of noise.
Shooting at high ISO doesn't actually make the sensor more sensitive. It simply amplifies the electronic signal the sensor already captured — and it also amplifies the noise.
2. Types of Noise and Their Characteristics
In night sky photography, there are three common kinds of noise. Luminance noise and color noise are random — their spots appear in different places each time. Hot pixels are fixed — they show up in the same spots under similar shooting conditions.
(1) Luminance Noise
Luminance noise looks like grain. It has no color and is similar to film grain.
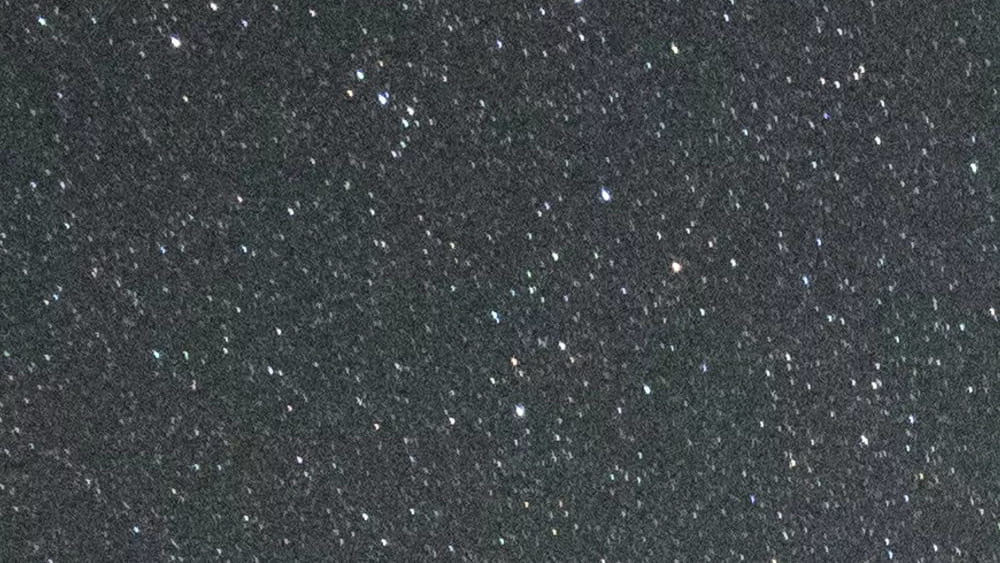
(2) Color Noise (Chroma Noise)
Color noise shows up as colored blotches. These blotches can be several to many times larger than luminance noise and often appear magenta or green. Because it's tied to low signal levels, color noise is most obvious in dark areas.

(3) Hot Pixels
Hot pixels appear as bright, colored dots in the image. They come from long exposures: the sensor heats up and certain pixels start to light up. Hot pixels tend to appear in the same places from shot to shot.
![]()
3. Five Common Noise-Reduction Methods
The five methods below are all effective. You can usually combine two or three of them to get better image quality. Or click the link below to read our other article on removing noise from photos:
Further Reading:
How to Reduce Noise in Images: Tips for Shooting and Editing
Before we get into the post-processing techniques, we want to recommend TourBox — a creative controller loved by photographers, digital artists, and content creators.

If dragging sliders with a mouse feels tiring and slow, try TourBox. It makes editing feel more like using a game controller. It gives great control and tactile feedback, and it lets you make very precise adjustments in +1 or −1 steps.

The biggest benefit is that TourBox helps you stay focused on your screen, so your creative flow isn't interrupted. If you're curious, visit our Photo Editing page to learn more about how TourBox can speed up your workflow.
(1) In-Camera Noise Reduction
There are two in-camera options: high-ISO noise reduction and long-exposure noise reduction:
- High-ISO noise reduction only affects JPEGs. It does not work on RAW files and can reduce fine detail.
- Long-exposure noise reduction (LENR) does help with noise, but it doubles the total time for each shot. For example, a 30-second exposure with LENR means the camera will spend another 30 seconds doing noise reduction. A 5-minute exposure means another 5 minutes of processing.
If you plan to shoot many frames for stacking, do not turn on LENR — the long pauses between shots will make stacking and alignment difficult.
Sometimes, a single shot plus in-camera NR and a post-processing plugin gives good results. For example, if a tree in the foreground stretches from the lake into the sky, it's hard to separate the foreground from the Milky Way for average stacking. In that case, a well-processed single frame can be a better choice.

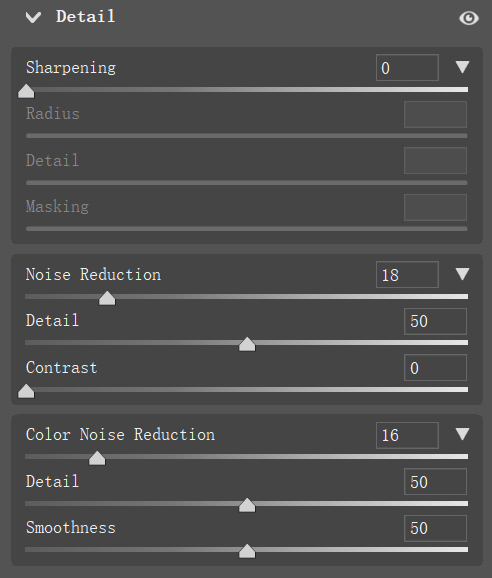
(2) Adobe Camera Raw / Lightroom Noise Reduction
Adobe Camera Raw (ACR) and Lightroom use the same noise-reduction controls. As a general rule:
- You usually don't need to change the Color Noise Reduction slider much.
- Keep the Noise Reduction (Luminance) slider under about 20. Setting it too high will soften details and reduce sharpness.
- Adjust settings to suit each photo. Every image is different.
(3) Noise-Reduction Plugins
Plugins like Nik Dfine, Noiseware, and Topaz DeNoise are all solid choices. They offer finer manual controls and are easy to use. Try a few and see which one fits your workflow and photos best.
(4) Mean (Average) Stacking Noise Reduction
Among all noise reduction methods, this is one of the most effective, though also one of the more complex. This technique is widely used in deep-sky astrophotography.
Further Reading:
Mean (average) stacking combines multiple shots by averaging the pixel values, which greatly reduces random noise. This is different from median stacking, which takes the middle value for each pixel and is better for removing moving objects or occasional bright spots like meteors or airplane trails.
If your camera stays perfectly still, take 6–10 shots in a row. The more images you stack, the better the result, but the improvement slows down after the first few shots. The biggest quality jump happens in the first 4–6 shots, so there's no need to shoot too many.
Because the stars appear to move relative to the ground, use masks to denoise the sky and the foreground separately.
(5) Dark-Frame Subtraction (Take Dark Frames)
This method targets hot pixels caused by long exposures. After your normal exposure, cover the lens with the cap and take another shot with the same settings. That dark frame is mostly black but contains the same hot pixels.
In Photoshop, put the real photo on the bottom layer and the dark frame on top. Set the top layer's blending mode to "Difference." The hot pixels will be removed.
Important: Take dark frames in the same session and the same environment. Hot pixels depend on the sensor and ambient temperature, so dark frames must match the conditions of your light frames.
Conclusion
In this article, we share night sky photography tips for both before and after the shoot. For beginners, that can feel like a lot to take in at once.
Don't worry. Remember a few key tips and settings, keep practicing, and you'll find what works best for you. Along the way, you'll learn more about the night sky and grow to love it even more.