A Simple Guide to Perspective Photography
The world is three-dimensional, but photos are two-dimensional. So, how can a photographer make a photo look more perspective and give it more spatial depth? Here are our suggestions.

In this article, you will learn:
- Tip 1: Obstruction and Vertical Perspective
- Tip 2: Linear Perspective
- Tip 3: Atmospheric Perspective
- Conclusion
Tip 1: Obstruction and Vertical Perspective
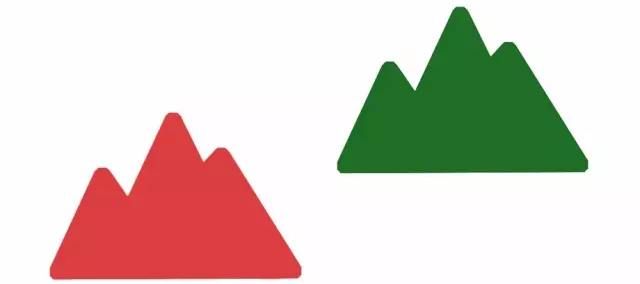
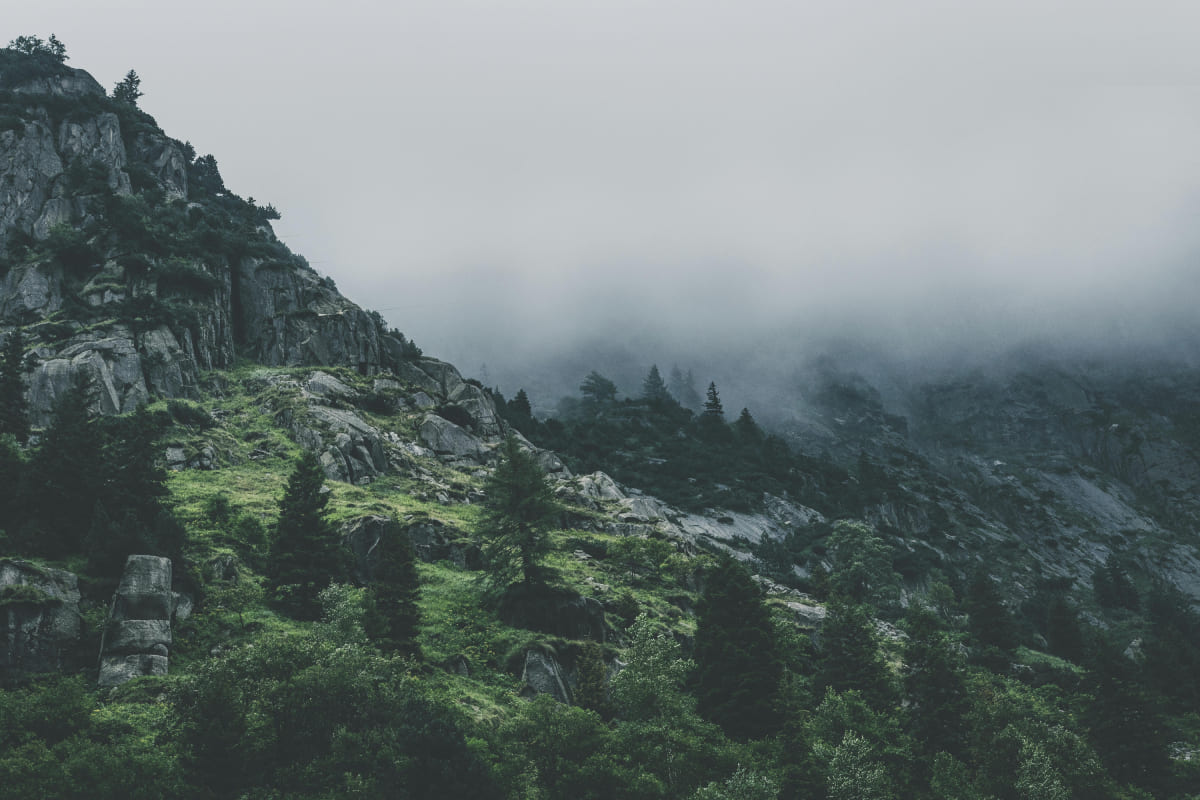
If we tell you that the green mountain on the right is actually farther away, you might find that confusing.
This is a typical photo with no depth and perspective. Without planning your composition, you might end up with a flat image that lacks a sense of space.
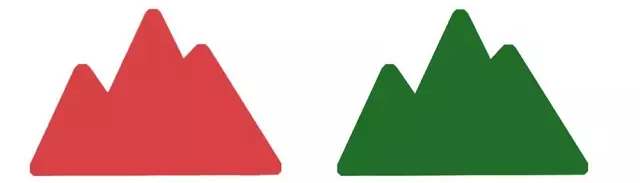
So, what techniques can show depth and perspective?
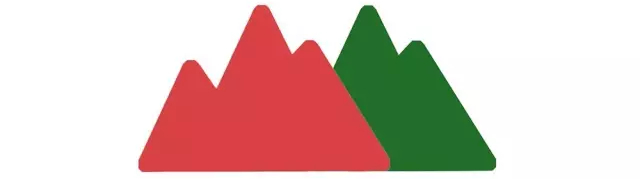
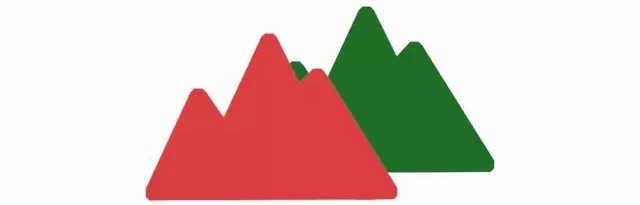
The first technique is very simple: "obstruction." This means using one object to partly cover another. This tells your audience that the partially hidden object is farther back.
For example, in our case, if you move a few miles to the left, the red mountain will block the green one. In the photo, the layers between the mountains become clear.
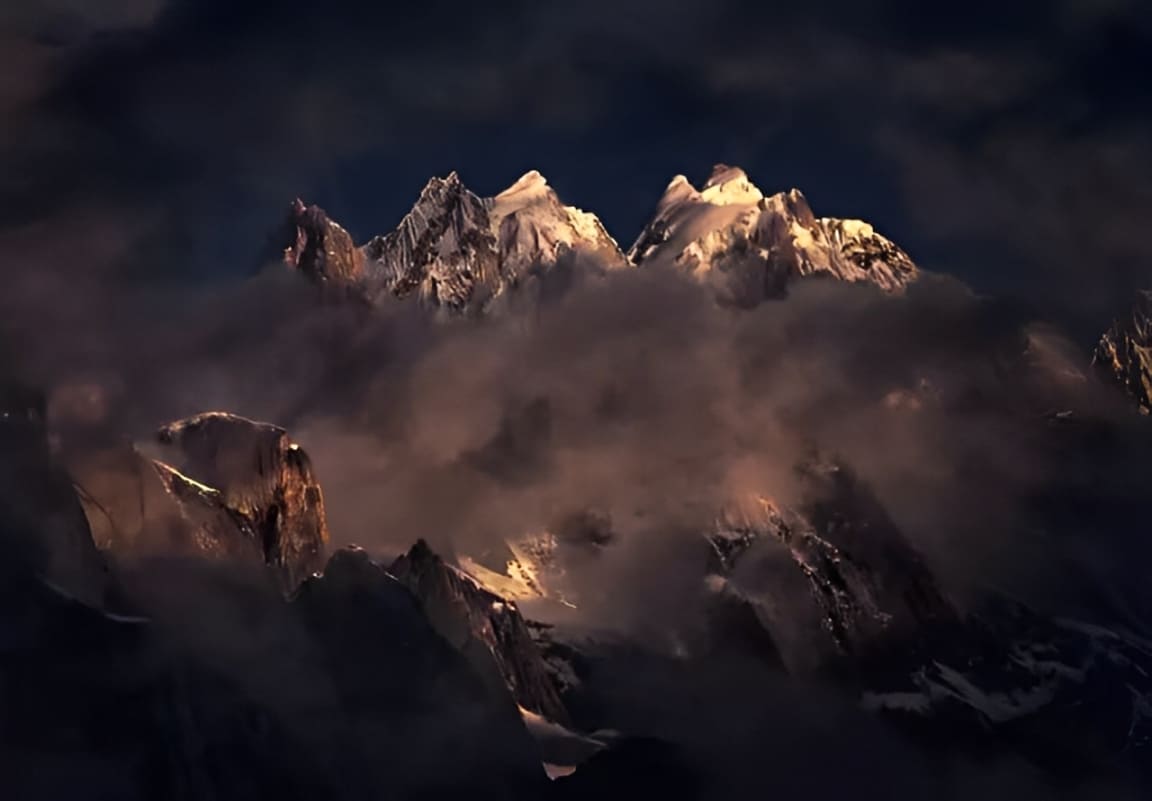
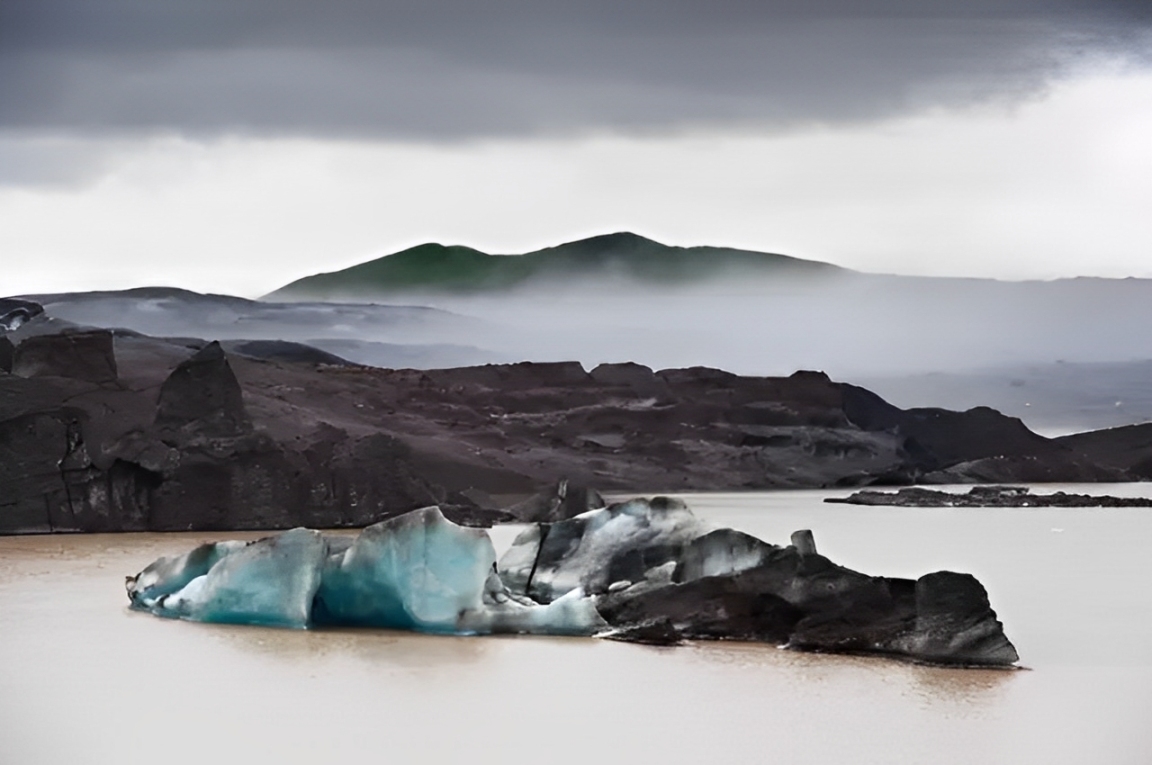
Take this telephoto shot of snowy mountains. The rocks block some of the mist; the mist hides part of the mountains; and the mountains block some of the blue sky. The rocks, mist, mountains, and sky are arranged in layers, making the front-to-back order very clear.
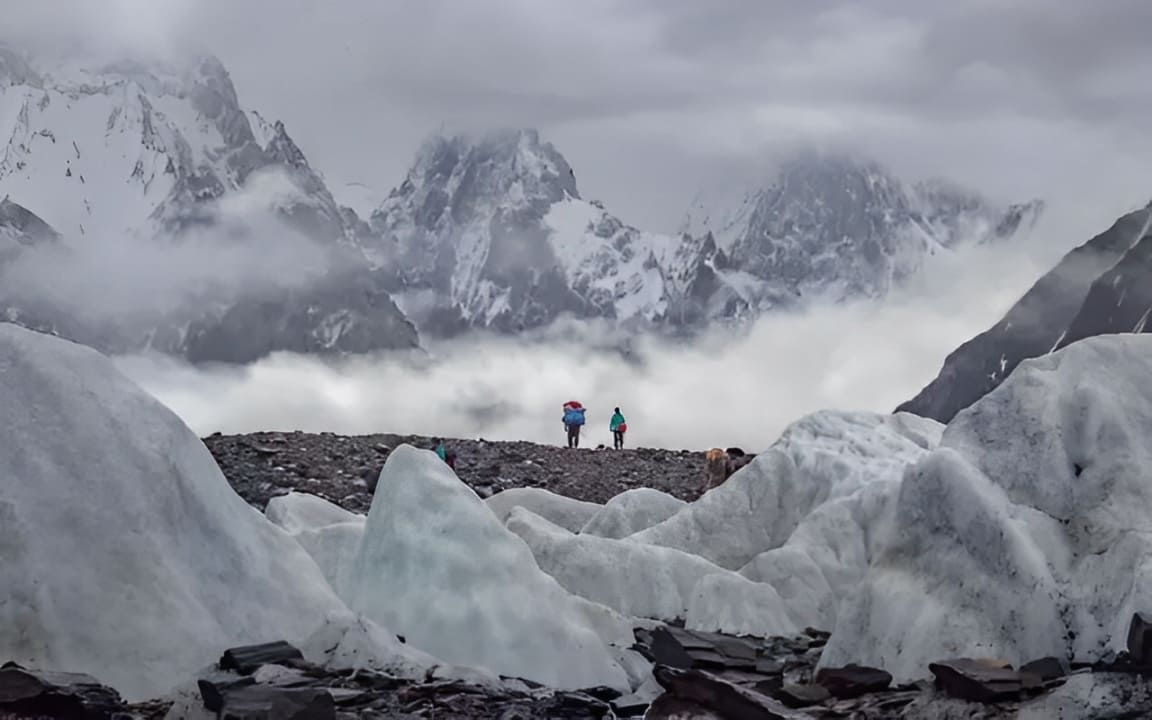
Another example is a distant shot taken with a 200mm lens. The glacier, rocks, people, mist, and mountains create depth through obstruction.
Apart from obstruction, classical painters often use vertical perspective to show layers.
Vertical perspective means placing the objects that are closer in the lower part of the image and those farther away in the upper part. In photography, creating vertical perspective is easy. Just get to a higher spot or raise your camera.
For instance, in the earlier example, if you climb a mountain or use a drone, the red mountain appears at the bottom and the green mountain at the top. This arrangement helps the viewer understand their positions.
Here's another photo that uses vertical perspective. A higher camera angle spreads the elements vertically, adding a sense of space.

Of course, when you combine both obstruction and vertical perspective, the sense of depth becomes even clearer.
For example, in the photo below, blue ice, a black glacier, thin mist, distant mountains, and the sky are arranged from bottom to top. With layers of obstruction, even a flat photo shows a real sense of three-dimensional space.
Both techniques can be achieved by changing the camera position during composition. Think about these ideas when planning your shot.
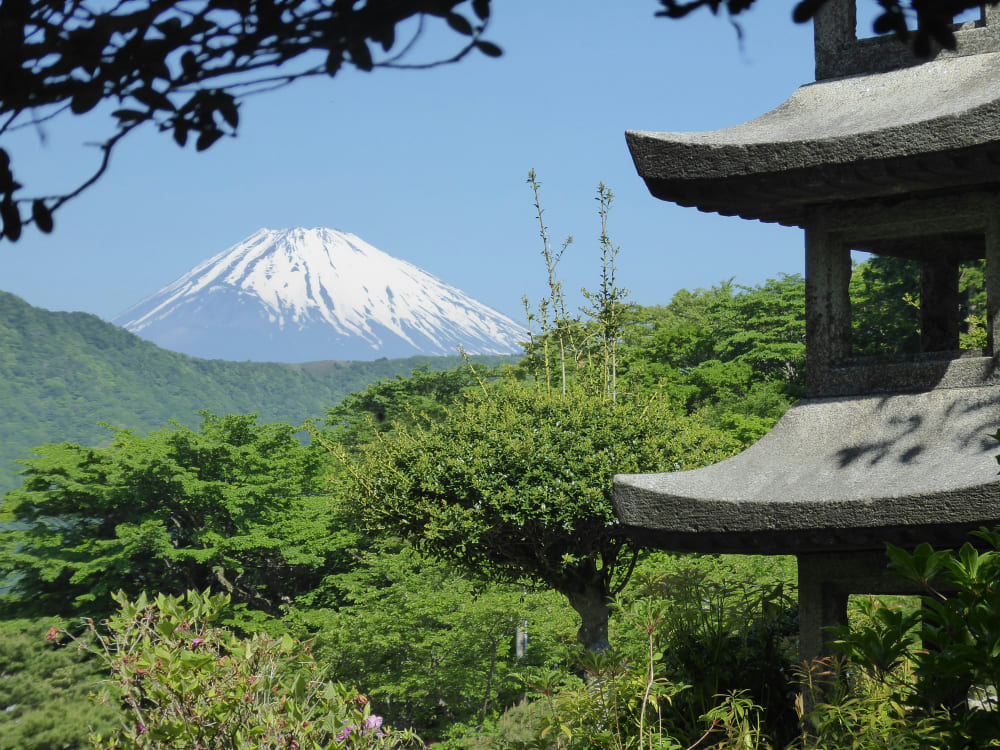
For example, if you want to shoot a forest with a small mountain behind it, shooting from ground level shows some obstruction and a bit of front-to-back order, but it might lack strong depth.
If you climb a hilltop, the forest and mountain will stack vertically and offer more depth, but the subjects may appear too separate.
The best spot might be halfway up the hill, neither too high nor too low. This position shows both obstruction and vertical perspective, giving the forest and mountain a richer sense of layers.
Tip 2: Linear Perspective
After the Renaissance, artists used linear perspective a lot in their paintings. This made many photographers today like using wide-angle shots to show depth through linear perspective.
Simply put, linear perspective means "closer objects appear larger, and farther objects appear smaller." Parallel lines will gradually come together in the distance until they meet at a vanishing point.
In photography, we often use three techniques to emphasize the layers in a scene: converging lines, repeated diminution, and an exaggerated foreground. These techniques, especially with wide-angle lenses, help show the clear separation between the foreground, midground, and background.
1. Converging Lines
Shooting with converging lines means using objects in a scene that stretch toward the distance and come together. This helps create a strong sense of space.
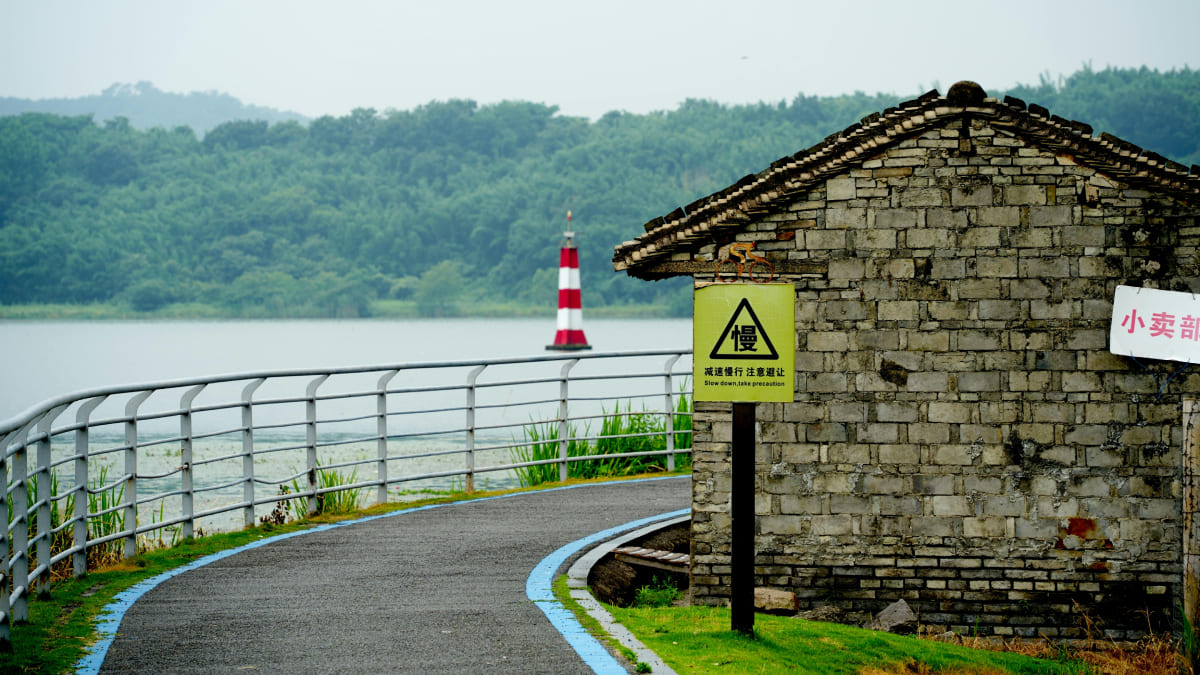
For example, in this daylight shot taken with the sun behind the camera, the lighting isn't dramatic, but the small road that narrows off in the distance adds perspective to the image.

Roads, rivers, and bridges are natural converging lines. Including them in your composition not only creates leading lines but also greatly enhances the overall sense of layers in your photo.
Sometimes these converging lines aren't obvious, and it takes a careful eye to spot them. For example, look at the image below. Can you see the converging lines?
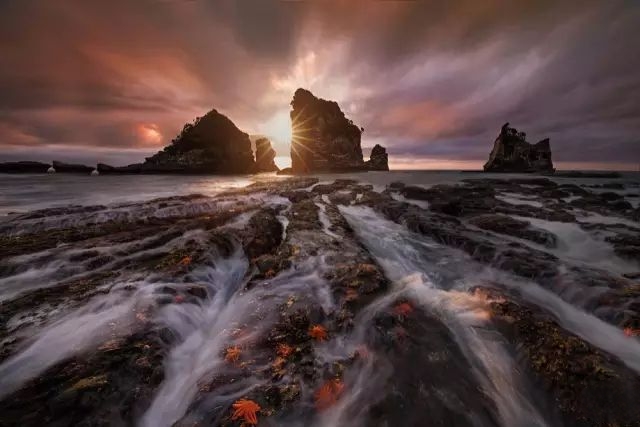
The photographer used natural rocks and flowing water to create clear converging lines. These lines guide your eye to the distant rocks and sunset while using linear perspective to express a three-dimensional feel.
2. Repeated Diminution
One key aspect of linear perspective is that objects appear larger when they're close and smaller when they're far away.
When you're composing a shot, especially with a wide-angle lens that emphasizes the foreground, look for repeating objects. These items will gradually shrink from the front to the back of the image, creating a clear sense of depth.
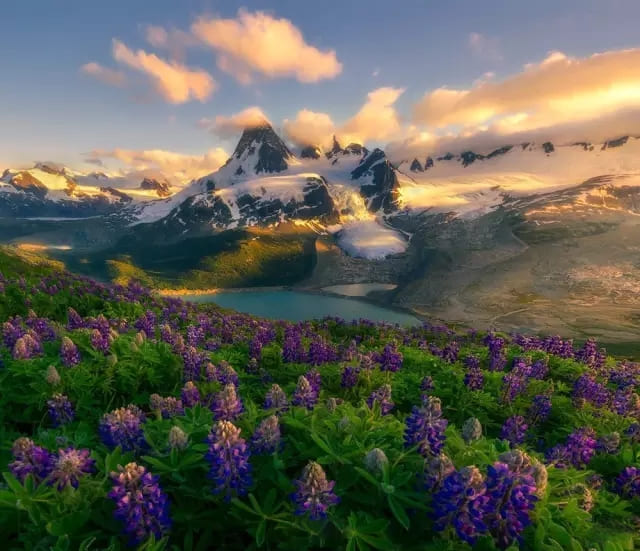
For example, in the photo below, the photographer captured a large area of similar flowers. Even though the flowers are nearly the same size in reality, they get smaller as they recede, showing a three-dimensional perspective extending into the distance.
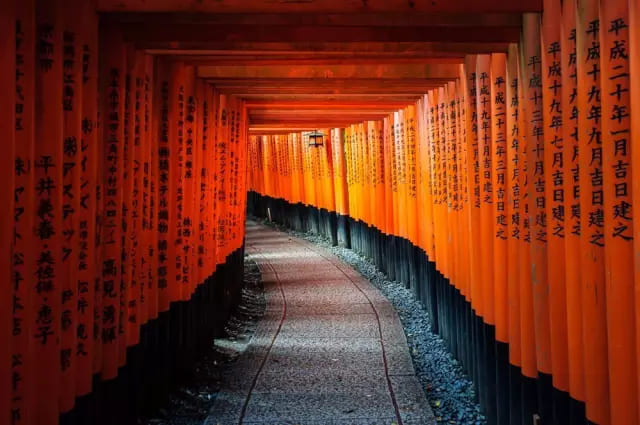
Another example is this photo. The actual distance between the foreground and background is only about ten meters, but the wide-angle lens makes the repeating, diminishing decorations and the converging lines of the path boost the photo's sense of depth.
Look around. Nature and everyday scenes are full of repeating elements. Use them in your foreground, and the sense of space will come naturally.
3. Exaggerated Foreground
In photography, many photographers shoot from a low angle or get close to the subject. This takes advantage of the "closer appears larger" rule, making the foreground look much bigger. This technique helps the viewer see what's in front and what's behind.
The key is to find a subject that's normally small and make it look as big as, or even bigger than, objects in the background. By creating this visual mismatch, the photo shows a strong sense of depth.
For example, if you shoot a scene where a building looks big and a car looks small, it matches what we expect and doesn't clearly show their distance.
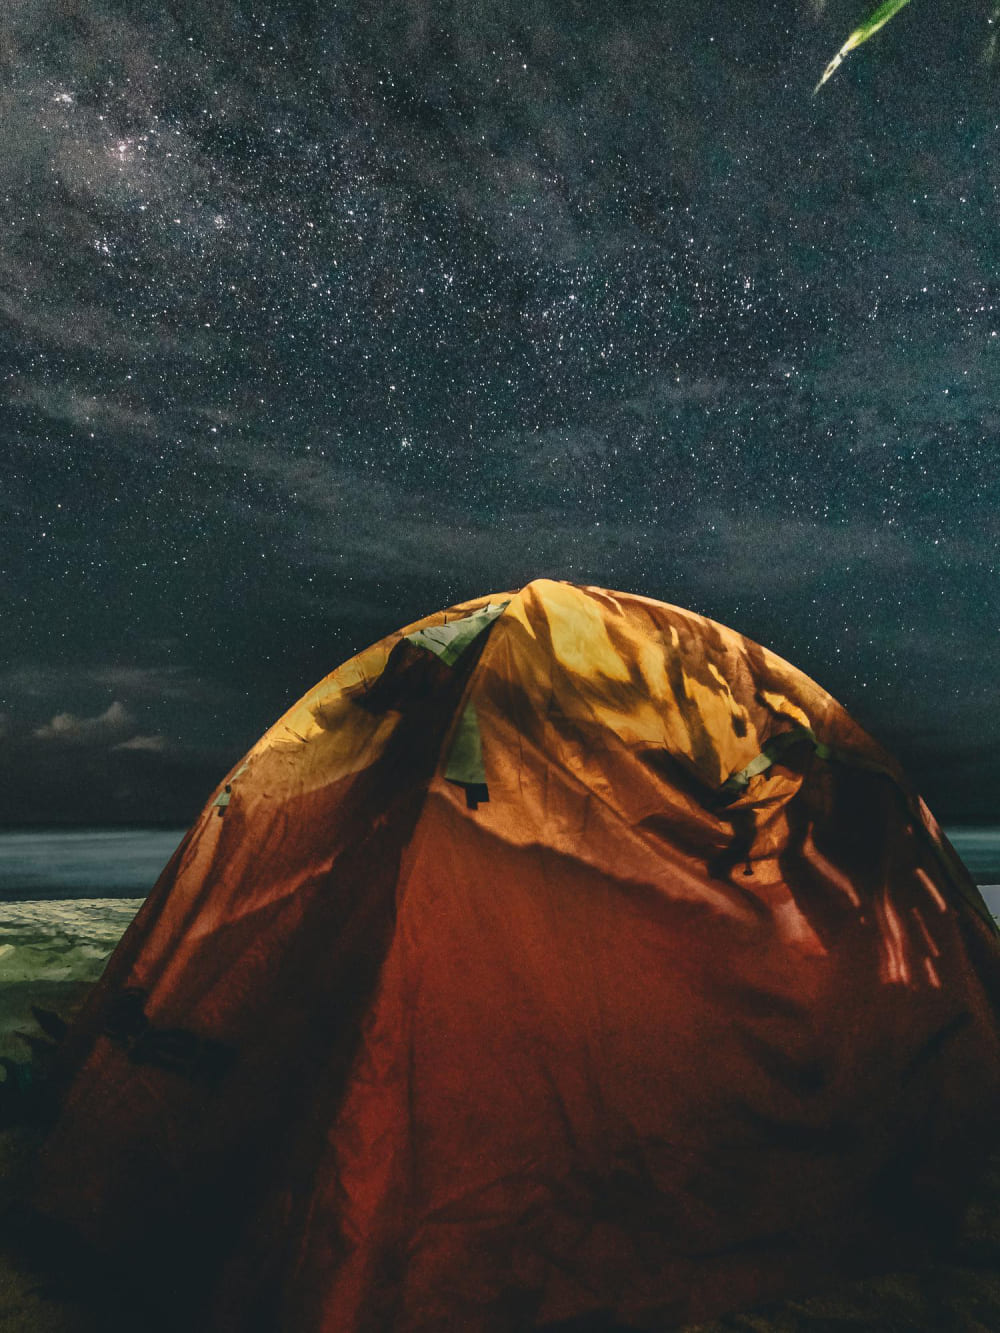
But when items like tents and the Milky Way — usually very different in size — appear similar in size or even reversed, the viewer can tell which ones are closer or farther away.
Tip 3: Atmospheric Perspective
In painting, artists often use a technique called "atmospheric perspective" to show depth. Objects in the foreground are painted clearly, brightly, and sharply. In contrast, objects in the distance are painted with a soft, hazy, and muted look.
When shooting, you can capture airiness by taking advantage of natural particles in the air. This can be morning fog, mist in the mountains at noon, or city smog.
In post-production, you can also add atmospheric perspective. You might reduce the clarity of distant parts, use a softening effect, apply a Gaussian blur, or even add fog. These techniques help boost the layered, three-dimensional feel of your photo.
If you're tired of the tedious tasks in photo editing, check out TourBox, a creative controller loved by many photographers. With just one hand, TourBox lets you manage and color-grade your photos easily, using fewer moves to finish your edits.

Just like using a game controller to play, TourBox makes photo editing more efficient, precise, and fun. Click on our photo editing page to learn more about how TourBox works.

Conclusion
Let's briefly review how to capture photos with a strong perspective:
- With the right composition, you can use obstruction and vertical perspective to highlight layers.
- You can show depth with linear perspective by using converging lines, repeated objects that shrink in size, and an exaggerated foreground.
- A common method is to make the foreground sharp and bright, while the background looks soft and dull. This technique, known as atmospheric perspective, helps show distance.
That's all for our guide on perspective photography. We hope it helps!