Why RAW Format Is the Best Choice for Post-Processing in Photography?
What shooting format is best for post-processing color grading? We are sure this question won't stump you, and the answer is RAW format.
But why is RAW format ideal for color grading and any post-processing? This article will provide you with the answer. So, let's get started.

In this article, you will learn:
- What Does Raw Mean in Photography?
- The Three Key Advantages of RAW
- How to Decode and Process RAW Files?
- Things You Should Know About RAW Format Files
- Final Thoughts About RAW Format Files in Photography
What Does Raw Mean in Photography?
When taking a photo with a digital camera, we go through the process of lifting the camera, pressing the shutter, and then viewing the photo.
At the same time, a significant transformation is happening inside the camera:
- As we look through the viewfinder, we see the light reflecting off objects and entering the lens, which is then displayed in the viewfinder. This light outlines the brightness and colors of all the objects.
- Once we focus and compose the shot, we press the shutter. At this point, the aperture closes to the set value, the shutter curtain opens, and the light travels from the lens to the photosensitive element. The light signal is then converted into an electronic signal.
- The photosensitive element collects the signal, processes the data in the camera's chip, and after slight compression, forms a RAW format file. It's not an image but rather a data package.
- This data package undergoes further processing and refinement, applying sharpening, saturation, and various camera settings, resulting in a JPEG image file. This image is displayed on the camera's LCD screen and simultaneously written to the memory card.
For example, if the photo you ultimately want to share is a sushi roll, the RAW format file is like a whole fish. You can choose the specific parts and cutting techniques to create the perfect sushi roll.
JPEG, on the other hand, is like a small piece of fish (the camera has already processed the fish and given you what it considers the best piece). You can't choose other parts; you can only make adjustments within a limited range.
From this description, you may have noticed two things:
- RAW files contain more data than JPEG (larger file size).
- Processing RAW files is more challenging than JPEG (each file needs to be converted/processed).
Most photographers believe that the effort expended in processing RAW files is worth it for the additional data. With the help of numerous post-processing tools available today, the efficiency and precision in handling RAW files are higher than ever before.
Further Reading:

The Three Key Advantages of RAW
So, what makes RAW superior to JPEG in photography? RAW has three advantages that JPEG simply can't compete with, making it the ideal format for post-processing.
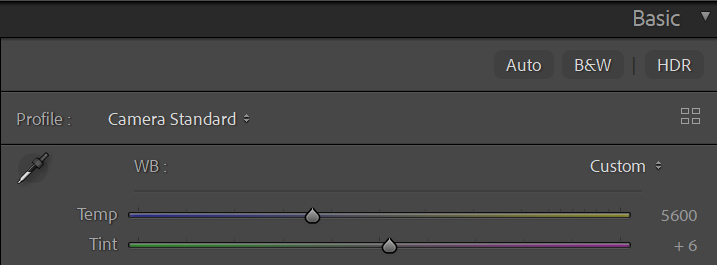
1. Lossless Detail Retention When Adjusting White Balance
The most basic color adjustment is tweaking the white balance. When you use RAW format in Adobe Camera Raw (or Lightroom Classic) for adjustments, the rich data ensures that even with significant adjustments, there will be no loss of detail in the photo.
On the other hand, when adjusting JPEG files, you may encounter issues like banding or insufficient smoothness. Additionally, RAW files generally have less noise compared to JPEG files, resulting in better noise reduction and sharpening effects.
In post-processing software, RAW format files allow you to precisely adjust color temperature, hue values, or tweak white balance presets.
2. Recovering Shadow and Highlight Details
Cameras have a parameter called "Dynamic Range," which refers to the range of details from the darkest to the brightest that a camera can record simultaneously.
Details beyond the Dynamic Range will become pure black or pure white. In scenes with high contrast, overexposure and underexposure are unavoidable during shooting due to the limitations of the camera's dynamic range (which is much smaller than that of the human eye).
The RAW format has a larger dynamic range than JPEG, allowing for the recovery of seemingly overexposed or underexposed details during post-processing.
You can conduct a simple comparison experiment. Take photos with the same parameters and reduce the exposure by the same value in post-processing software. The RAW file will clearly retain much better detail compared to the JPEG file.
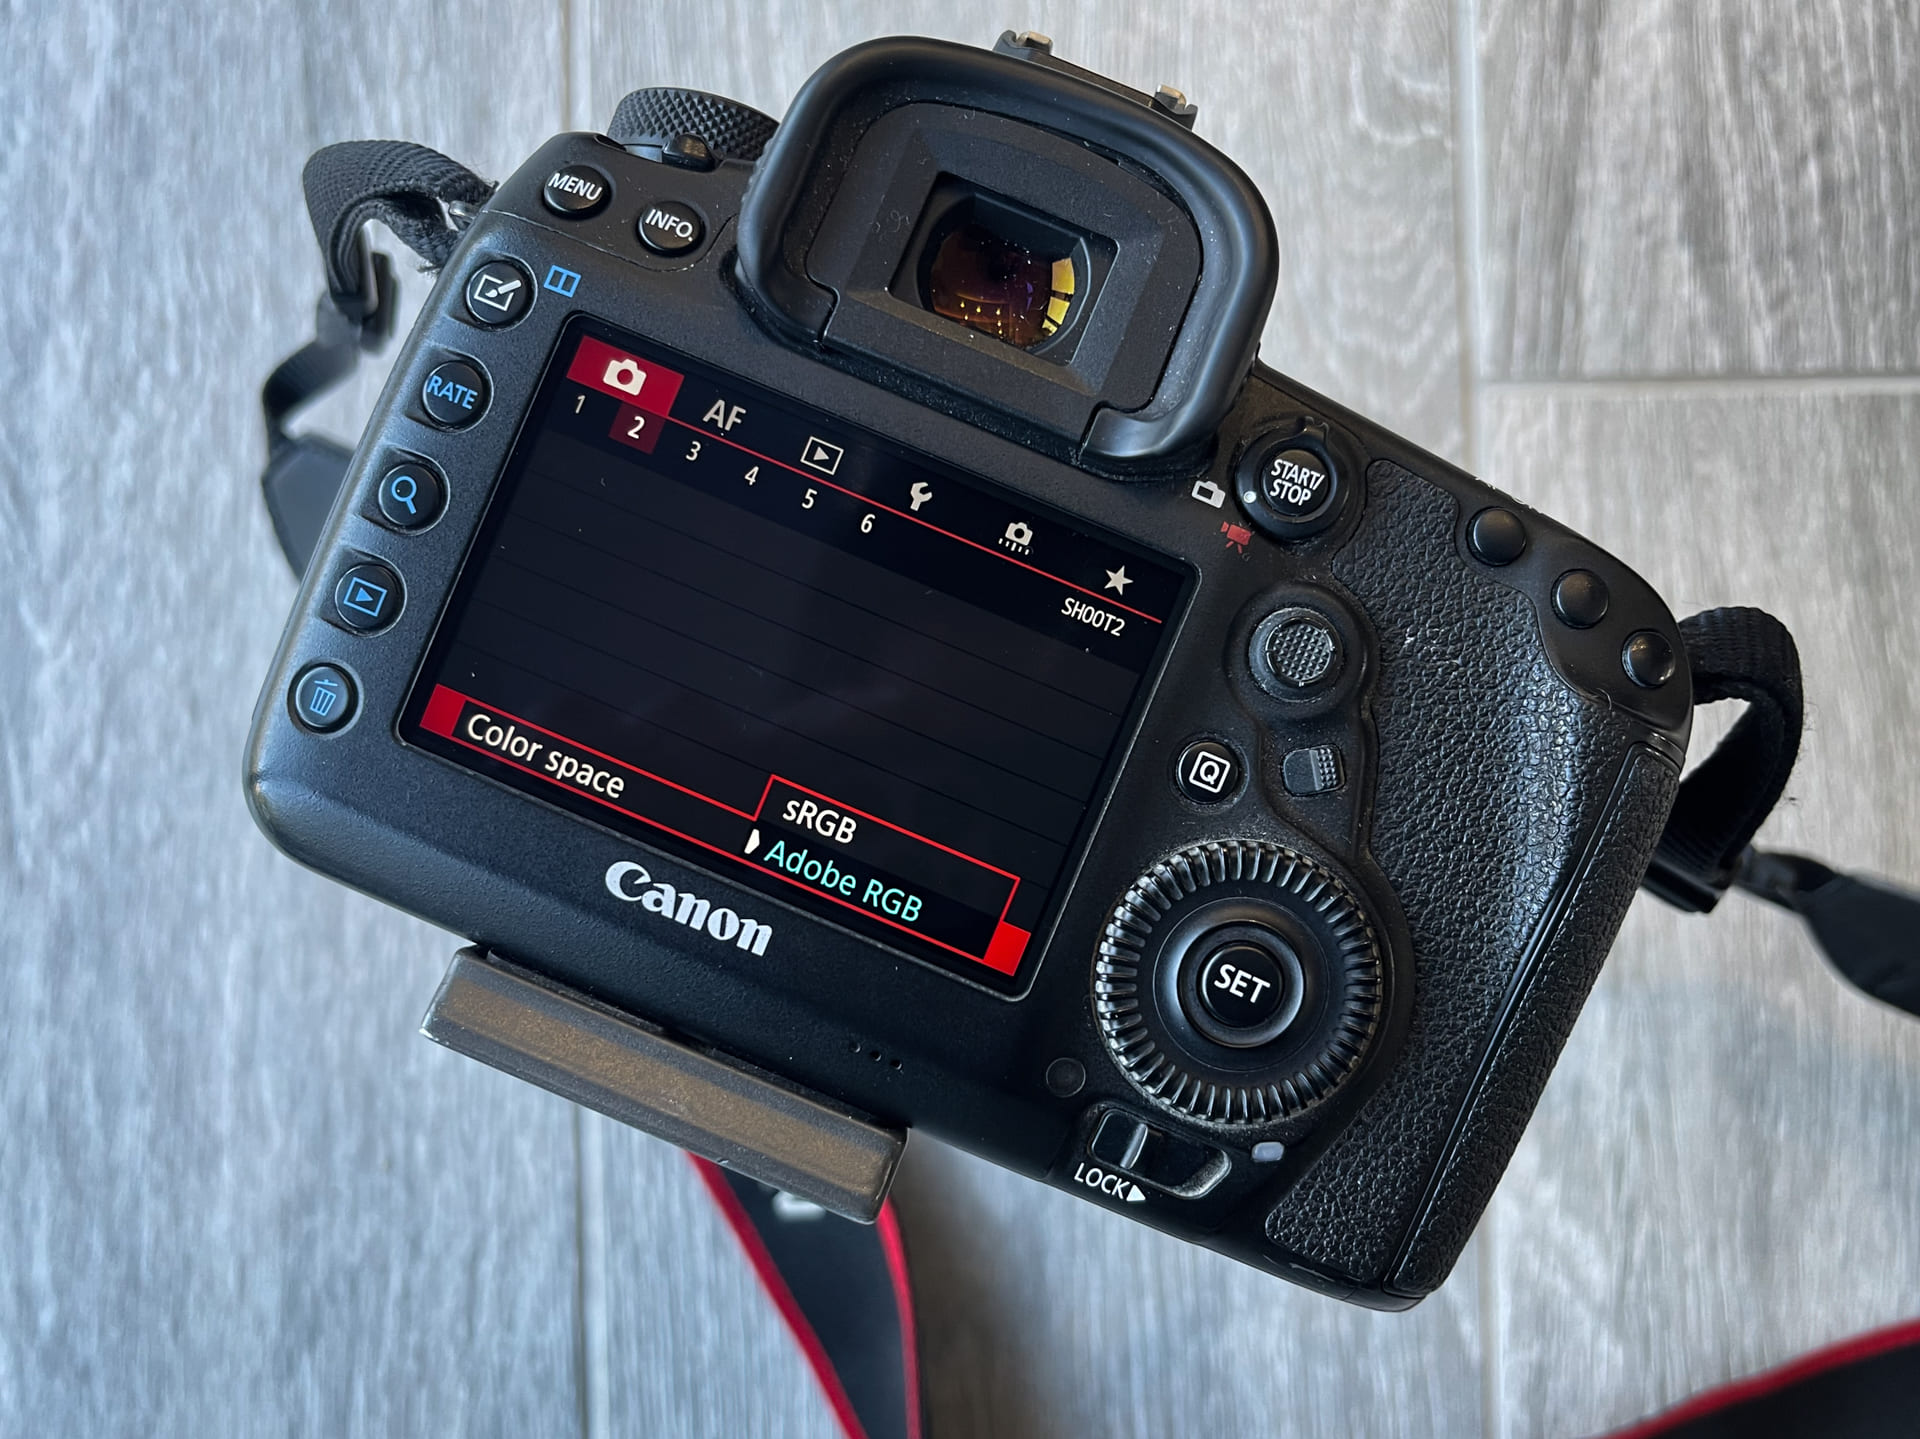
3. No Worries About Color Space Settings
You might be concerned about the "color space" setting in your camera, which usually offers two options: sRGB and Adobe RGB. Which one should you choose?
When shooting in RAW format, it doesn't matter which one you choose because this setting does not affect RAW files. RAW records all the data in the scene, completely unaffected by color space settings or other parameters like picture styles.
How to Decode and Process RAW Files?
The essence of RAW files is like a jumbled essay that needs to be decoded to arrange the words and display them as an image.
There are two powerful tools/software in the Adobe suite for handling RAW files.
1. Lightroom Classic
Lightroom Classic is Adobe's software designed specifically for photographers. It combines browsing, sorting, processing, and exporting capabilities into one package. It also allows you to save presets, batch process files, and even create HDR and panoramic photos.
However, it cannot work with layers. While it does have localized adjustment tools like the adjustment brush, it cannot perform tasks like photo compositing or layer adjustments.
2. Adobe Camera Raw
Adobe Camera Raw is a built-in plugin in Photoshop (now also available as a filter) and has almost the same photo processing capabilities as Lightroom Classic. It seamlessly integrates with Photoshop.
After making adjustments in Camera Raw, you can further enhance your photos in Photoshop with advanced layer and mask editing.
Extra Tip:
If you have a relatively new camera with a new RAW encoding, Lightroom Classic and Camera Raw may not be able to decode it until a software update is released (the timing can vary, usually between one week to one month).
Therefore, it's crucial to always keep your software up to date. In the meantime, you can use the software provided by your camera manufacturer to process RAW files (you can download it for free from the official website of your camera).
Things You Should Know About RAW Format Files
1. RAW Files Cannot Be Modified
When working with RAW format files, the software records your adjustment process and displays the edited version. However, all the data inside the file remains unaltered. In other words, it is inherently lossless.
After processing a RAW file, you can "export" or "save as" it in another format. Many photography competitions require submitting RAW format files as evidence to verify if the photos have been edited.
2. Unprocessed RAW Is Not as Good as JPEG
If you directly export an unprocessed RAW file as a JPEG, the result won't be as good as a JPEG directly captured by the camera. The image may appear dull and lack sharpness.
So, if you want to share photos without any processing, it's better to use JPEG instead of sharing RAW format files directly.
Every RAW photo needs processing. If you're skilled, basic tone and color grading for a photo won't take more than a minute.
Of course, using TourBox can make your photo editing process easier and more effortless, especially when you have multiple photos to process.

TourBox is a creative tool loved by photographers, digital artists, and content creators. It simplifies every step of your photo post-processing.
With TourBox, you can get rid of the hassle of using "keyboard shortcuts + mouse" and achieve the same operations with fewer steps. For example, in Lightroom Classic, you can control photo management, color adjustment, and batch editing with just one hand using TourBox.
You must be curious about how TourBox enhances your editing experience in photo post-processing. Check out our dedicated page on photo editing to learn more.
3. RAW Files Have Different File Extensions
Nikon's RAW files have the *.NEF extension, while Canon's RAW files have the *.CR2 extension. You may also come across extensions like *.ARW, *.ORF, *.DNG, and more. These are all RAW files, and each manufacturer has a different file encoding and extension.
4. Some RAW Files Cannot Be Decoded by Adobe
Adobe's software needs updates to decode RAW files from the latest camera models. Additionally, some RAW files have a unique encoding that Adobe simply cannot decode.
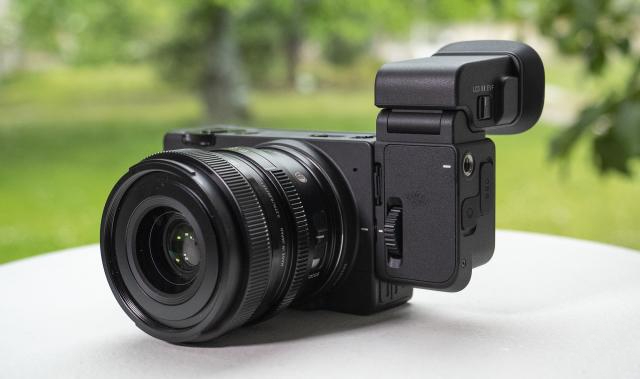
In such cases, you'll have to use the software provided by the camera manufacturer. One of the most well-known examples is Sigma's X3F files.
Due to the unique design of Sigma's three-layer image sensor, their RAW files cannot be decoded by Adobe Camera RAW or Lightroom Classic. You can only decode and process them using Sigma Photo Pro.
This software is free and available for both Mac and Windows. Nowadays, Sigma cameras can also capture DNG (a universal RAW) files, and you can choose that format as well.
Final Thoughts About RAW Format Files in Photography
By now, we have answered why RAW format files are best suited for post-processing in photography. Based on your needs, you can try shooting in your camera's RAW format for your next session.
For the post-processing of RAW files, we recommend using a combination of Adobe Camera RAW and Photoshop. However, if you have a large number of photos to handle, then Lightroom Classic would be more suitable for you.
If you're interested in TourBox, take a look at our latest product, TourBox Lite. It offers great value for money and is perfect for first-time users of TourBox.
