Photoshop Guides: 10 Essential Tips for More Precise Design
In this article, we would like to share 10 easy techniques to help you make the most of Photoshop's guide tool.
Once you master these tips, you'll be able to align elements quickly and work more efficiently on both print layouts and web designs. Let's get started!

In this article, you will learn:
What Is Photoshop Guides?
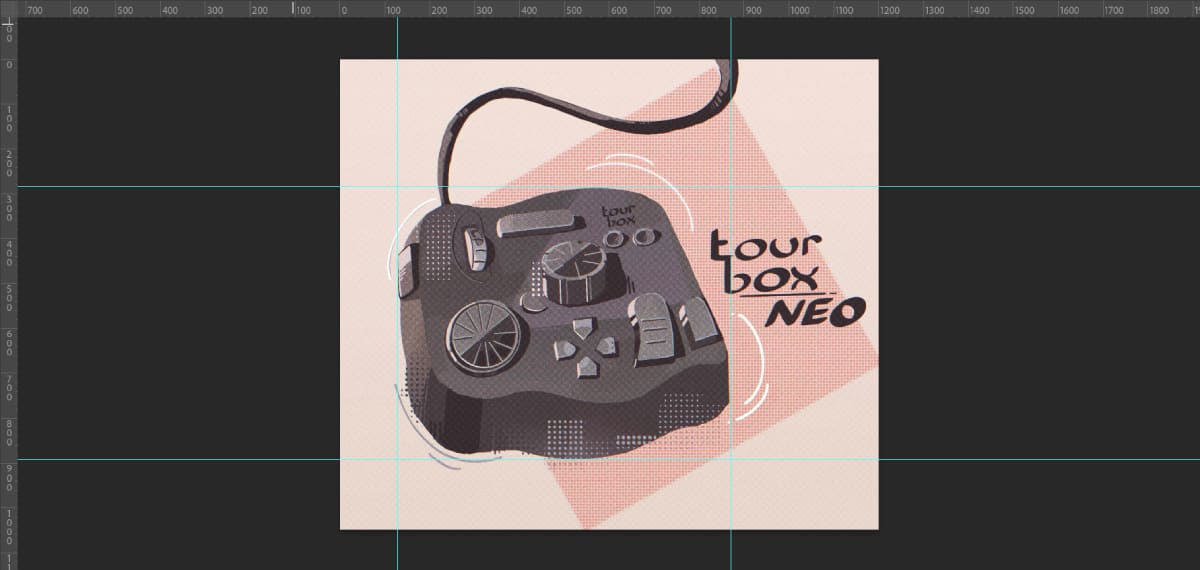
Photoshop's guide is a set of guidelines that appear in your workspace. It divides your canvas into equal sections, making it easier to align and position your design elements.
The guide only shows while you are editing, and it won't appear in your final image (like a JPEG or PNG).
In real projects, the guide serves as a visual guide. It helps you line up images, text, shapes, and other elements so your layout stays neat.
Also, when you crop, rotate, or adjust an image, the guide acts as a positioning tool. It keeps your design balanced and prevents mistakes.
In the next section, we will quickly show you how to create a guide in Photoshop and share some useful tips.
10 Photoshop Guide Tips
1. How to Make a Guide in Photoshop?
First, let's figure out how to make a guide line. Open the image you want to work on in Photoshop or start a new file.
From the top menu, go to "View" and then select "Rulers." You can also press Ctrl (or Cmd) + R to show the rulers.
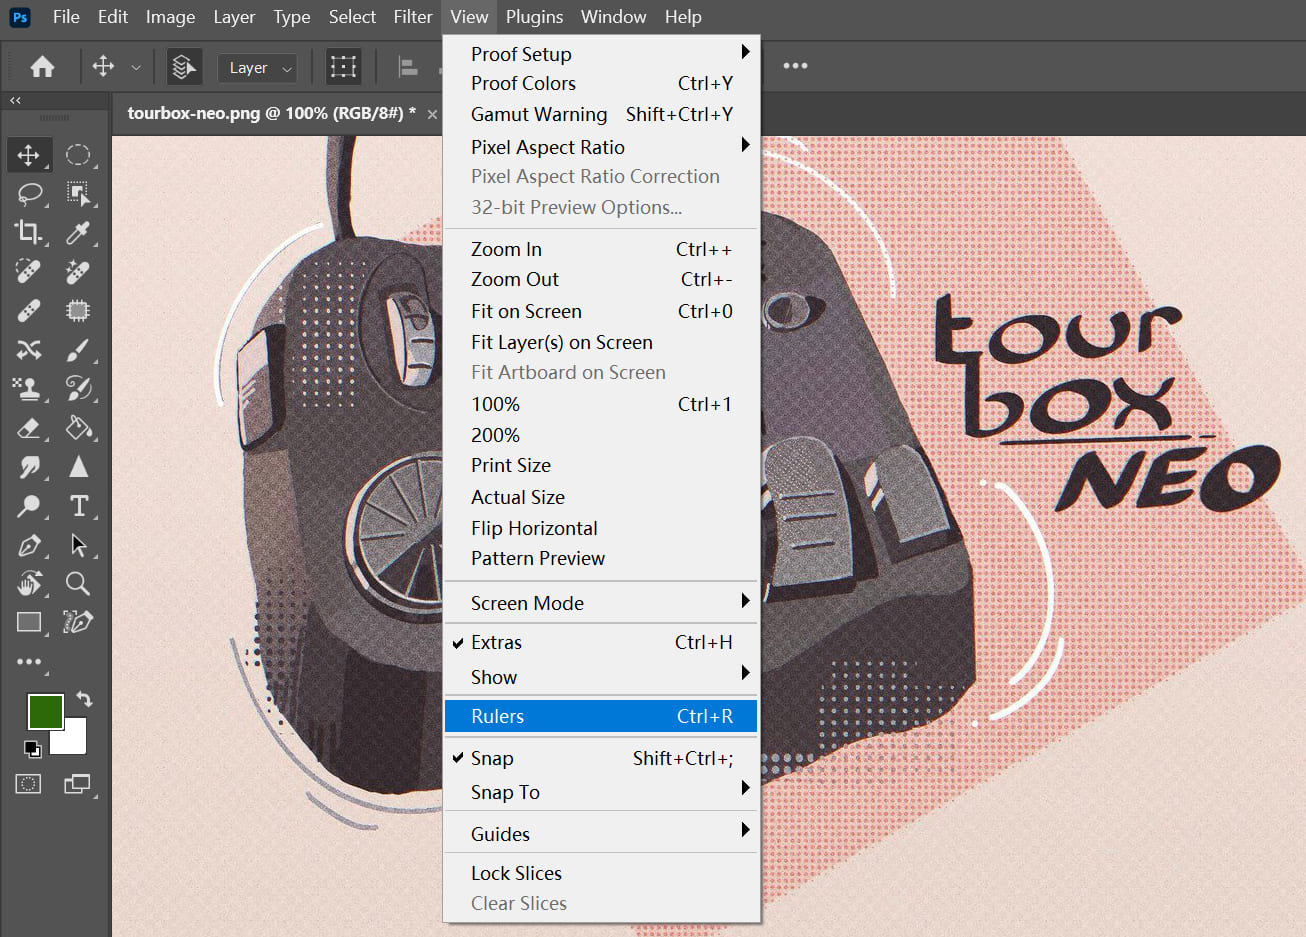
Now, you'll see rulers at the top and left side of your screen.
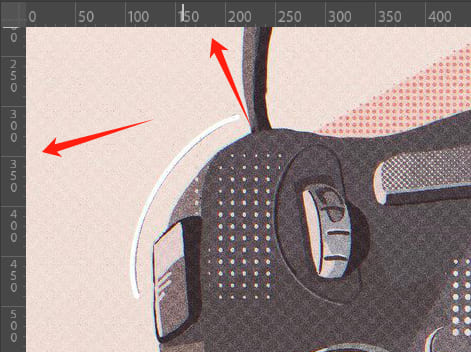
Next, create your guide lines by dragging from the rulers.
Click on a ruler (top or left) and drag toward the center of the screen. The guide line will appear, and you can drop it wherever needed.
Another way to make a guide is by entering values. From the top menu, go to "View" → "Guides" → "New Guide."
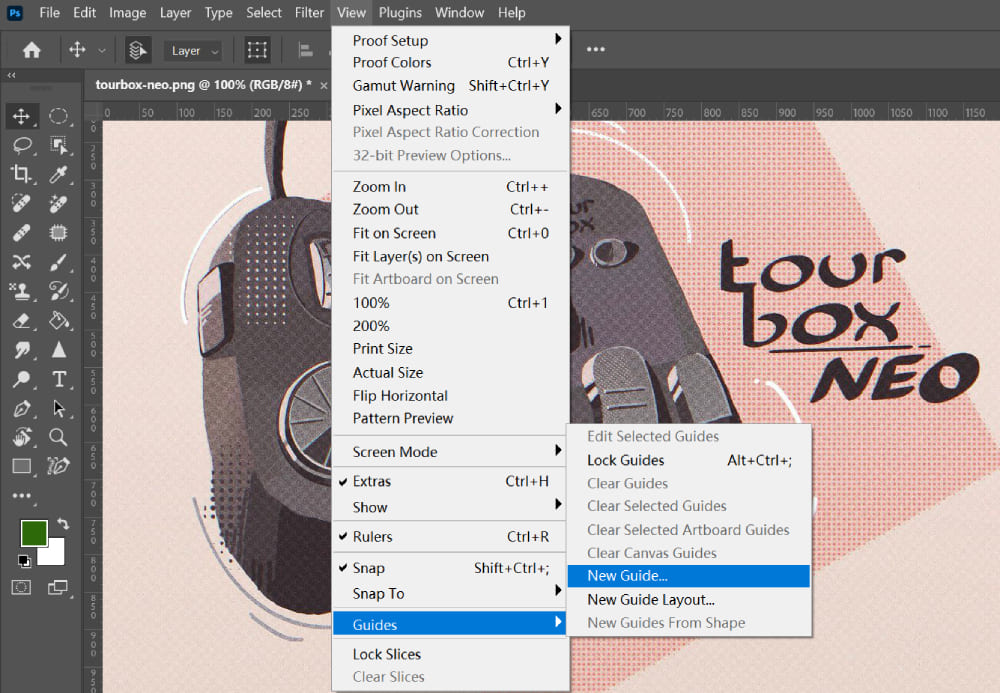
A panel for guide settings will open. Here are the options you can adjust:
- Horizontal: For a horizontal guide.
- Vertical: For a vertical guide.
- Position: For a horizontal guide, this is the distance from the top of the image. For a vertical guide, it is the distance from the left side.
- Color: the guide's color.
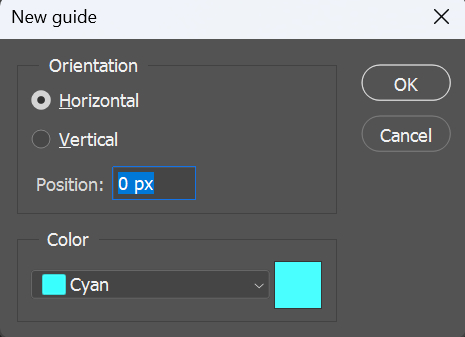
Choose the guide direction you want (horizontal or vertical) and enter the position in pixels or percentages. The value is based on the ruler's measurements.
When you're finished, click "OK" and your guide will be created.
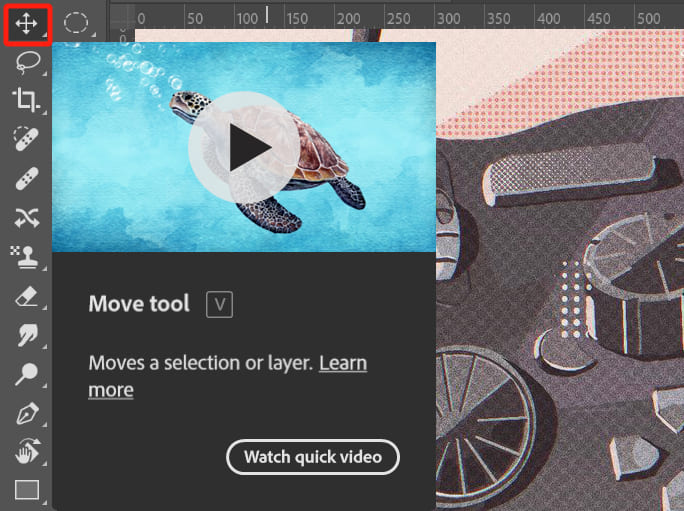
2. How to Move Guide Lines?
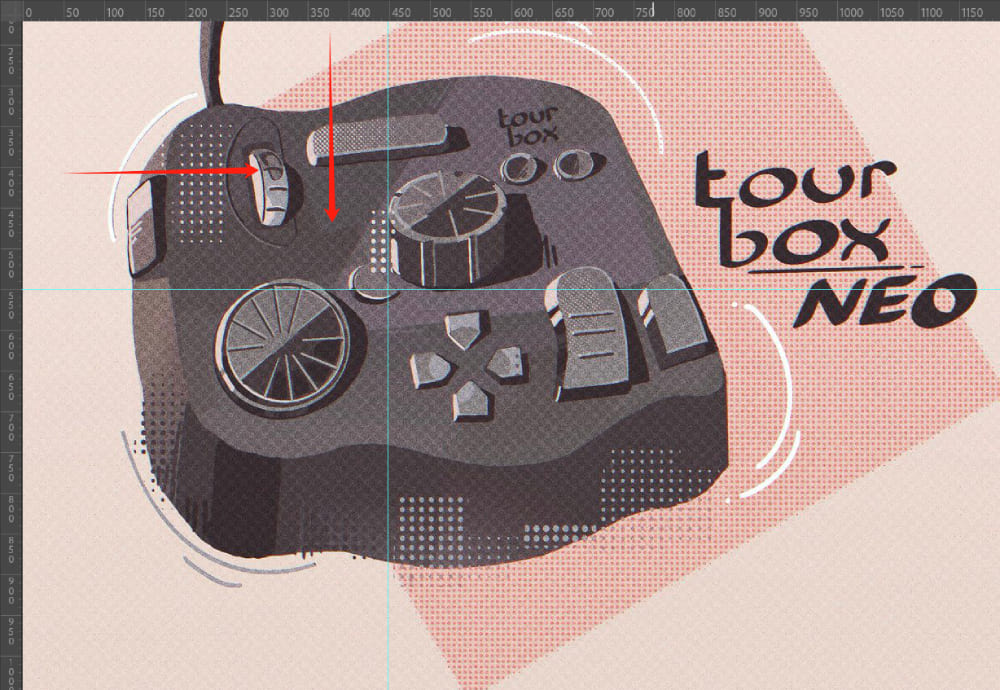
You can move guide lines at any time. It's very easy. Just select the Move tool from the toolbar, click on a ruler, drag it to the spot you want, and drop it there.
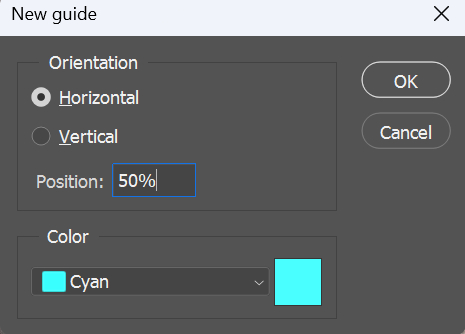
3. How to Center Guide Lines?
To center a guide line, open the New Guide panel and set the position to 50%.
For example, if you want a horizontal guide line in the vertical center of your image, choose "Horizontal" and enter "50%" for the position. If you want a vertical guide line in the horizontal center, choose "Vertical" and enter "50%."
Similarly, if you want to create evenly spaced guides in your image, for example, placing guides at one-quarter positions, you can enter "25%", "50%", and "75%".
Using this method, you can divide the image however you like. For instance, if you want to split it into five equal parts, type in "20%", "40%", "60%", and "80%".
4. How to Delete a Guide?
You can select a guide with the Move Tool and press the "Delete" key to remove it. Alternatively, you can drag the guide back to the ruler to delete it one by one.
If you want to delete all guides at once, go to the top menu, choose "View" → "Guides" → "Clear Guides". This will remove all guides at once.

5. How to Hide the Guides?
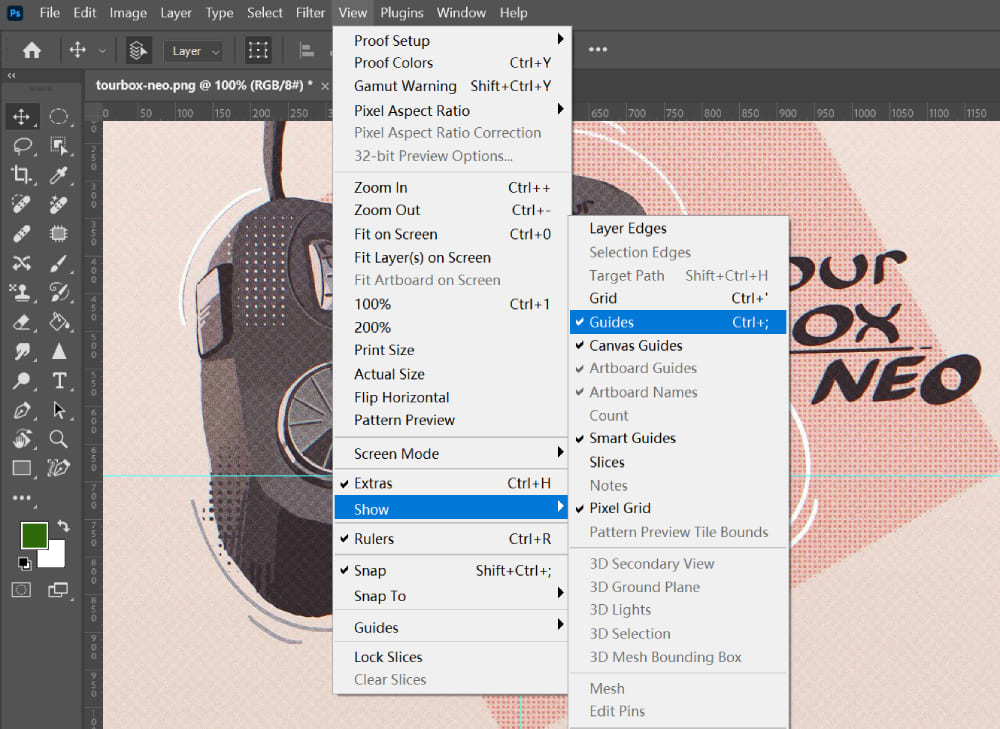
If you want to hide the guides for a while, do this: From the top menu, go to "View" → "Show" → "Guides" and make sure the option is unchecked. When you want to see the guides again, just click "Guides" to check it.
6. How to Lock the Guides?
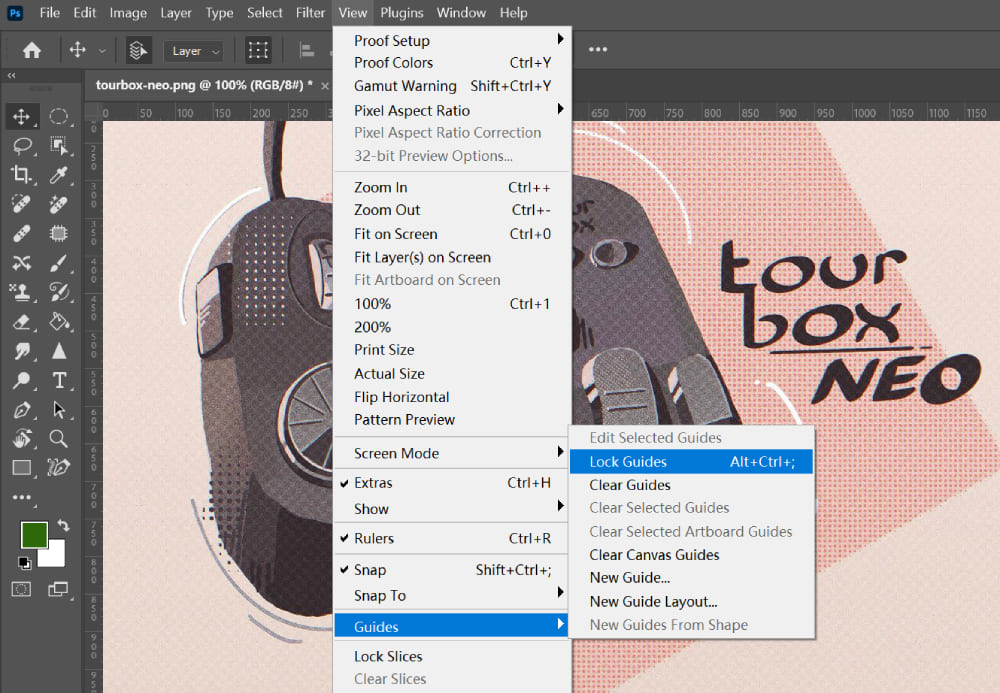
Sometimes you might accidentally move a guide while working. To lock the guides and prevent them from moving, go to "View" → "Guides" → "Lock Guides".
To unlock the guides, just click "Lock Guides" again to turn off the lock.
7. How to Change Guide Color?
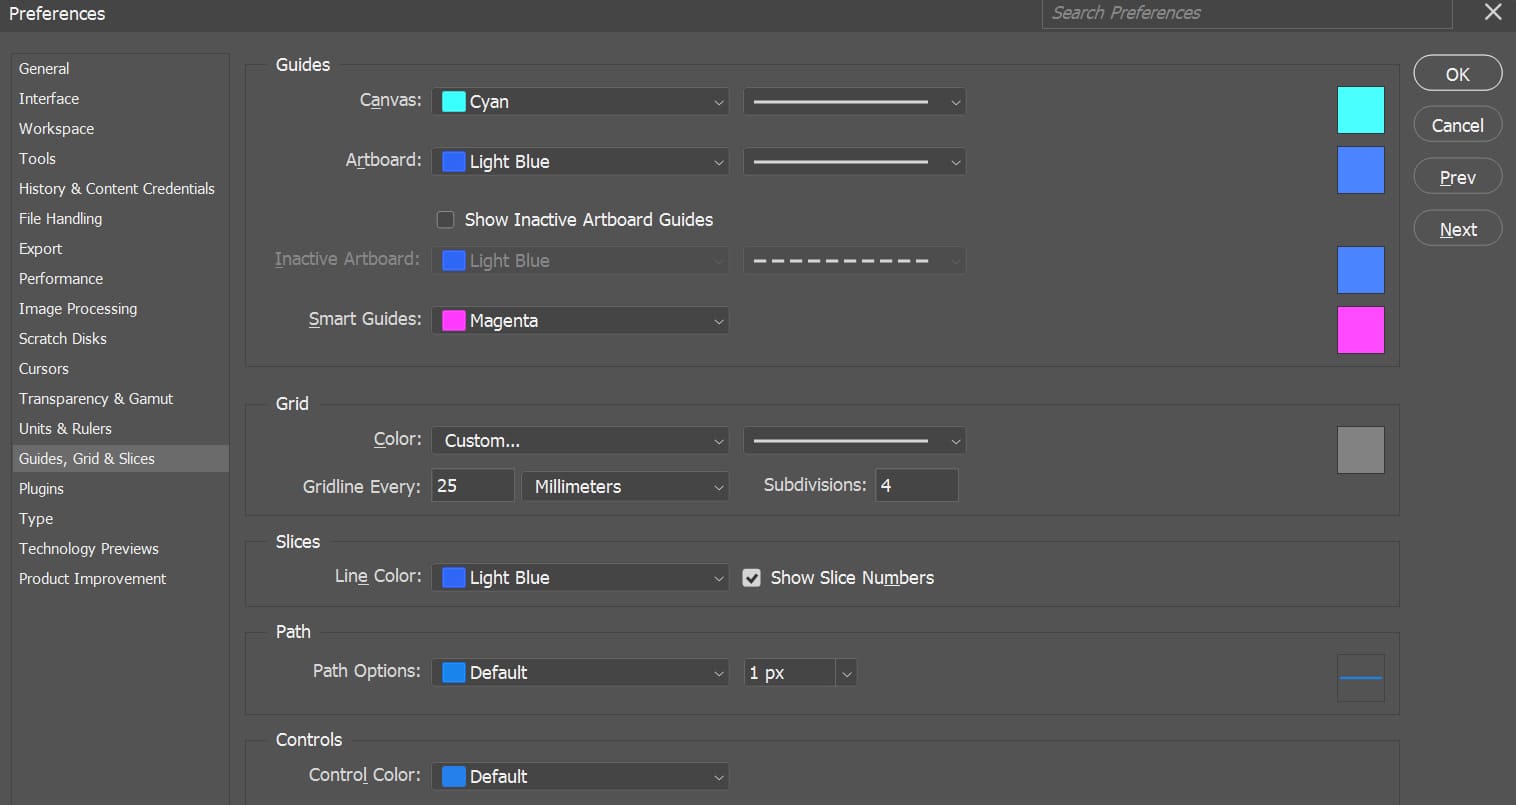
Photoshop's default guide color is cyan, but you can change it.
Go to the top menu and select Edit → Preferences → Guides, Grid & Slices. In the Preferences panel, you can choose a new guide color and pick a style (either solid or dashed).
8. How to Arrange Guides Evenly
If you want to space your guides evenly, there's a handy feature for that.
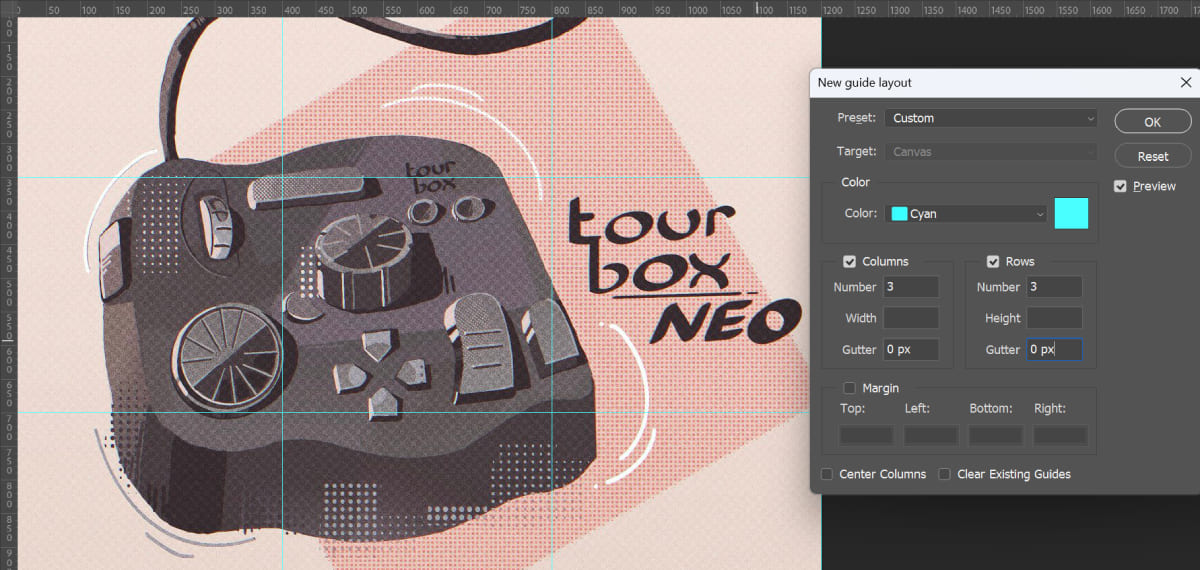
Go to the top menu and select View → Guides → New Guide Layout. In the pop-up panel, you can set the line color, number of columns, rows, and the spacing between them.
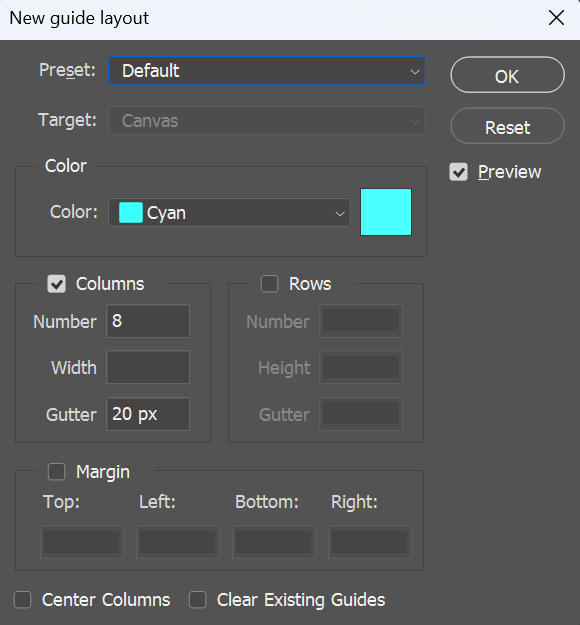
For example, by clicking the Preset tab, you can quickly load a preset guide layout or create your own custom layout.
When you check the columns and rows options, guides will be added both horizontally and vertically. The Margin option lets you adjust the space between columns.
The image below shows an example of dividing the canvas into three equal parts both horizontally and vertically. Splitting the layout into thirds is a common technique in balanced design.
9. How to Snap Objects to Guides?
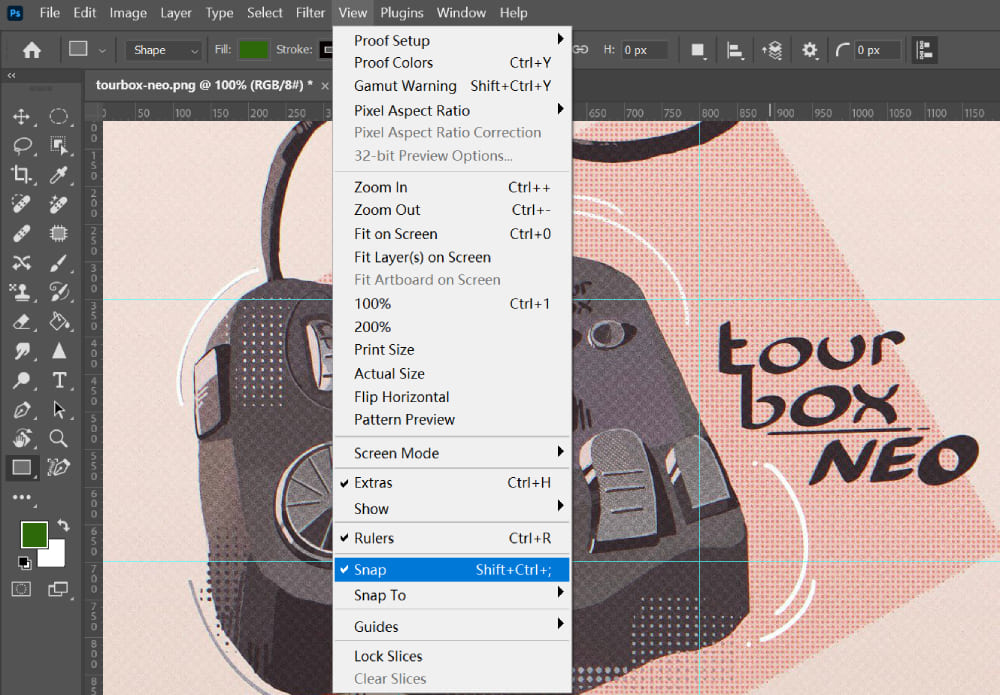
To line up an object exactly with a guide, turn on the Snap feature. Go to the top menu and choose "View" → "Snap" to enable it. Once Snap is on, use the Move Tool and drag your object until it lines up with the guide.
10. How to Create Diagonal Guides
Photoshop doesn't let you create diagonal guides directly, even though Illustrator does. Instead, you can draw a diagonal guide using the Line Tool.
Select the Line Tool from the left toolbar.
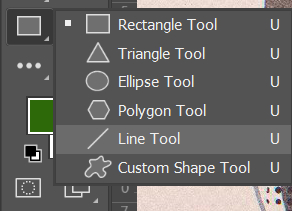
Then, adjust the settings in the options bar as shown. The "Fill" option sets the line's color, so pick one you like.

After setting it up, drag in the direction you want to create your diagonal guide. A diagonal line will appear. Since this line is on its layer, remember to hide it when you print or save your image as a JPG or PNG.
Hold down the Shift key while dragging to snap the line to a 45° angle. If the line's color is too bold and interferes with your design, lower its layer opacity in the Layers panel.
Conclusion
Here are the ten tips for using guides in Photoshop. Even if you don't use guides, you can still complete your designs. However, guides make it easier to work precisely and keep everything balanced.
Now that you know how to set up, edit, and manage guides in Photoshop, let them be your handy helper to boost your productivity!
Lastly, we'd like to share a neat little gadget with you. If you work with Photoshop's guides, layers, and brushes every day, you should try the TourBox creative console.

Its best feature is how easy it feels to use. For example, you can use your left hand on the TourBox to switch brush hardness or size while your right-hand holds your pen. This setup can really boost your efficiency.
TourBox also offers many customizable features, just like a game controller for creative software. It can simplify many of the tedious tasks you face every day.

We believe designers shouldn't waste time memorizing shortcuts or clicking through menus, don't you agree?