How to Set Up TourBox Elite Plus Buttons in TourBox Console?
Got your hands on the TourBox Elite Plus and can't wait to map your favorite software functions to its buttons?
Hold on! Check out this easy-to-follow guide first. It'll help you quickly master how to set up the buttons and knobs of TourBox Elite Plus.

In this article, you will learn:
- Step 1: Set Up Your Device Connection
- Step 2: Set Up Button Functions
- Difference Between Knobs and Buttons
- Quick Start: Watch the Tutorial Video
Step 1: Set Up Your Device Connection
1. Connect to a Computer (macOS or Windows)
- Start by downloading and installing TourBox Console (Desktop Version) from the official TourBox website.
- TourBox Console is the main software you'll use to set up your TourBox. Whether you're using macOS or Windows, the process is exactly the same.
- For detailed installation and setup instructions, please check out our user guide or blog.
Tip: The TourBox Elite Plus can connect to your computer via Bluetooth or a USB cable.
2. Connect to an iPad
- If you want to use the TourBox Elite Plus with an iPad, download the iPadOS version of TourBox Console from the App Store.
- Since iPads use a different system than computers, we've created a separate version of TourBox Console just for iPadOS.
For step-by-step instructions on how to connect the TourBox Elite Plus to your iPad, click the link below to check out our tutorial.
Further Reading:
Tip: The TourBox Elite Plus connects to an iPad via Bluetooth only. Wired connections are not supported.
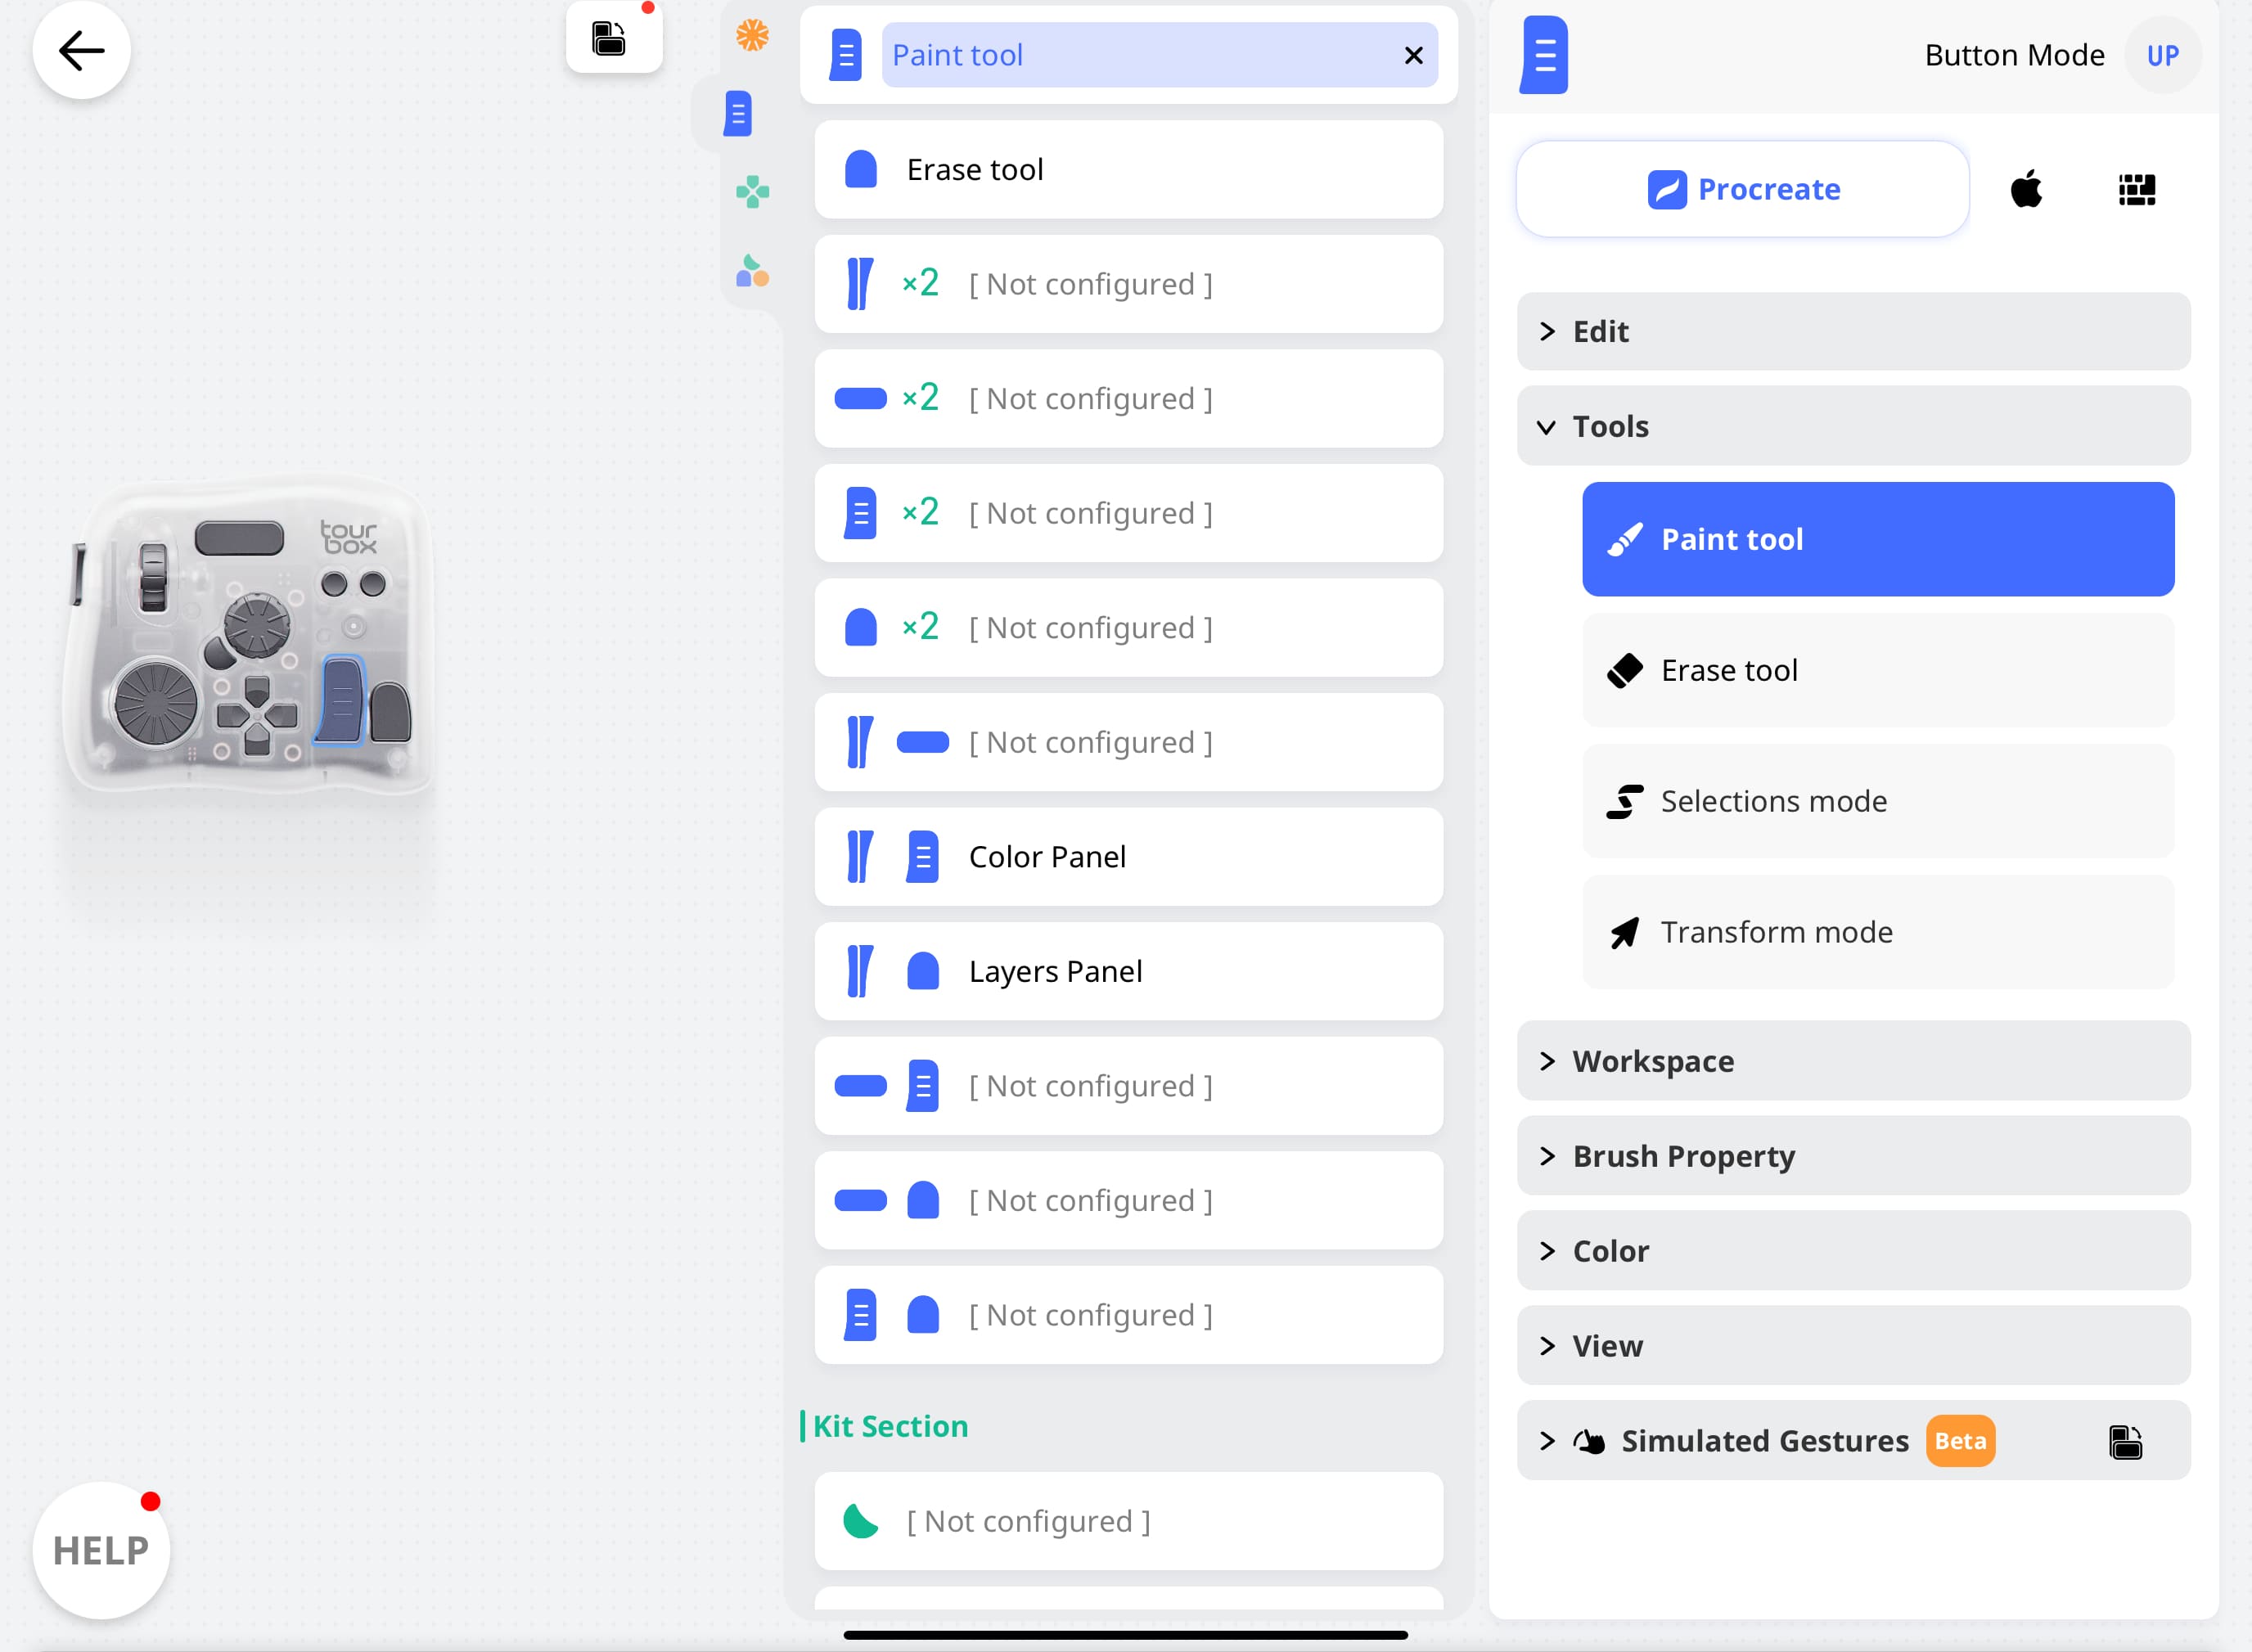
Step 2: Set Up Button Functions
Now for the important part — how to set up button functions using TourBox Console. The process is simple and user-friendly:
Option 1: Click the Button Icon in TourBox Console
- Open TourBox Console and click the button icon on the interface to access the button settings panel.
Option 2: Use the Hardware Buttons Directly
- Press or operate any button, knob, or dial on the TourBox Elite Plus (e.g., rotate, scroll, or press). This will automatically open the corresponding settings panel.
In the settings panel, you can:
- Map Functions: Assign built-in software features (like brush switching or undo) to specific buttons.
- Set System Functions: Map iPad system controls (like adjusting volume) to buttons.
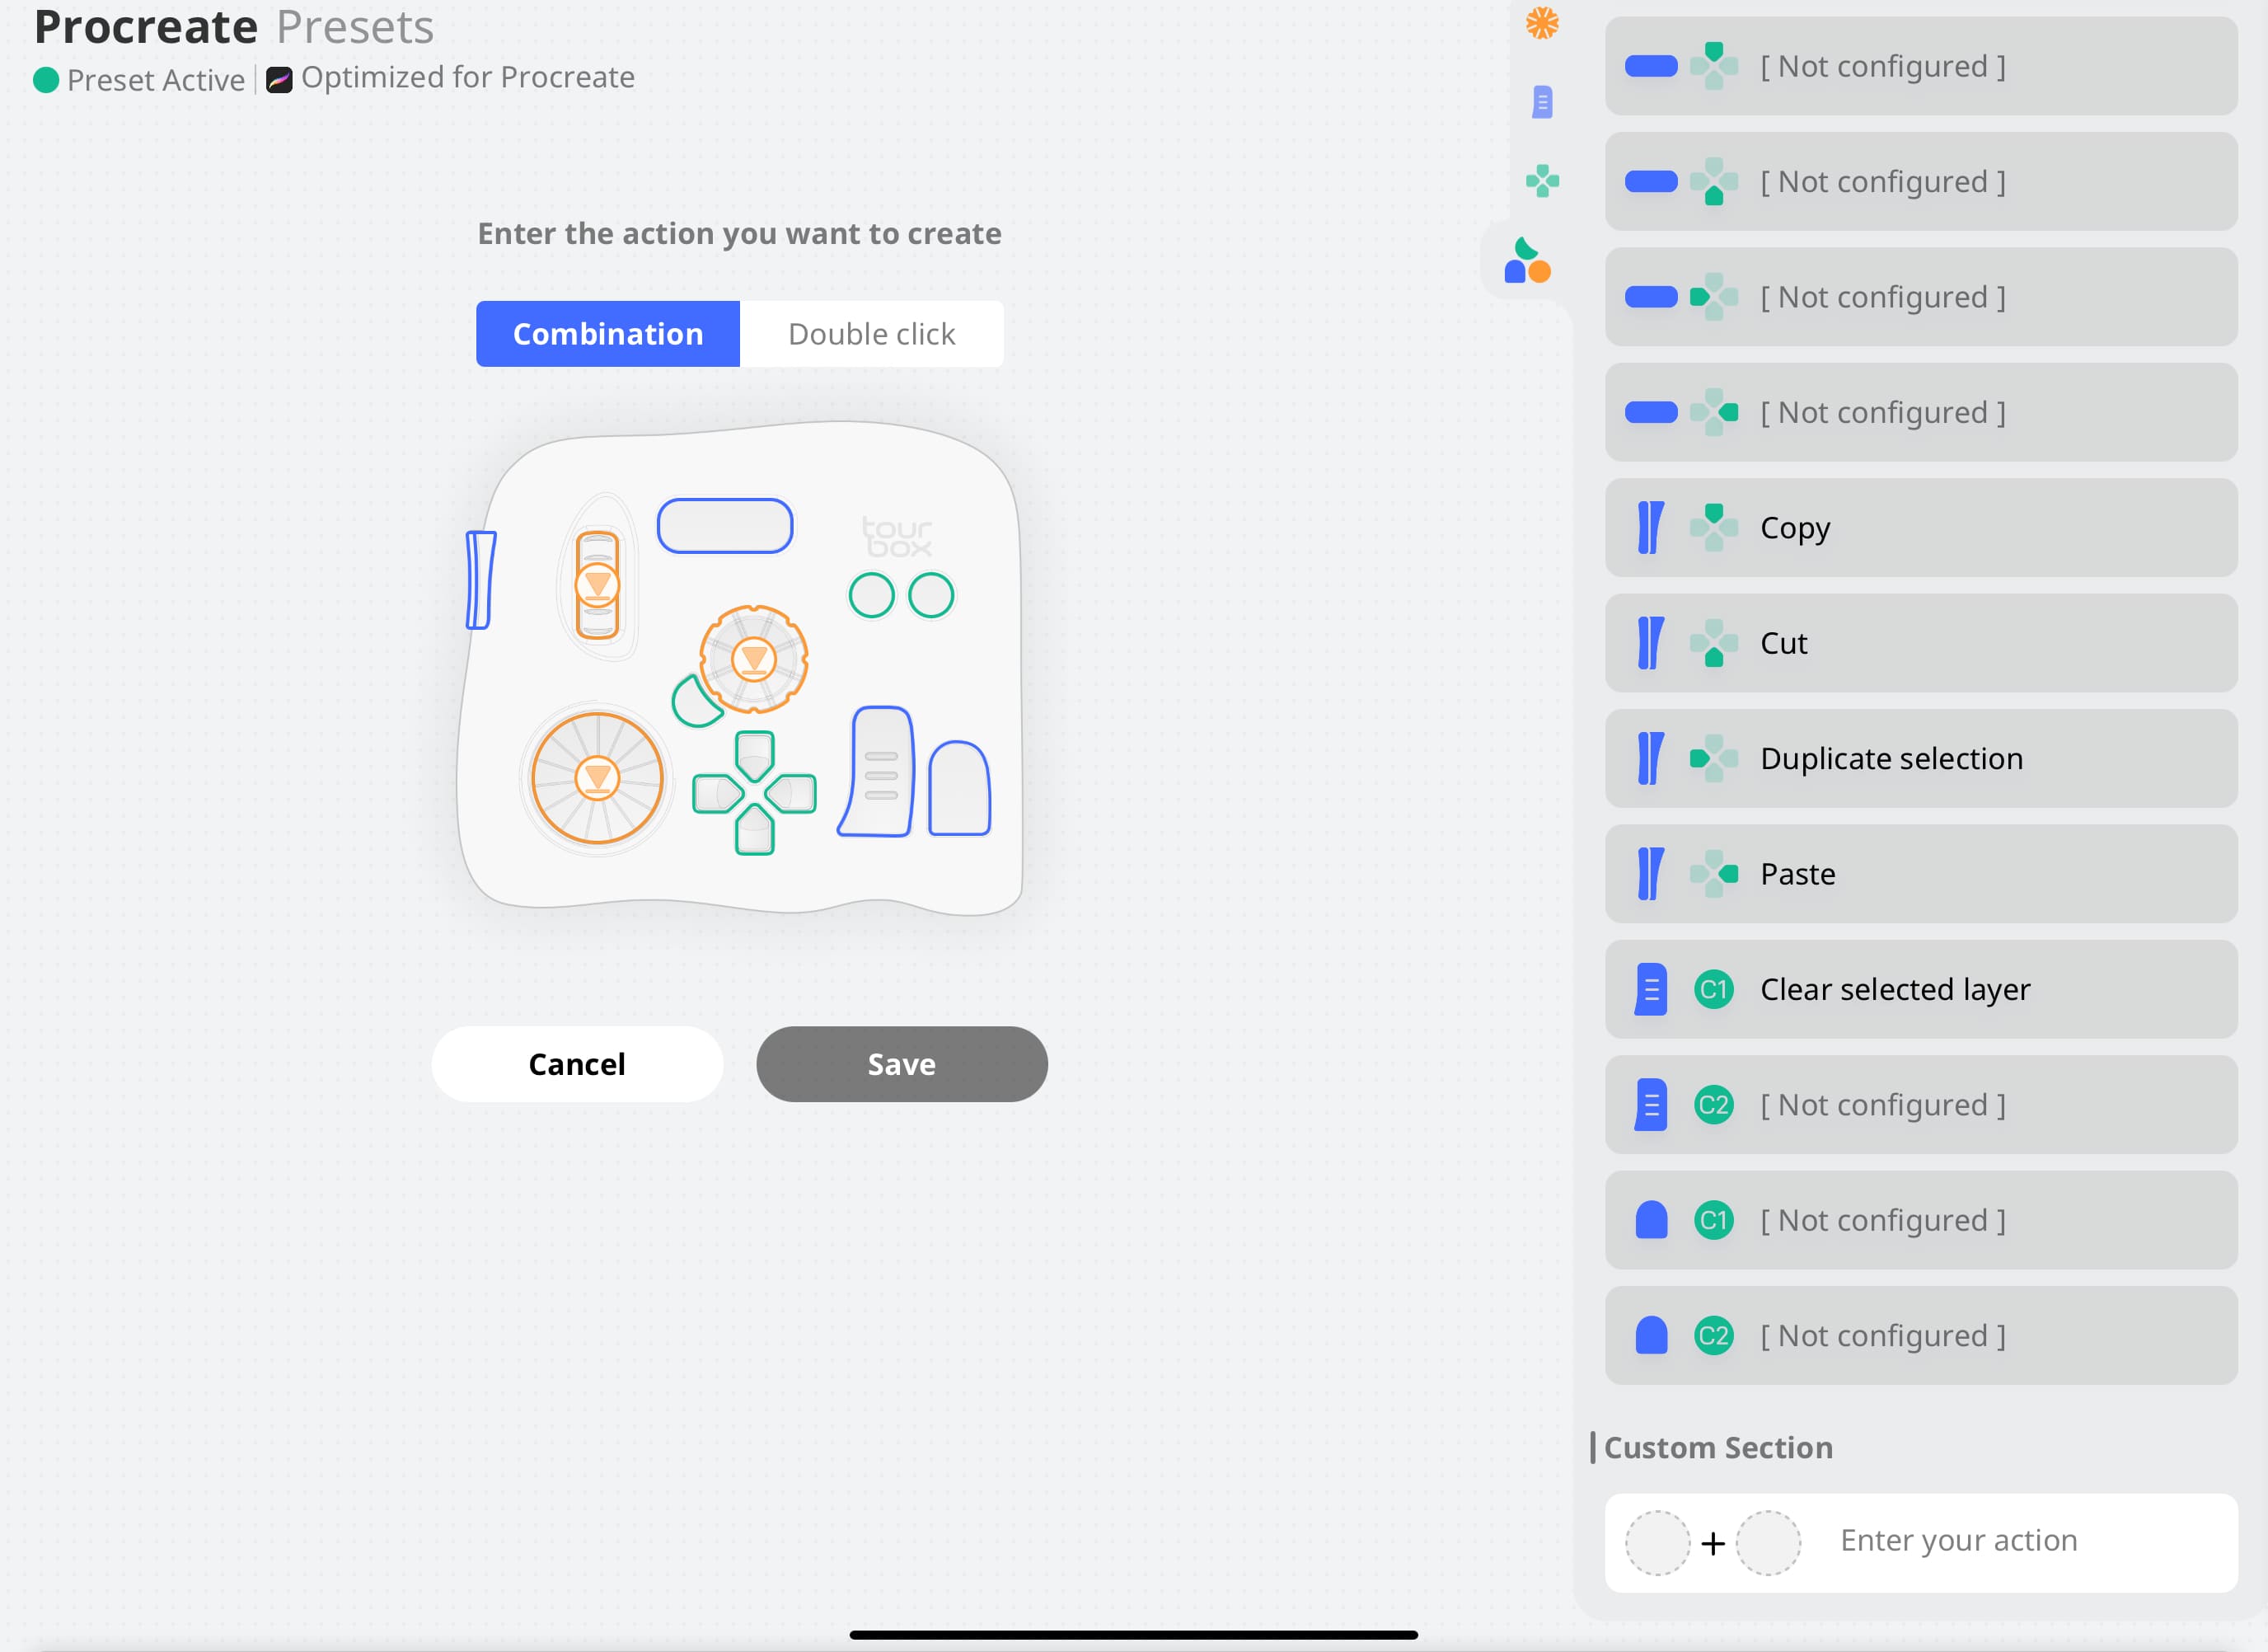
- Customize Shortcuts: Manually input your own shortcut combinations.
Difference Between Knobs and Buttons
It's important to know that knobs and buttons are configured differently:
- Knob-Specific Functions: Some actions, like adjusting brush size or rotating the canvas, can only be done with the knob. These functions can't be assigned to buttons.
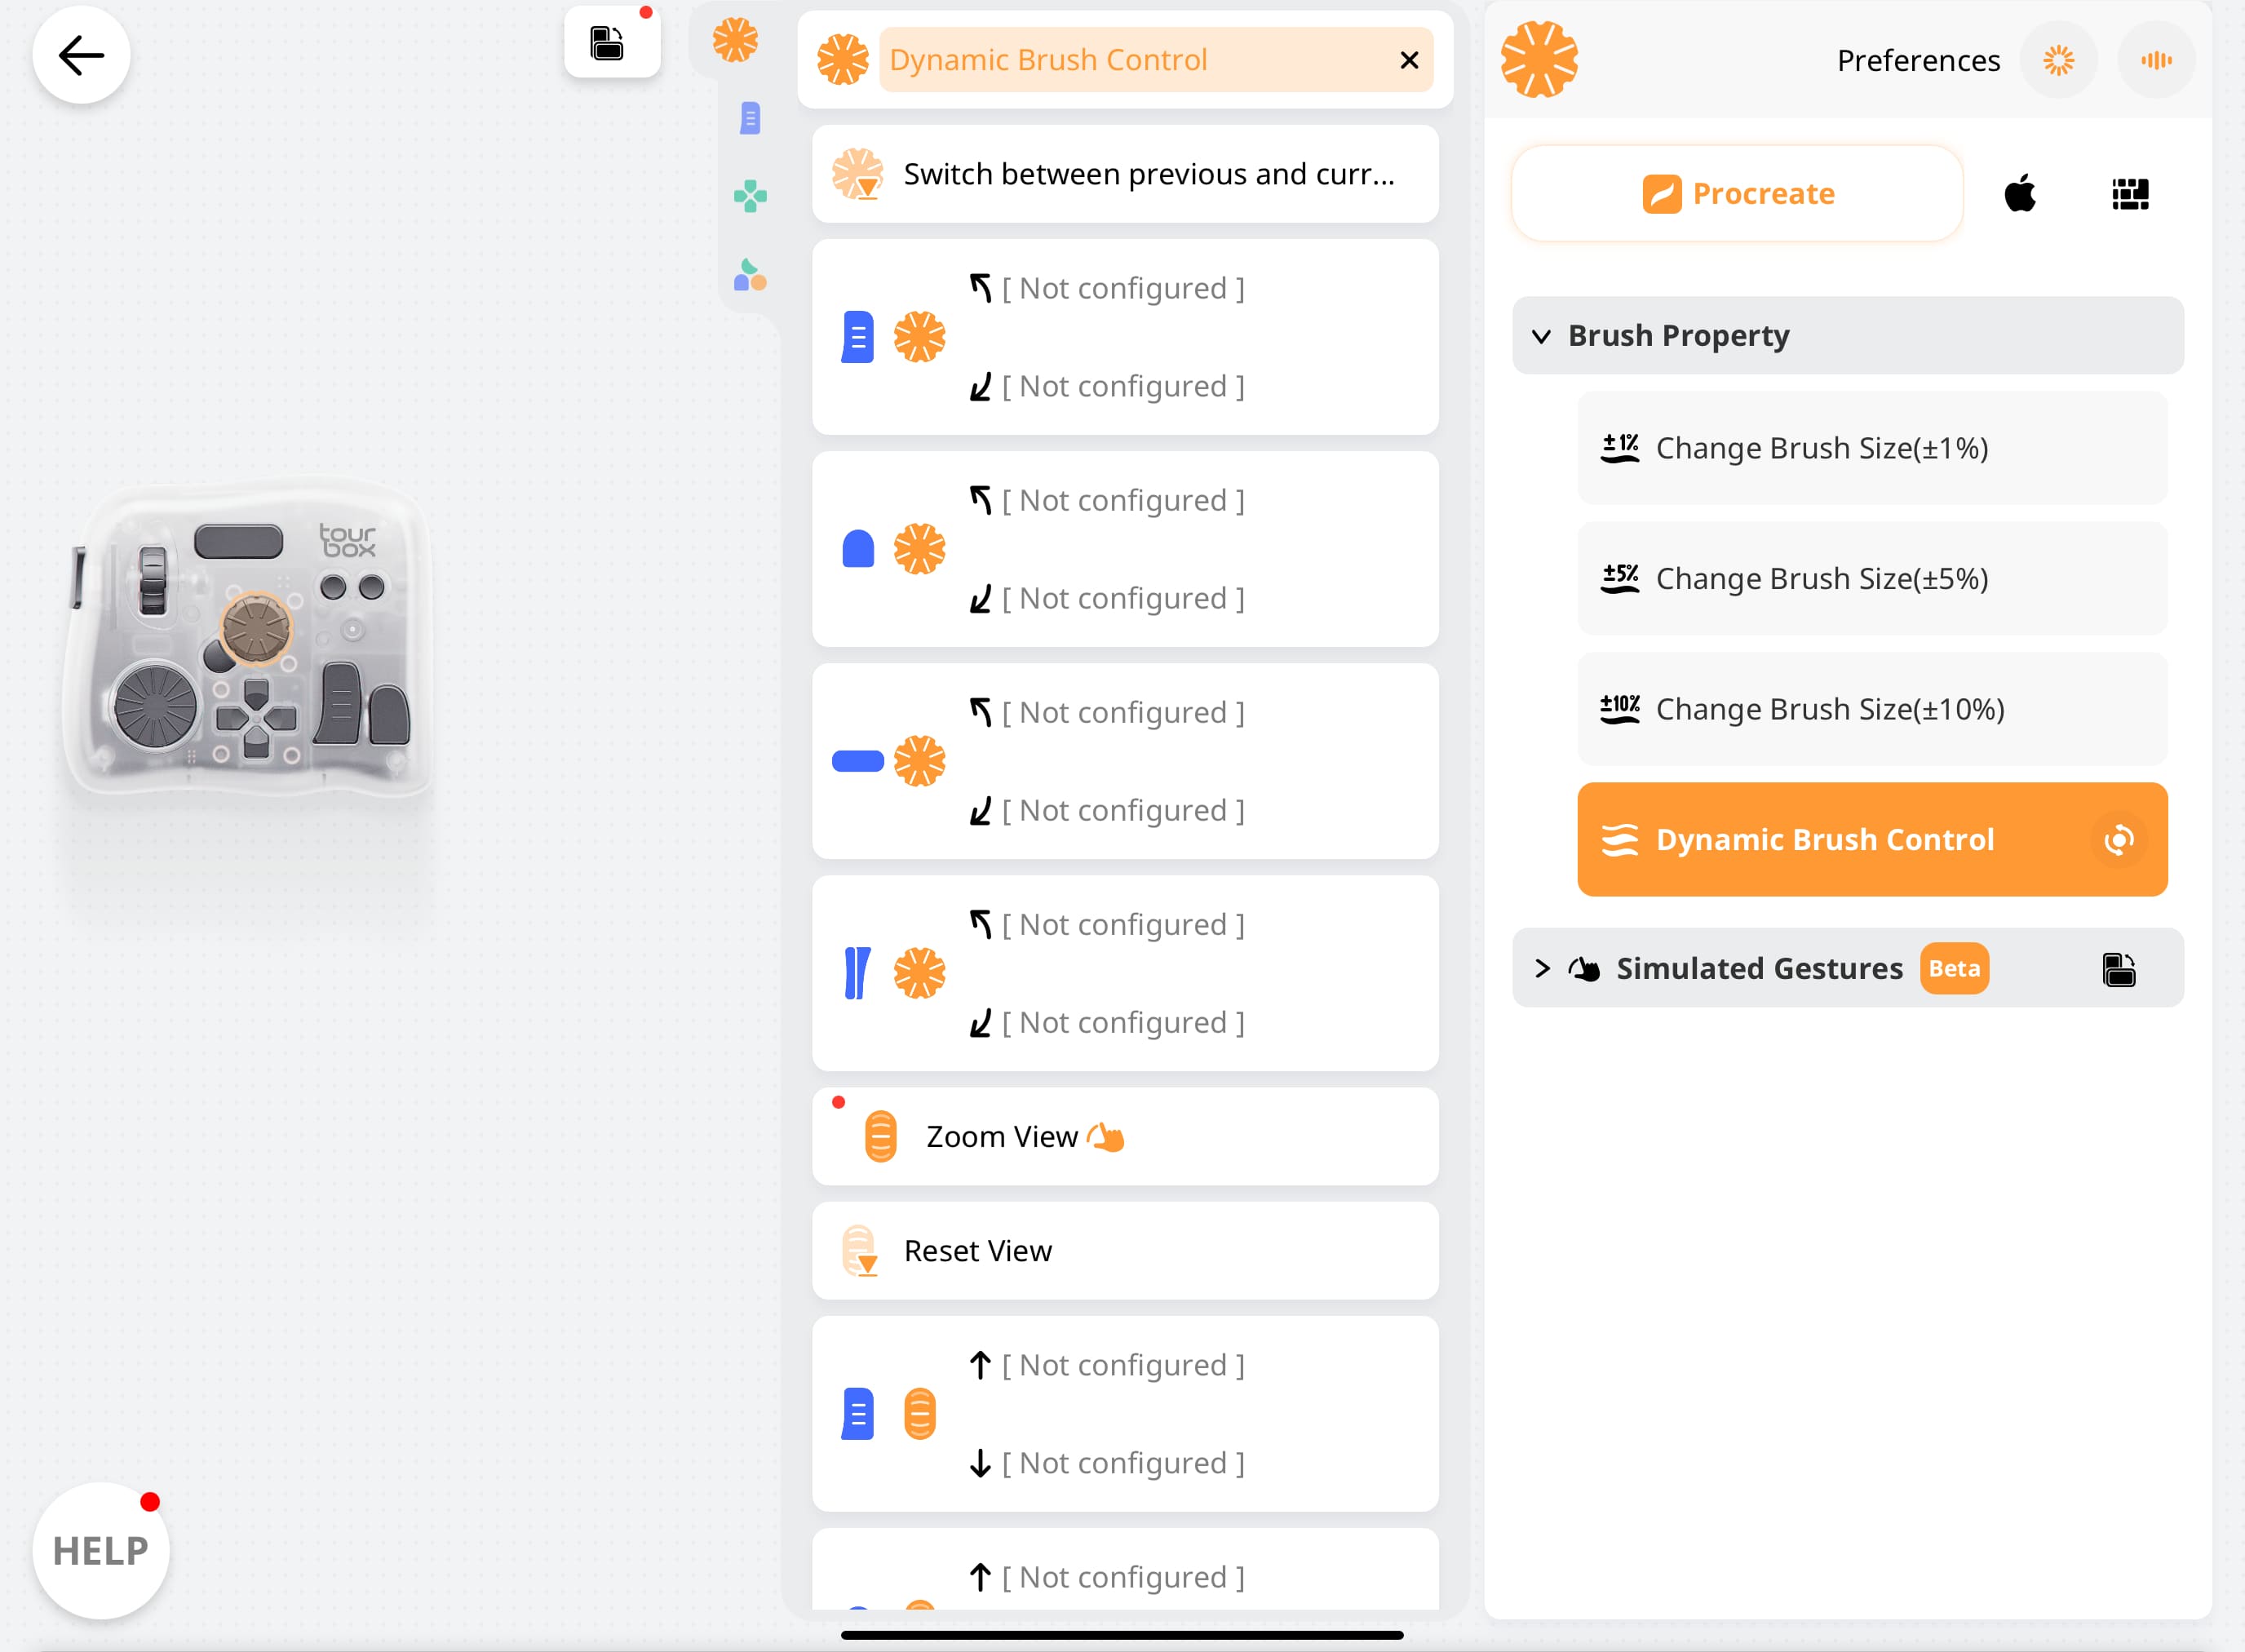
- Button Combos and Double-Tap Functions: You can set up combo actions by using two buttons together or assign a double-tap action to a single button. Additionally, the knobs' rotate, scroll, and press actions can be combined with other buttons for more customized controls.
Quick Start: Watch the Tutorial Video
To help you quickly learn how to set up the TourBox Elite Plus on your iPad, we've created a demo video. Click the link below to watch it!
We hope this guide helps you get the hang of the button setup on your TourBox Elite Plus. If you still have questions, feel free to check out our other tutorials or reach out to customer support.