What Is a Keyframe? Quick Guide for Beginners
If you're starting out with video editing, the word keyframe can feel scary. But a keyframe is actually a very simple and useful tool. Basically, it's the button that makes things move. In this article, we'll quickly explain what a keyframe is.

In this article, you will learn:
What Exactly Is a Keyframe?
A keyframe is a "snapshot" you set for a property at a specific point on the timeline — it marks what that property should be at that moment. After you set two keyframes, the software fills in the frames between them automatically (this is called interpolation), creating a smooth animation or change.
Still hard to picture? Here's an example:
When you're editing and want an image to slowly float from the left side of the screen to the right, you can't move it one frame at a time. Keyframes do that for you.
Here's how it works:
- You tell the software, "At 1 second, this image is on the left."
- Then you tell it, "At 5 seconds, this image should be on the right."
- The software then figures out how the image moves between those two points.
Those two time points, 1 second and 5 seconds, are the keyframes.
To make it easy, imagine the timeline is a road and keyframes are road signs.
You place a sign at different points in time to tell the software, "At this moment, this thing should look like this." The software then fills in the change between the two signs automatically, and that creates the animation.
What Can Keyframes Do?
Keyframes can control a lot. If you're new to video editing, here are some simple things you can do right away:
- Make things slowly appear or disappear (fade in / fade out).
- Make an image or text move, get bigger or smaller, or spin.
- Gradually change color or brightness — for example, from day to night.
- Turn the audio volume down or up over time.
In short, you can put keyframes on a clip's position, scale, opacity, rotation, volume, and more. Set one value at the first keyframe and a different value at the second. The software will automatically create the smooth change between them.
How to Add Keyframes?
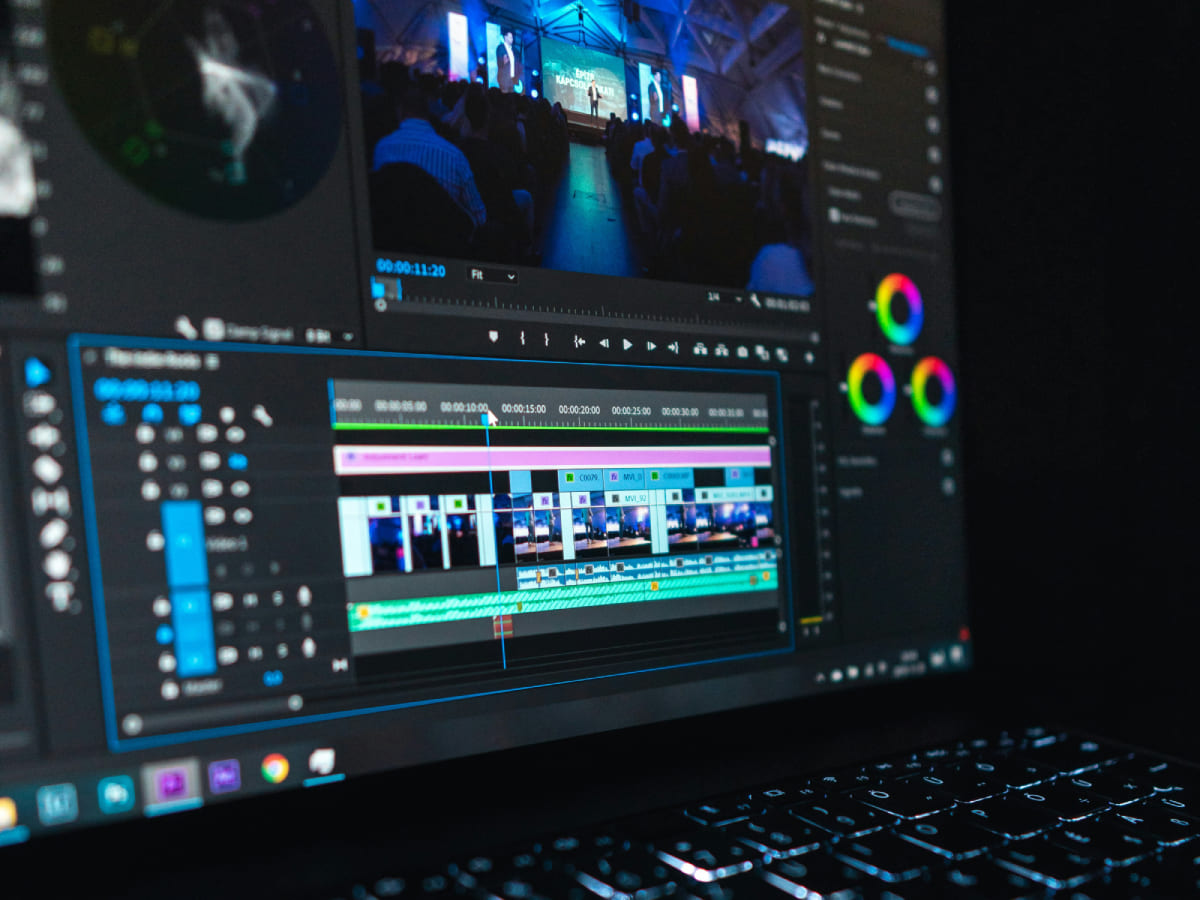
Adding keyframes is pretty simple. We'll use CapCut PC as an example.
Drag the clip you want into the timeline, then click the clip. On the top right, you'll see a properties panel with settings like Scale, Position, and Rotate.
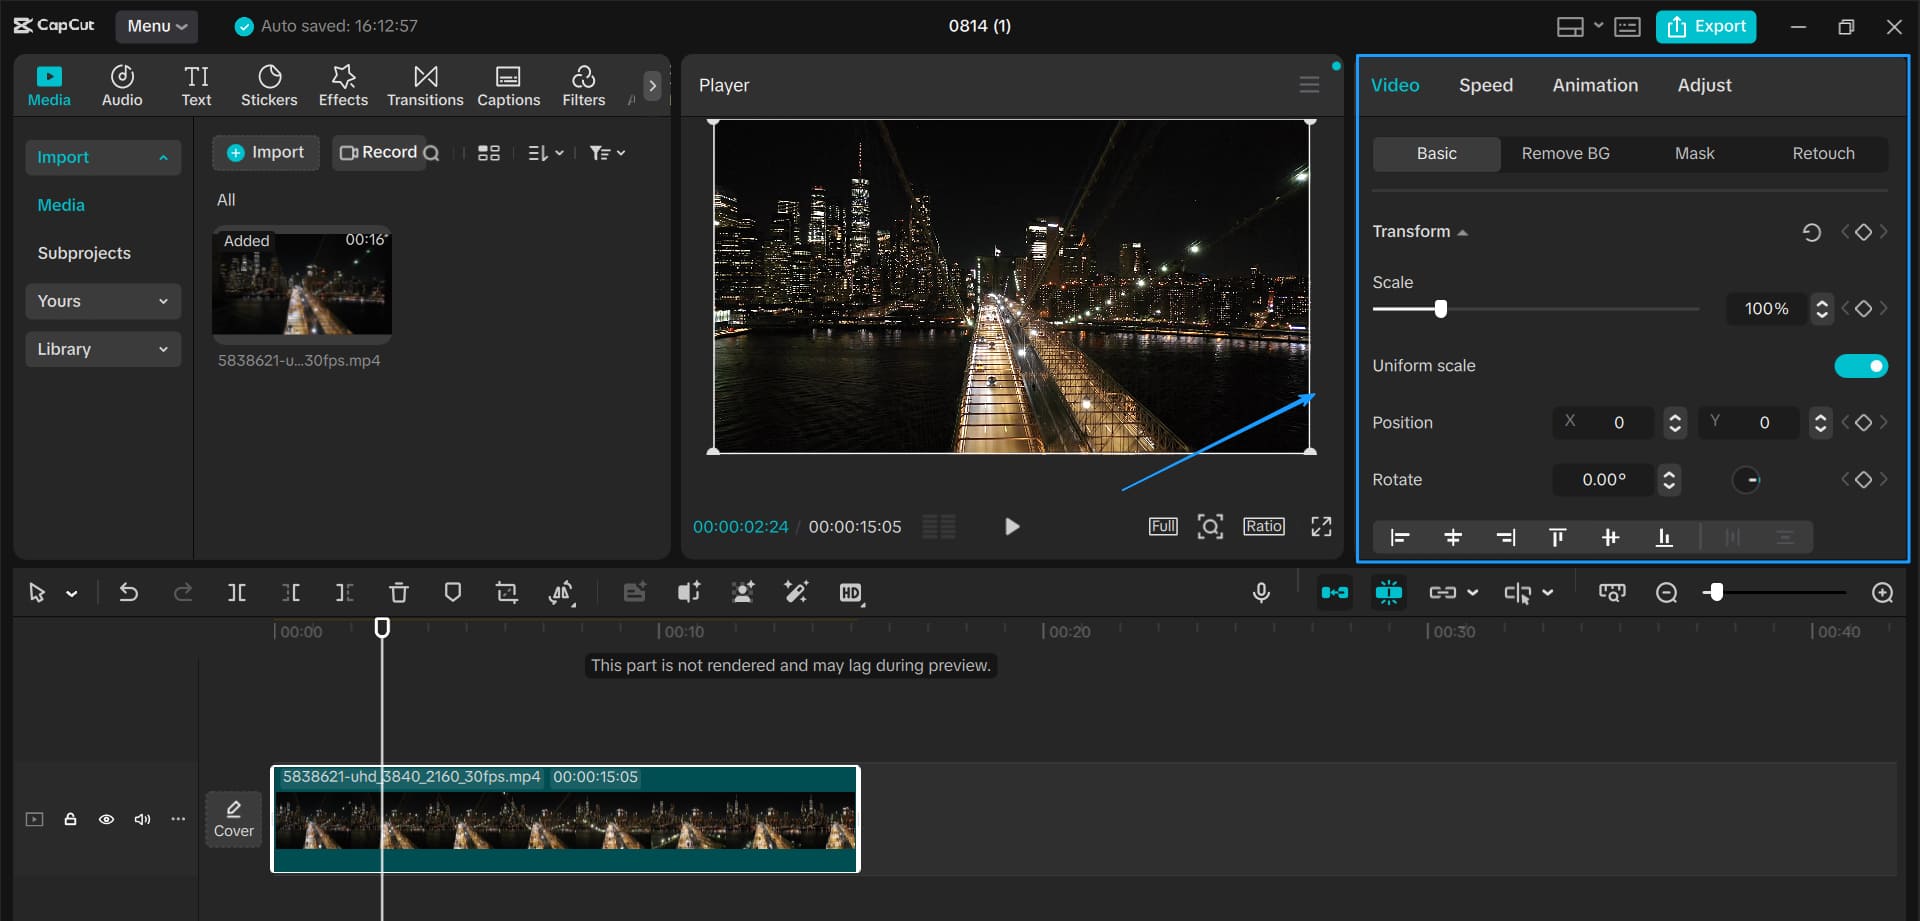
Each property has a small diamond icon on its right. That diamond is the keyframe button. Most video editors put a similar button next to properties you can animate.
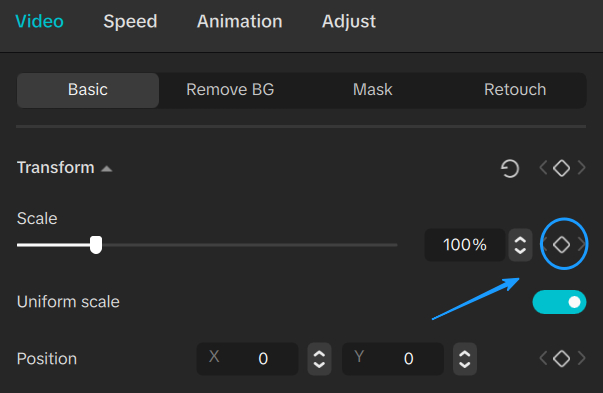
Move the playhead (the timeline cursor) to where you want the animation to start. Click the diamond next to the property you want to change. That creates the first keyframe.
Move the playhead to where you want the animation to end, then change the property's value. CapCut will automatically add the second keyframe for you.
Preview the clip and you'll see the motion.
By default, keyframe animations can feel a bit stiff. To make them smoother, add easing (like ease-in or ease-out). In CapCut, right-click a keyframe on the timeline to choose a smoother curve.

Quick Keyframe Tips
- There's only a "change" when you have two keyframes. One keyframe by itself won't move anything.
- The farther apart the two keyframes are, the slower the animation; the closer they are, the faster it plays.
- If you're a beginner, don't add too many keyframes at first. Controlling the start and end is usually enough.
Keyframes are like setting a clip's "start" and "end." The editor fills in the middle for you. They're a great, simple tool to make your videos move with more detail.
At the end of this beginner's guide to keyframes, we want to recommend a tool that can really boost your video editing speed: TourBox.

For creators and video editors, a smooth workflow matters. A creative controller like TourBox makes editing easier. You can assign different edit functions to its buttons and dials. That makes editing more intuitive and cuts down on keyboard shortcuts and mouse clicks.

TourBox is especially helpful during heavy video editing sessions. If you'd like to learn more, check our Video Editing page to see how TourBox can help you work faster.