What Is B-Roll? How to Shoot Better B-Roll Footage
If you've watched tutorials about vlogging or video editing, you've probably heard the term B-roll come up more than once. Whether it's a travel vlog, a daily video, a product review, or a sit-down interview, creators often use a few well-chosen shots to make their videos feel more polished, engaging, and natural.
But what exactly is B-roll? How is it different from the main footage, and why can a few extra shots make such a big difference? If you want your videos to feel less like a simple recording of events and more like a story worth watching, learning how to shoot and edit B-roll is a great place to start.
What Is B-Roll? How Is It Different from A-Roll?
Before getting into B-roll, it helps to understand a related term: A-roll. Simply put, A-roll is the main footage that carries a video's primary content, while B-roll is supporting footage that adds context, detail, or variety.
In an interview, for example, the footage of someone sitting down and answering questions is the A-roll. Shots of them working in their studio, using their tools, or moving around their workspace are B-roll. These extra shots may not carry the main conversation, but they help viewers understand what the person is talking about and keep the video from feeling visually repetitive.
The same idea applies to vlogs. When you talk to the camera about where you're going and what you plan to do, that's A-roll. Shots of the café you're walking into, the barista making your coffee, the food on your table, or the street outside can all serve as B-roll.
That doesn't mean B-roll is simply a collection of pretty shots to fill empty space. Its real value comes from how well each shot supports the video, whether by providing useful information, setting a mood, or making the story easier to follow.
Imagine you're a photographer looking for a location in a remote mountain area. If your entire video consists of you talking about the long drive, the weather, and why you chose this spot, viewers may understand your experience, but they won't get much of a feel for the place itself.
Now imagine cutting in shots of the winding mountain roads, wind moving through the grass, you setting up your tripod, and the landscape as it appears through your viewfinder. Suddenly, viewers aren't just listening to you describe the trip. They get to experience parts of it alongside you.
That's what makes A-roll and B-roll work so well together. A-roll delivers the main information, while B-roll makes that information more vivid, engaging, and easier to connect with.
Of course, the distinction isn't always clear-cut. A shot that serves as background footage in one part of a video might become the main focus in another. In a travel documentary, for instance, a quiet landscape shot with nothing but natural sound may carry more emotional weight than an entire stretch of narration.
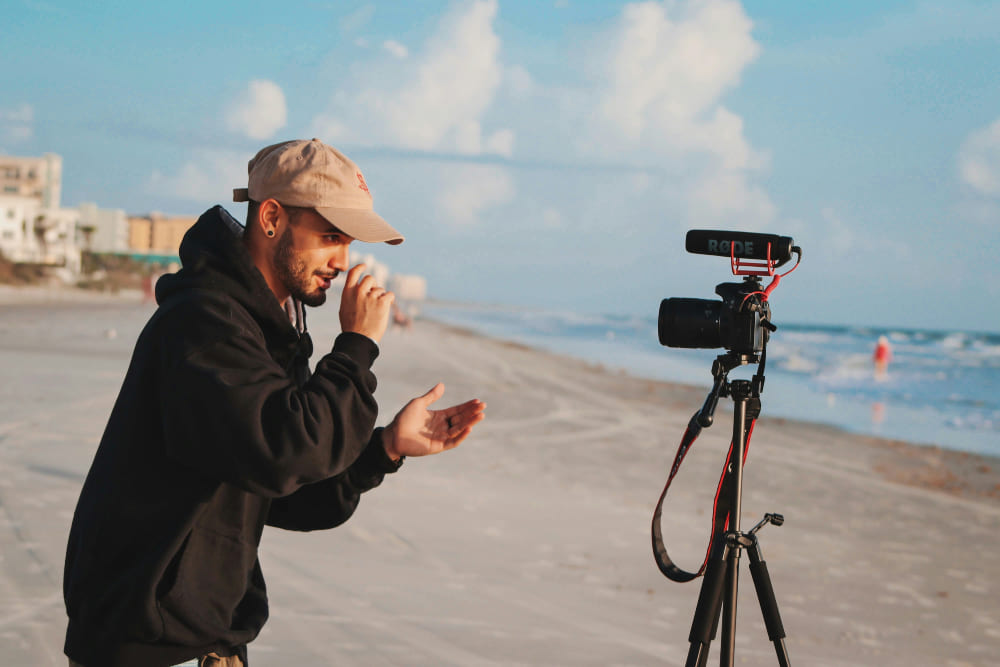
Why Is B-Roll Important?
1. Show Viewers What You're Talking About
One of the biggest advantages of video is that you don't have to rely on words alone. You can show people what something looks like, how it works, and what happens as it unfolds. If you've captured those moments but only describe them verbally, you're missing an opportunity to make the most of the medium.
Imagine you're making a photography tutorial and explaining how you look at the light and choose an angle before taking a shot. If the video only shows you sitting at your computer and talking, viewers have to imagine what you mean.
Add footage of you studying the light on location, adjusting your camera position, and showing the final photograph, and the explanation becomes much easier to follow.
The same goes for product reviews. Instead of spending the entire video talking about a phone's design and everyday performance, show its screen, buttons, and real-world use. These shots don't just make the video more interesting. They also give viewers something concrete to connect with your opinions.
2. Keep the Video Engaging and Make Edits Feel Natural
Even useful content can become difficult to watch if the video stays on the same angle and composition for too long. B-roll gives you a way to change the framing, perspective, and visual information, helping maintain the viewer's interest.
It also comes in handy when you're editing less-than-perfect footage.
Let's say you're recording a talking-head video and pause mid-sentence, repeat yourself, or need to remove an unnecessary section. Cutting those moments out can create an awkward jump in the subject's movement or make the edit look obvious.
By placing relevant B-roll over the edit while keeping the spoken audio underneath, you can hide the visual jump and let the narration continue smoothly.
This technique is especially useful for interviews, tutorials, and longer videos built around someone speaking to the camera. That said, B-roll can't fix everything. If the audio doesn't flow or the explanation itself has a gap in logic, covering the picture won't solve the underlying problem.
3. Set the Mood and Make the Story More Memorable
Sometimes, B-roll isn't about providing more information at all. It's about helping viewers feel something.
Think about a travel vlog. Quick cuts of busy streets, passing cars, neon signs, and footsteps can capture the energy of a city.

On the other hand, a slow-moving shot, a cup of coffee beside a window, and rain running down the glass can create a much quieter mood.
Each shot might seem ordinary on its own, but when combined with music, ambient sound, and the footage around it, those small details can give the entire video a more consistent atmosphere.
That's also why more B-roll isn't necessarily better. A good shot isn't just visually appealing. It needs to fit the moment and contribute something to the video.
How to Shoot Better B-Roll?
You don't need expensive equipment or complicated camera movements to shoot good B-roll. More often than not, what makes the difference is knowing what footage you'll need before you start shooting and capturing enough variety to give yourself options in the edit.
1. Plan Your Shots Before You Start Filming
One common mistake beginners make is filming anything that catches their eye. They end up with plenty of footage but struggle to turn it into a coherent sequence.
A better approach is to think about what your video is trying to tell and what viewers need to see along the way. You don't have to plan every shot in advance, but it helps to identify the moments that will make the story easier to understand.
Let's return to the travel vlog example. Say you're heading to a vacation rental with a large swimming pool. Besides filming your arrival, you might want to capture the exterior of the property, the surrounding scenery, opening the door, dropping off your bags, walking toward the pool, and getting ready to jump in with your friends.
Think about how you can break those moments into different types of shots. Start with a wide shot to establish the setting, follow with a medium shot of someone moving through the space, and then capture close-ups of details such as a backpack zipper, your hand reaching for a GoPro, or ripples moving across the water.
When it's time to edit, you'll have more options and a much easier time building a sequence that flows.
Of course, things don't always go according to plan. Unexpected moments are often what make a vlog worth watching, so don't treat your shot list as a checklist you have to complete at all costs. The point of planning is to avoid missing important footage, not to stop yourself from capturing something spontaneous.
2. Shoot Different Angles and Framing Options
If there's one B-roll skill worth practicing early on, it's learning to capture the same subject or action from different distances and angles.
Imagine filming your friend jumping into a swimming pool. If you record the entire thing from one distant angle, the footage may feel a little flat, even if the action itself is fun. Instead, start with a wide shot showing the pool and its surroundings, follow with a medium shot of your friend approaching the edge, and then capture close-ups of their feet at the poolside, the jump, and the splash as they hit the water.
You don't need to use every shot in the final video. The point is to give yourself options so you can decide when to show the full action and when to focus on a particular detail.
You can also try different camera positions. Film the jump from the side, get close to the water to capture the entry, or shoot from the opposite side of the pool to show your friends' reactions. Just keep the direction and timing of the action in mind so the cuts feel natural rather than disjointed.
3. Pay Attention to Camera Movement and Shot Length
Slow motion, pans, tracking shots, and push-ins can all make B-roll more engaging, but they work best when they serve a purpose rather than become the point of the shot.
For example, a subtle push-in or a slow-motion shot can draw attention to the movement of coffee pouring into a cup. When filming someone crossing a busy street, a tracking shot might do a better job of capturing the energy of the scene.
It's also important to leave yourself some room when recording. Rather than hitting record at the exact moment an action begins and stopping as soon as it ends, try rolling for a second or two before and after the action. Those extra moments give you more flexibility when choosing your in and out points during editing.
If you plan to use slow motion, check your frame-rate settings before filming. Recording at a higher frame rate allows you to slow the footage down while maintaining smooth motion, but not every scene benefits from it. If you slow down every action in your video, the result can feel sluggish and lose some of its natural energy.
4. Don't Forget Sound: It's Part of Your B-Roll Too
It's easy to focus entirely on the picture when shooting B-roll, but sound can make an ordinary shot feel much more real. It can also help connect different shots in the edit.
When filming a beach trip, for example, you might capture the sound of waves hitting the shore, footsteps in the sand, and your friends talking and laughing. You may not use all of these sounds in the final video, but having them available gives you more options when editing.
If you're adding music later, you don't have to keep it at the same volume throughout the video. Music might take center stage while you're building anticipation, then dip in volume when an important action happens so the natural sound or a specific sound effect can come through.
You can also let sound lead the picture slightly. For instance, the sound of splashing water or your friends cheering could begin just before the video cuts to the pool. Or you could let the ambient sound continue briefly after the picture changes. These small choices can make transitions feel more natural without relying on flashy effects.
Whenever possible, record some clean ambient sound on location. Added sound effects can certainly help, but real recordings often preserve the character of a place in a way that generic effects can't.
How to Edit Your B-Roll: Bring the Shots, Music, and Rhythm Together
Shooting is only the first step. Even if you've captured plenty of great footage, the final video can still feel disjointed if the shots don't connect or the pacing doesn't fit the music.
When editing, start by deciding what you want the sequence to feel like, then arrange the footage accordingly. A relaxed travel montage might benefit from slower cuts that give viewers time to take in the surroundings. A more energetic sequence, on the other hand, can use tighter edits to emphasize movement and excitement.
Let's return to the swimming pool. You've arrived at a vacation rental with a large pool, and you're about to jump in with your friends. You could turn the experience into a short sequence lasting around 20 to 30 seconds.
- Drop your backpack. Start with a medium close-up of you setting the bag down on a chair. Keep the soft thud of the bag hitting the surface to build anticipation for what comes next.
- Take out your GoPro. Cut to a close-up of your hands getting the camera ready. This shot doesn't need to last long; its purpose is simply to show what you're preparing to do.
- Run toward the pool. Use a tracking shot or a first-person perspective. Keep the footsteps and ambient sound to help the sequence move naturally from preparation to action.
- Jump and hit the water. If you've recorded the action at a higher frame rate, try slowing it down to emphasize the moment your body leaves the edge and the water splashes around you. Let the music build as you approach the jump, then lower it briefly before impact to give the splash more presence.
- Show the underwater view or what happens after the jump. If you have suitable waterproof equipment, an underwater shot can add a different perspective. Otherwise, film from near the water's surface or capture your reaction as you come back up. Adjusting the sound here can help convey the transition from above the water to below it.
- Cut to your friends taking their turns. Use a few short shots from different angles, cutting in time with the music where it feels natural. You can tighten the pacing around the most exciting moments, but there's no need to force every cut to land exactly on a beat.
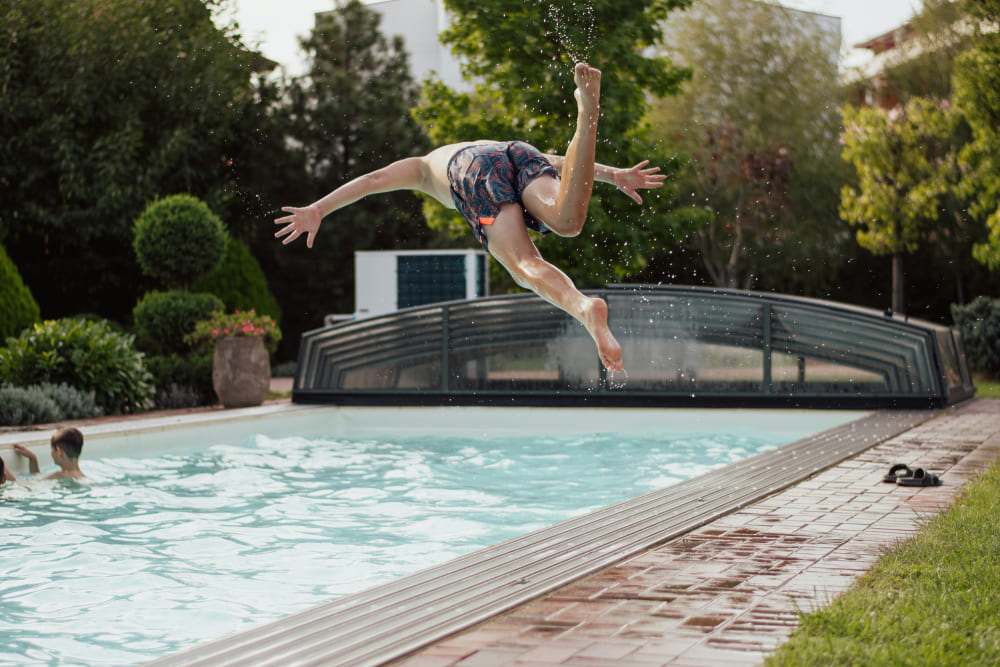
What makes this sequence work isn't that every shot is spectacular. It's that the shots come together to tell a simple, clear story: getting ready, taking action, and enjoying the experience.
When you start editing, try arranging your footage in that order before worrying about the finer details. Make sure every shot has a reason to be there, then adjust the timing, transitions, and audio. Your first pass doesn't have to be perfect. It's more important to establish a sequence that makes sense before polishing it.
Music shouldn't be the only thing that determines your cuts, either. Cutting on the beat can create a strong sense of rhythm, but if every shot exists only to match the music, the sequence may end up feeling like a collection of clips with little connection between them.
The timing of an action, someone's reaction, and the natural sounds of the scene can all be just as useful when deciding where to cut.
Editing B-roll often involves lots of small, repetitive adjustments: replaying footage, finding the exact moment an action happens, trimming clips, switching between shots, and fine-tuning music and sound effects. If you constantly have to move between your mouse, keyboard shortcuts, and different panels, it's easy to lose your rhythm.
Along with learning your editing software's shortcuts, it can help to find a control setup that suits the way you work.
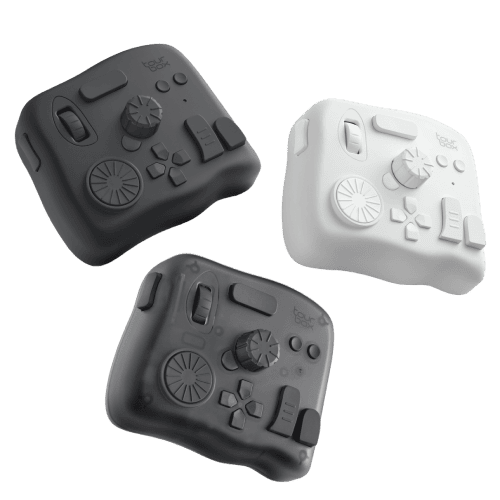
For example, TourBox can be configured to work with video editing software such as DaVinci Resolve and Premiere Pro. Its physical buttons, dials, and knobs let you assign frequently used commands and controls to dedicated inputs. Depending on your setup, you might map playback controls, timeline operations, or parameter adjustments to make common tasks easier to reach.
Knobs can be particularly useful for parameters that need repeated, incremental adjustments. With a suitable mapping, you can use a dial to adjust volume or another supported parameter instead of repeatedly dragging a slider with your mouse.
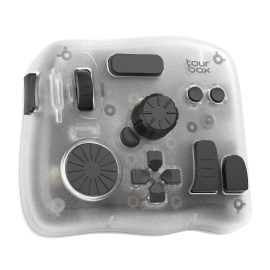
Of course, a controller can't decide which shot works best or automatically give your edit a better rhythm. Those decisions still come down to your understanding of the footage, sound, and story. The real benefit is reducing some of the friction involved in repetitive operations, leaving you more room to focus on choosing shots and shaping the edit.
Final Thoughts
When you're first learning to shoot B-roll, it's tempting to focus on camera movements, slow-motion effects, and elaborate transitions. But after watching enough good videos, you'll notice that the most memorable shots aren't necessarily the most complicated ones.
A pair of muddy shoes, a door slowly opening, sunlight falling across a table, or a friend laughing at an unexpected moment can all become some of the most memorable parts of a video. What matters is recognizing which moments are worth capturing and knowing how they can help the story move forward.
So the next time you shoot a vlog, product review, or travel video, take a little extra time to look around and capture the details you might otherwise overlook. Try filming the same action from different angles, and pay attention to the sounds around you. When you sit down to edit, choose the shots that serve the story rather than trying to squeeze every clip into the timeline.
As you gain experience, you'll begin to see B-roll less as a collection of pretty shots and more as another way to tell a story. It helps viewers see what you see and feel what you want to convey. And that's often what turns an ordinary video into something people actually enjoy watching.


