Natural Color Blending: 5 Photoshop Techniques for Digital Artists
In digital art, creating smooth transitions between colors can enhance the overall softness of the artwork and accentuate subtle variations between highlights and shadows.
However, achieving natural color blending can be challenging for beginners in digital painting.
In this article, we will share 5 extremely practical color blending techniques in Photoshop to help you master this skill.

In this article, you will learn:
- Technique 1: Smudge Tool
- Technique 2: Brush Blending
- Technique 3: Mixer Brush Tool
- Technique 4: Gaussian Blur
- Technique 5: Gradient Tool
- Final Thoughts About Color Blending in Digital Art
Technique 1: Smudge Tool
Have you ever used the Smudge Tool in Photoshop? This tool allows you to smear and blend colors together, commonly used in digital art for creating smooth transitions at color edges.
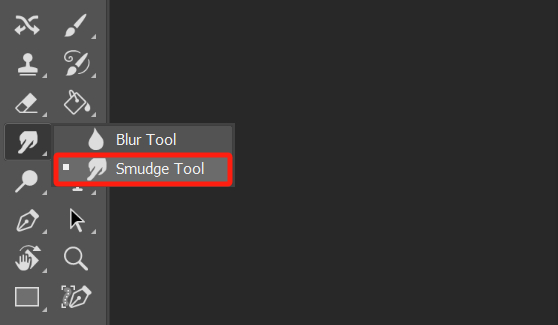
To access the Smudge Tool in Photoshop, navigate to the toolbar on the left. If you can't find it, click and hold the Blur Tool, and you'll see it in the tool menu that pops up.
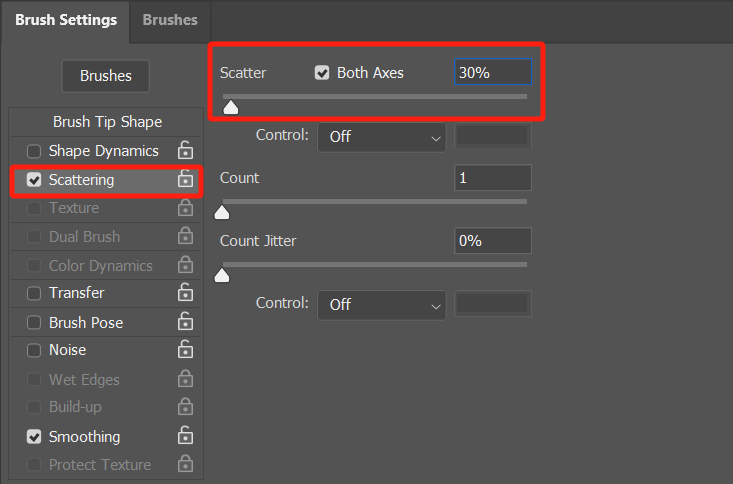
After selecting the Smudge Tool, go to the top settings bar to access the Brush Settings panel. Here's a recommended setup that works well for most color-blending scenarios:
- Check [Scattering].
- Check [Both Axes] and set the parameter around 30%-60%.
Adjust the [Strength] in the top settings bar in Photoshop depending on your specific drawing needs. Lower strength values result in a more natural blend.

Once you've set it up, the technique is straightforward. Simply use the Smudge Tool to smear along color edges. It works wonders for blending skin tones, highlighting hair, or softening blush on cheeks.
If you find constantly adjusting brush sizes, opacity, and other settings to be repetitive and tedious, why not give TourBox a try? This controller is beloved by many digital artists and enthusiasts.

Similar to using a game controller for gaming, controlling TourBox with just one hand allows you to effortlessly adjust brush sizes, opacity, flow, and more. It also makes tasks like rotating the canvas or adding adjustment layers a breeze.
In our tests, using TourBox has been shown to increase digital drawing efficiency by 270%. So why not give the new combo of TourBox + drawing tablet a try?
Technique 2: Brush Blending
Choose the Soft Round brush or set the Hardness of the Round brush to 0.
In the top settings bar, slightly lower the Opacity and Flow, and activate the Airbrush effect. Then adjust the brush size accordingly, hold down the Alt/Opt key to sample the top color of the two colors, and brush to blend the transition.

This manual technique of using a brush for color blending works well for transitioning between areas with significant color differences.
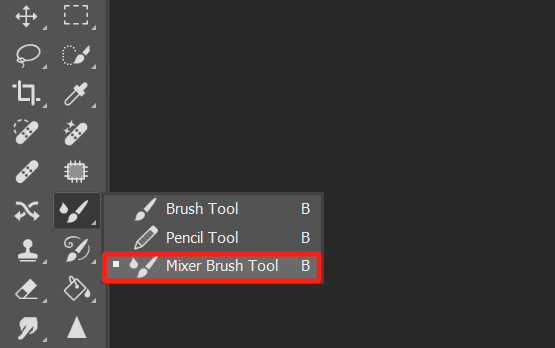
Technique 3: Mixer Brush Tool
By default, the Mixer Brush Tool is not included in the Photoshop tool list. You can activate this tool in the Customize Toolbar panel.
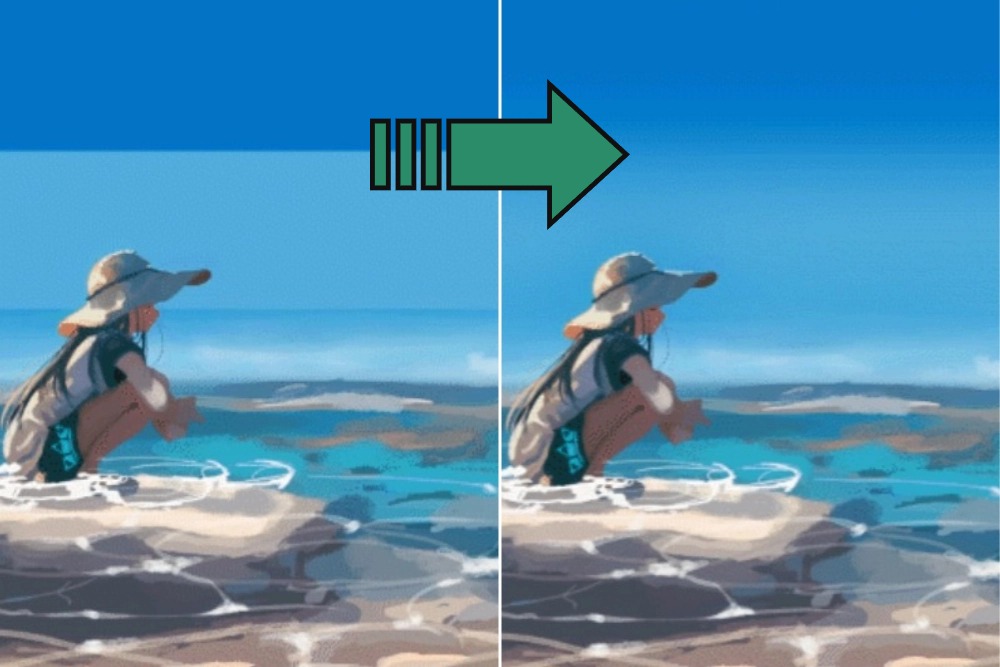
The Mixer Brush Tool can simulate brushstrokes in real painting, excelling particularly in color blending.
After selecting the Mixer Brush Tool, in the top settings bar, adjust the Wet and Mix values as needed—higher values result in smoother transitions.

Next, adjust the brush size accordingly, press the Alt/Opt key to pick up the mid-tone color, and brush to blend. Repeat this process until the effect looks natural.
This method swiftly blends base colors and brush colors, making it ideal for thick painting.

Technique 4: Gaussian Blur
You're probably familiar with the Gaussian Blur filter. Select Filter - Blur - Gaussian Blur, and adjust the blur radius—a larger radius results in more thorough color blending.
So, when should you use Gaussian Blur to create natural color transitions? Typically, in situations with large areas of color or background colors, you can employ Gaussian Blur for blending transitions.
Remember, using Gaussian Blur requires both colors to be on the same layer.
Technique 5: Gradient Tool
Using the Gradient Tool skillfully can also yield natural color blending effects.
Further Reading:
Mastering Gradients: 8 Photoshop Techniques You Can't Afford to Miss
This tool swiftly adds a sense of volume and achieves smooth color transitions, while also helping create depth within an image.
The Gradient Tool is great for giving characters a three-dimensional feel and handling lighting effects in illustrations.

Final Thoughts About Color Blending in Digital Art
By mastering the five techniques mentioned above, you will be able to achieve more natural color transitions in Photoshop, adding depth and subtlety to your work.
Whether you're an experienced digital artist or a novice exploring digital drawing, these methods are sure to enhance the visual impact of your creations.

If you want to make your digital art journey more enjoyable, give TourBox a try. You'll likely discover even more possibilities in your creative process!