Mastering DaVinci Resolve Shortcuts: Boost Your Efficiency
DaVinci Resolve shortcuts provide a streamlined and faster editing experience, allowing you to execute commands and perform tasks with just a few keystrokes.
By reducing the reliance on mouse movements and menu navigation, you can work more swiftly and focus on the creative aspects of your project.
In this tutorial, we will delve into the essential DaVinci Resolve shortcuts and guide you through their usage.

In this article, you will learn:
- How to Customize Keyboard Shortcuts in DaVinci Resolve?
- How to Use Keyboard Shortcuts in DaVinci Resolve?
- Final Thoughts About DaVinci Resolve Shortcuts
How to Customize Keyboard Shortcuts in DaVinci Resolve?
DaVinci Resolve offers a set of default keyboard shortcuts, but there's no one-size-fits-all solution when it comes to shortcuts.
You have the flexibility to customize and adjust the keyboard shortcuts in DaVinci Resolve according to your preferences.
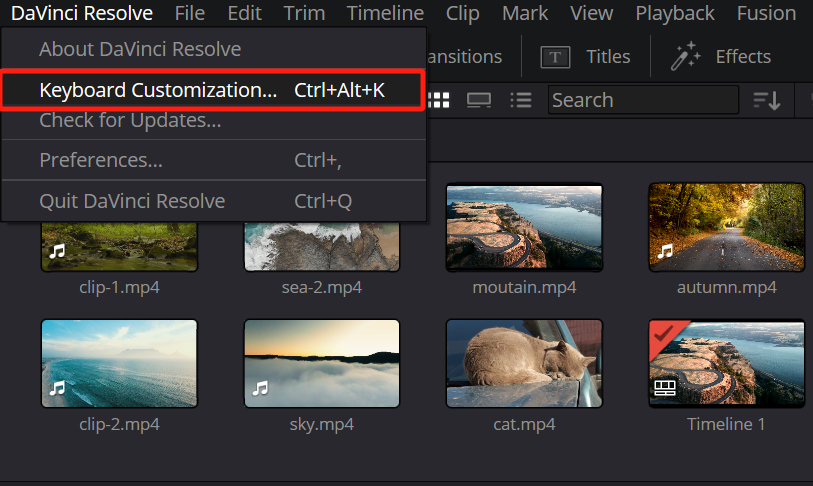
The process is straightforward. Simply click on the "DaVinci Resolve" menu in the top menu bar, and then select "Keyboard Customization." This will bring up a panel where you can customize the keyboard keys.
The panel displays a virtual keyboard at the top and the corresponding key settings below. By clicking on the virtual keyboard, you can see the corresponding DaVinci Resolve shortcut.
It's important to note that the same button may have different functions in different modes of DaVinci Resolve.
You'll notice a clear number displayed above or below the key to indicate the number of conflicts. For example, the "Backspace" key may have up to 9 conflicts in its default state.
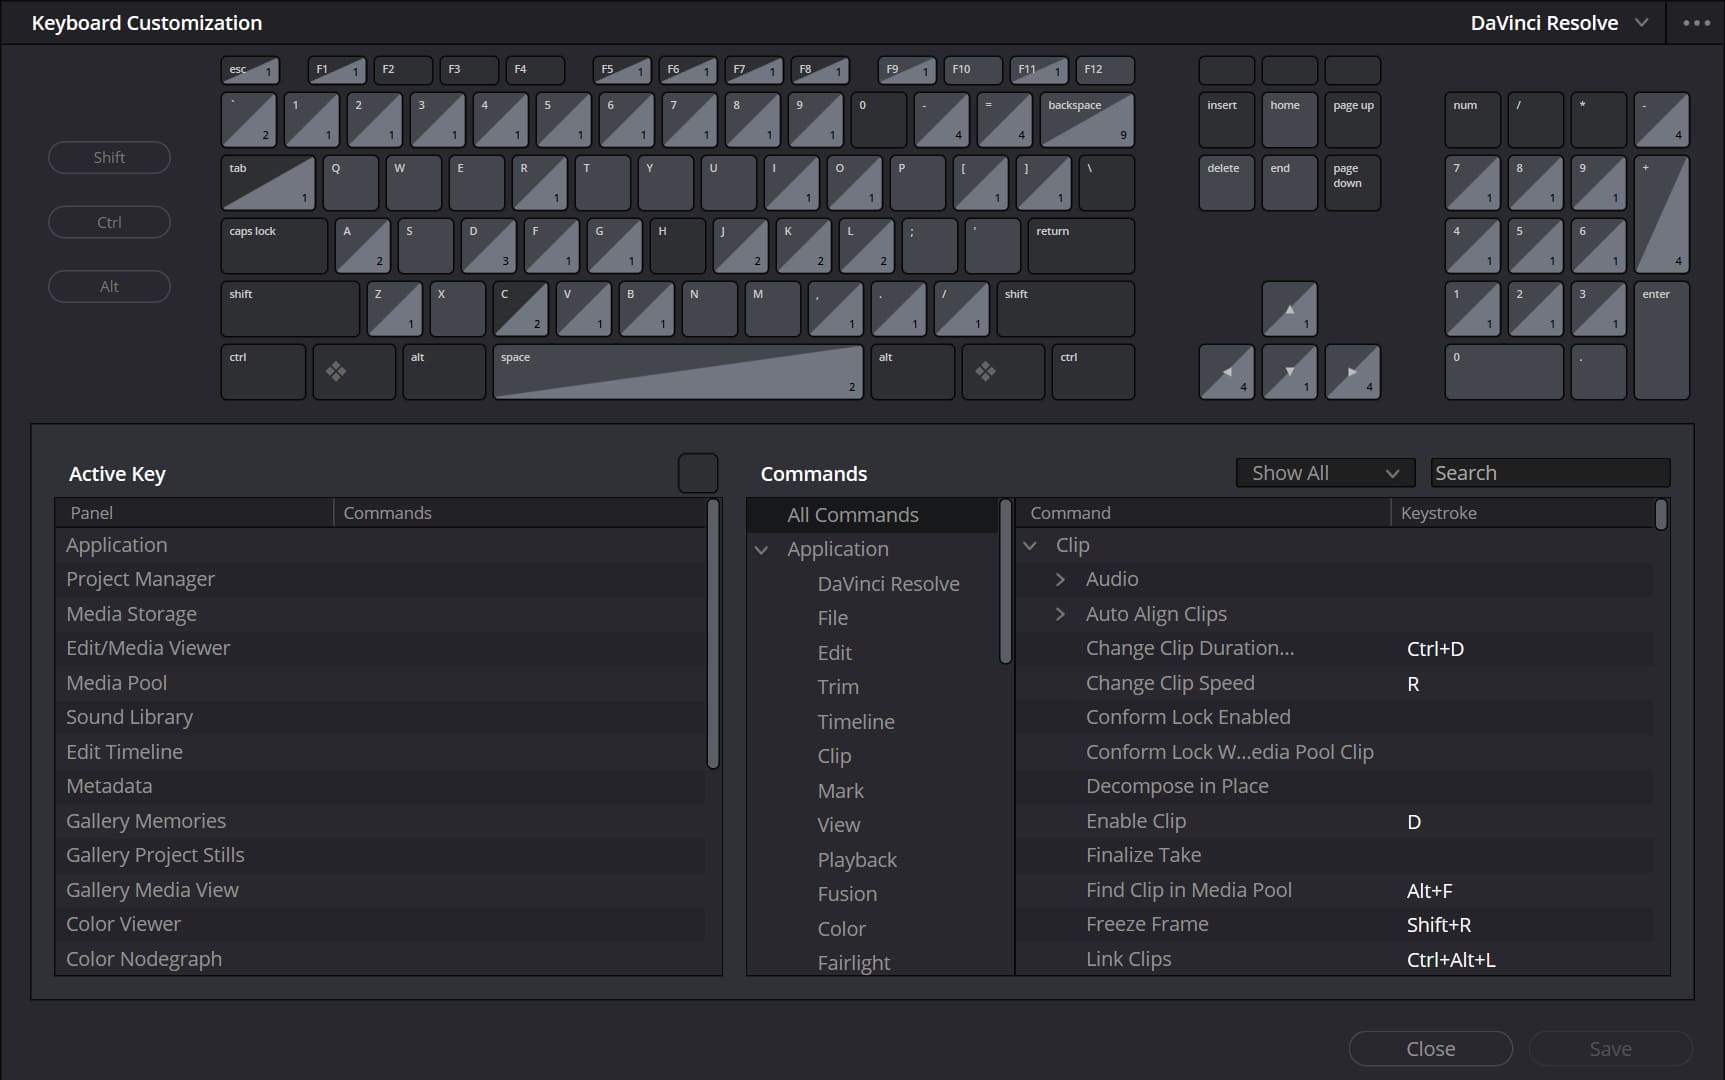
In the bottom right corner, you can access a list of all the available shortcut buttons.
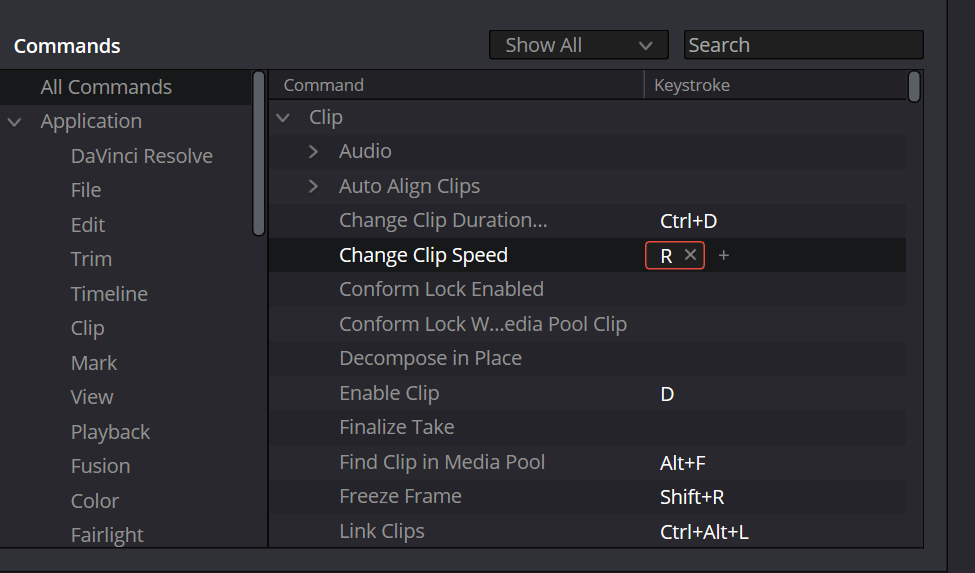
Double-click on a shortcut setting to modify it, or use the Plus sign next to it to add an additional action.
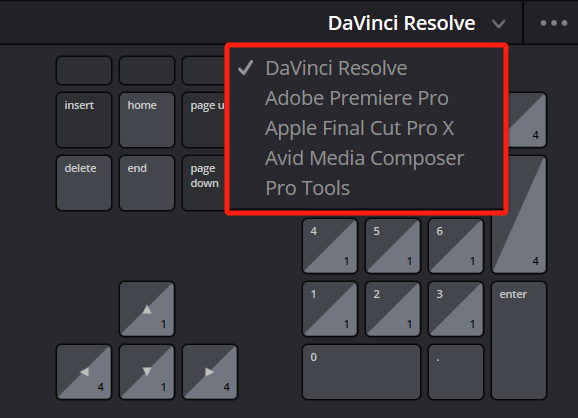
DaVinci Resolve provides several keyboard preset options based on Premiere Pro and Final Cut Pro.
However, you can also create your own custom presets that suit your specific workflow preferences and save them as new presets.
How to Use Keyboard Shortcuts in DaVinci Resolve?
In the previous section, we discussed how to customize keyboard shortcuts in DaVinci Resolve. In this section, we will provide a brief overview of how to use the keyboard shortcuts in DaVinci Resolve effectively.
It's important to note that the purpose of this tutorial is not to list all the available shortcuts but to help you combine commonly used shortcuts for efficient editing. So, let's get started!
The DaVinci Resolve shortcuts we'll be sharing below are for Windows users. If you're a Mac user, please make the corresponding adjustments.
DaVinci Resolve Shortcuts: J/K/L
When reviewing footage or the timeline, you often need to fast forward or rewind. To accomplish this, you can use the J/K/L keys, which represent rewind/stop/fast forward, respectively.
By pressing one of these keys multiple times, you can increase the speed of forward or backward playback.
DaVinci Resolve Shortcuts: I/O/F9
On the footage viewer, you can set the in and out points of a clip by using the I and O keys, respectively. Then, you can quickly add the clip to the timeline by pressing F9, eliminating the need for mouse dragging.
DaVinci Resolve Shortcuts: Up(↑)/Down(↓)/Left(←)/Right(→)
If you want to jump to the edit points of each clip, you can use the Up and Down keys to navigate quickly to those positions.
For precise adjustments at the edit points, you can use the Left and Right keys to move the timeline one frame at a time.
DaVinci Resolve Shortcuts: Shift + Left(←)/Shift + Right(→)
To jump multiple frames at once, you can press Shift + Left or Shift + Right to jump approximately five frames at a time.
DaVinci Resolve Shortcuts: B/Ctrl + \
Pressing the B key activates the blade tool, allowing you to add a cut by clicking with the mouse. You can also use Ctrl + \ to quickly add a cut.
DaVinci Resolve Shortcuts: Shift + V
When selecting clips, you often need to click with the mouse. This repetitive action can be time-consuming. However, by pressing Shift + V, you can directly select the clip and proceed with the next step.
DaVinci Resolve Shortcuts: Shift + [ ]/Ctrl + Shift + [ ]
This is a very useful feature. If you have a clip selected and the playhead is within that clip, you can press Shift + [ (Trim Start) or Shift + ] (Trim End) to quickly trim the video.
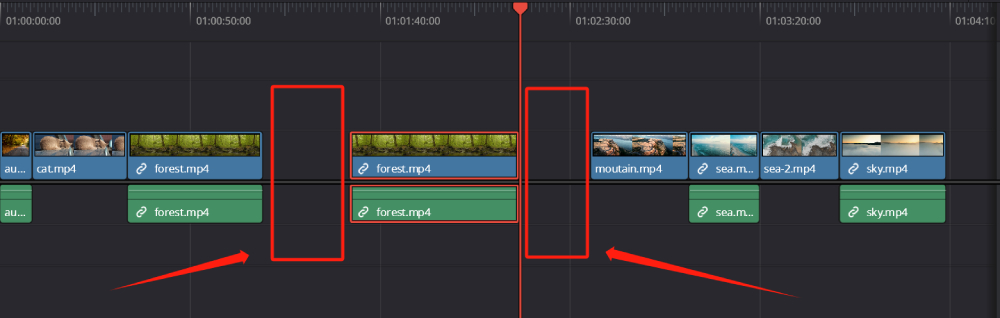
But this will leave gaps. To remove the gap and automatically move the clips ahead, simply hold Ctrl + Shift + [ ] to perform a Ripple edit, deleting the clips in front or behind the playhead.
DaVinci Resolve Shortcuts: Delete/Shift + Delete
If you want to delete an entire clip, you can press Delete. However, if you want the clips on the timeline to automatically close the gap, you need to add the Shift button, using Shift + Delete to quickly close the gap and move the remaining clips up.
DaVinci Resolve Shortcuts: Alt + Up(↑)/Down(↓)
To move your clip up or down one track, simply press Alt + Up(↑)/Down(↓).

DaVinci Resolve Shortcuts: Ctrl + T
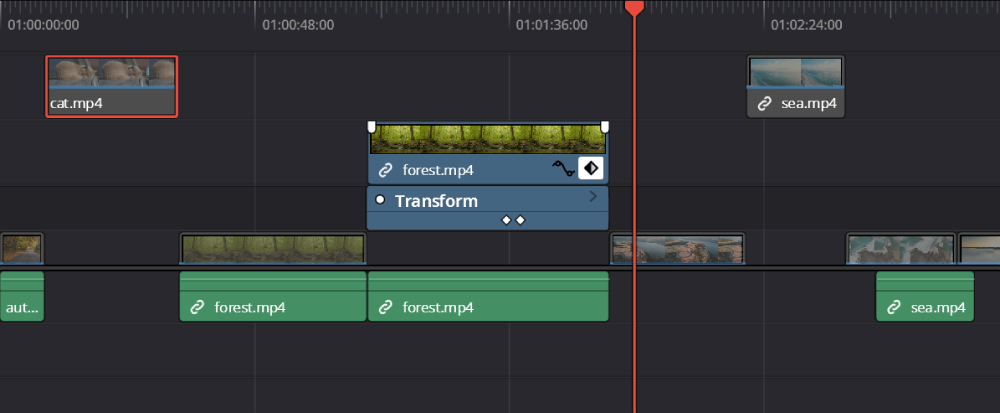
When you want to add a transition to a clip, just press Ctrl + T to add a transition.
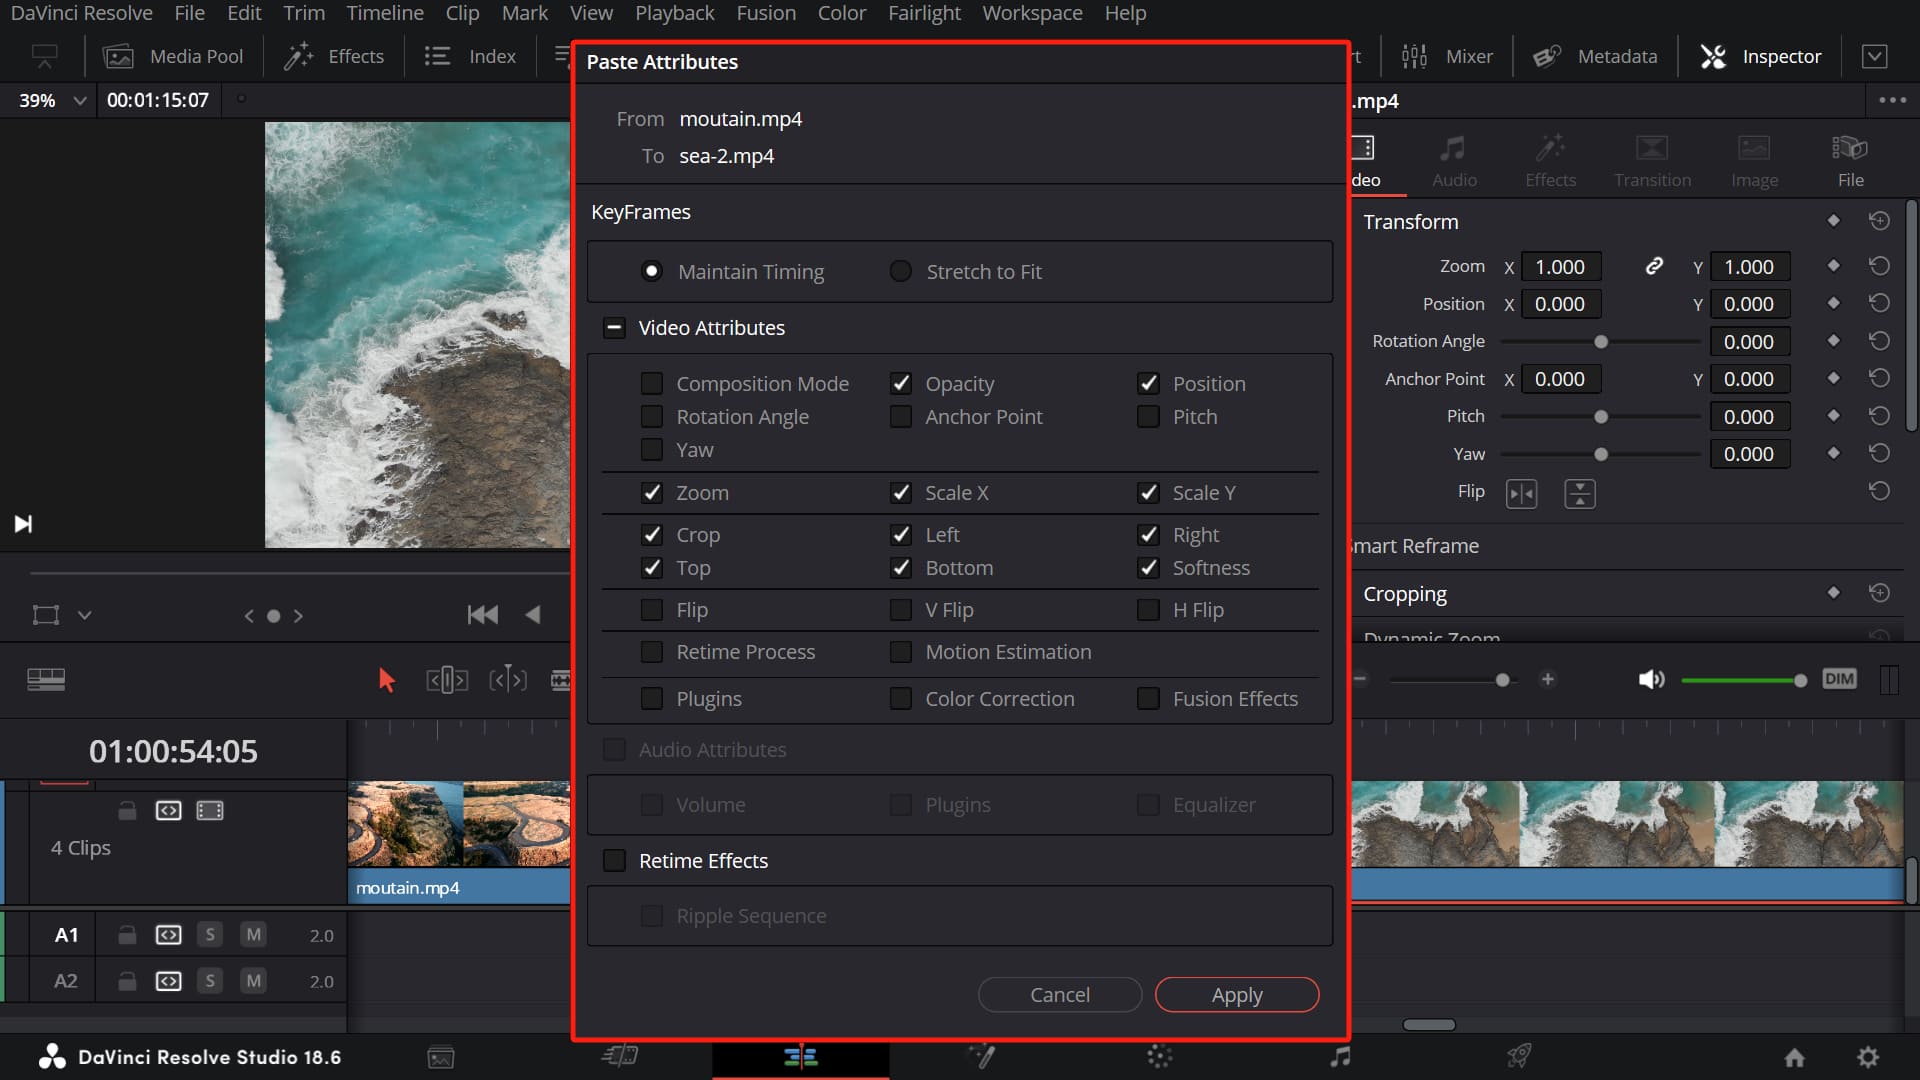
DaVinci Resolve Shortcuts: Ctrl + C/Alt + V
To copy the attributes of one clip to another, press Ctrl + C to copy the attributes and then press Alt + V to activate the attribute paste panel and choose the parameters you want to copy. (Note, it's not Ctrl + V)
DaVinci Resolve Shortcuts: D
When you want to temporarily disable a clip from being visible on the timeline, select the clip and press D to temporarily disable it. Pressing D again will re-enable it. This is useful for trimming your timeline.
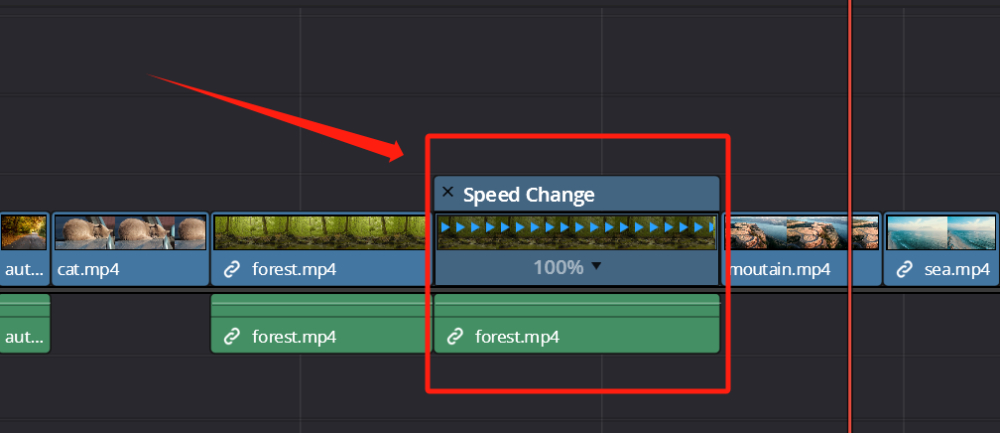
DaVinci Resolve Shortcuts: Ctrl + R
When you want to adjust the speed of a clip, you can press Ctrl + R. This is a handy feature and is frequently used in video editing.
DaVinci Resolve Shortcuts: Ctrl + Shift + L
To unlink the video and audio of a clip, simply press Ctrl + Shift + L to unlink them. The same shortcut can be used to relink them when needed.
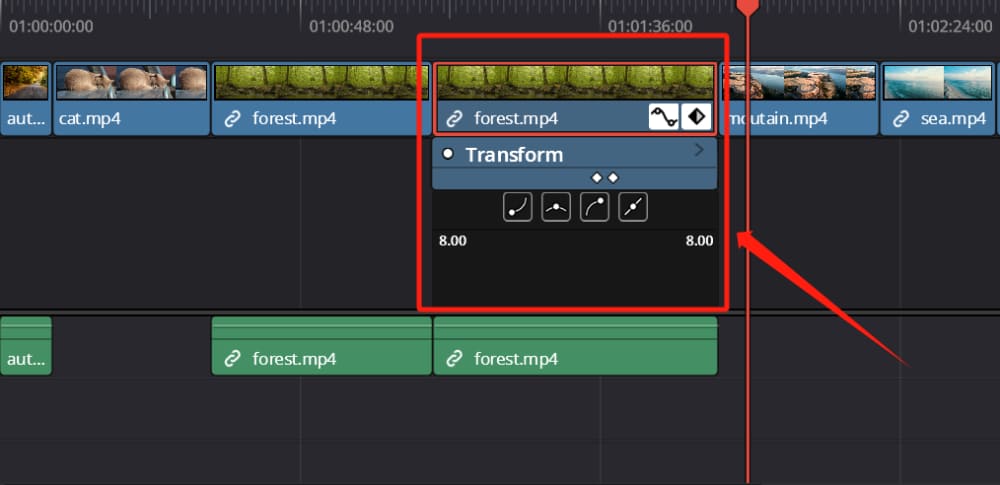
DaVinci Resolve Shortcuts: Shift + Ctrl + C/Shift + C
When you want to quickly view the keyframe settings within a clip, instead of clicking the keyframe button on the timeline with the mouse, you can press Shift + Ctrl + C to bring up the keyframe editor.
When you press Shift + C, you can specifically open the velocity curve editor for keyframes.
DaVinci Resolve Shortcuts: F/Alt + F
When you want to locate the original media on the timeline, but it has been edited and you want to find other valuable segments within that original media, you can select the edited clip and press F.
This will allow you to see the original media in the media viewer, and you can set new in and out points before dragging it back to the timeline.
You can also press Alt + F to find the original media in the Media Pool. This is particularly helpful for projects with a large number of segmented clips.
DaVinci Resolve Shortcuts: Ctrl + A
You can use Ctrl + A to select all the media, and then you can drag and move the entire timeline using the mouse.
DaVinci Resolve Shortcuts: Alt + Y/Shift + Alt + Y
When you want to select all the media after a specific clip, you can press Alt + Y and then use the mouse to drag. And if you want to select all the media ahead, you can press Shift + Alt + Y to achieve the same operation.
DaVinci Resolve Shortcuts: Ctrl + +/Ctrl + -
This is a very common and useful operation. You can zoom in on the timeline by pressing Ctrl + +, and zoom out by pressing Ctrl + -.
DaVinci Resolve Shortcuts: Alt + Shift + 1/2/3
If you want to quickly lock the first video track, you can press Alt + Shift + 1. The second video track would be Alt + Shift + 2, and so on.
DaVinci Resolve Shortcuts: Alt + Shift + F1/F2/F3
Since you can lock video tracks, the same principle applies to locking audio tracks. You can press Alt + Shift + F1 to lock the first audio track, Alt + Shift + F2 for the second audio track, and so on.
This feature is really useful when you need to make extensive adjustments to your media. You can lock the background music to keep it unaffected while adjusting the video tracks to align with the rhythm of the background music.
Final Thoughts About DaVinci Resolve Shortcuts
As we conclude our tutorial on the use of shortcuts in DaVinci Resolve, it's important to remember that there are countless other combinations out there.
This guide is merely the tip of the iceberg, designed to get you started and inspire you to explore the full range of shortcuts available.
However, within the vast array of shortcuts in DaVinci Resolve, there lies a challenge. While these shortcuts can indeed speed up your editing process, remembering all of them can be daunting.
At times, instead of focusing on your creative work, you may find yourself scratching your head, trying to recall the right combination of keys to perform a specific action. Moreover, navigating through these shortcuts on a traditional keyboard can be a cumbersome task.
This is where the TourBox comes into play.

TourBox is a controller designed specifically for digital artists and videographers. It serves to enhance your workflow by providing an intuitive interface for managing and executing your most frequently used functions and commands in DaVinci Resolve.
Instead of memorizing countless keyboard shortcuts, with TourBox, you can map your most-used DaVinci Resolve commands to the console's buttons, dials, and wheels.

TourBox's design is ergonomic and intuitive. It allows you to perform complex commands with simple, easy-to-learn movements, which can be more efficient than using keyboard shortcuts.
By decreasing your reliance on keyboard shortcuts, TourBox enables you to focus more on your creative work. No more breaking your concentration to remember or locate a shortcut.
While mastering shortcuts in DaVinci Resolve can certainly enhance your editing speed, the TourBox console can take your efficiency and ease-of-use to the next level.