[TourBox Tips] How to Add Blanking in DaVinci Resolve?
We believe that you strive for a particular feeling in your video content: "cinematic vibes," as it adds a sense of sophistication.
To achieve that cinematic look, there are various techniques you can employ, such as blanking, film grain simulation, lens distortion, stylized color grading, and more. Among these techniques, one of the most effective and straightforward methods is blanking.
What is blanking? When you watch a movie in a theater, you often see black bars at the top and bottom of the screen, and that's blanking.
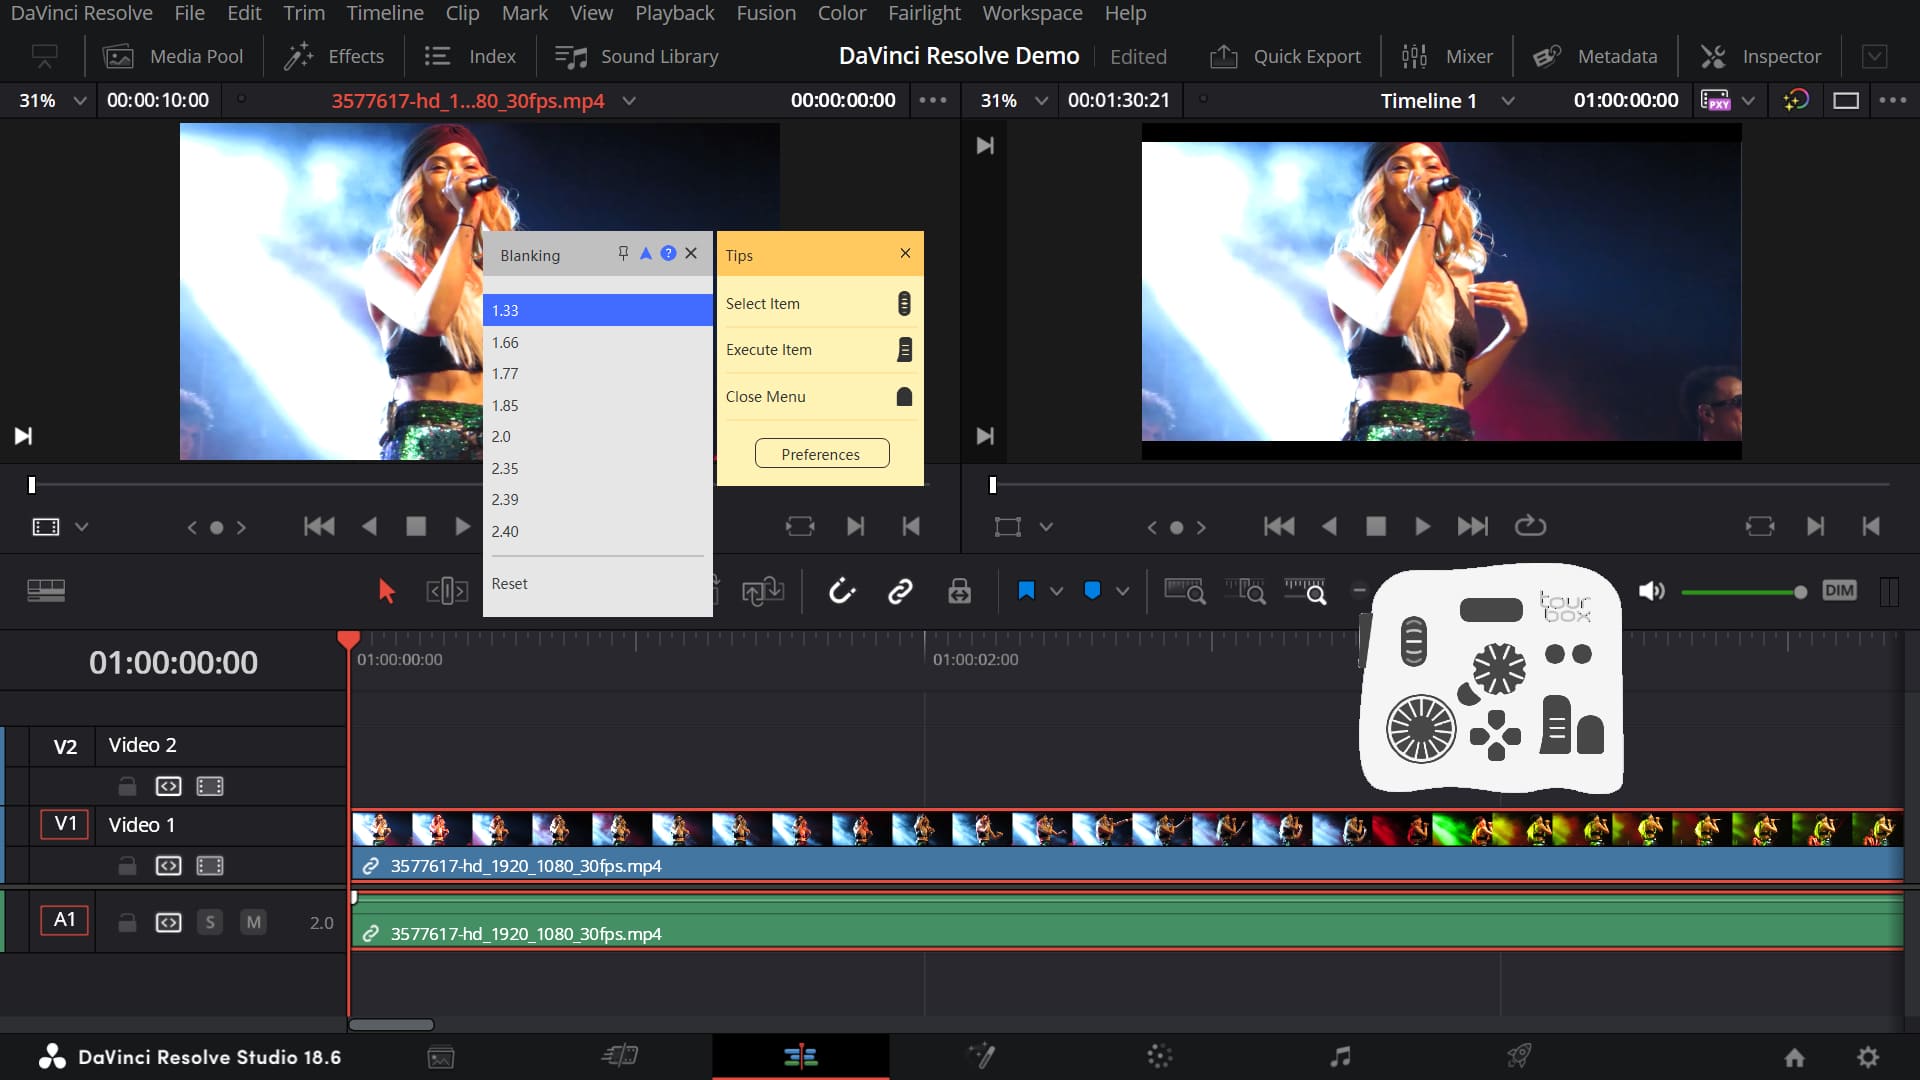
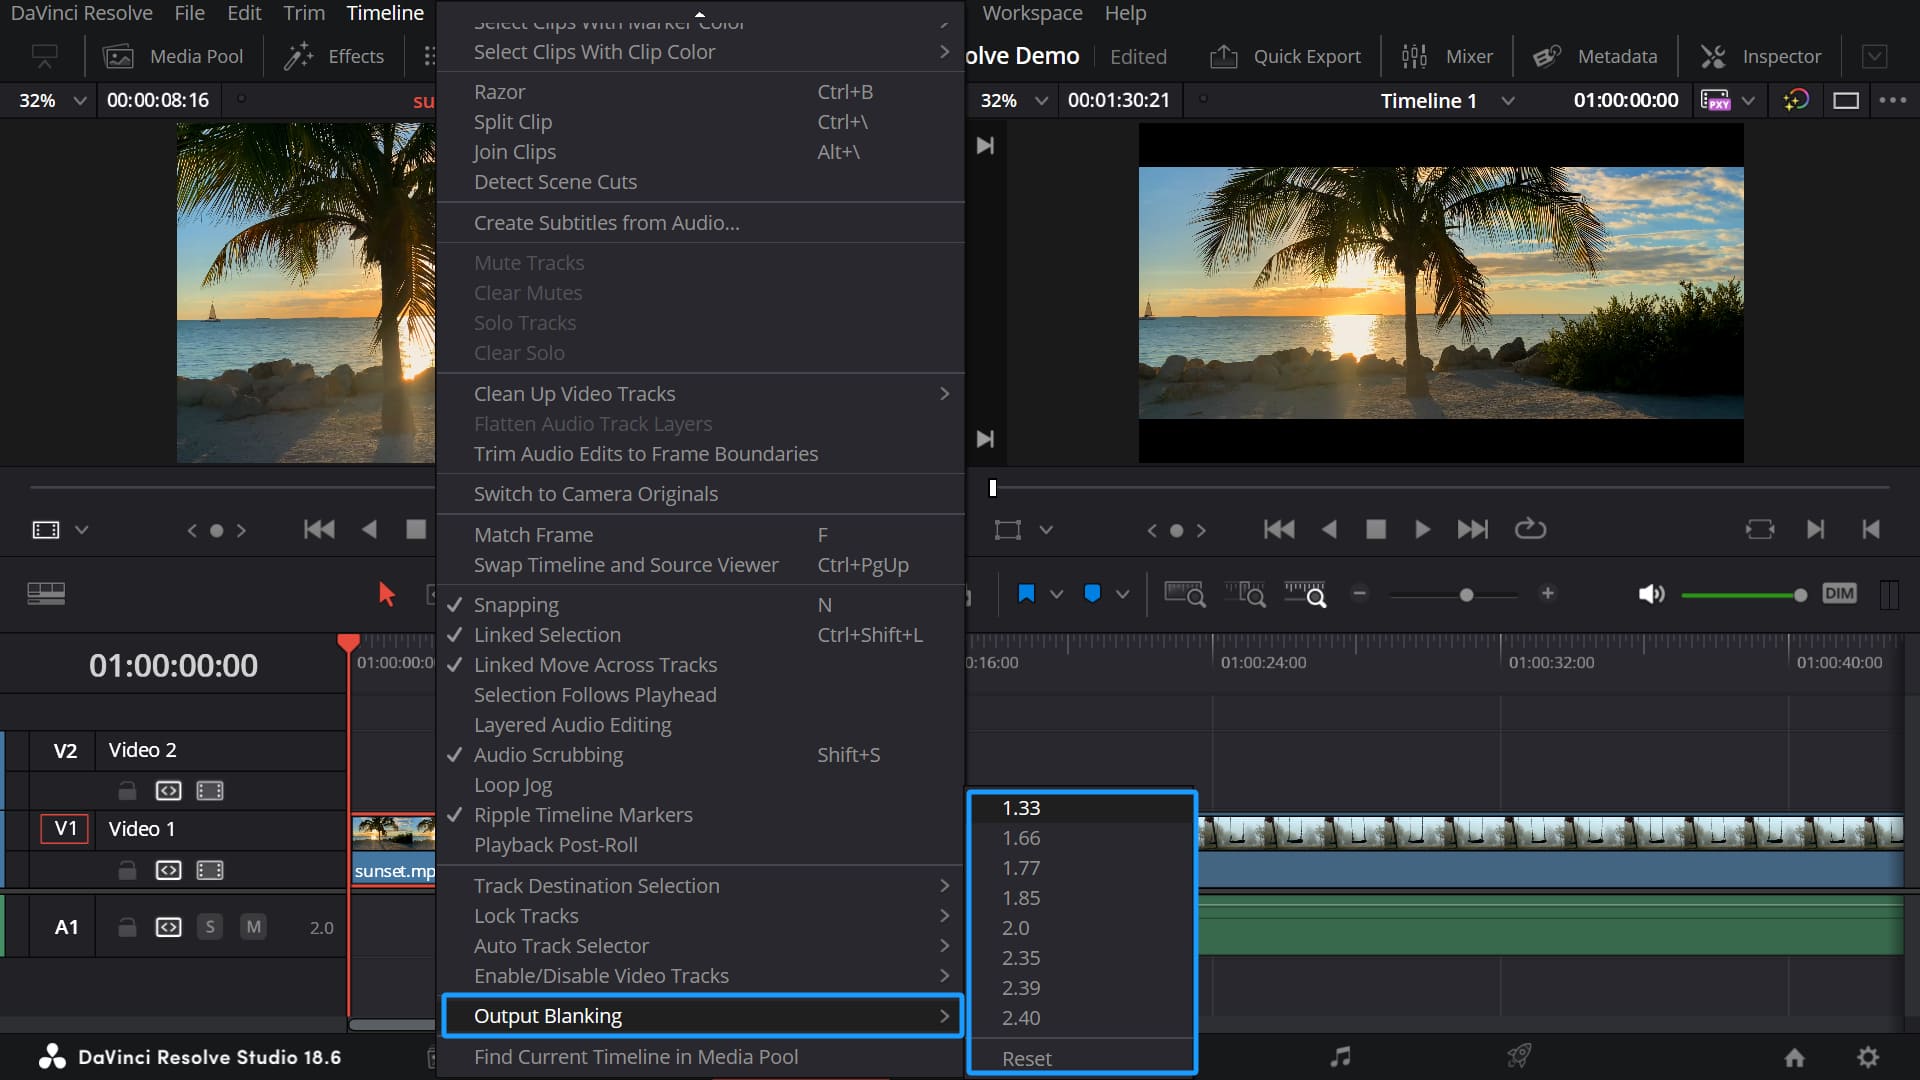
In DaVinci Resolve, after dragging your clips onto the timeline, you can click the "Timeline" dropdown menu at the top of the page and select "Output Blanking." From the submenu that appears, choose the desired blanking effect.
However, if you want to quickly switch between blanking options to see their effects, relying on mouse clicks for menu options can be tedious. So, how can you set up TourBox to make this process smoother and more efficient?
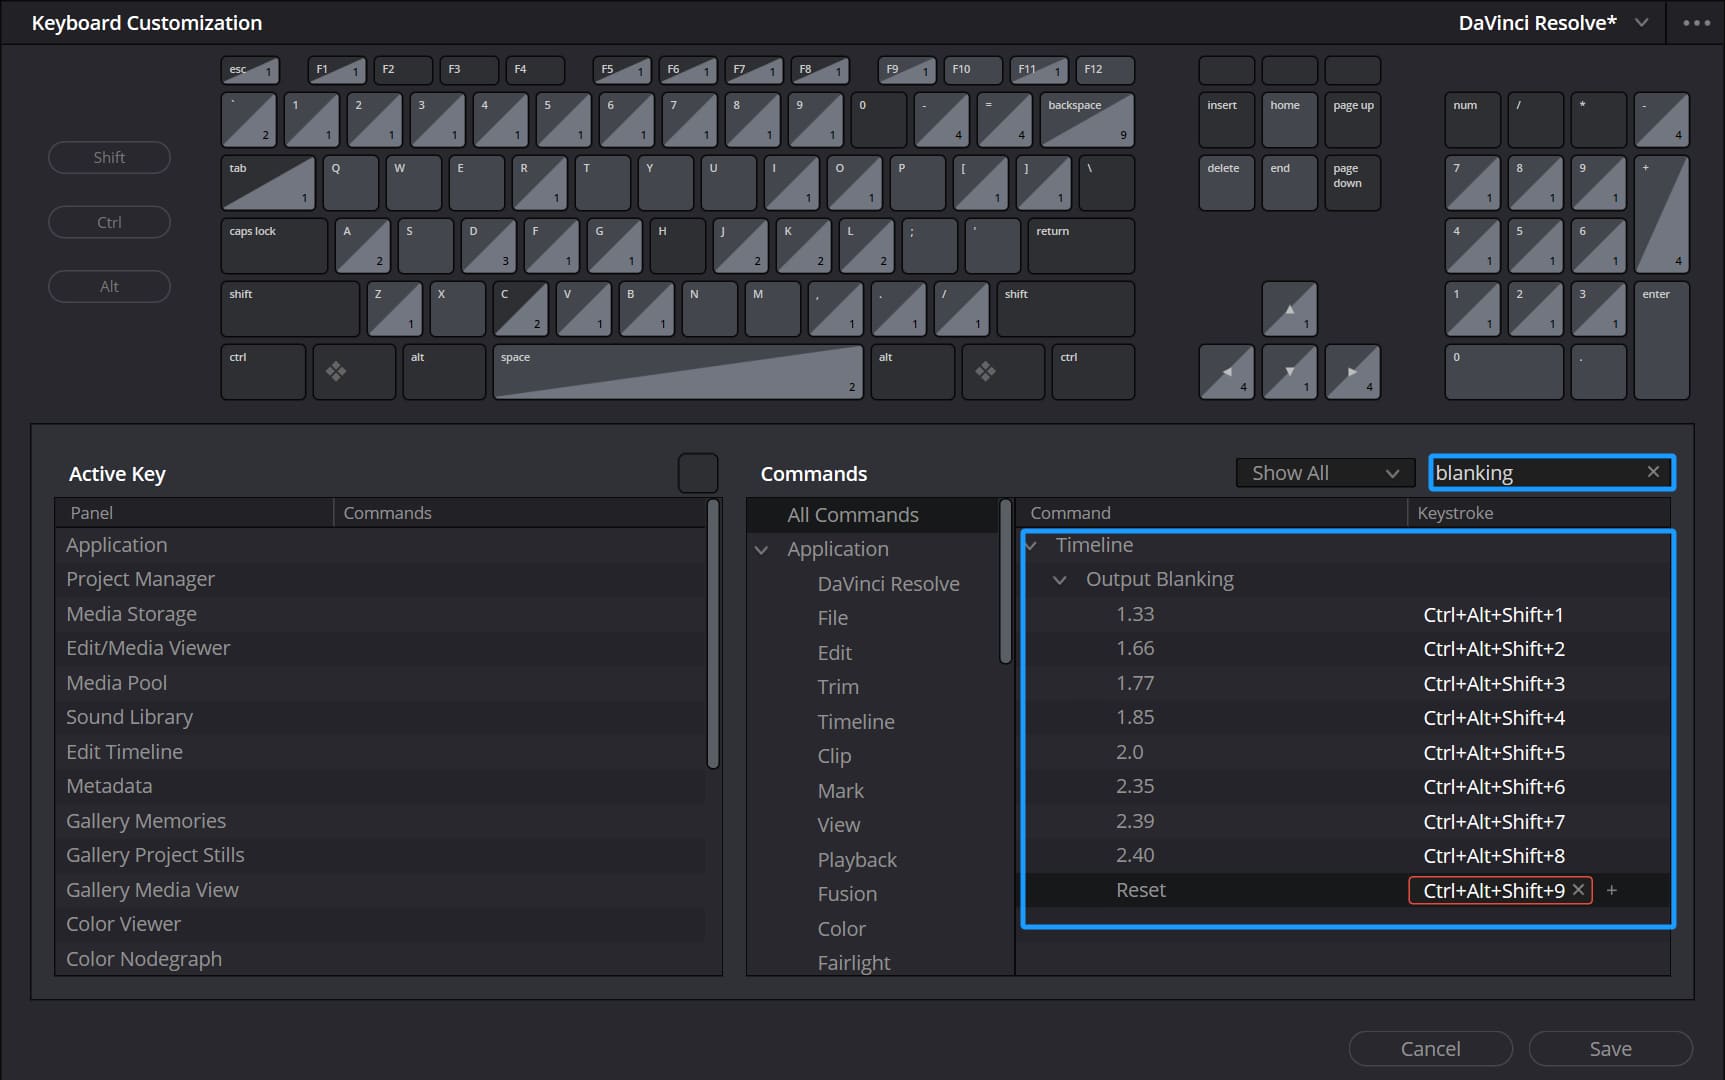
First, click on "Keyboard Customization" in the DaVinci Resolve menu bar at the top. In the search bar, type "Blanking," and assign keyboard shortcuts to all the blanking options.
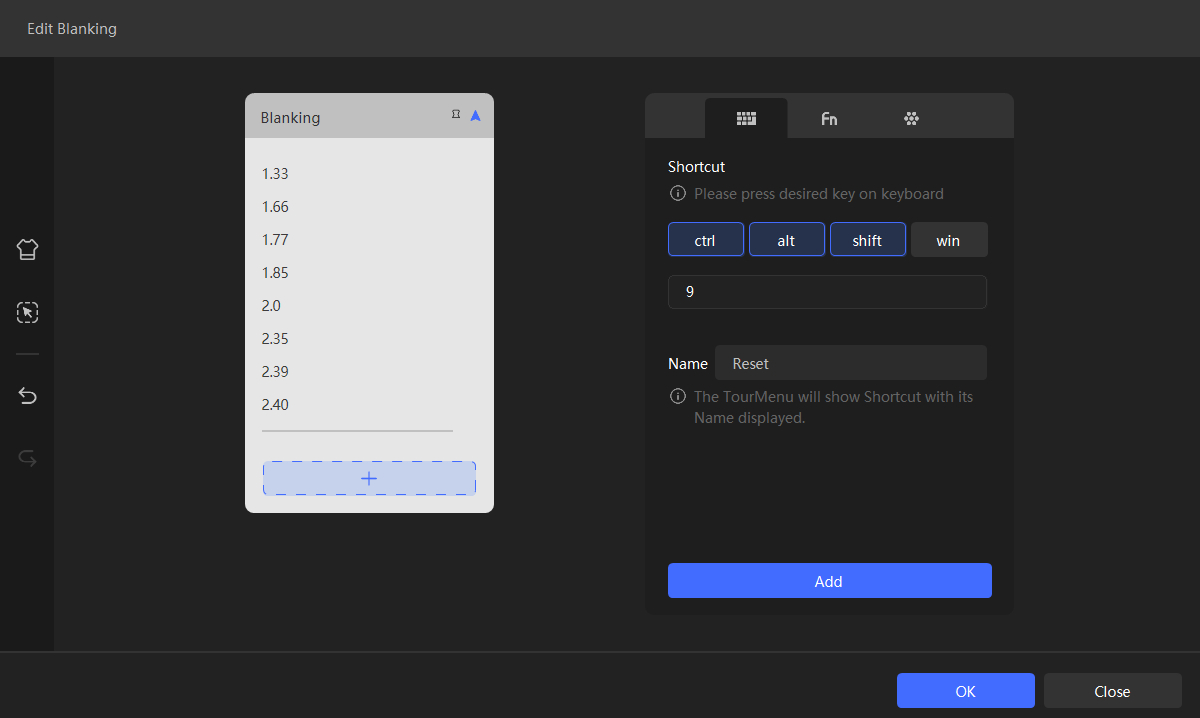
Open the TourBox Console and create a TourMenu by assigning any button. Then add all the blanking options to this TourMenu, making sure to assign a recognizable name to each command.
Back in DaVinci Resolve, press the TourBox button associated with the TourMenu, and you can swiftly add and switch between blanking effects, making your workflow more effortless and efficient.