How to Sharpen Your Photos With the High Pass Filter in Photoshop?
Sharpening may seem like magic at first. After sharpening an image, you'll notice that it appears clearer. However, this is just a visual perception. In the world of creativity, that perception is often enough.
Sharpening is essentially increasing the contrast along color boundaries, giving the illusion of enhanced clarity. The principle behind it is quite simple.
Within Photoshop's "Filter" menu, there are several powerful sharpening commands. However, mastering their usage is not a simple task. In this tutorial, we will share how to use the High Pass Filter in Photoshop. So, let's get started!

In this article, you will learn:
- What Is a High Pass Filter?
- How to Use High Pass Filter in Photoshop?
- What Is the Principle of High Pass Filter Sharpening?
What Is a High Pass Filter?
The High Pass filter is an image processing technique that preserves areas of high contrast or color variation in an image, such as facial features, edges, and hair, while turning other smooth or blurry areas into gray.
The benefit of using this filter is that it increases image clarity and sharpness. It can also be used for portrait retouching, making the skin appear smoother while retaining details.
For example, if you open a portrait photo in Photoshop and go to the High Pass filter, and then adjust the radius of the High Pass filter, you will witness a clear transformation, as shown in the video below:
As you can see, the eyes, nose, mouth, and ears gradually become sharper, while other areas turn gray. This is the effect of the High Pass Filter.
You can control the preservation range by adjusting the radius. The larger the radius, the more areas will be preserved, resulting in a clearer photo.
How to Use High Pass Filter in Photoshop?
Let's take the following material as an example. After importing the image into Photoshop, start by duplicating the background layer.
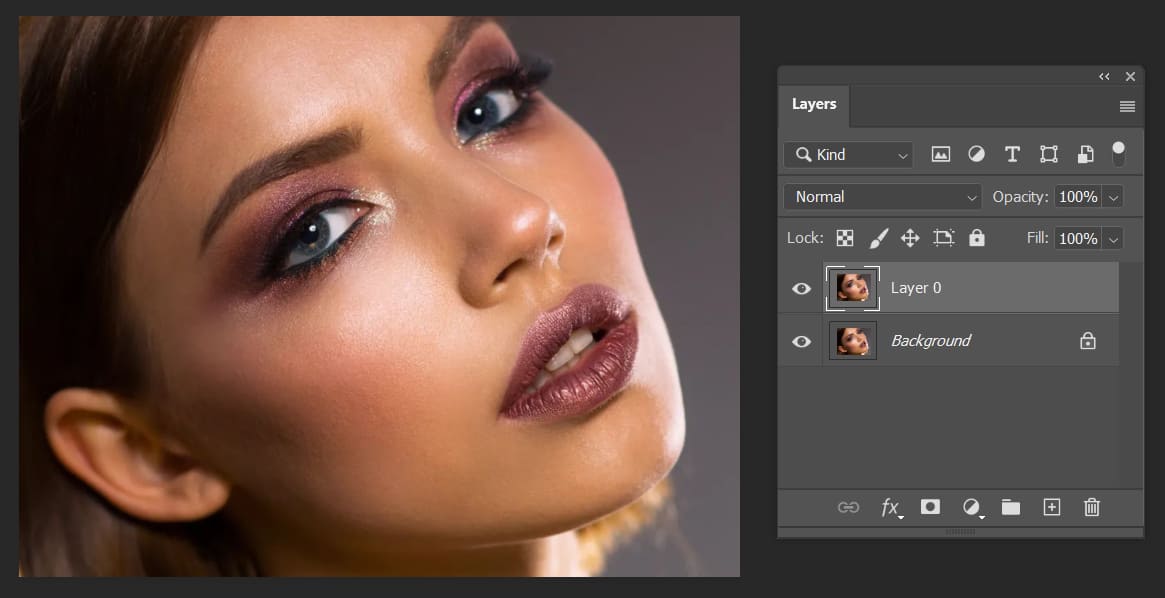
Next, convert the duplicated layer into a smart object (right-click on the blank area next to the layer name and select "Convert to Smart Object").
While not necessary, it's a good habit to convert the layer into a smart object before applying filters because smart object layers can be edited again.
If you find that the filter settings you chose are not suitable and need to be modified, simply double-click on the corresponding command name under the smart filters of the smart object layer. This will allow you to make changes to the parameters once again.
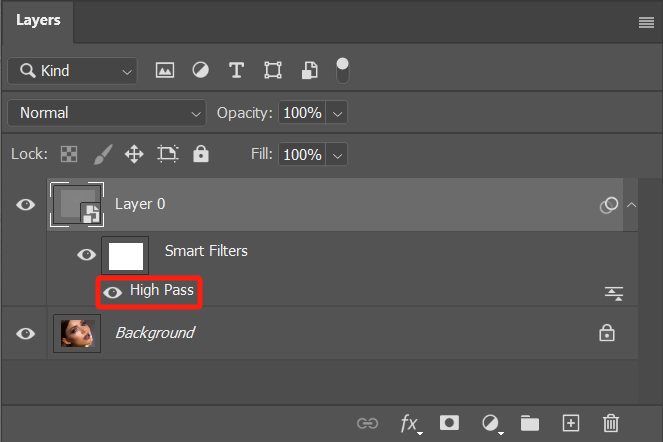
Select the duplicated layer that has been converted into a smart object. Click on the "Filter" option in the menu bar at the top of Photoshop, then choose "Other" > "High Pass".
In the High Pass dialog box that appears, drag the "Radius" value towards the right. You will notice that the previously gray image gradually reveals the outline of the original image. This outline represents the areas that will be sharpened.
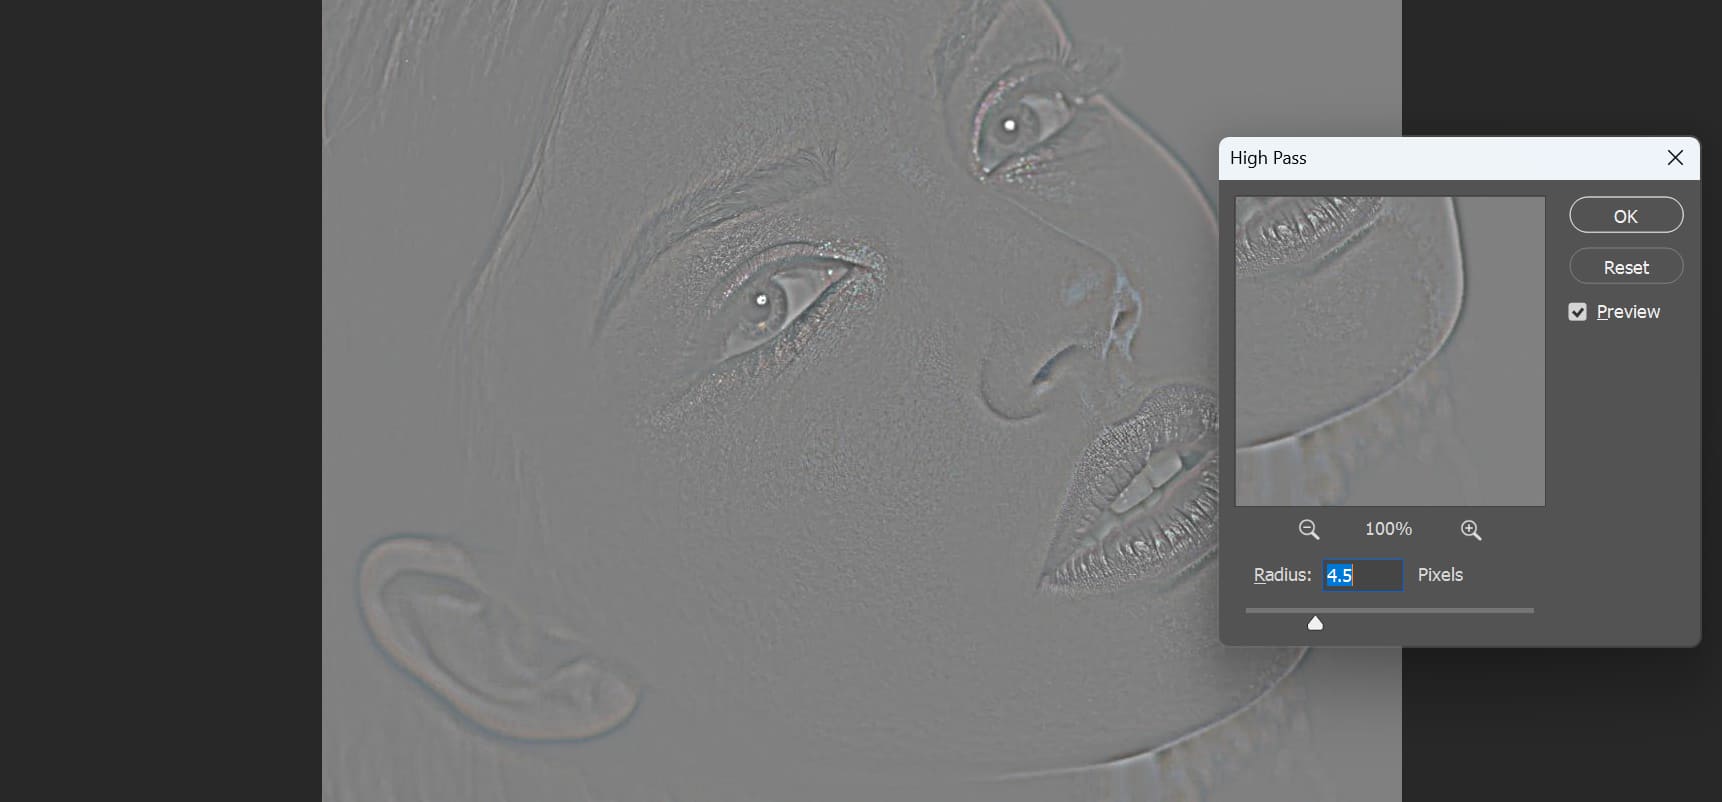
The "Radius" value determines the degree of sharpening. Since sharpening increases contrast along color boundaries, it's best not to set the "Radius" value too high. Usually, you only need to choose a radius that allows you to see the outlines clearly.
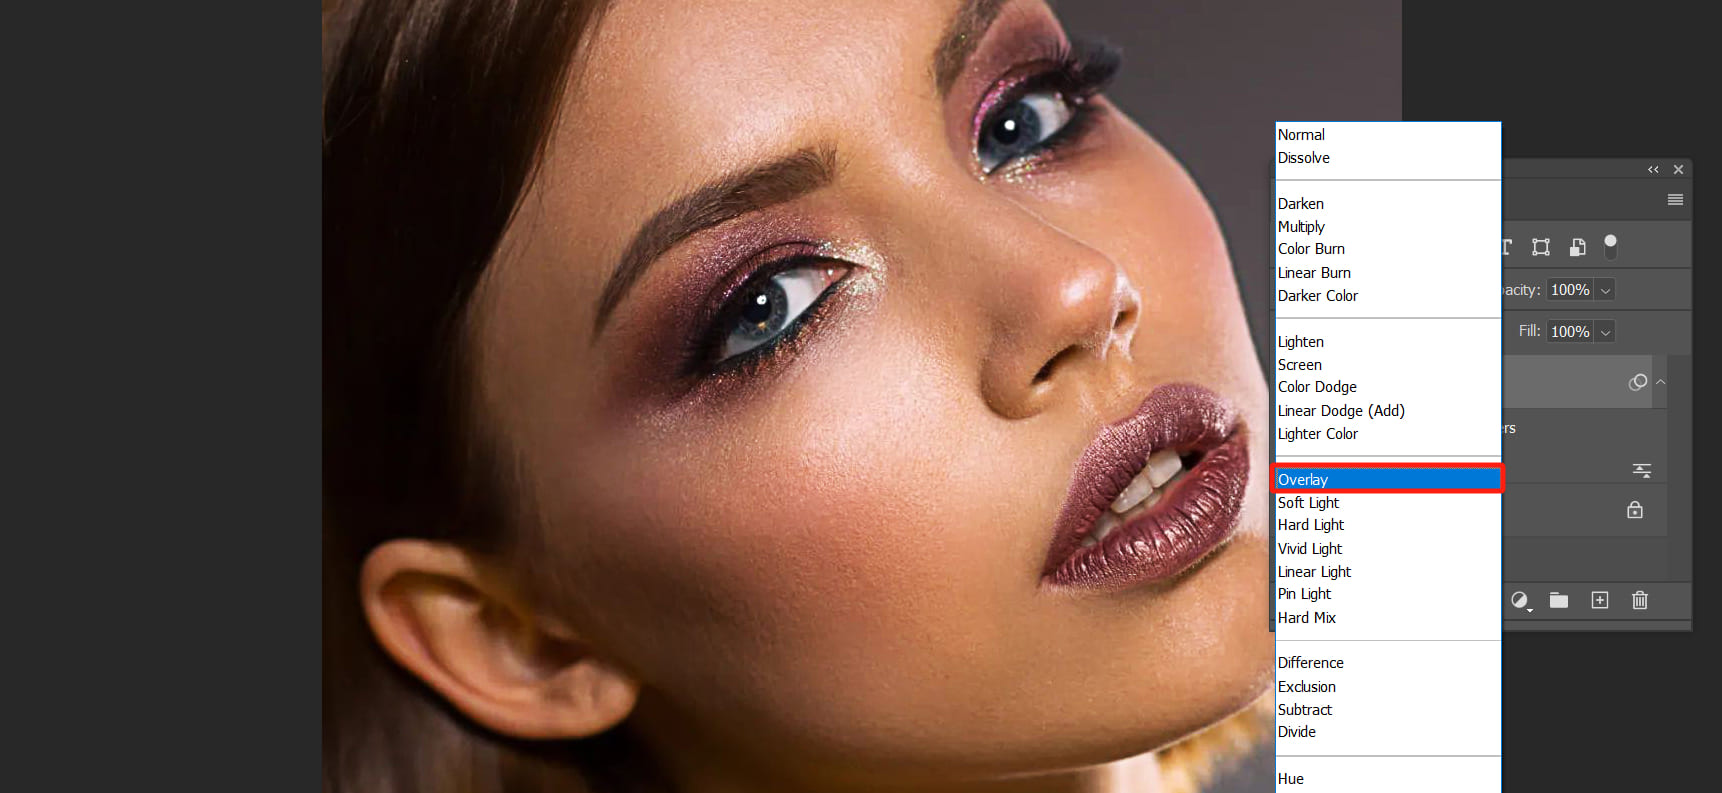
Finally, all you need to do is change the blend mode of this layer to "Overlay" to achieve sharpening using the High Pass Filter. If you want a more subtle sharpening effect, you can adjust the opacity of this layer to control the strength of the sharpening.
What Is the Principle of High Pass Filter Sharpening?
When you set a layer to "Overlay" blend mode, Photoshop treats that layer as a map of brightness information for the underlying layer.
The areas in this layer that are brighter than 50% gray will lighten the corresponding areas in the underlying layer, while the areas darker than 50% gray will darken those corresponding areas. The parts with a brightness of 50% gray will remain unchanged in terms of brightness.
Meanwhile, with the "High Pass" filter, the image is initially transformed into a 50% gray image. As the radius value increases, the original image's contours are revealed by brightening the bright areas and darkening the dark areas, thus displaying the outline.
The areas outside of the contours remain 50% gray (with no changes in the Overlay blend mode). Therefore, when applying the "Overlay" blend mode, a sharpening effect is achieved.
Product Recommendation:
In the last part of this tutorial, we want to introduce you to a creative tool called TourBox. It can assist you in breaking free from the sole dependence on the keyboard and mouse, allowing you to prioritize creativity and self-expression.

Using TourBox allows you to control brush sizes, adjust layer opacity, navigate tools and menus, and effortlessly perform other commonly used functions in Photoshop.
With no need to constantly switch between the keyboard and mouse, TourBox provides a smoother and more immersive creative experience. Additionally, the TourBox is designed to be compact and portable, making it convenient for both studio and on-the-go use.

It is compatible with both Windows and Mac operating systems, and can seamlessly integrate with various creative software, meeting your needs for improving your working experience in any setting.
That concludes our tutorial on the High Pass filter. We hope it has been helpful in your creative journey in Photoshop.