How to Add Grain in Photoshop: Enhance Photos with Vintage Texture
Looking to infuse your photos with a touch of vintage allure? Adding grain in Photoshop can lend your images that highly coveted film-like texture.
In this tutorial, we will delve into the process of utilizing Photoshop's powerful tools to achieve this effect. Mastering how to add grain in Photoshop will elevate your editing skills to a whole new level.
Without further ado, let's dive right in!

In this article, you will learn:
- How to Add Grain in Photoshop?
- How to Edit the Grain Effect in Photoshop?
- Final Thoughts About Adding Grain in Photoshop
How to Add Grain in Photoshop?
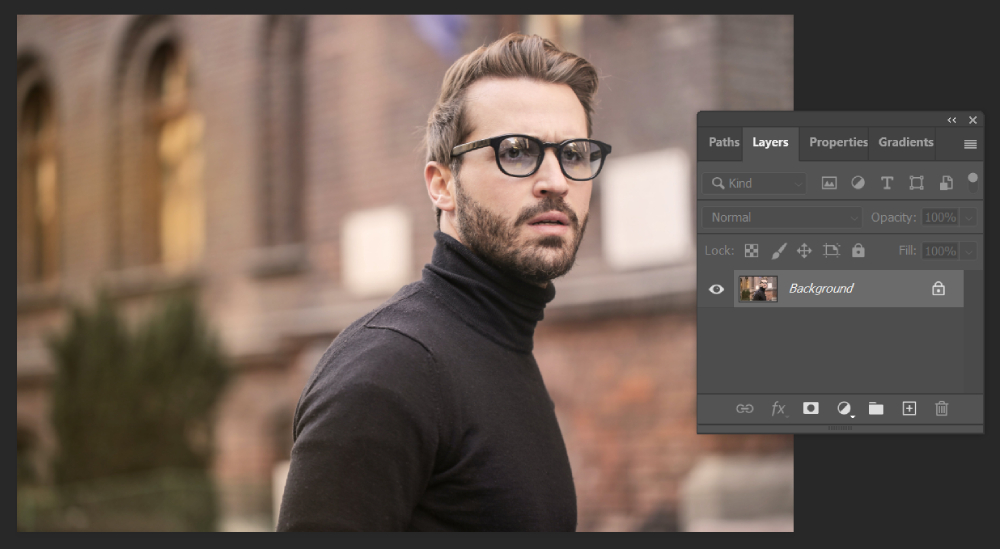
The first step to adding grain in Photoshop is to open your selected photo in Adobe Photoshop. You can do this by clicking "Open" on the Photoshop Home Page.
You can also create a new document and then select "File" > "Open," or simply drag and drop the photo you want to edit directly into Photoshop.
To preserve the original state of the photo, we need to create a new layer. Click on "Layer" > "New" > "Layer" to open the "New Layer" dialog box. Here, we'll name the new layer "Add Grain" (although you can choose any name that suits your preference).
However, do not click "OK" immediately. We need to perform some additional steps here. In the "New Layer" dialog box, under the Mode dropdown option, select "Overlay" and ensure that the opacity is set to 100%.
Next, check the box that says "Fill with Overlay-neutral color (50% gray)."
Click "OK" to close the dialog box. Now, in the Layers panel, you will see a new layer named "Add Grain" positioned above the original background photo.
If you want to learn more about the usage tips and techniques regarding Neutral Gray, please refer to this article:

The next step is to convert the "Add Grain" layer into a Smart Object. In the Layers panel, right-click on the "Add Grain" layer and select "Convert to Smart Object" from the pop-up list.
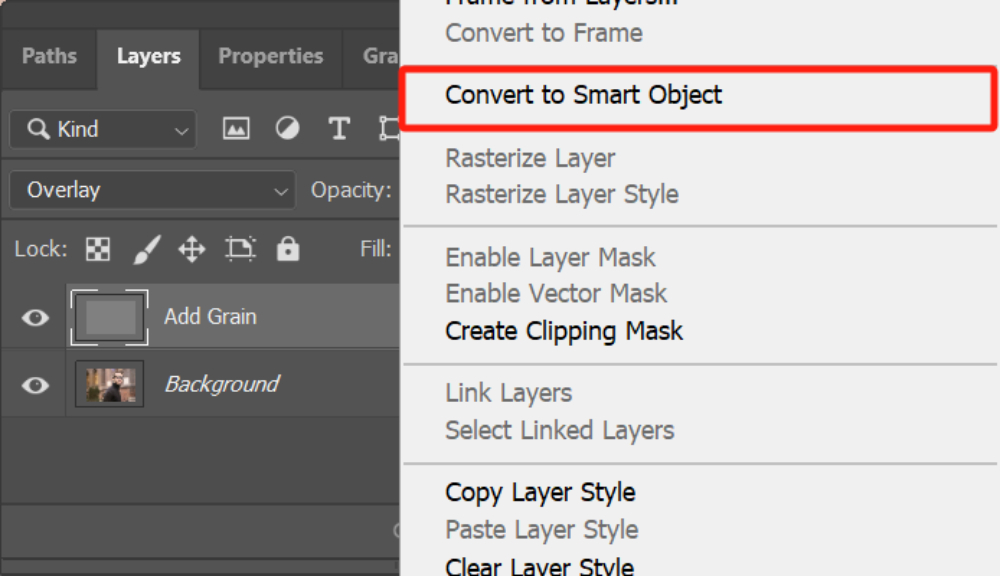
You'll observe a tiny symbol popping up at the lower right edge of the layer thumbnail, signifying its transformation into a Smart Object. This implies that any grain filters or additional effects you implement on this layer in Photoshop will be completely modifiable.
For more tips and techniques on using Smart Objects, please refer to this article:
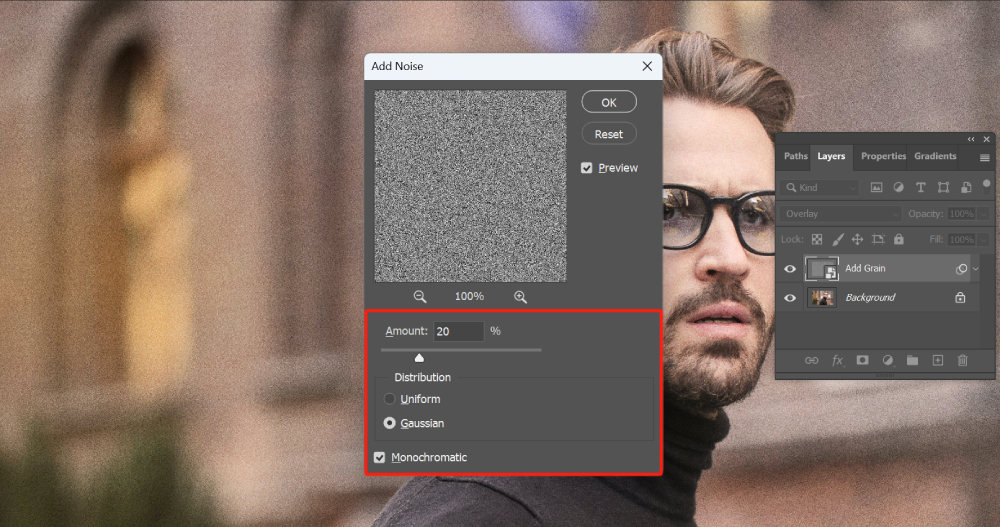
Now you can add grain in Photoshop to enhance the appearance of your photo. Navigate to the top menu bar in Photoshop and click on "Filter" > "Noise" > "Add Noise" to apply the "Add Noise" filter to the "Add Grain" layer.
In the "Add Noise" dialog box, you can refer to the following parameter settings:
- Amount: 20%
- Distribution: Gaussian
- Monochromatic: Check the box
Here, to make the grain effect more prominent, let's adjust the Amount value to 20. If you find that the effect is too strong at this value, you can decrease it to around 10.
The specific value you choose depends on how you want to balance the grain effect with the overall look of the photo, so feel free to experiment and find the desired result.
Looking for a Softer Grain Effect?
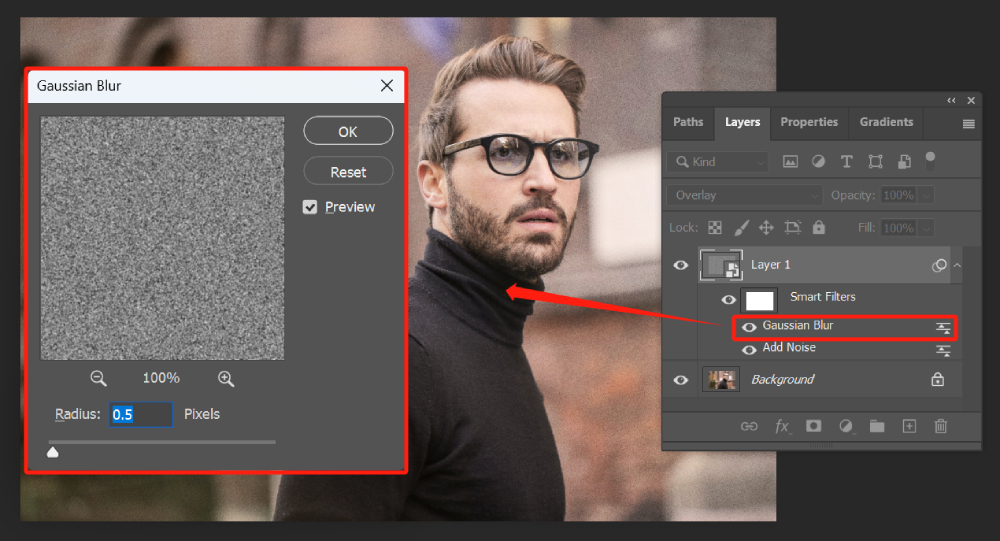
You can further enhance the "Add Grain" layer by applying a Gaussian Blur. Select the "Add Grain" layer and go to the top menu bar in Photoshop, then click on "Filter" > "Blur" > "Gaussian Blur". In the Gaussian Blur dialog box, set the radius to 0.5 pixels to gently soften the noise texture in Photoshop.
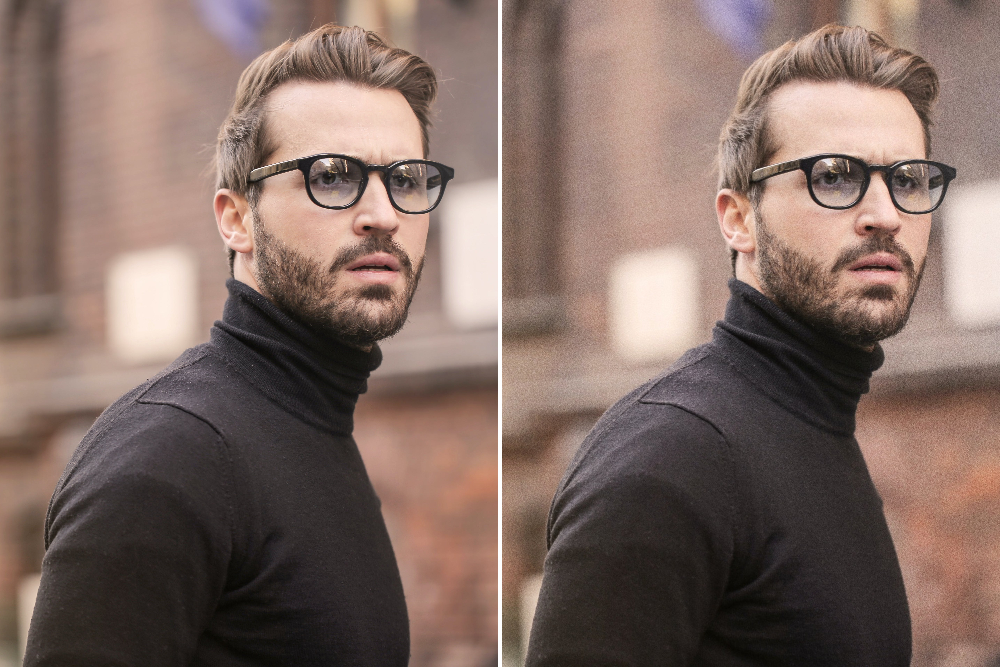
Let's take a look at the before and after comparison of adding grain to the photo.
How to Edit the Grain Effect in Photoshop?
In fact, achieving the perfect effect in Photoshop editing is often a process of trial and error. In the example of adding grain in this tutorial, the values for the noise parameters may require multiple tests to achieve the desired outcome.
However, constantly adding and removing filters in a repetitive manner can be inefficient. This is where the use of Smart Objects comes in to streamline the process.
Since we used a Smart Object in this example for adding noise, we can reopen the filter settings dialog by double-clicking on the filter name under the Smart Object in the Layers panel.
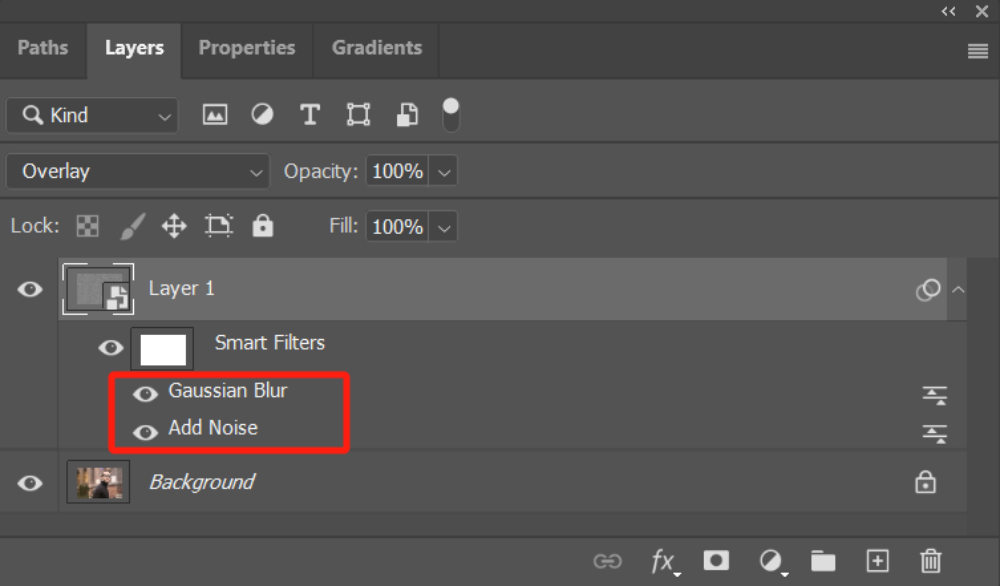
This allows us to re-edit the noise effect in Photoshop. You can readjust the settings according to your preferences until you are satisfied with the result. This demonstrates the advantages of non-destructive editing with Smart Objects.
Final Thoughts About Adding Grain in Photoshop
In this tutorial, we have shared the method of how to add grain in Photoshop. Additionally, we have introduced the use of Smart Objects. By utilizing Smart Objects while adding grain, you can maintain flexibility and fine-tune the grain effect until it aligns with your artistic vision.
Lastly, we would like to take this opportunity to recommend a vital tool that can greatly enhance your editing workflow - TourBox.

TourBox is an exceptional product designed specifically for creative professionals, photographers, and digital artists. Its intuitive layout and customizable buttons allow for seamless control over various editing functions, making your editing process more efficient and enjoyable.
We highly recommend considering TourBox as your ultimate companion in your Photoshop editing endeavors.
We hope this tutorial inspires you to experiment and explore new possibilities in your photo editing work. Remember, practice and experimentation are key to mastering any technique. Continuously refine your skills and let your creativity shine through beautifully edited photos.