[TourBox Tutorial] How to Create Presets?
TourBox Console introduces a powerful concept: presets. These presets enable you to control multiple software applications simultaneously and define unique configurations for each software.
When using TourBox for the first time, please head over to the download page and download the TourBox Console. (Be sure to stay informed about the latest versions of TourBox Console)
How to Create Presets in the TourBox Console?
Once you have the TourBox Console installed, you can begin creating presets in TourBox.
To start, open the TourBox Console. In the top-left corner of the Preset List section, you will find three small icons. The third icon "+" on the right, represented by a plus sign, is the button for creating presets.
Refer to the image below for the location of the preset creation button.
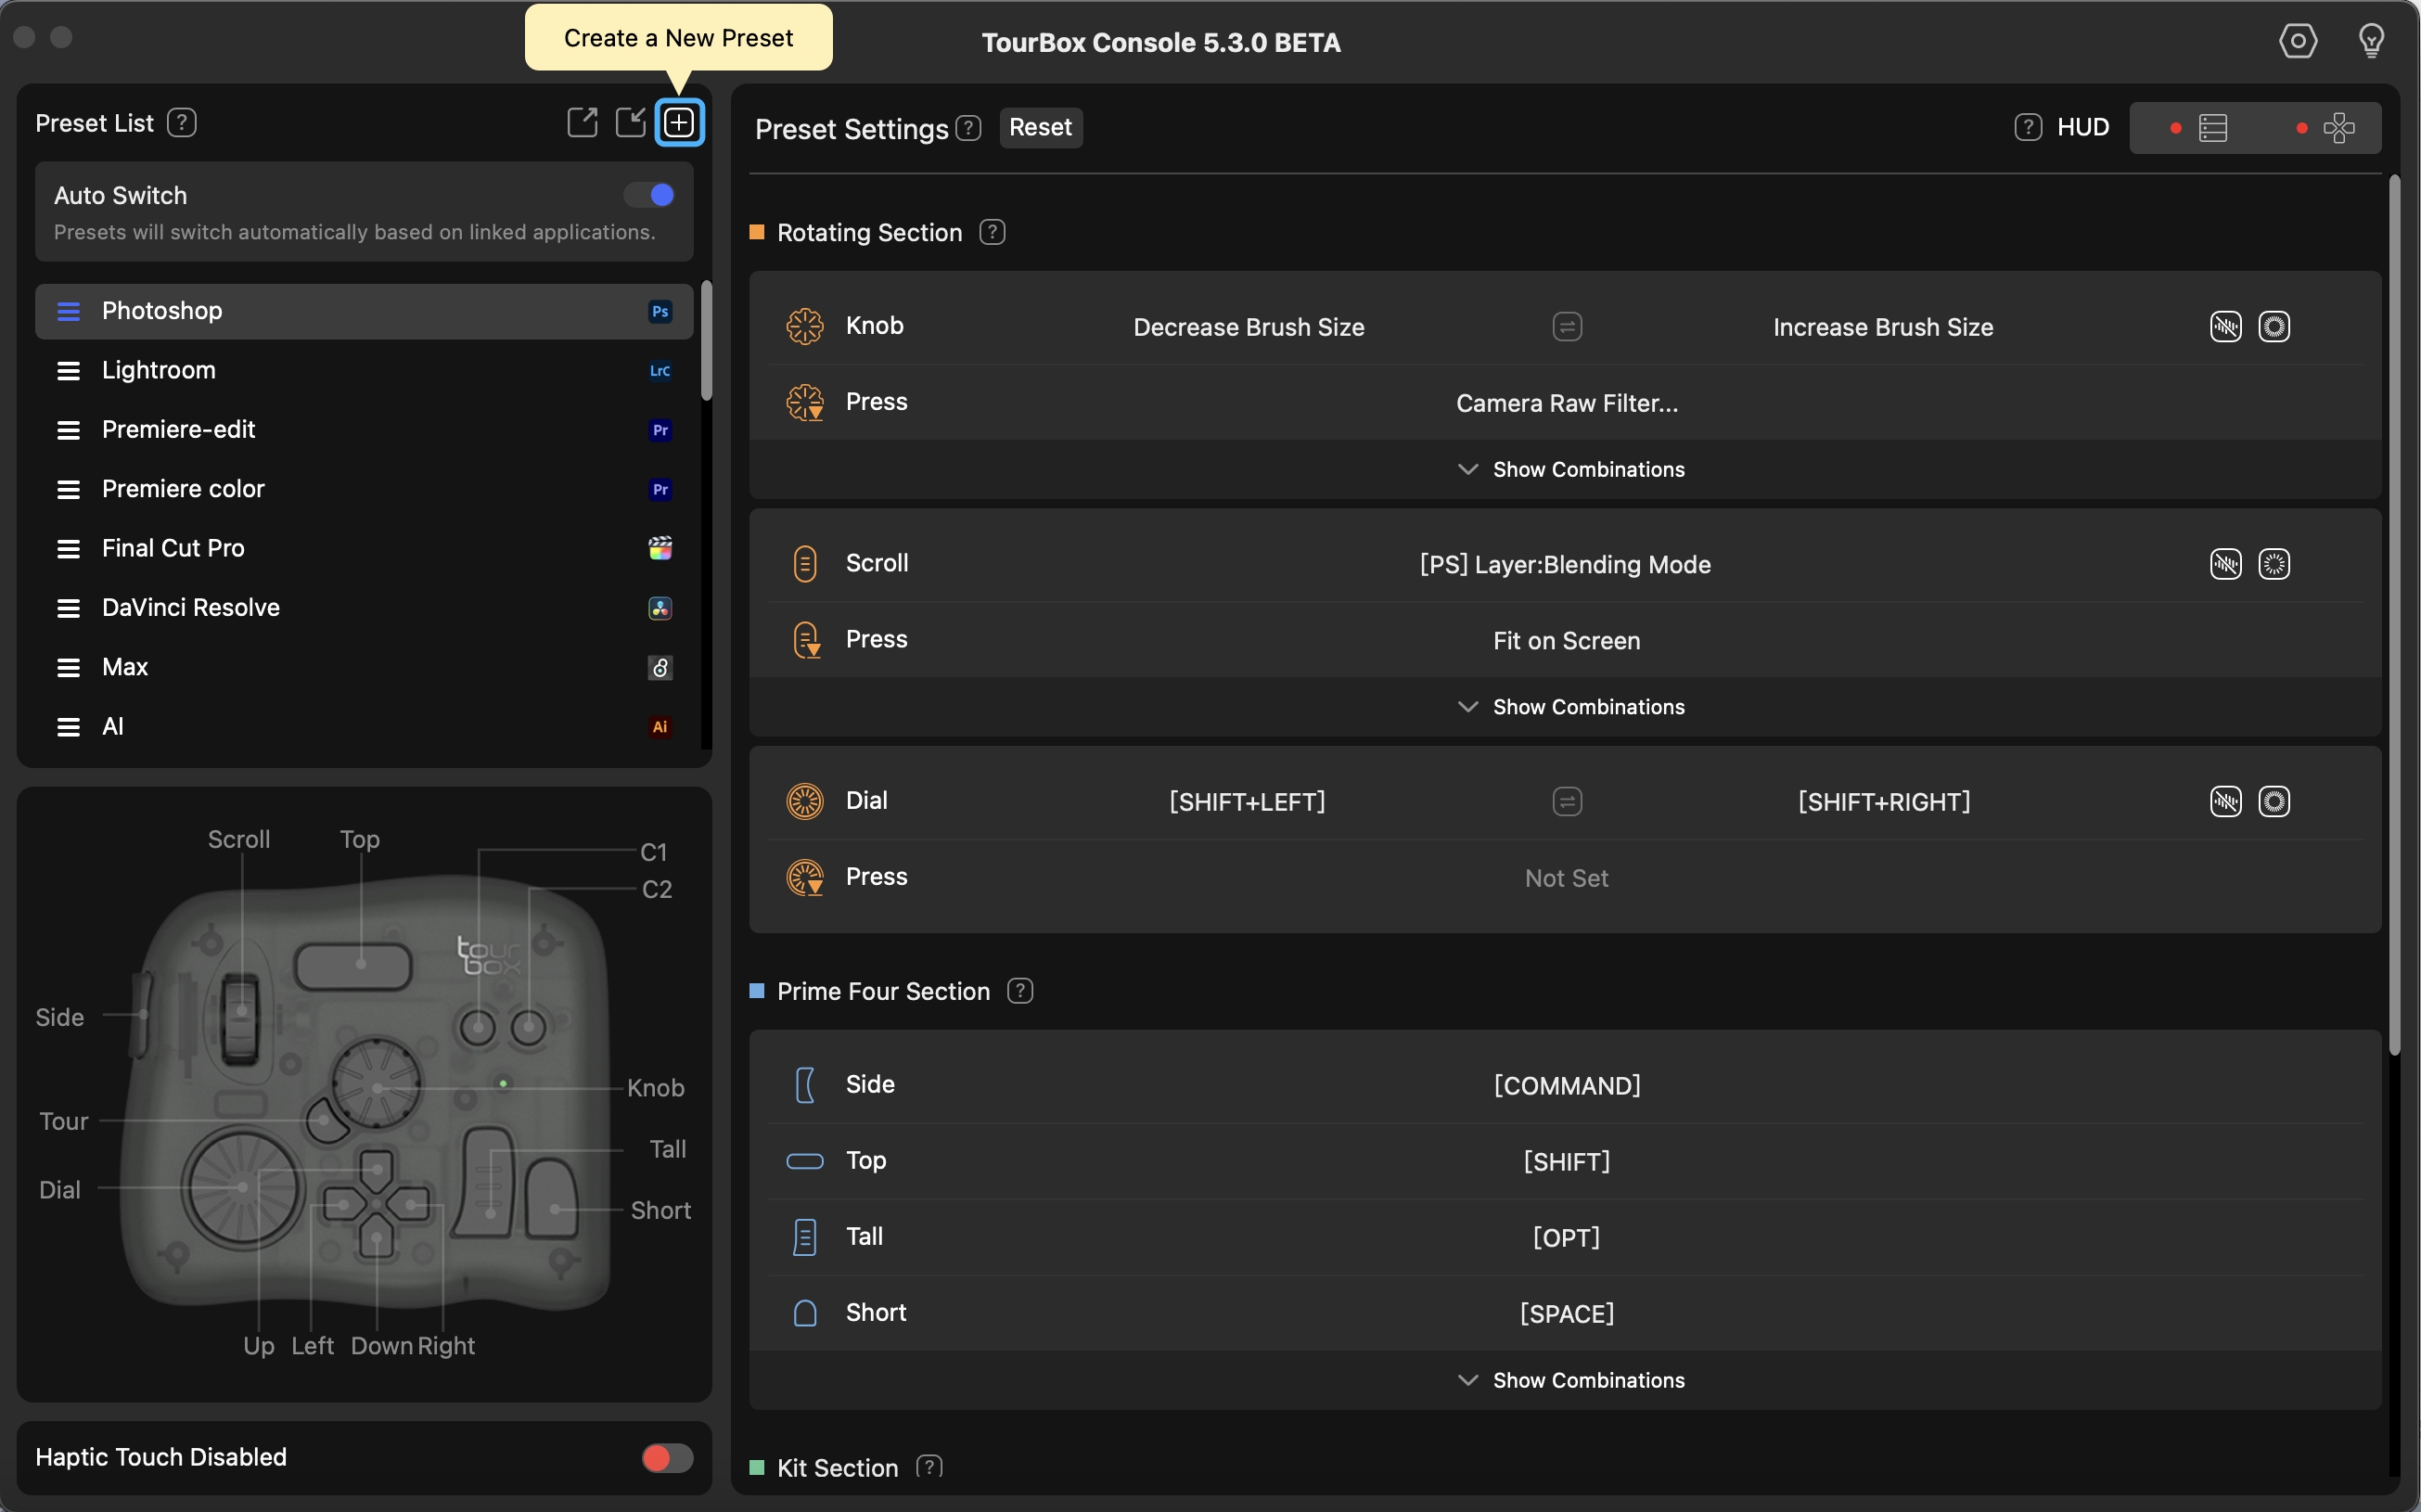
Upon clicking the preset creation button, a pop-up panel will appear. Here, you can either build a new preset from scratch or choose one of our provided default templates. Customize the name of the preset in the input field at the top according to your preference, and click "OK."
Within the preset creation panel, we offer some commonly used software presets by default. You can import these presets and modify them to suit your preferences, or you can create a completely new blank preset.

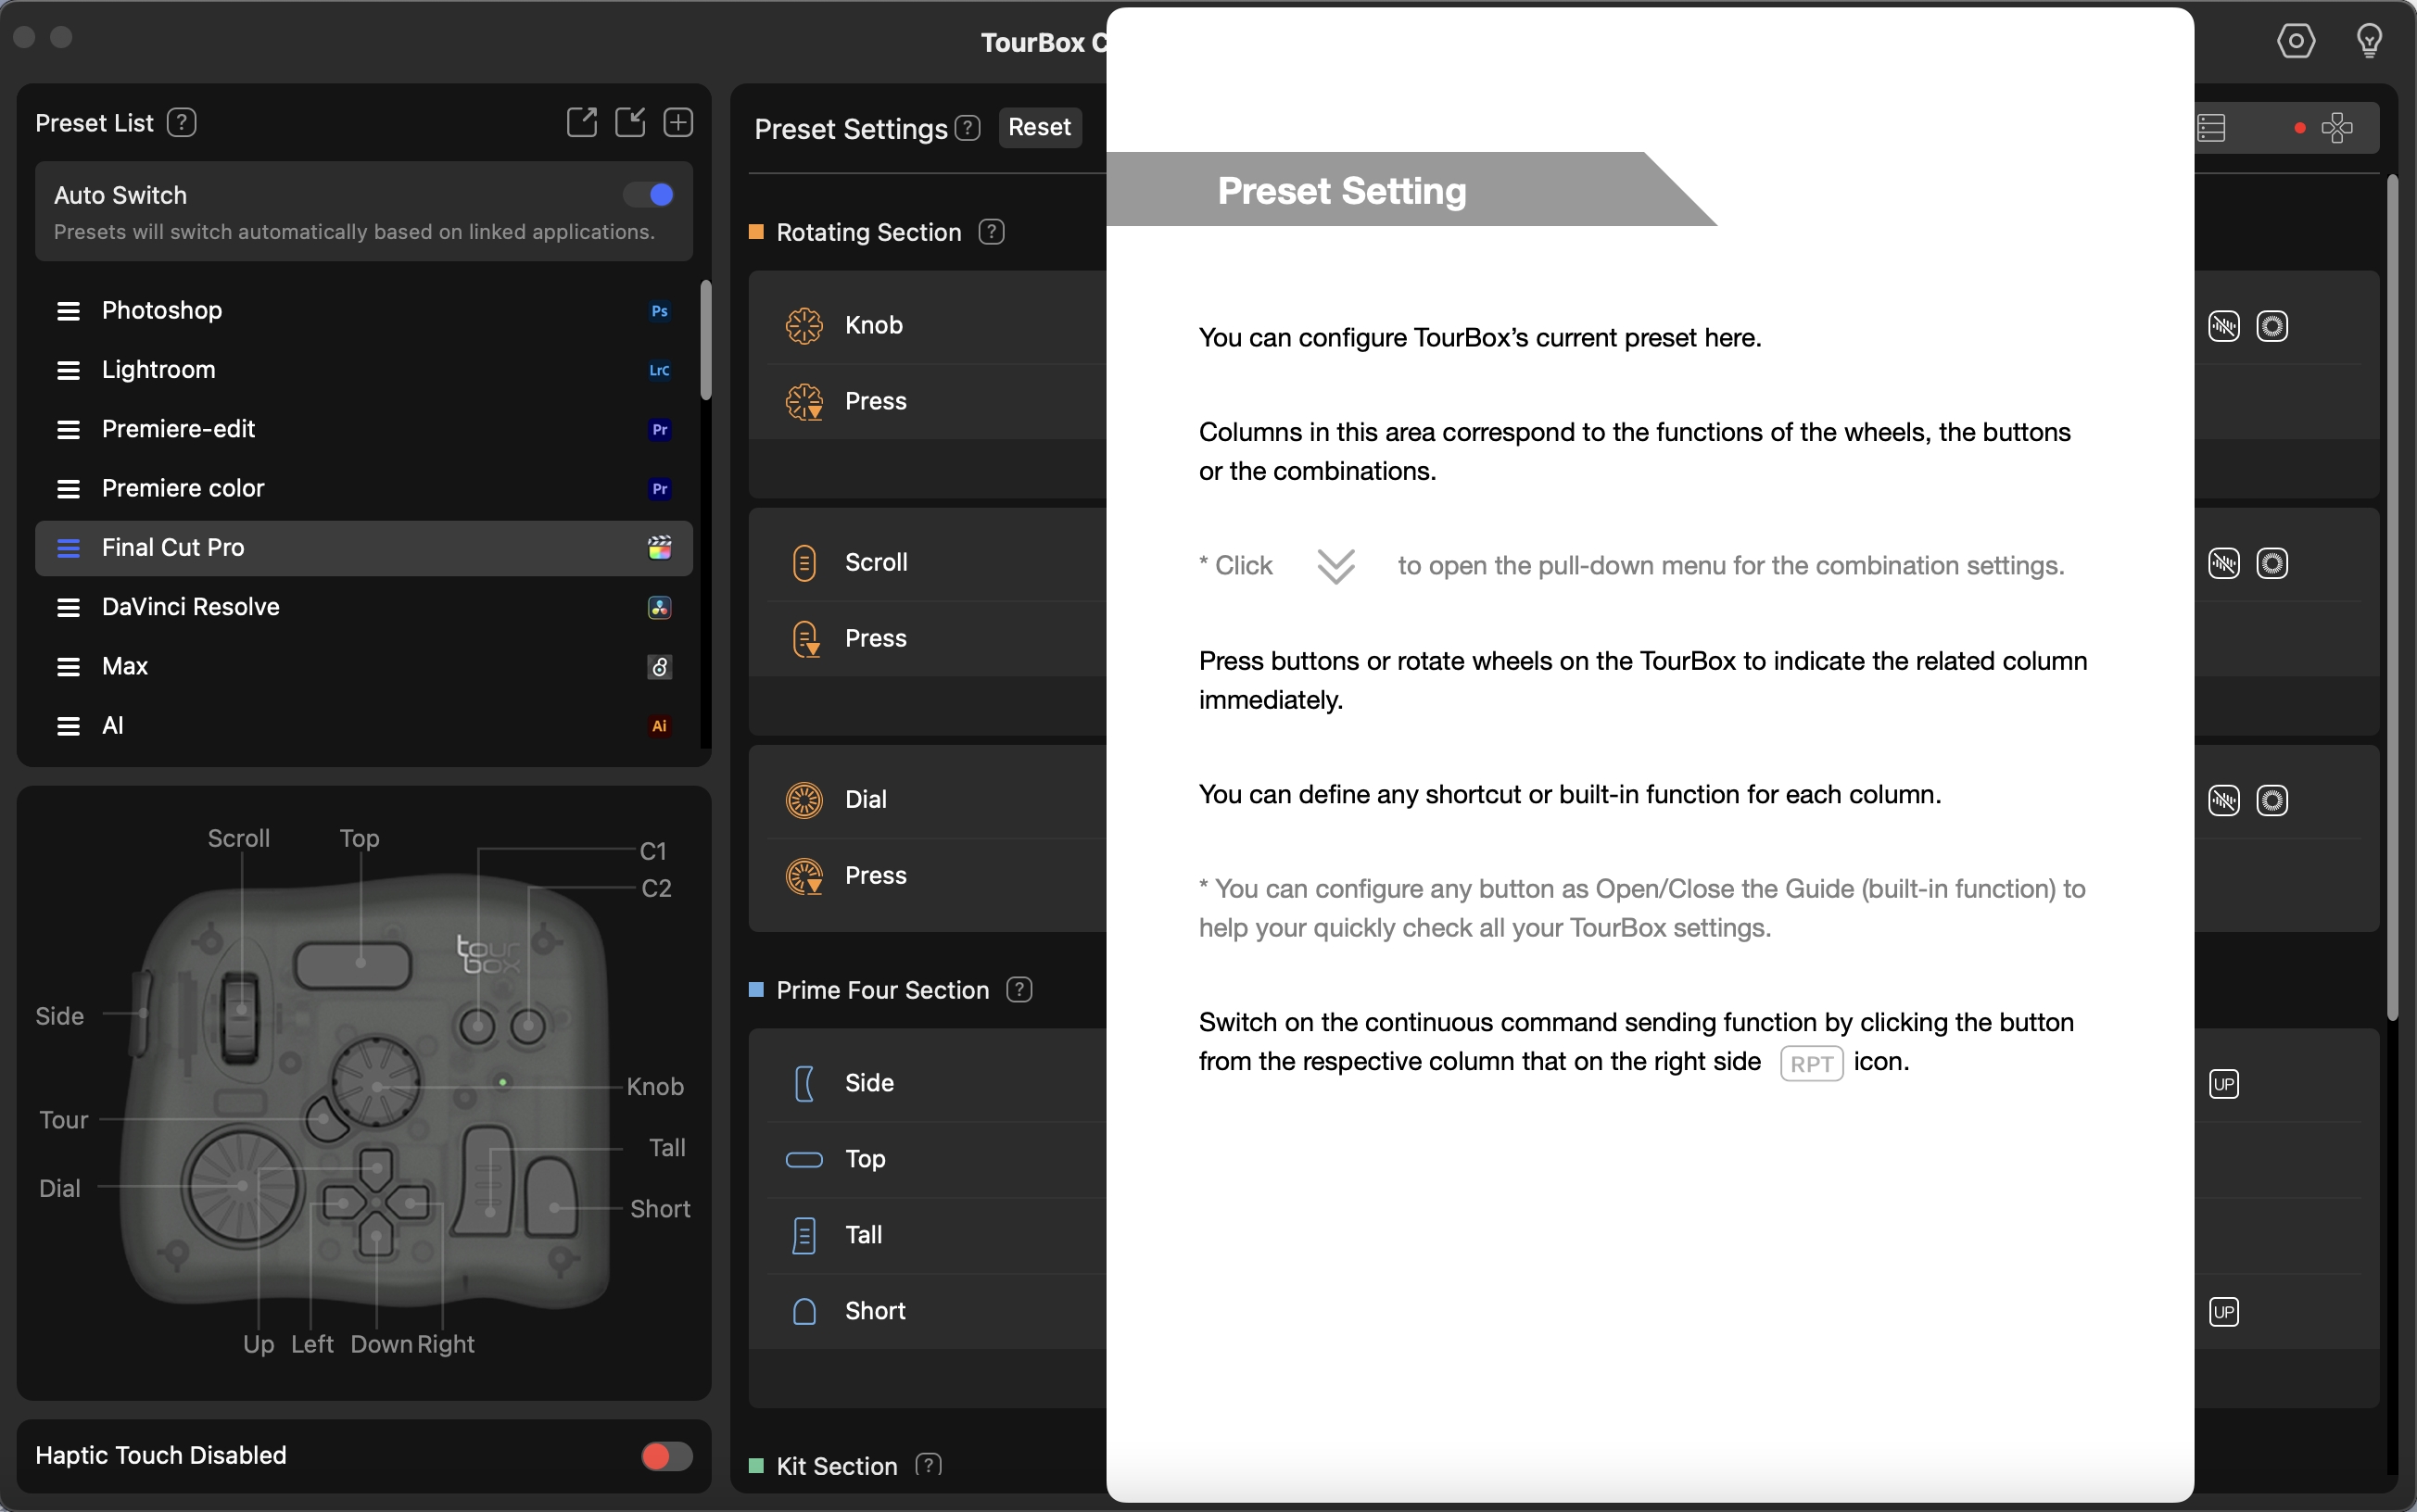
Once you've clicked "OK," you can proceed to customize your presets in the Preset Setting panel located on the right side of the TourBox Console. To understand the specific operations within this workspace, you can click the question mark icon in each subsection.
You can learn how to create presets in TourBox by watching the simple demonstration video below. By following the steps outlined above, you will be able to create personalized presets in TourBox.
How to Use Default Presets in TourBox Console?
When you first open TourBox Console, it provides default presets for commonly used software such as Chrome, Photoshop, Lightroom Classic, and more. These default presets can be found on the left side of the TourBox Console main interface.
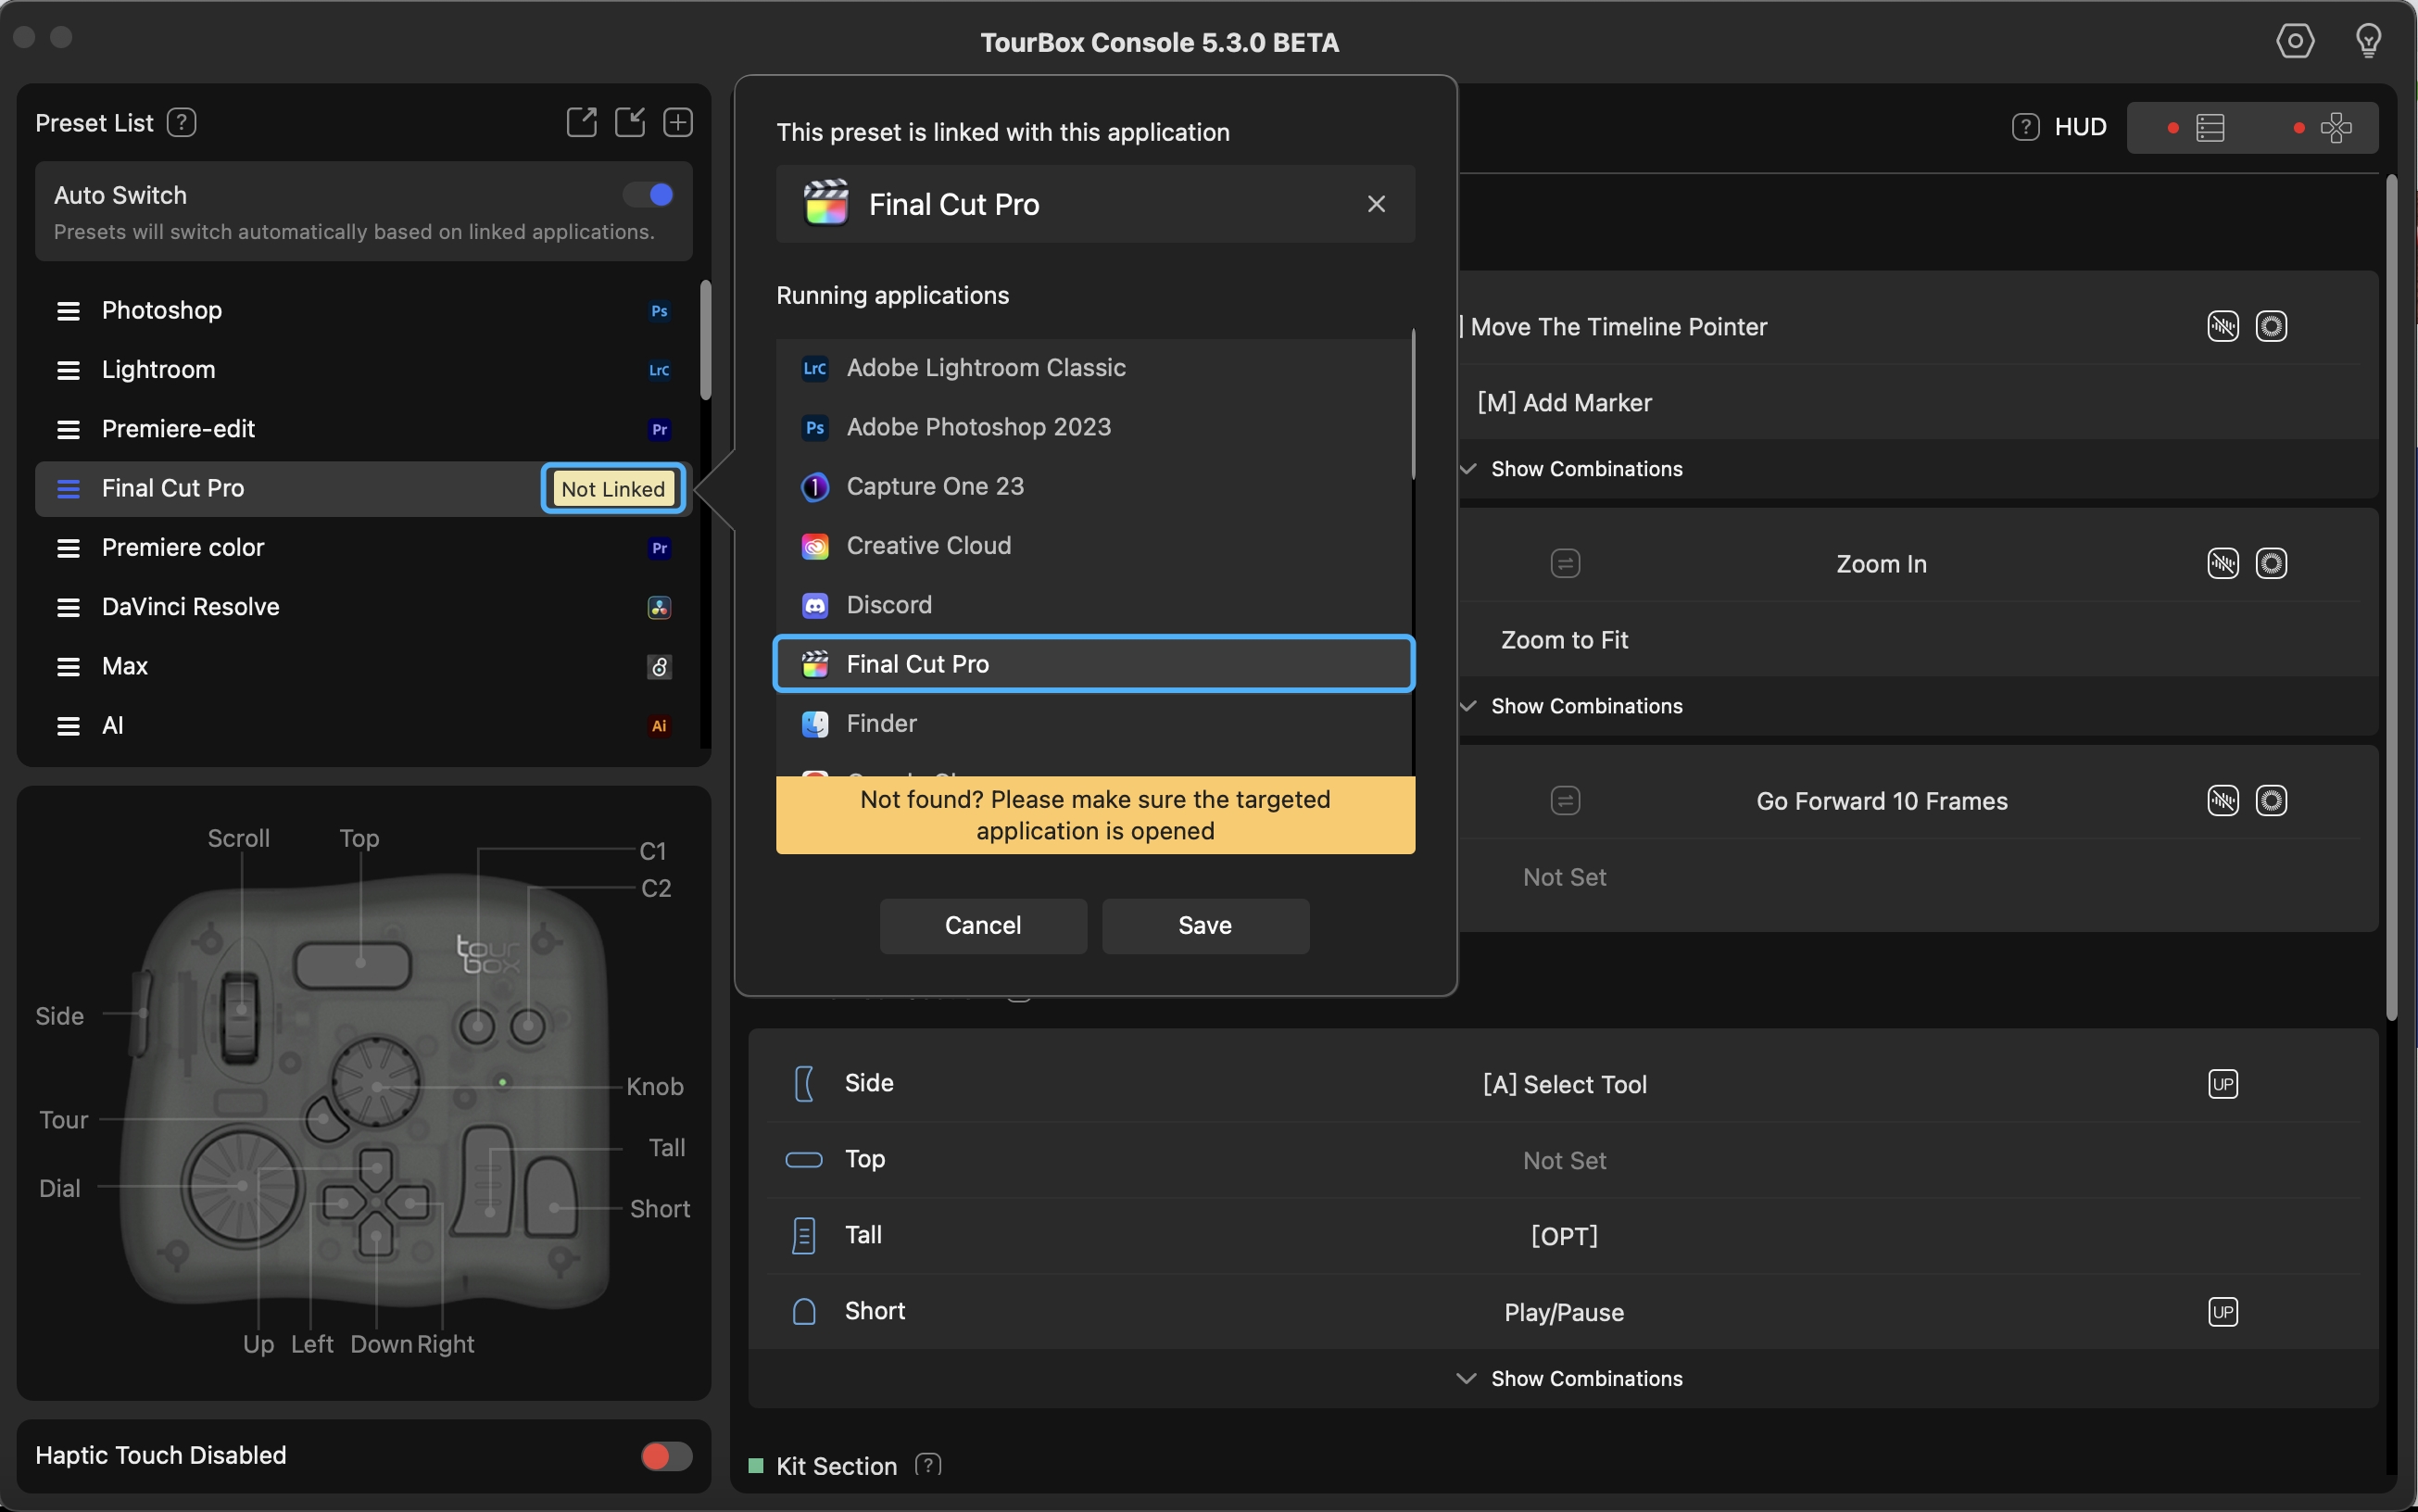
To link software with TourBox, simply click on the "Not Linked" label on the left side and enter the software association dialog. From there, click on the corresponding software logo to establish the association, allowing you to control the software using TourBox.
For more information, please check out this tutorial: How to Link and Unlink Applications?
Please note that the corresponding software must be opened on your computer for the software association dialog to display the software logo.
With each update of TourBox Console, we continue to expand the default presets available for users. To access these additional presets and enjoy enhanced functionality, make sure to keep TourBox Console updated regularly for the best user experience.
To access more default presets, simply follow these steps:
- Click on the "+" icon above the presets list.
- On the "Create a New Preset" page, select the desired software preset and give it a name. This will grant you access to the default presets within TourBox Console.
Many professionals in the creative field have shared their presets on the TourBox website. You can access these by clicking on "Get More Presets" on the "Create a New Preset" page, which will take you to the preset download page.
For more information, please check out this tutorial: How to Import and Export Presets?
Have a Question?
To explore more about using TourBox and learn additional tips and tricks, check out our TourBox tutorials series.
If the tutorials above do not answer the questions you have, please contact support@tourboxtech.com.