[TourBox Tutorial] How to Link and Unlink Applications?
After familiarizing yourself with creating presets, the next step is linking your frequently used application. This tutorial will guide you through seamlessly linking and unlinking applications within the TourBox Console.
How to Link Applications?
Before you proceed with the association process, please ensure the following preliminary steps have been completed:
- The "Auto Switch" option is enabled.
- Before you begin the linking process, make sure that the software is already open. This will ensure that you can find the corresponding software in the link list.
- When the software you are using gets updated, you will need to relink it.
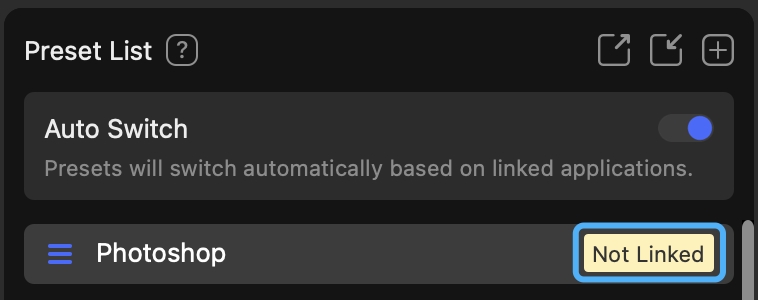
If you've just created or imported a preset, it will be in an "Unlink" state. You can clearly see a noticeable "Not Linked" tag on the right side of the preset.

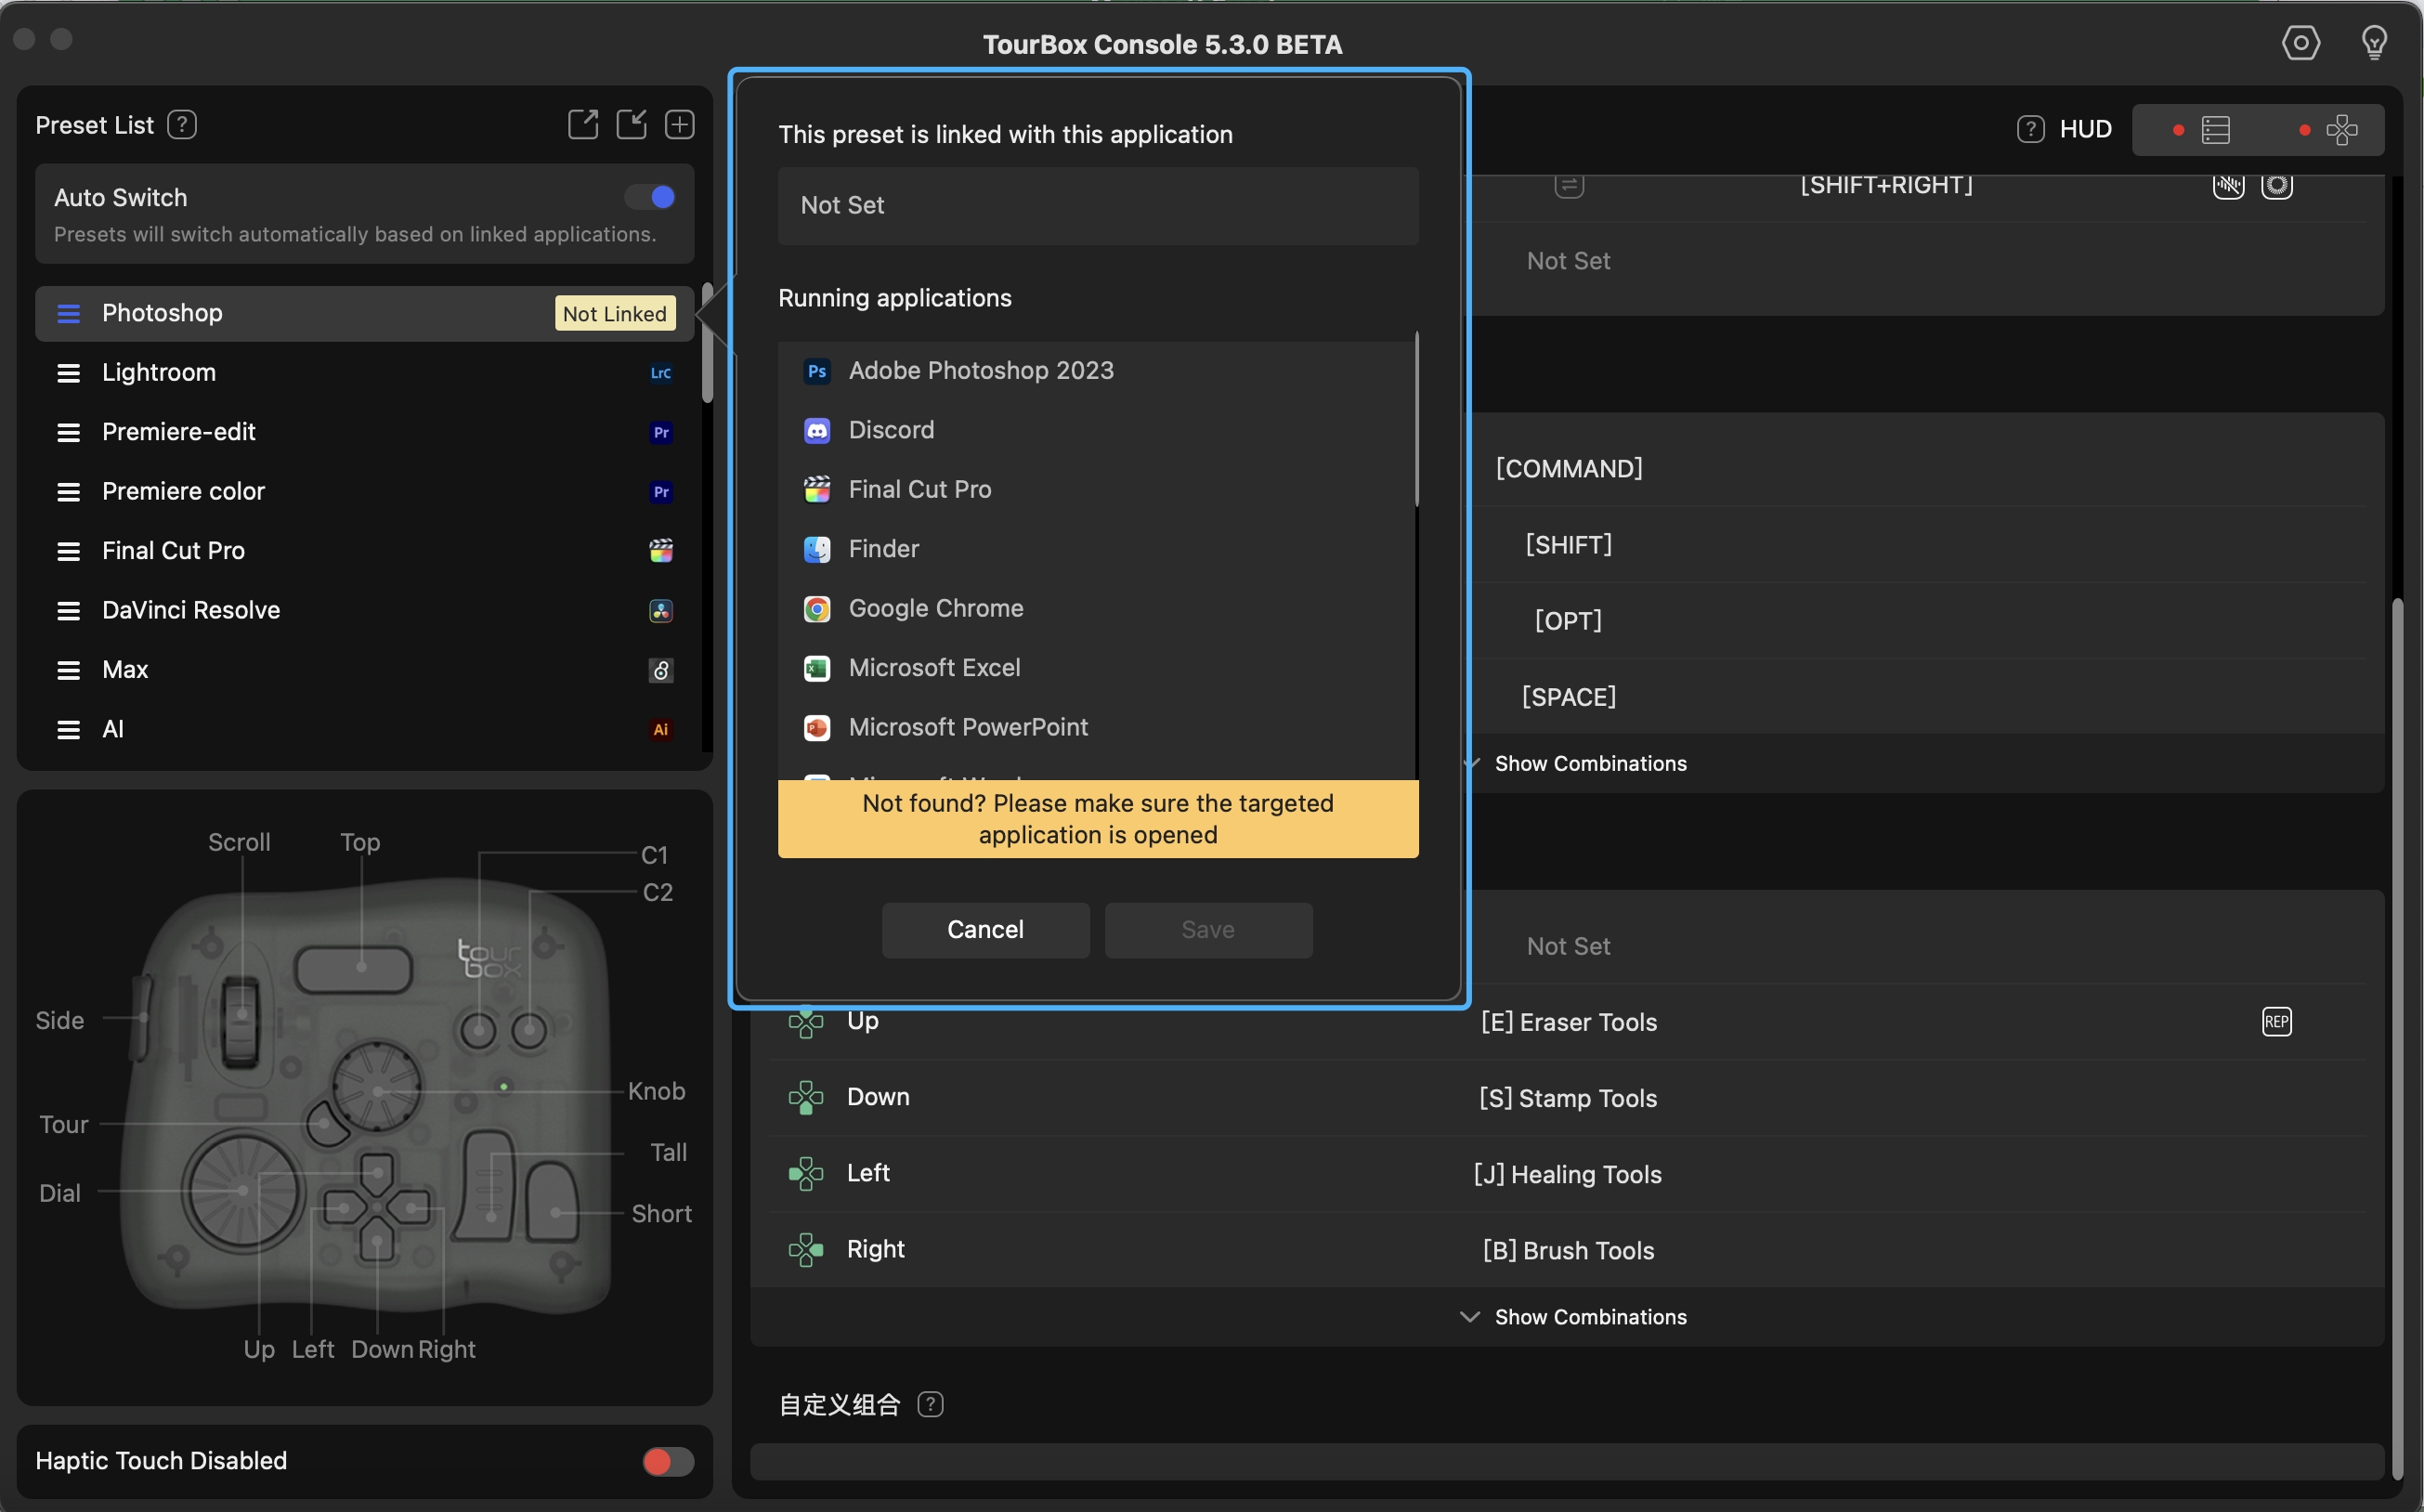
Clicking on this tag will trigger a "Link Application" page to pop up. On this page, select the application in the "Application List" you wish to link (be sure that the application is already open before clicking). Clicking 'OK' completes the linking process.

How to Unlink Applications?
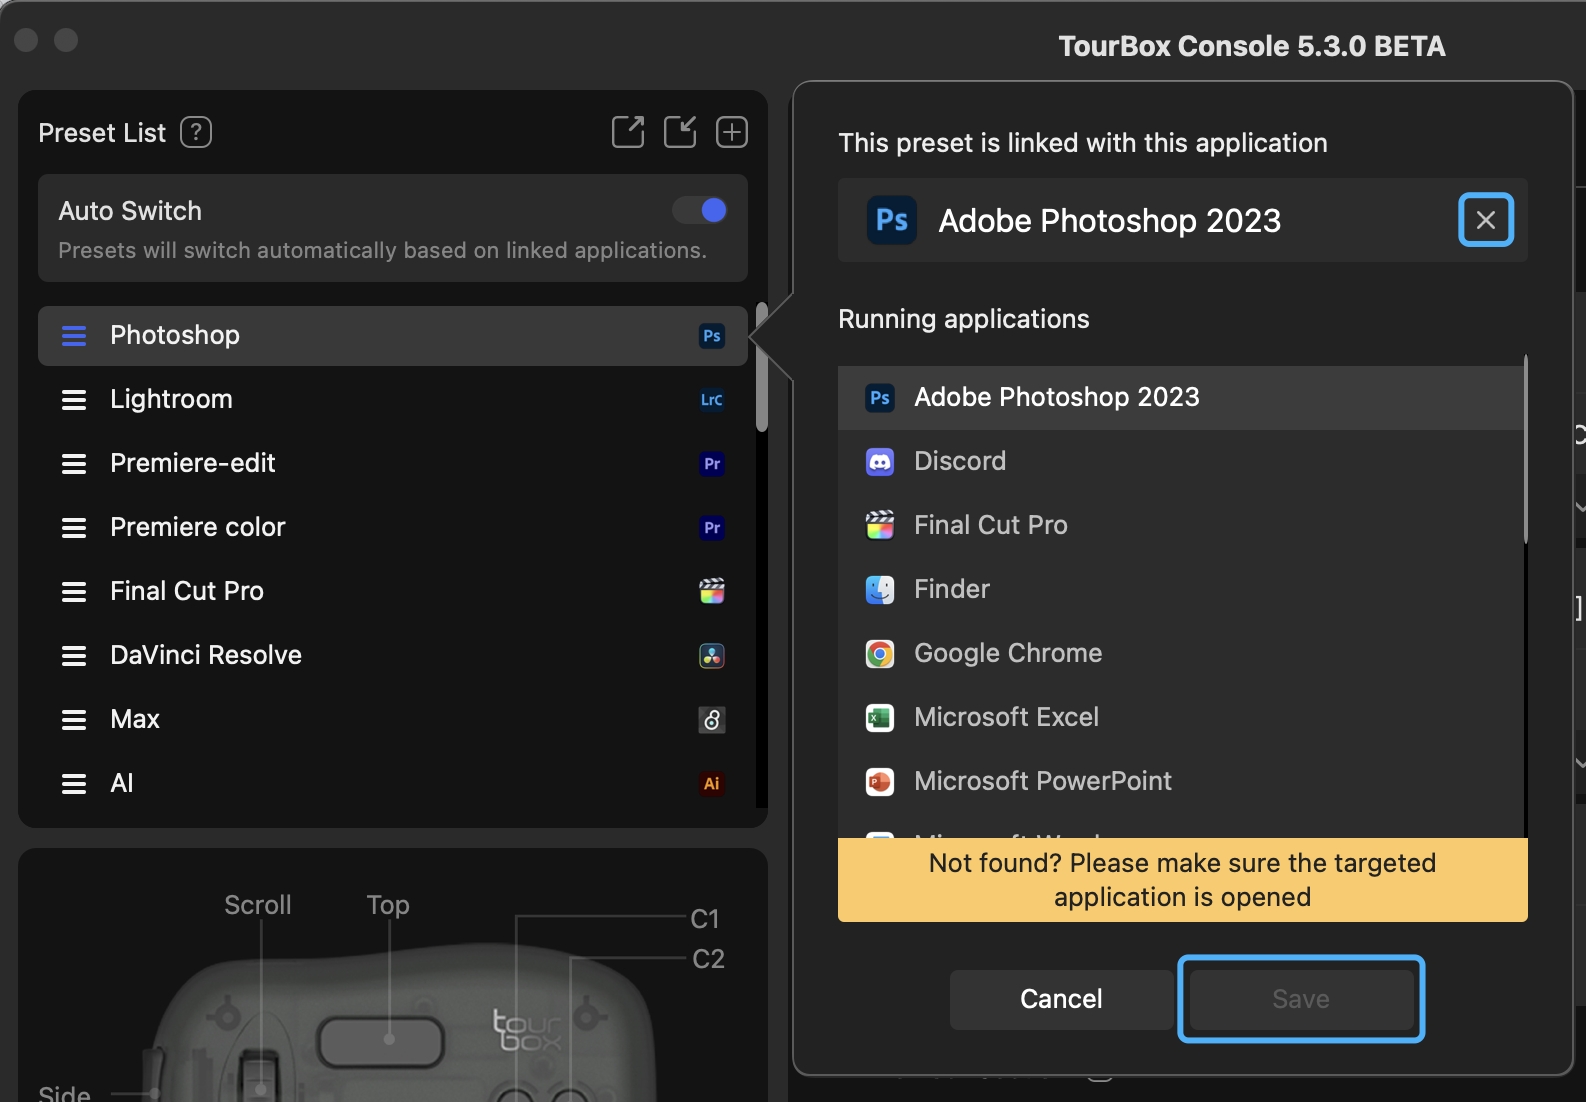
With the "Auto Switch" feature enabled, click on the icon to the right of the preset for the application you wish to unlink (this icon is a thumbnail of the application). This will take you to the 'Link Application' page, where you can click to close the currently linked application, and then save it.

Have a Question?
To explore more about using TourBox and learn additional tips and tricks, check out our TourBox tutorials series.
If the tutorials above do not answer the questions you have, please contact support@tourboxtech.com.