How to Feather Edges in Photoshop: Step-By-Step Tutorial
When you're editing images in Photoshop, feathering edges is a highly useful technique.
Especially when creating selections in complex scenes, the edges of your selection might have unsightly jagged patterns. Feathering the edges can help blend your selection or graphic more naturally into the background.
In this tutorial, we will show you how to feather edges in Photoshop. Let's get started.

In this article, you will learn:
- How to Understand Feathering in Photoshop?
- How to Feather Edges in Photoshop?
- How to Feather a Layer Mask Edge in Photoshop?
- Advanced Techniques for Feathering Edges in Photoshop
- Final Thoughts About Feathering Edges in Photoshop
How to Understand Feathering in Photoshop?
Feathering in Photoshop involves blurring the connecting parts inside and outside of a selection, creating a soft, hazy effect to achieve a natural blend. A higher feathering value widens the haze range, while a lower value narrows it.
In simpler terms, feathering edges gradually make them more transparent, resembling feathers, getting blurrier towards the edges. This effect helps blend the selected content with its surroundings seamlessly.
For instance, in the following example, when setting the feathering value of a selection to 200, then inverting the selection and deleting the background, you can see that the feathering starts from the center of the selection, becoming more transparent towards the edges.
How to Feather Edges in Photoshop?
As emphasized above, feathering blurs the edges of a pixel selection, aiding in blending the selected area with surrounding pixels.
Feathering edges are particularly useful when copying and pasting a selection onto a different background.
Step 1: Open Your Image
Open Photoshop, import your photo by clicking "File" in the top menu bar > "Open" to bring the image you want to feather onto the canvas, or directly drag the image into Photoshop.
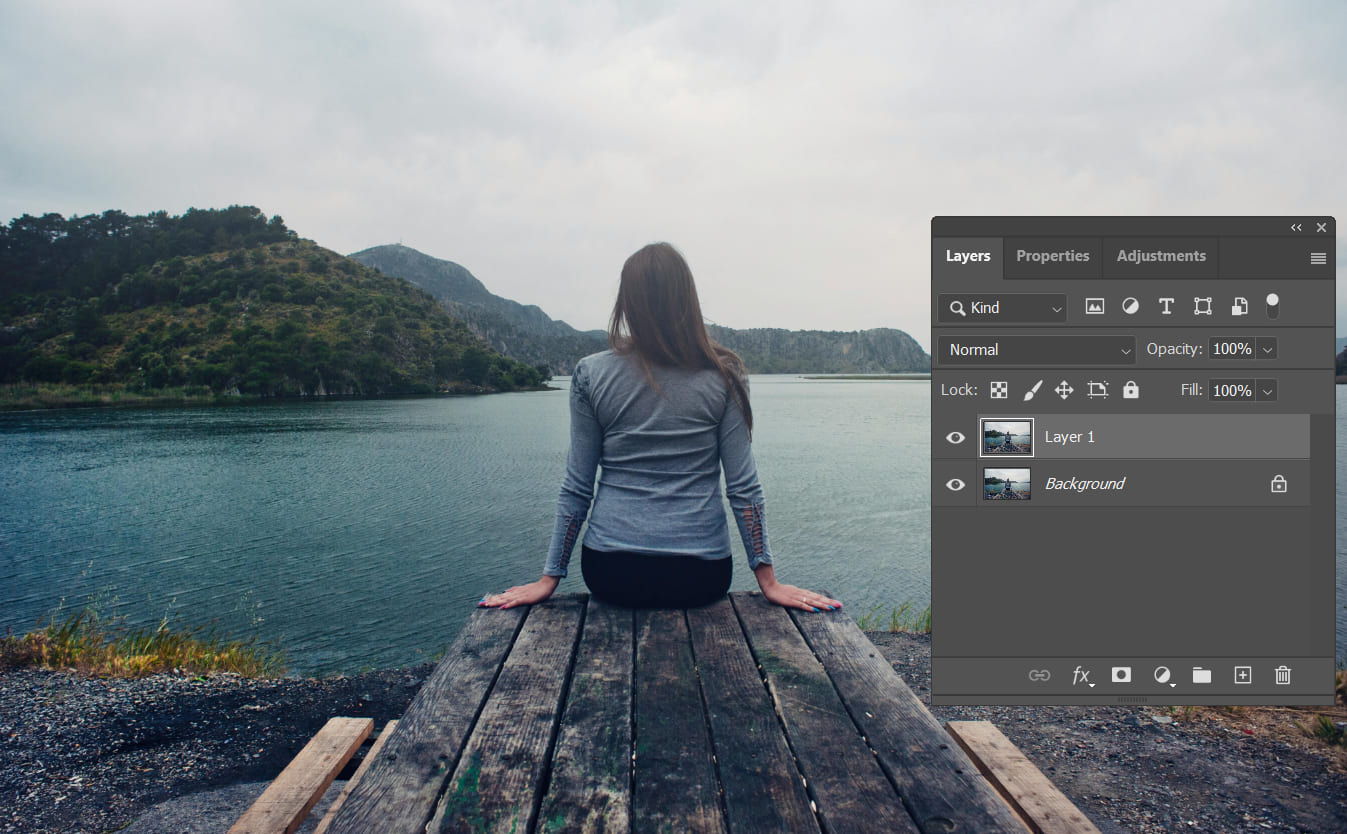
Then press "Ctrl/Cmd + J" to duplicate the background layer.
Step 2: Select the Area to Feather
Use any selection tool to choose the part of the image you want to feather. For simpler selections, you can use the Object Selection Tool or the Quick Selection Tool.
Further Reading:
After completing a selection, the extracted object might have unwanted fringing (often appearing as white edges). So, how do you get rid of them?
These white edges indicate that the background wasn't completely removed during selection, showing imprecise outlining. If the edges of your subject have a significant color contrast with the background, these white edges can become more noticeable.
To address this issue, you may need to refine your selection process to be more precise or simply remove the excess remnants.
A practical approach is to shrink the selection by 1-2 pixels. After making your selection, go to the top menu bar, click on "Select," navigate to "Modify," choose "Contract," and adjust the value.
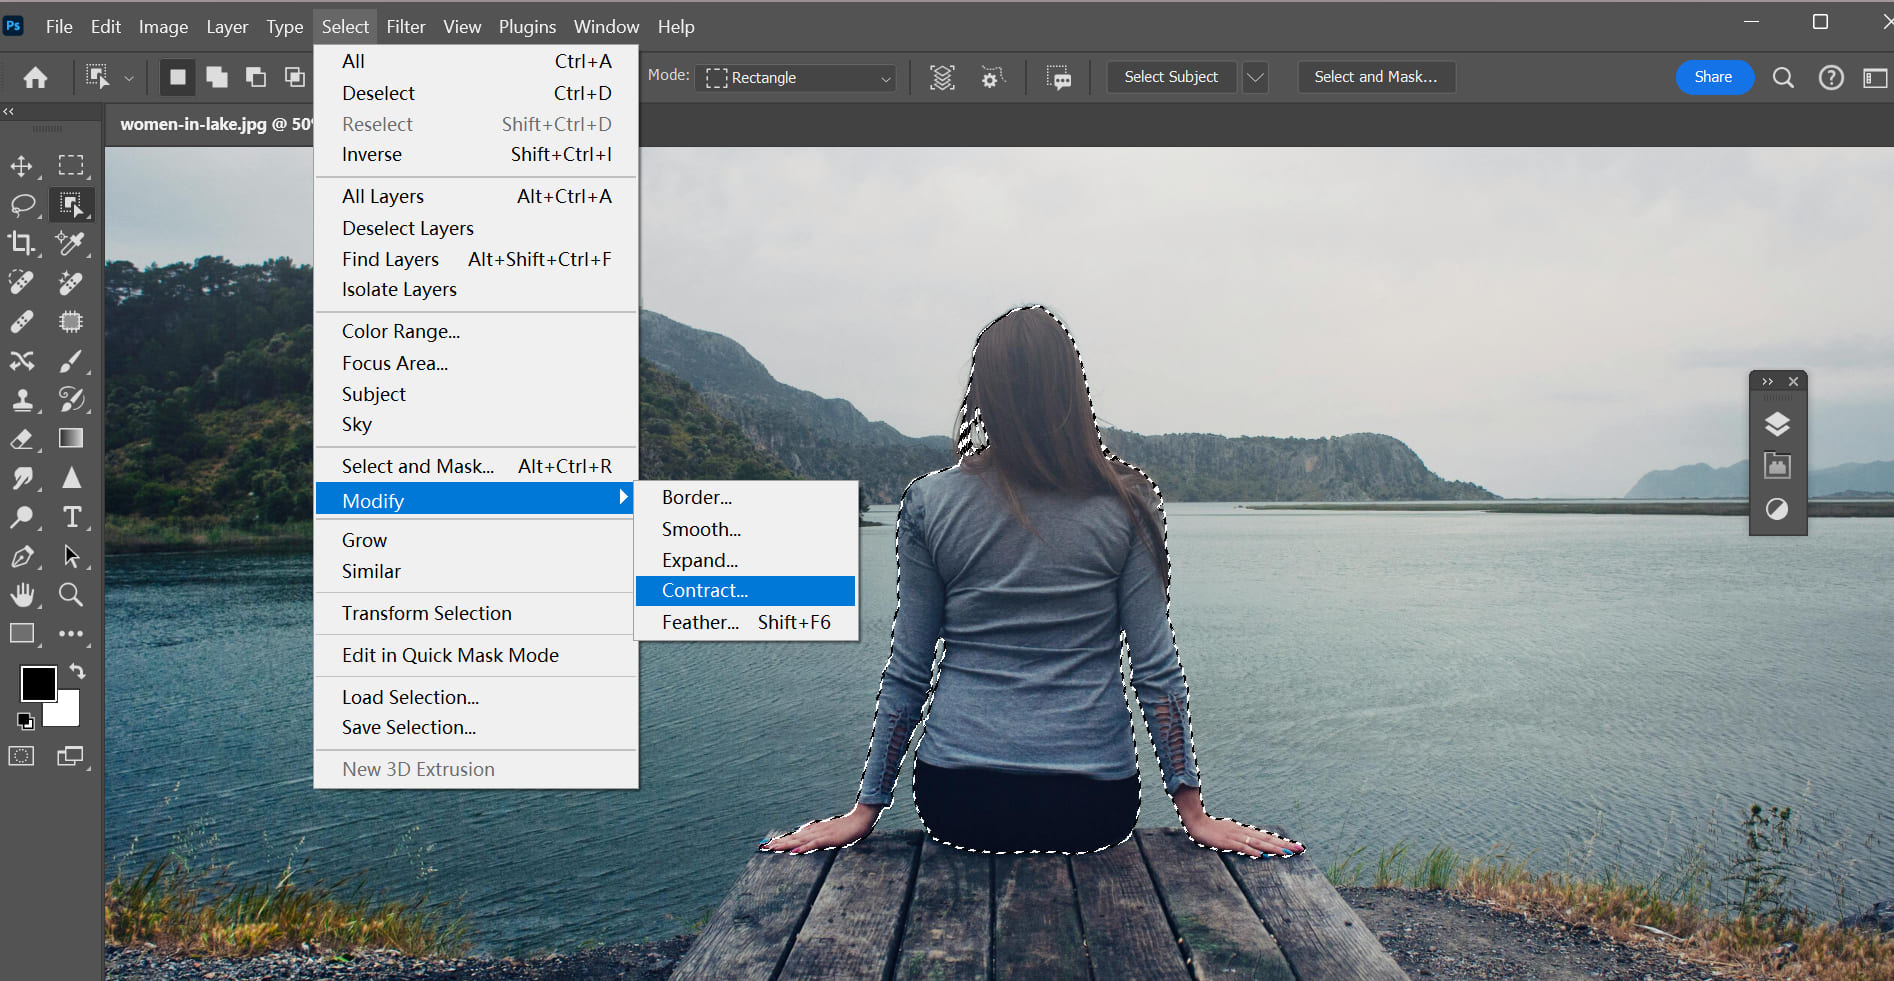
This action helps eliminate the extra white edges. While this method may remove a small portion of the content, as long as it doesn't affect the final result, it's acceptable.
Step 3: Feather the Selection Edges
You can execute the feathering command in several ways:
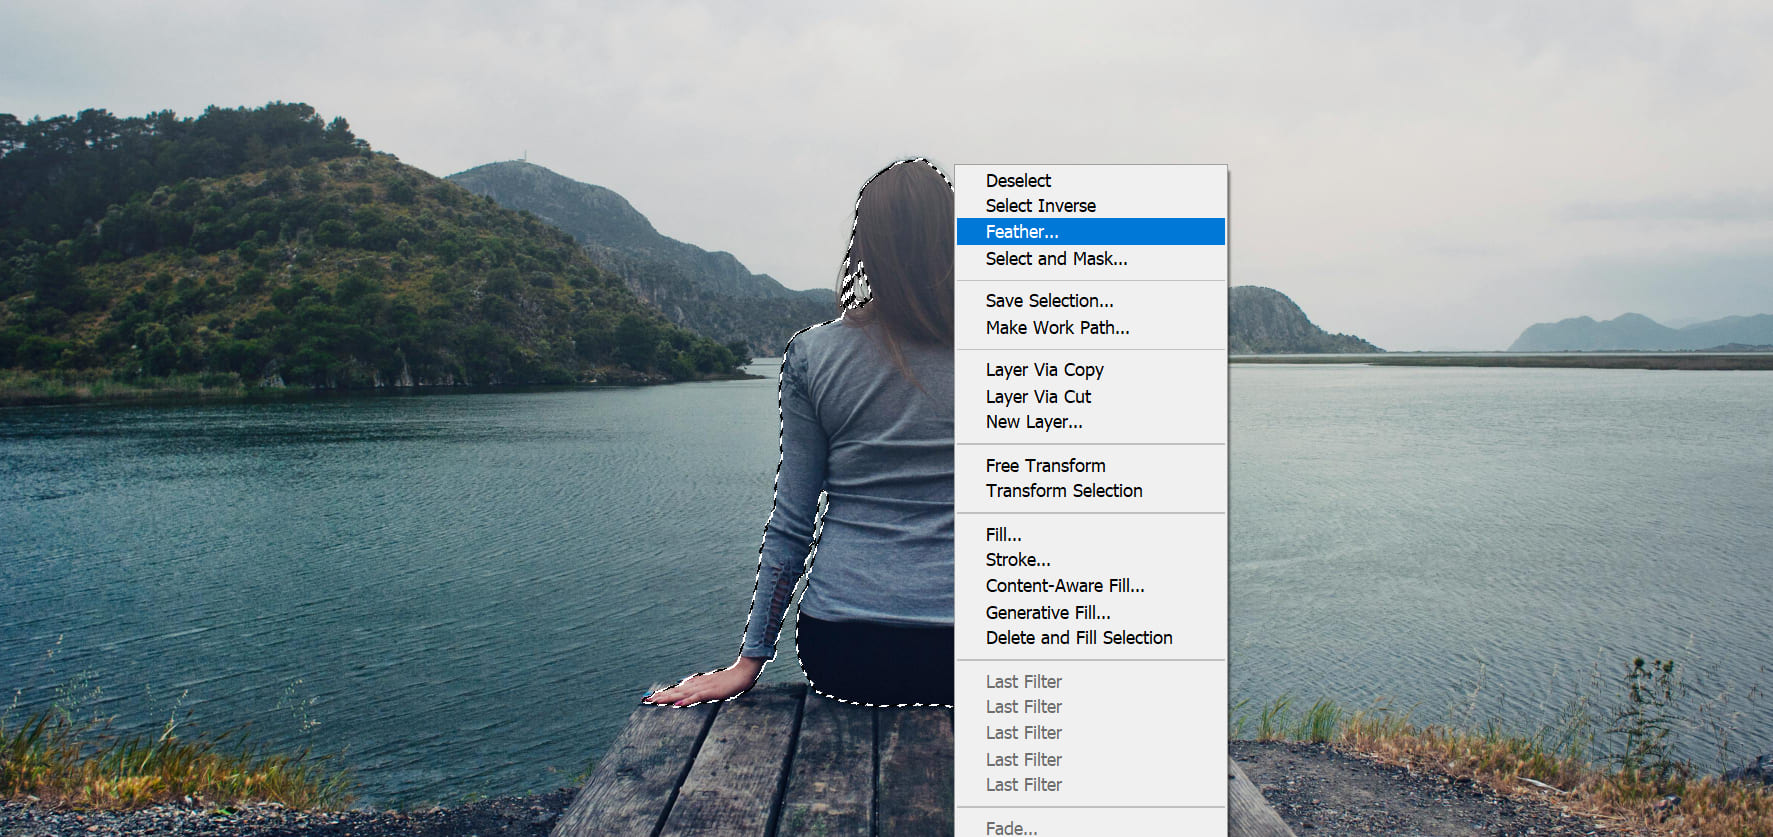
Method 1: Right-click on the selection area to feather.
Method 2: Click on "Select" in the top menu bar, then go to "Modify" > "Feather".
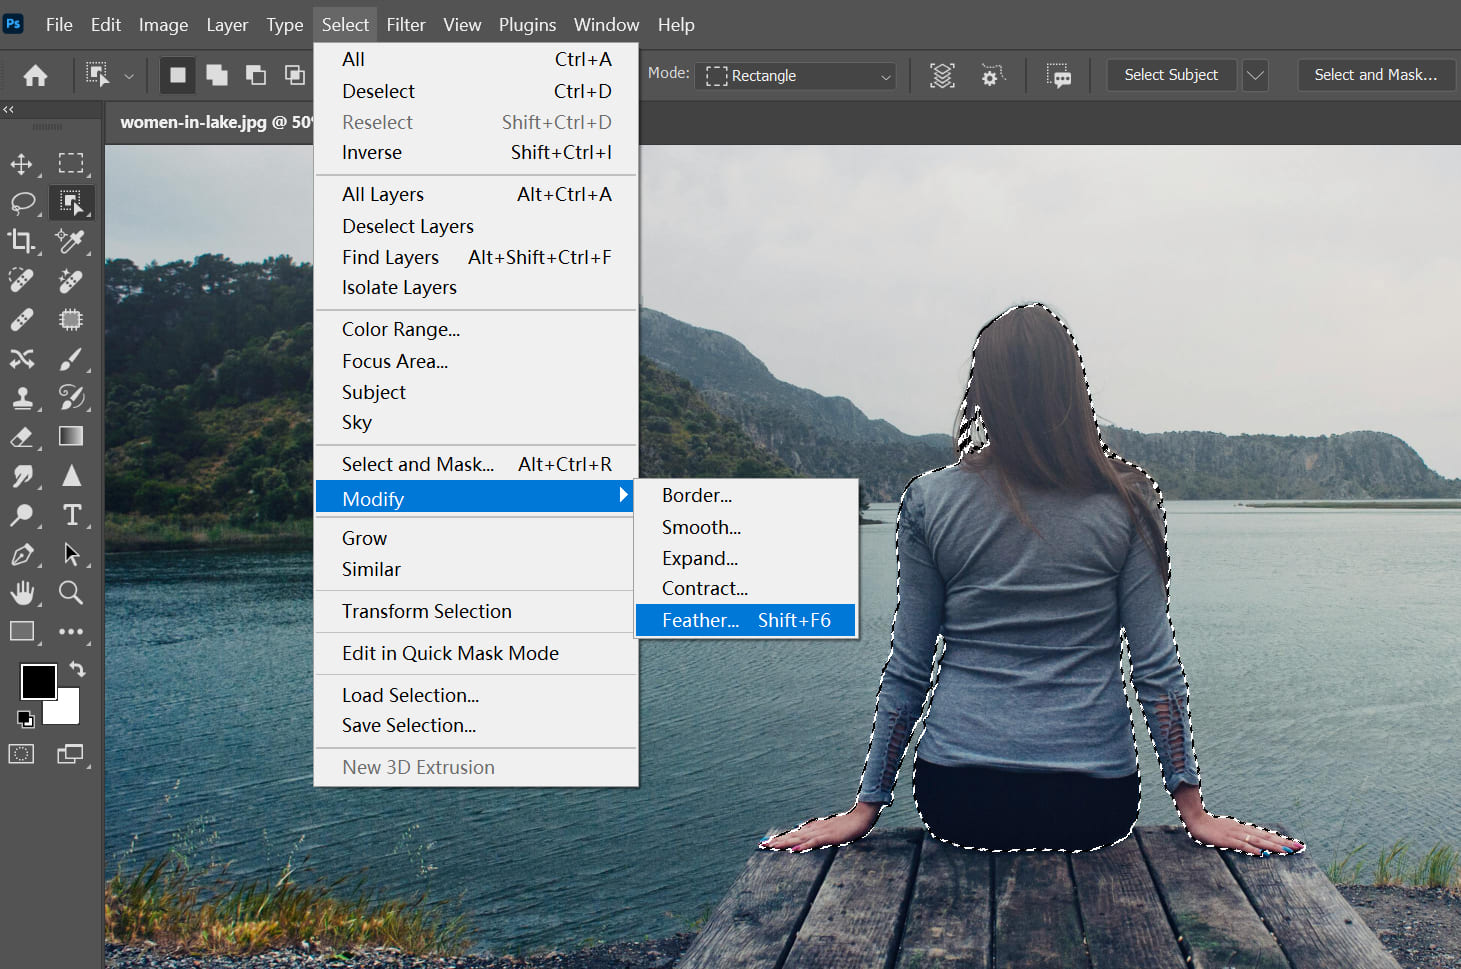
Method 3: Press "Shift + F6" as the keyboard shortcut for the feathering command.
In the "Feather Selection" dialog box that pops up, enter a feather radius value. For most practical purposes, a feather value of 10 is usually sufficient. If needed, you can adjust the number to fine-tune the feathering amount.
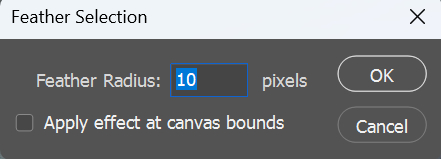
If the feathering effect is not very noticeable due to the minimal color contrast between the image and the background, simply increase the "Feather Radius" a bit while feathering. This adjustment should make the feathering more pronounced.
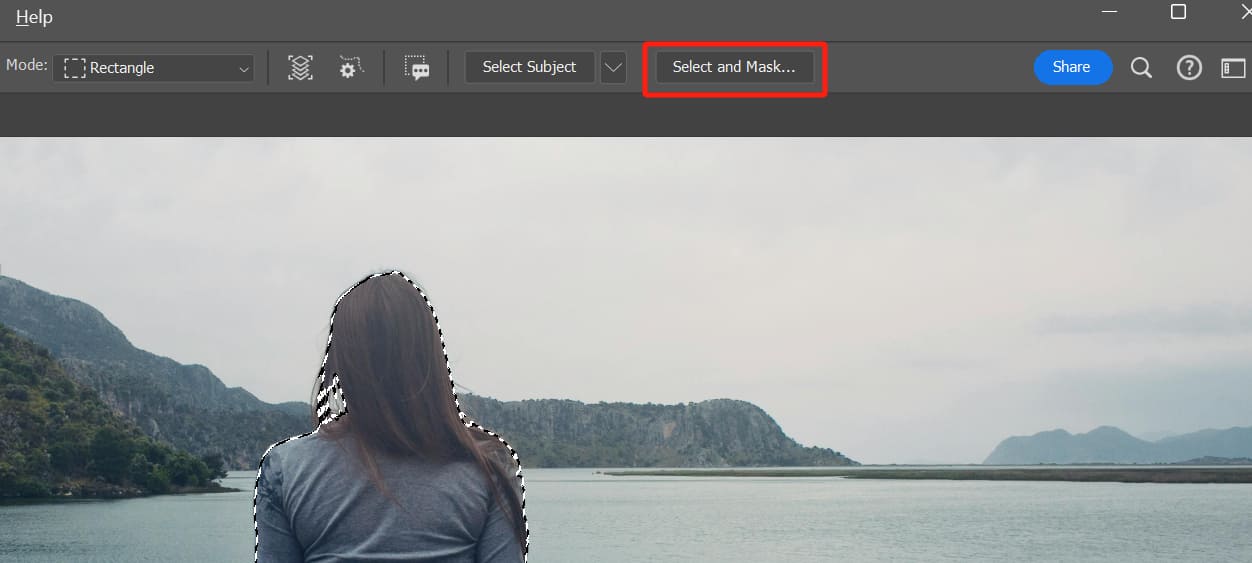
In addition to directly applying feathering commands in Photoshop, you can feather the edges of a selection using the Select and Mask panel.
Select and Mask is a powerful tool, especially handy when dealing with intricate details like hair in selections.
After making your selection, click on Select and Mask in the top toolbar to access the Select and Mask settings panel.
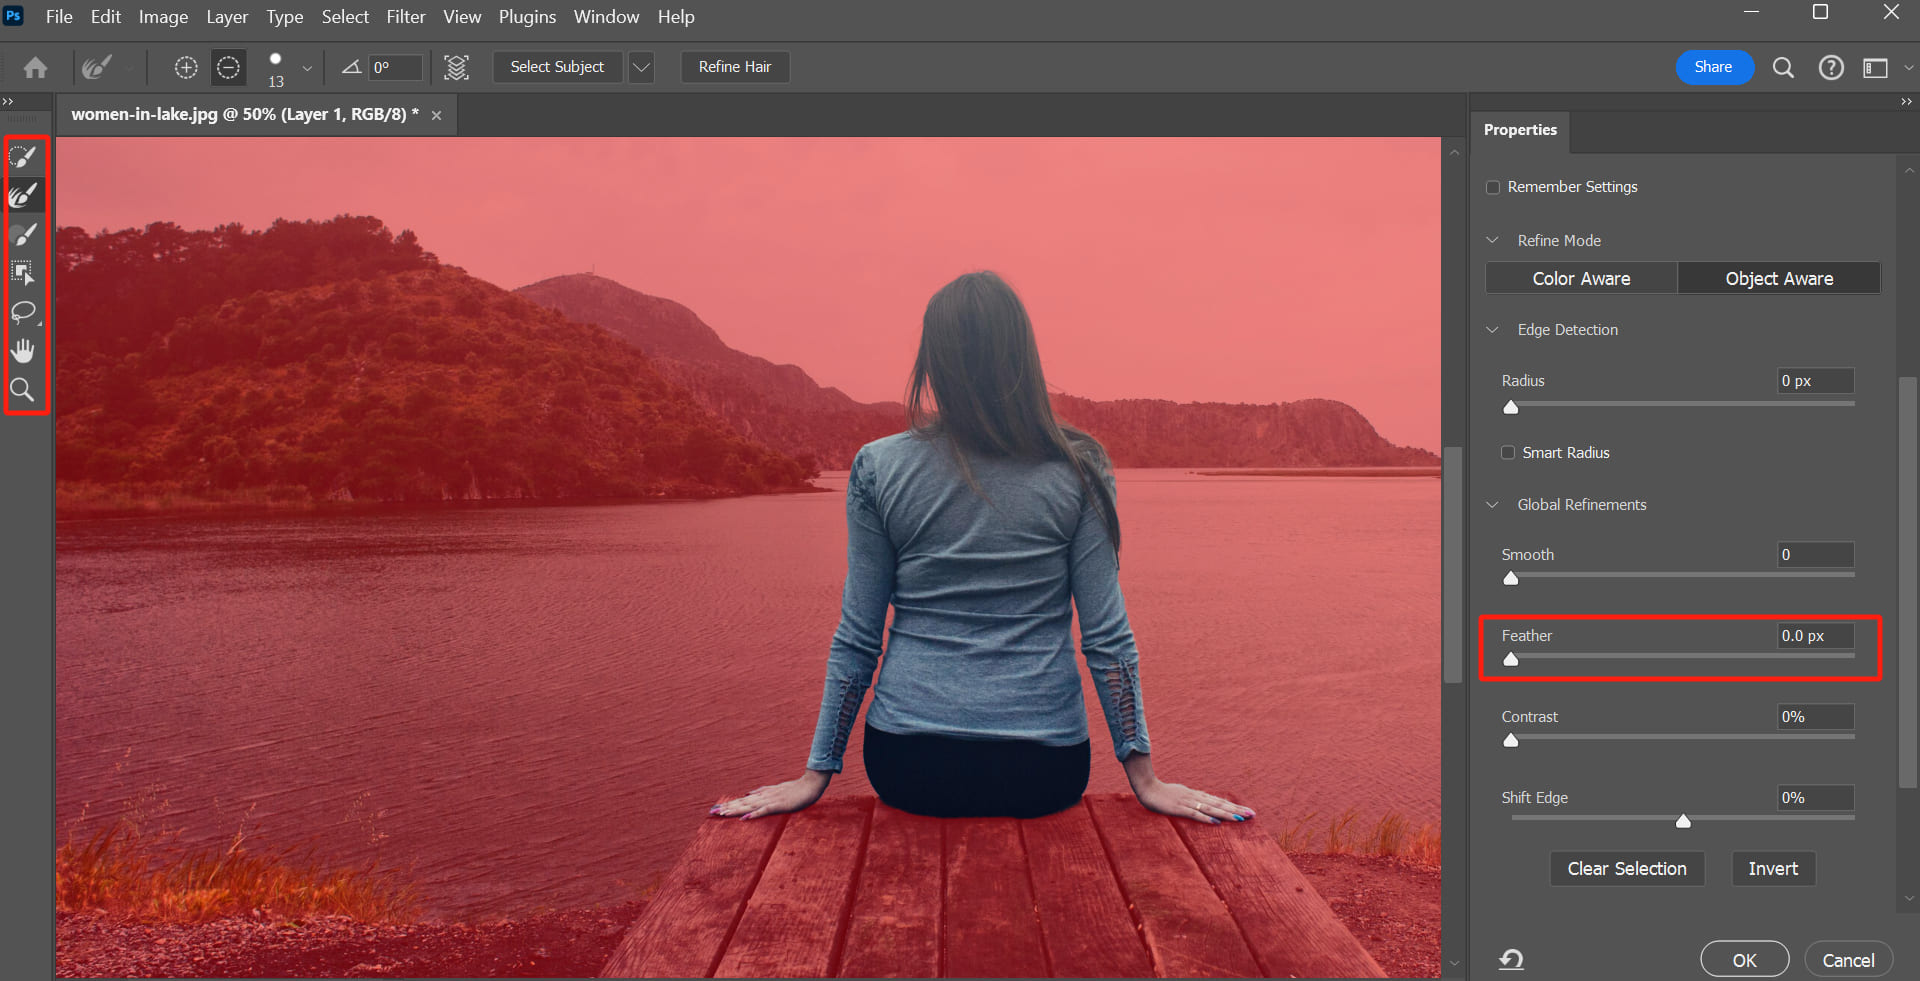
By default, the view mode is set to Overlay, where non-opaque light red represents the area outside the selection, and normal colors represent your selected area.
How to Feather a Layer Mask Edge in Photoshop?
After making feather adjustments to your selection, you can also smooth the selection edge. Once all adjustments are done, you can either directly copy the selection into your project or create a layer mask.
You can actually feather mask edges within a layer mask:
- In the "Layers" panel, select the layer containing the mask you want to edit and switch to the "Properties" panel.
- Drag the "Feather" slider to apply a feathering effect to the mask edge. This will create a softer transition along the mask edge.
Advanced Techniques for Feathering Edges in Photoshop
The keyboard shortcut for feathering edges in Photoshop is "Shift + F6." This shortcut might not be the easiest to remember. However, Photoshop allows for customizing shortcuts, so you can tailor the feathering shortcut to your preference for convenience.
Using shortcuts may not always be the most intuitive or efficient method of work; your creative flow could be interrupted by unfamiliar key combinations at any time.
Searching through long command menus for instructions can also unnecessarily complicate simple processes.
You might consider using TourBox, a creative controller highly favored by digital artists. TourBox seamlessly interacts with Photoshop and various popular video and image editing software, enabling you to perform complex tasks with fewer actions.

For instance, you can map the keyboard shortcut for feathering edges directly to a button on the TourBox. An even more efficient approach is to create a Photoshop action for common workflows, assign a shortcut to that action, and then map it to the TourBox.
Of course, the magic of TourBox extends beyond this. TourBox offers a plethora of built-in functions, allowing you to easily handle tasks like rotating the canvas, adjusting brush size, angle, properties, and more in Photoshop with a single-handed operation using TourBox.

Explore our photo editing page to see how TourBox simplifies every step of the creative process.
Final Thoughts About Feathering Edges in Photoshop
In this tutorial, we briefly covered how to feather edges in Photoshop. In practice, the specific feathering value depends heavily on experience.
Therefore, mastering this common tool involves regular practice. One technique for feathering edges is to start with a smaller feathering value and repeat the feathering process.
Our tutorial comes to an end here. We hope the feathering edge techniques we shared above have been helpful to you.