How to See Audio Levels in DaVinci Resolve?
DaVinci Resolve is an all-in-one solution that combines editing, color grading, visual effects, and audio post-production. With DaVinci Resolve, you don't need to learn multiple software tools or switch between different applications to accomplish various tasks.
However, for newcomers to DaVinci Resolve who are passionate about video editing, one common challenge they encounter is how to see audio levels in DaVinci Resolve.
This can be quite frustrating. In this tutorial, we will provide a simple guide on how to resolve this issue.

In this article, you will learn:
- How to See Audio Levels in DaVinci Resolve?
- How to See Audio Levels in DaVinci Resolve Fairlight Page?
- Final Thoughts About Audio Levels in DaVinci Resolve
How to See Audio Levels in DaVinci Resolve?
The easiest way to view audio clip levels in DaVinci Resolve is by looking at their waveform.
What Is the Difference Between "Level" and "Volume"?
In simple terms, "level" is a technical term used to describe the intensity of an audio signal, whereas "volume" refers to the actual perceived loudness of the sound. Levels can be measured using level meters on devices, while volume is perceived through our ears.
In the current field of audio processing, "level" and "volume" are often used interchangeably.
Open DaVinci Resolve and switch to the Edit Page in the bottom panel tabs. You can simply drag and drop your video or audio clips onto the timeline panel. You might see a screenshot like the one below:
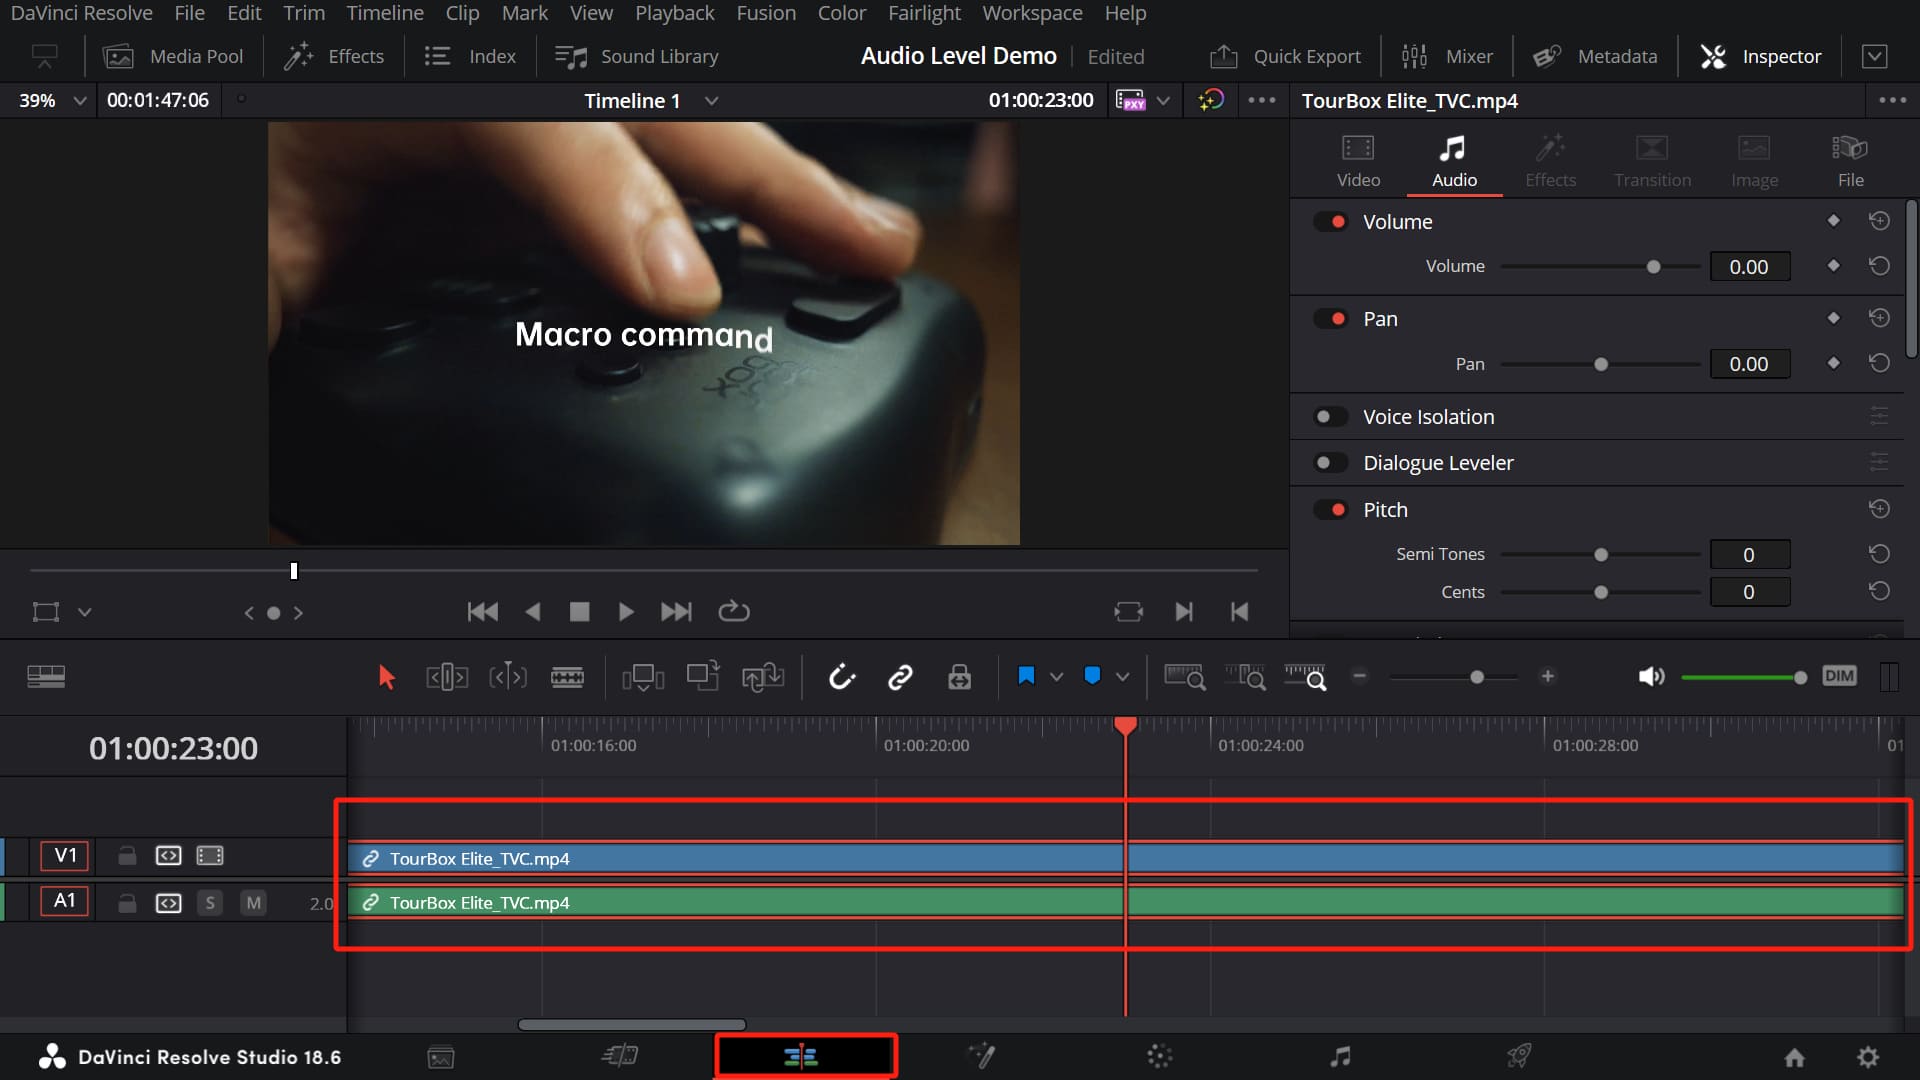
In the timeline panel, the blue V1 track represents the video track, and the green A1 track represents the audio track.
By default, you may not see any waveforms on the audio tracks in DaVinci Resolve. This common issue puzzles many DaVinci Resolve beginners because waveforms are the most straightforward way to visualize audio levels.
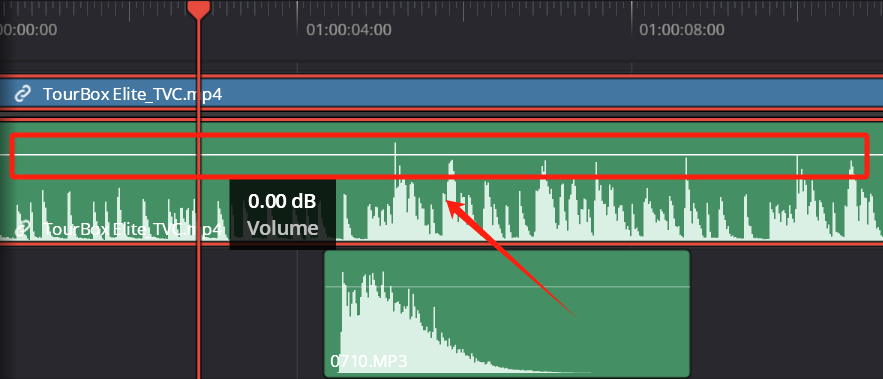
To address this, you can click on the "Timeline View Options" button in the top-left corner of the timeline panel. In the pop-up panel, adjust the track height under "Track Height" for the audio track, and you'll notice the waveform appearing on the audio track.
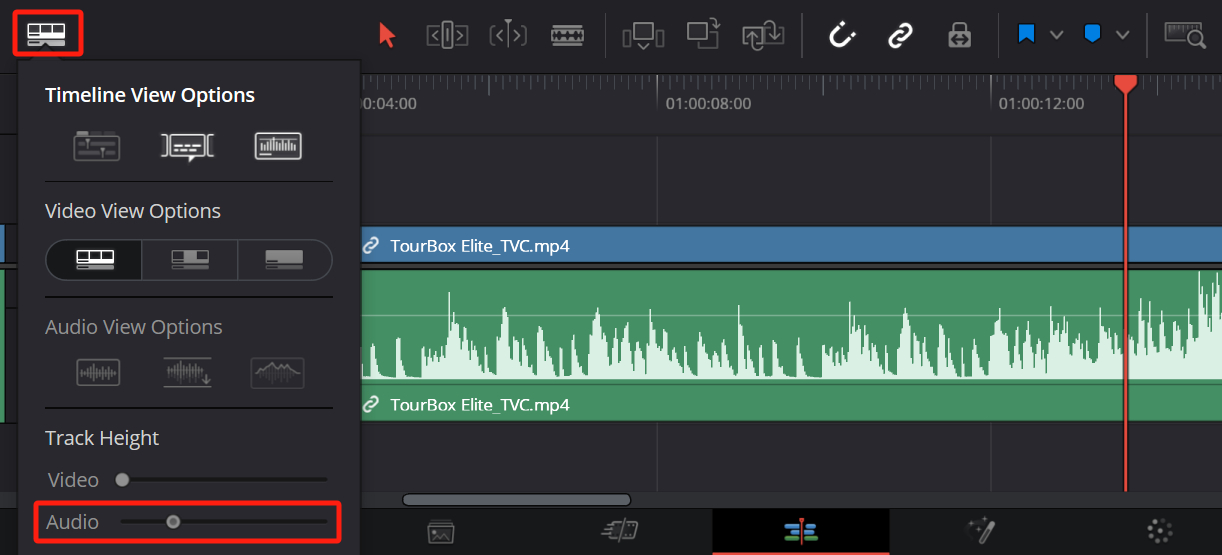
You can also make adjustments to the display of the audio waveform in the "Audio View Options" section within the Timeline View Options panel.
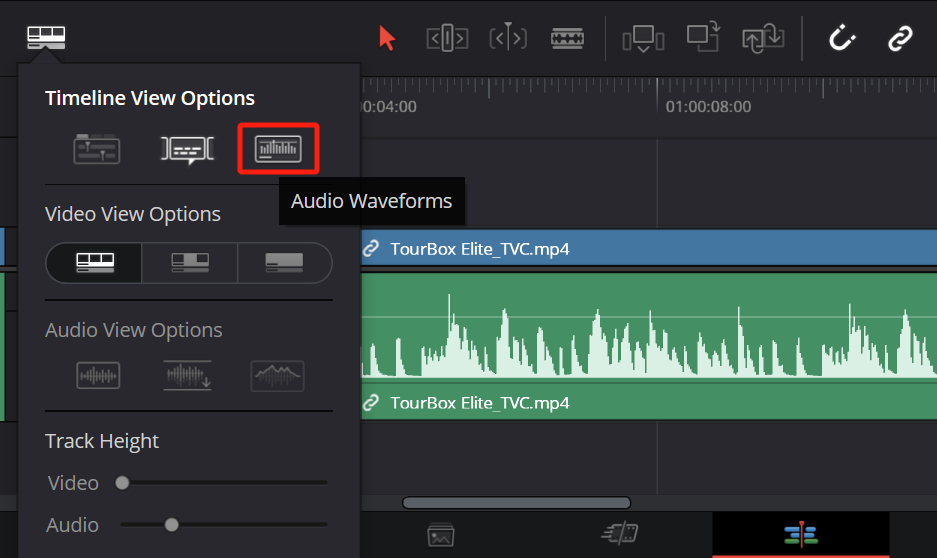
If you're still unable to see the audio waveform after following these steps, you can activate "Audio Waveforms" under "Timeline View Options" in the panel.
The method of adjusting track height applies to video tracks as well. If your project has multiple tracks, depending on your monitor resolution, you may need to readjust the height of different tracks to see more tracks.
In addition to adjusting track height through the "Timeline View Options" panel, you can also hover your mouse pointer over the dividing line between tracks. When the mouse pointer changes, you can drag the track height to display more audio tracks.
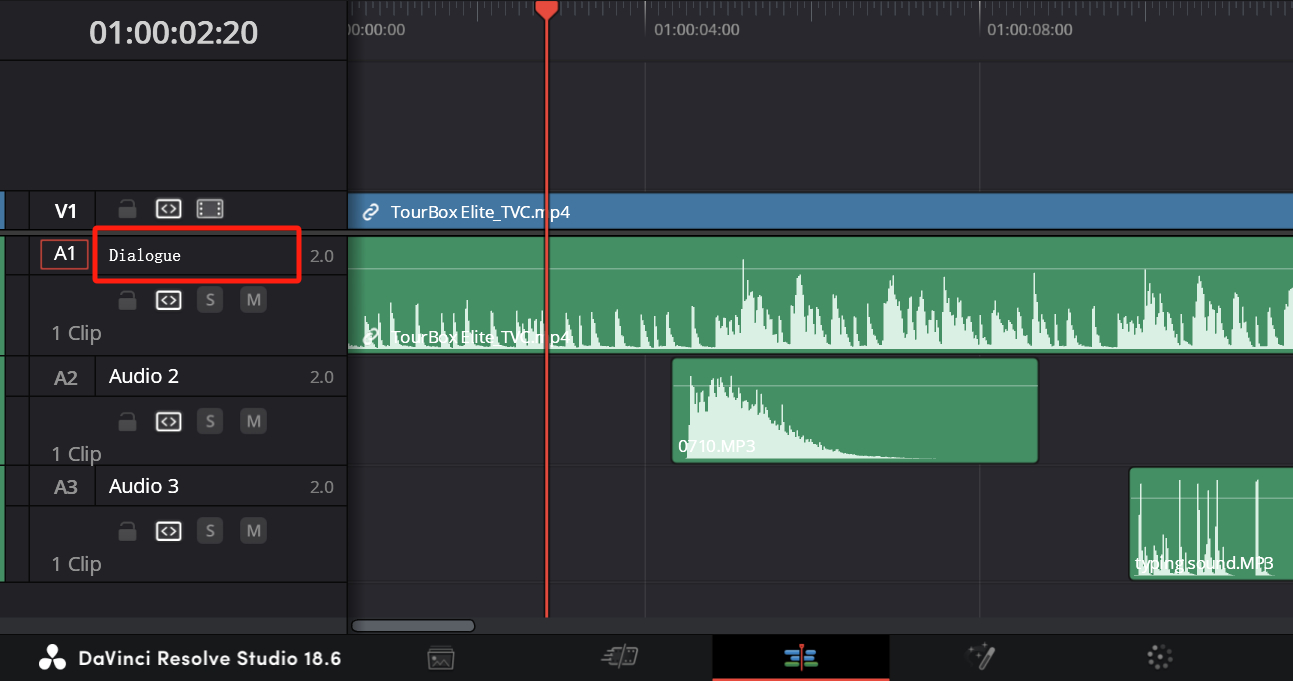
Before you start working with these audio clips on your tracks, we recommend that you rename the audio tracks appropriately to facilitate better identification during your editing process.
In the header area of the timeline panel on the left side, click on the label "Audio1," and you can then enter text. Depending on the content of that track, you can name it "Dialogue," "Ambient Sound," "Special Sound Effects," "BGM" (Background Music)", or any other relevant description.
If you want to adjust the volume of an audio clip, it's also quite simple. After zooming in on the audio track, you'll notice a volume line running across the track. You can freely adjust the level of the audio clip by dragging this line.
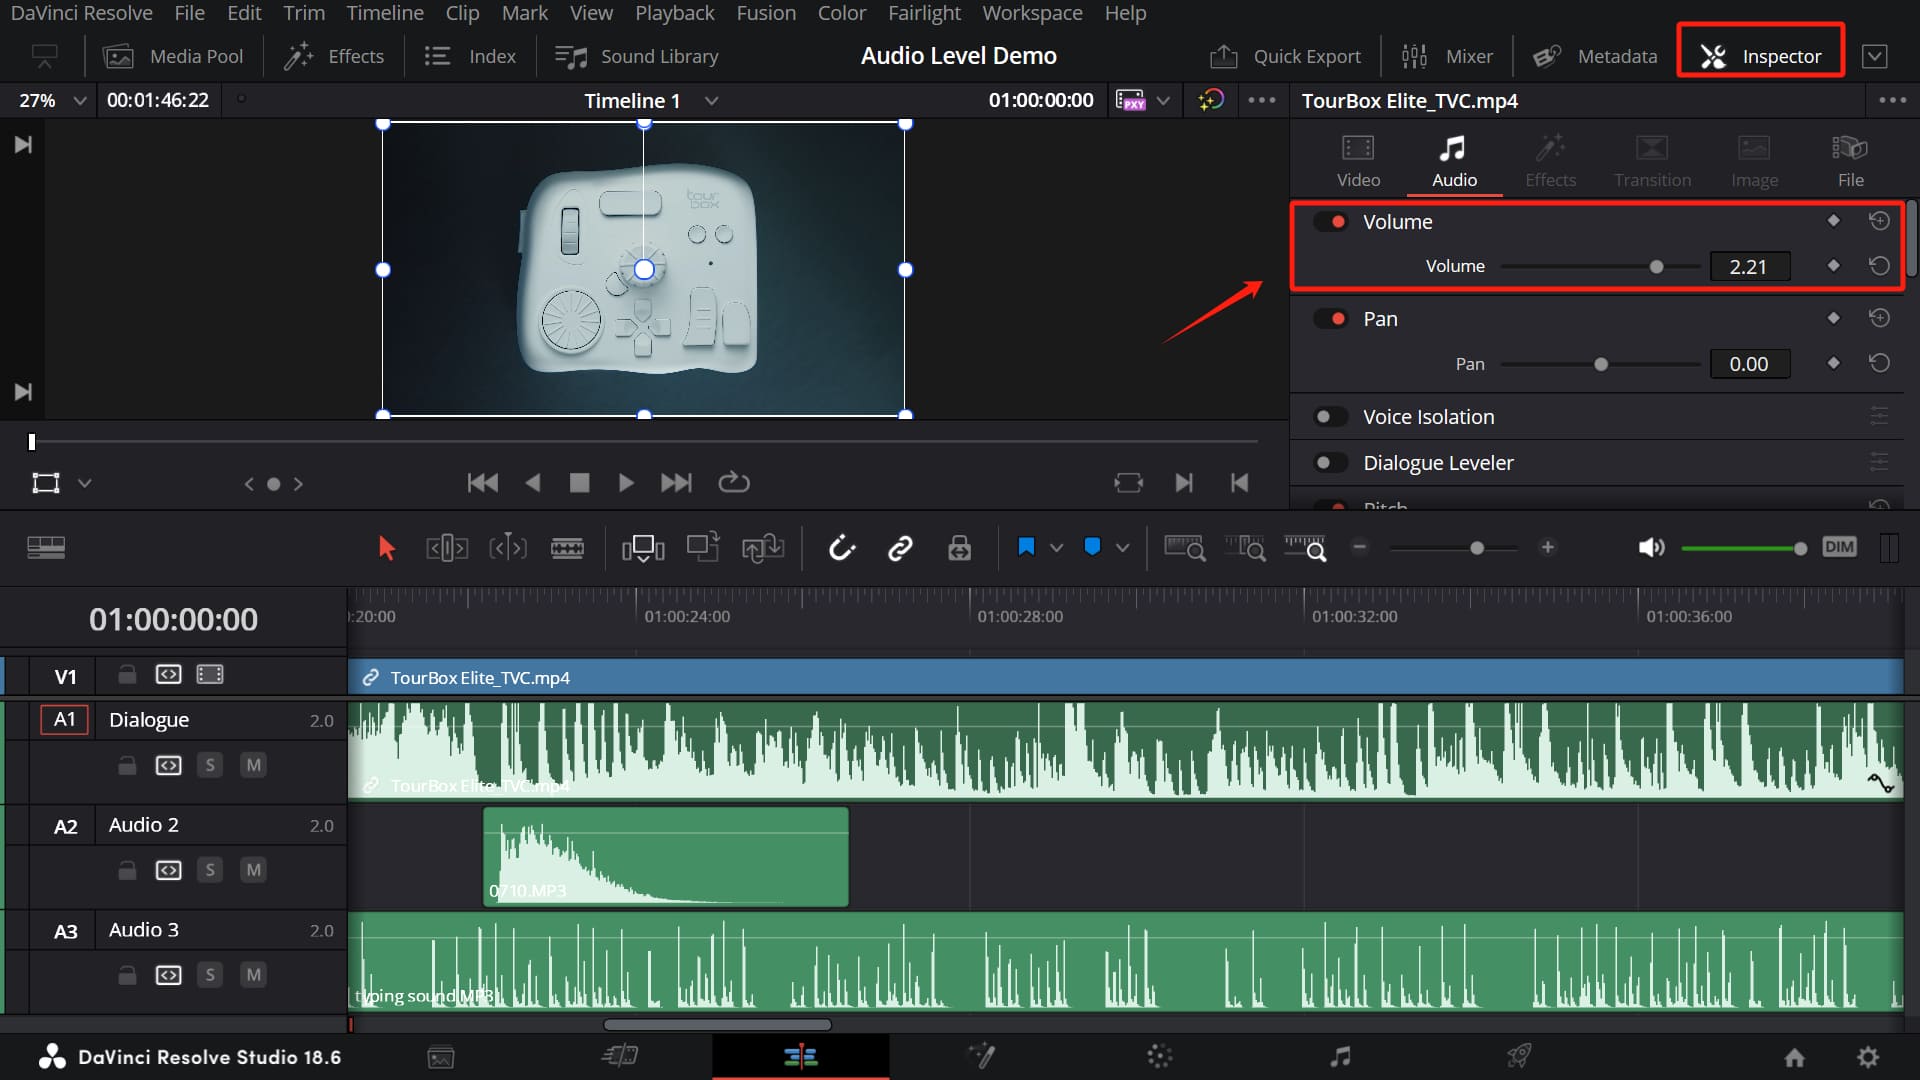
Alternatively, you can switch to the "Audio" tab in the Inspector panel located in the top-right corner. From there, you can adjust the level by manipulating the Volume slider below.
When viewing audio levels in the Edit page of DaVinci Resolve, you may notice that you have to constantly zoom in and adjust the position of the playhead. This becomes particularly evident when dealing with multiple clips in your project.
At times like these, you might want to give TourBox a try. It's a creative tool beloved by digital artists and editors alike.

TourBox's unique arrangement of knobs, dials, scrolls, and buttons allows for effortless fingertip control. You can seamlessly switch between zooming, quickly scrolling through the timeline, or frame-by-frame scrolling.
With TourBox, you can focus on your creative process without constantly looking at the keyboard. Just use one hand to control TourBox, minimizing the number of actions required to achieve perfect control over your timeline.
But that's not all the magic of TourBox. Check out our video editing page to see how TourBox simplifies every step of video editing.
How to See Audio Levels in DaVinci Resolve Fairlight Page?
In the previous section, we explained how to see the audio clip levels in DaVinci Resolve. However, the Fairlight page of DaVinci Resolve offers more advanced sound control options.
Switching to the Fairlight page, you'll see a simplified layout by default that only displays the audio timeline.
Similarly, if you want to see waveforms on the audio tracks in the Fairlight page, simply zoom in on the tracks.
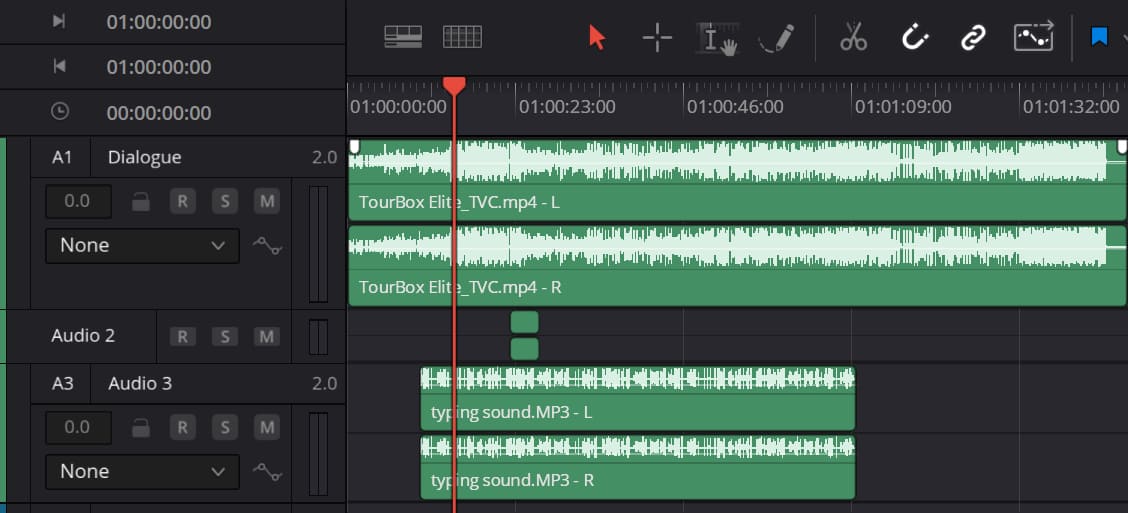
If you made any adjustments to the audio tracks in the Edit page, you'll notice that all audio fades, transitions, and keyframes are still displayed in the Fairlight page.
The timeline you see in the Fairlight page is the same as the one in the Edit page, meaning that any sound adjustments you made in the Edit page are now carried over to the Fairlight page.
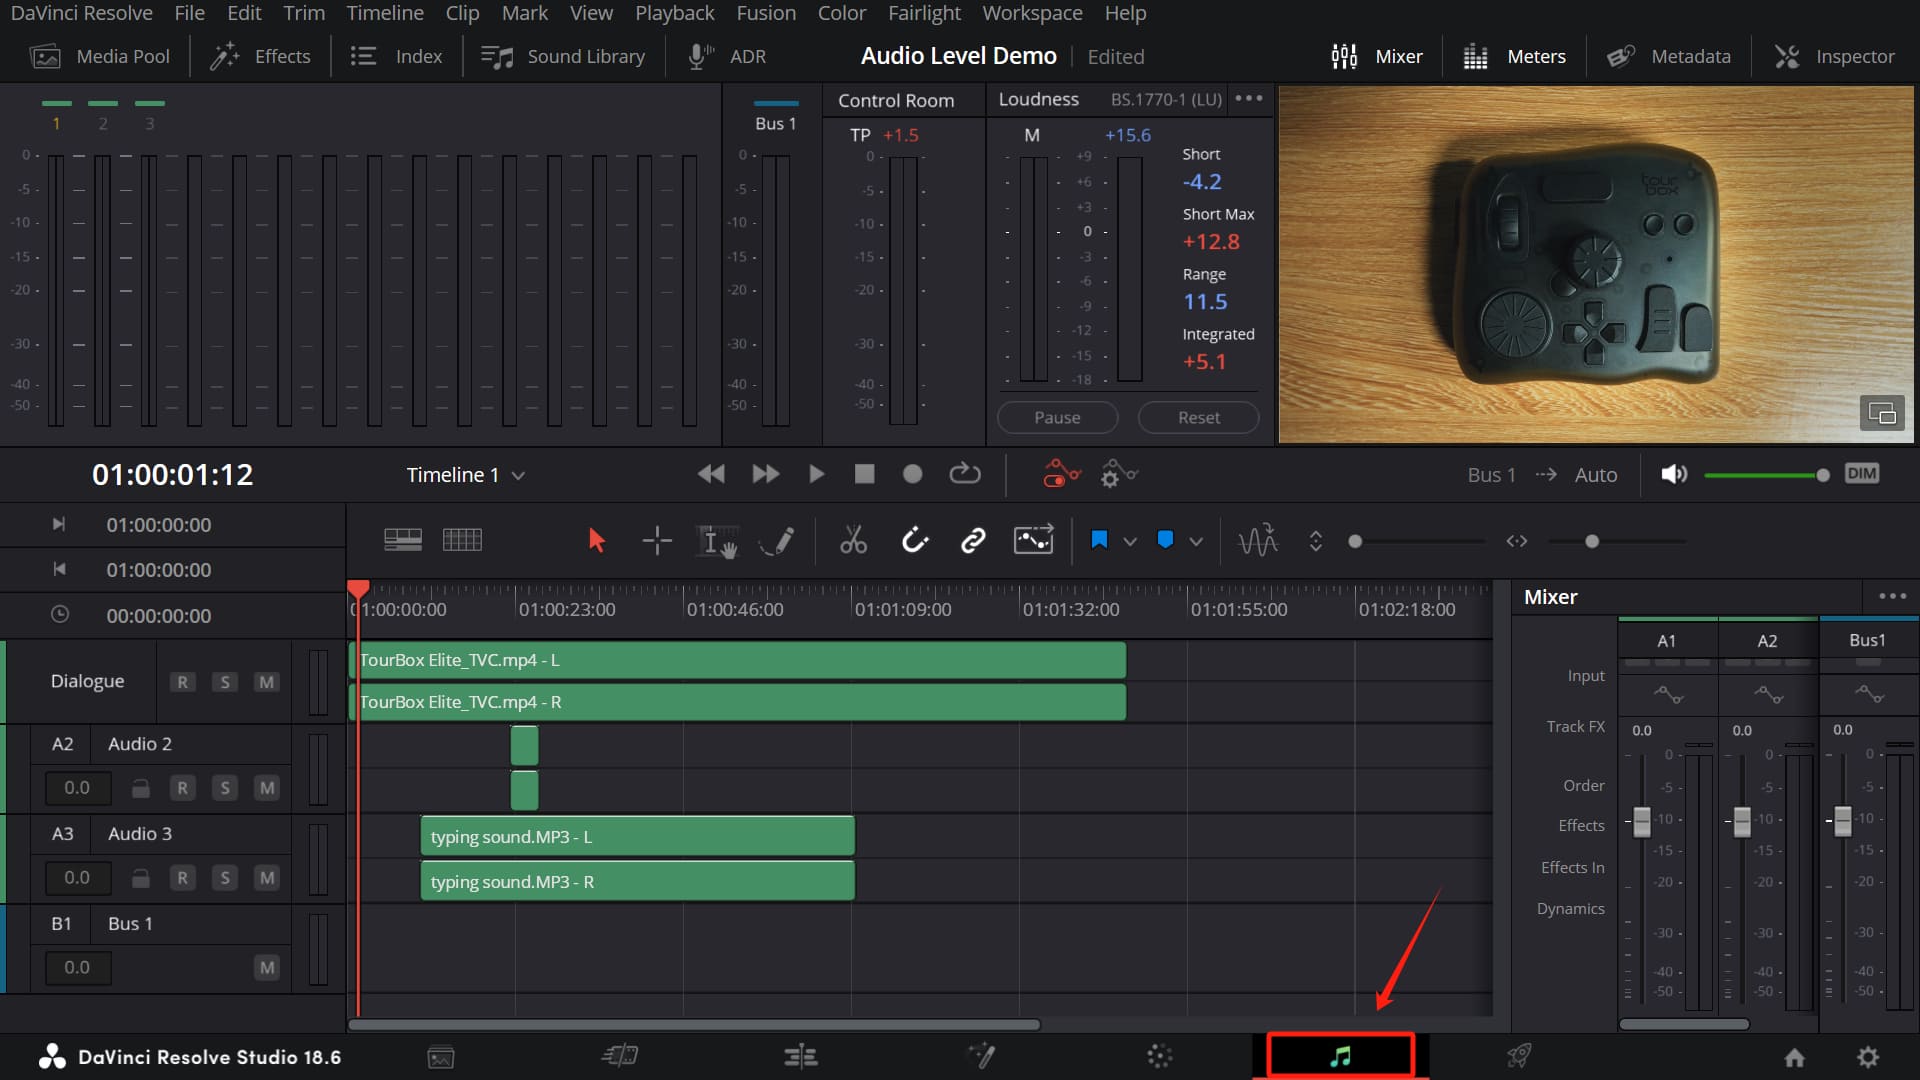
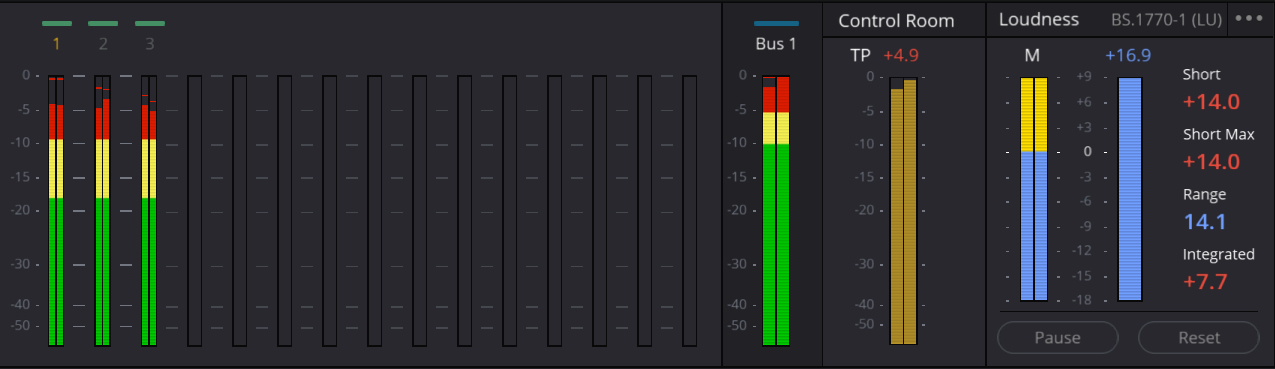
In addition to viewing levels through waveforms in the Fairlight page, you can monitor audio levels and loudness on a per-track basis using the "Meters" panel.
Press the "Space" to play, and the "Meters" panel will display the levels and loudness of multiple tracks for the current frame.
Feeling like a pro DJ yet? In the Fairlight page, you have optimized and adjusted features specifically for multi-channel recording, editing, mixing, and mastering.
Go ahead and explore the various settings and sliders in the DaVinci Resolve Fairlight page. Give them a try and see what they can do!
Final Thoughts About Audio Levels in DaVinci Resolve
In this tutorial, we have briefly introduced how to see audio levels in DaVinci Resolve. We believe that with our guidance, you won't feel overwhelmed by the audio levels on your tracks anymore.
If you're interested in TourBox, the lightweight version called TourBox Lite would be perfect for you as a first-time user. You're guaranteed to enjoy the unique operational experience that TourBox brings to the table.
