How to Use Clone Stamp in Photoshop: Hidden Tips and Tricks
The Clone Stamp tool is the most basic tool in Photoshop, but it's usually only used for repairing and removing unwanted elements to make images look cleaner.
However, that's not the only way to use the Clone Stamp tool —— it's definitely underestimated. In addition to retouching photo flaws, the Clone Stamp tool has other hidden uses that can be integrated into your photo editing workflow.
In this tutorial, we'll share how to use the Clone Stamp tool in Photoshop and reveal the powerful hidden tips that 99% of people don't know about. So let's get started and uncover its amazing potential!

In this article, you will learn:
- How to Use Clone Stamp in Photoshop?
- Hidden Tips for the Clone Stamp Tool in Photoshop
- Frequently Asked Questions About Photoshop Clone Stamp
How to Use Clone Stamp in Photoshop?
The Clone Stamp tool in Photoshop is quite simple to use. Its principle is to clone a portion of an image and replicate it elsewhere.
First, open Photoshop and import an image. In the left toolbar, locate the Clone Stamp tool (shortcut key S). Its icon looks like a stamp, as shown below:
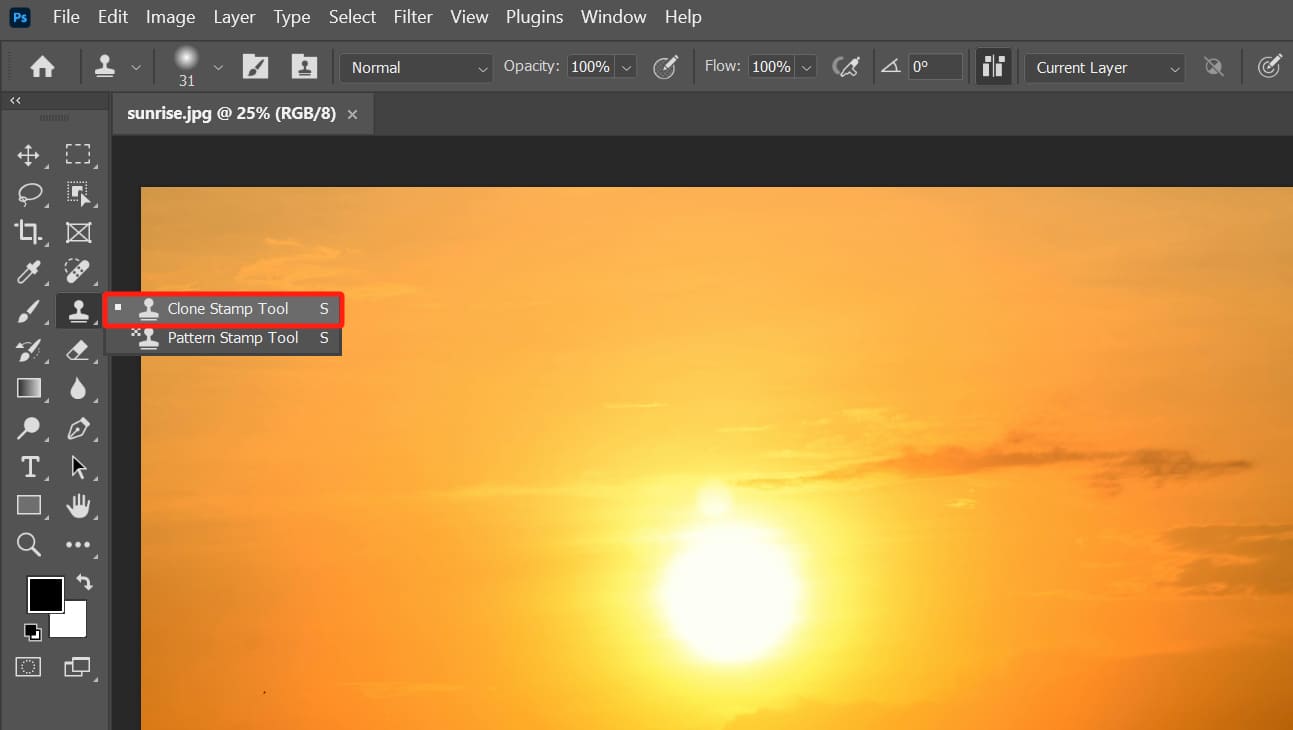
After selecting the Clone Stamp tool, hold down the Alt key (Windows) or Option key (Mac), then click on the area of the image you want to clone. This will set your "source point" (meaning the part of the image you want to clone).
Release the Alt or Option key, then click on the area where you want to paste the cloned content. You will see that the content from the source point is copied to your cursor position. If you keep the left mouse button pressed, Photoshop will continue to clone nearby areas based on the source point.
Additional Tip:
When using the Clone Stamp tool, you can select different source points from various parts of the image.
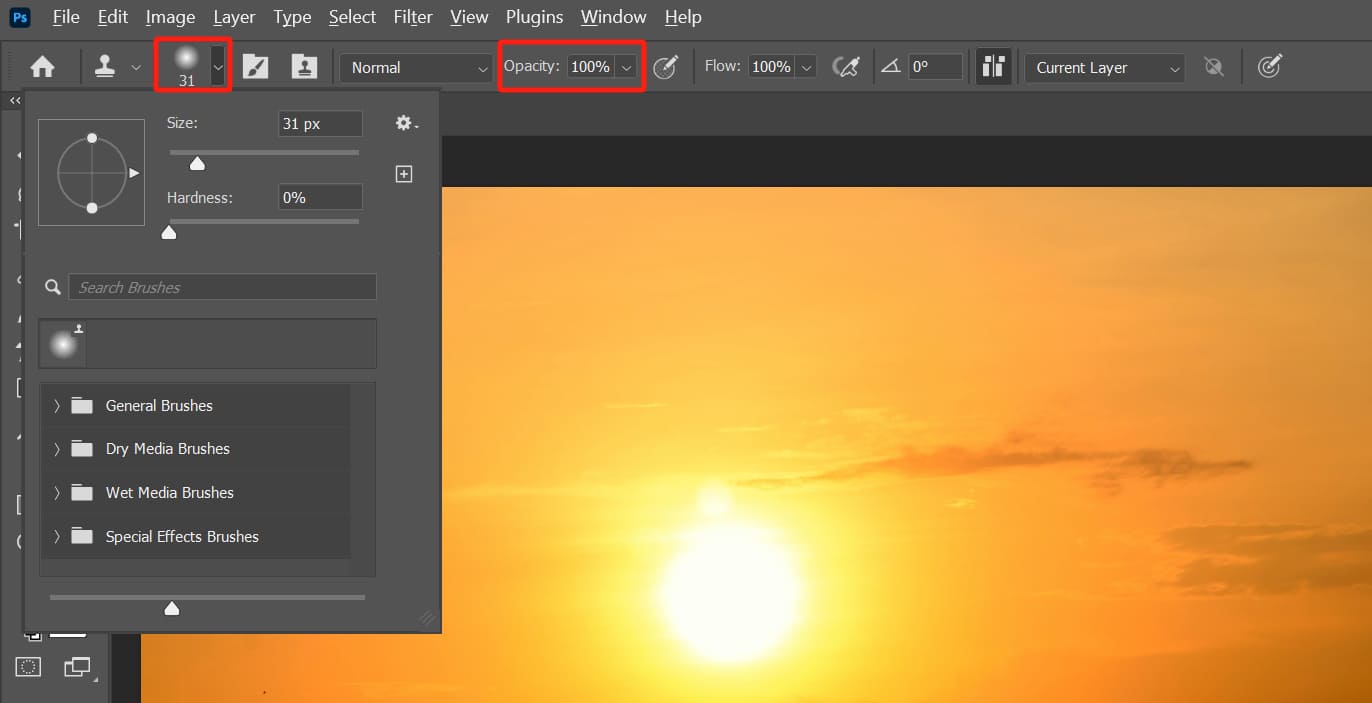
In the Clone Stamp tool options bar, you can adjust settings such as size, hardness, opacity, etc., to achieve the best cloning effect.
The Clone Stamp tool is commonly used to retouch photo flaws, like facial blemishes.
However, the size of the flaws may vary, so you may need to adjust the size of the Clone Stamp tool accordingly. Additionally, you may need to frequently adjust settings such as opacity to achieve a more natural result.
Is there a way to make this process easier and more efficient? We recommend trying TourBox, a creative tool that significantly enhances your efficiency in image editing, video editing, digital drawing, office work, and more.

With TourBox, you can easily access the Clone Stamp tool with a single press, and the TourBox knob allows seamless adjustment of the Clone Stamp tool size and other settings. This process is highly efficient and smooth.
Simply rotate the TourBox knob gently to adjust settings parameters such as size, opacity, hardness, and flow. No need to rely on complicated keyboard shortcuts anymore; now you can achieve precise control effortlessly.
What's even better is that you can control Photoshop operations, such as tool switching, layer management, and parameter adjustments, with just one hand using TourBox. The combination of actions and customizable settings allows for endless possibilities in your workflow.
At first glance, it may seem that the Clone Stamp tool in Photoshop is limited to retouching image flaws. However, as mentioned at the beginning of our tutorial, its functionality goes beyond that.
In the following sections, we will share some hidden tips for using the Clone Stamp tool in Photoshop.
Hidden Tips for the Clone Stamp Tool in Photoshop
1. Clone Stamp Tool + Layer Mask
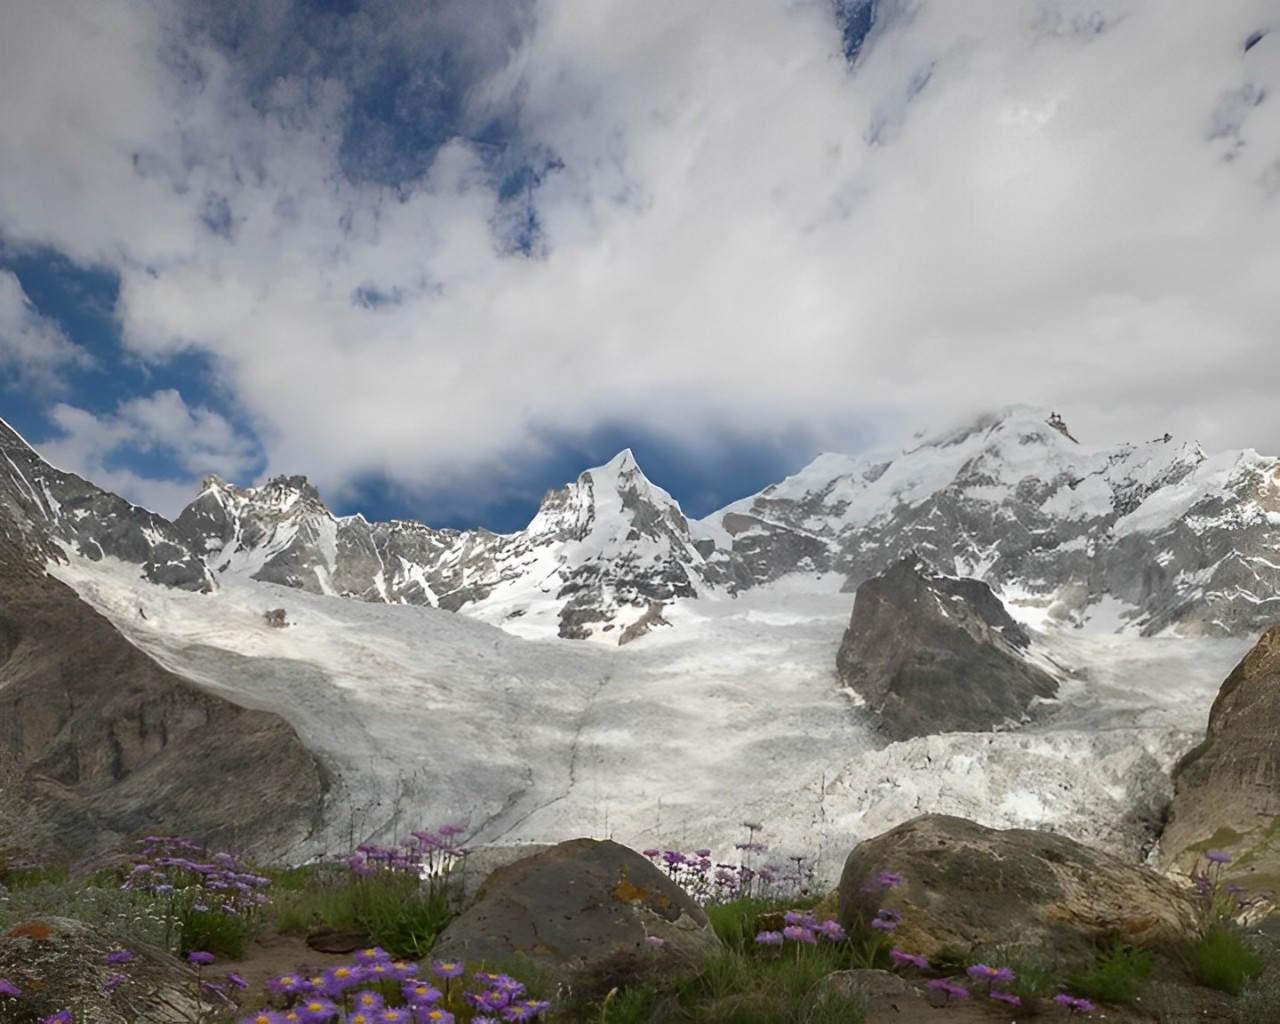
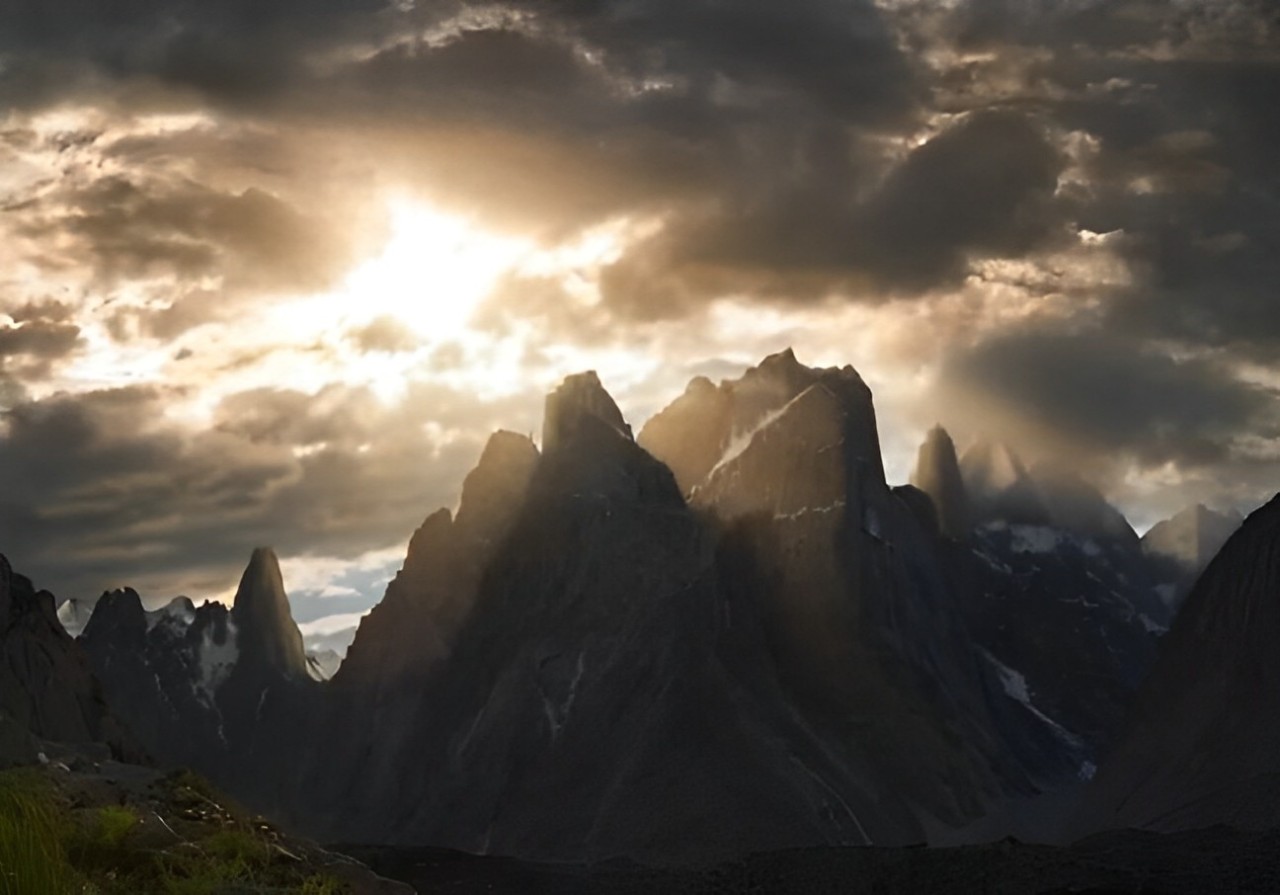
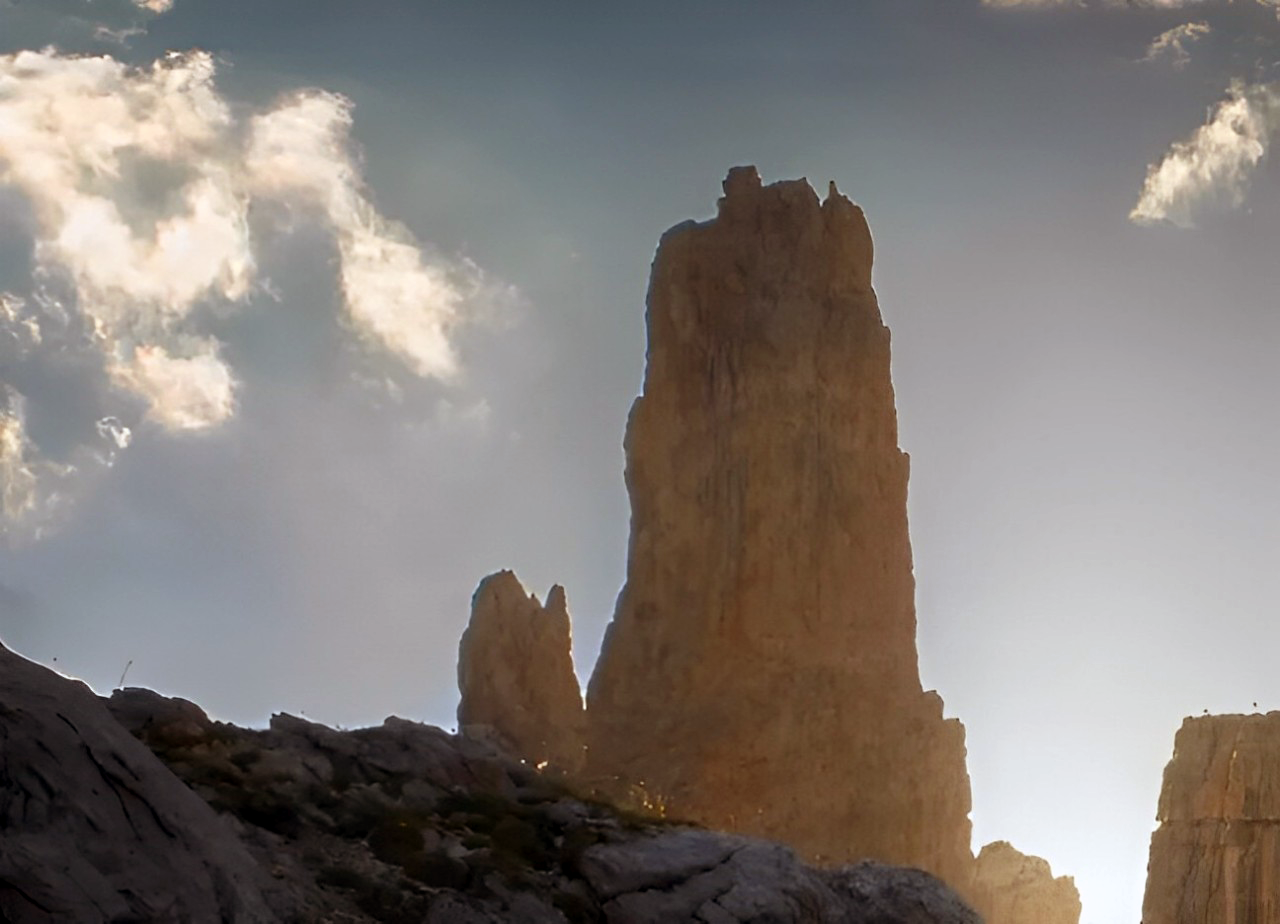
In the example below, we have a photo of a famous snow-capped mountain in Pakistan. However, the mountain blends into the background of white clouds, making it less prominent.
You can use the Clone Stamp tool to separate the main peak of the mountain from the cloud layer, making it stand out more.

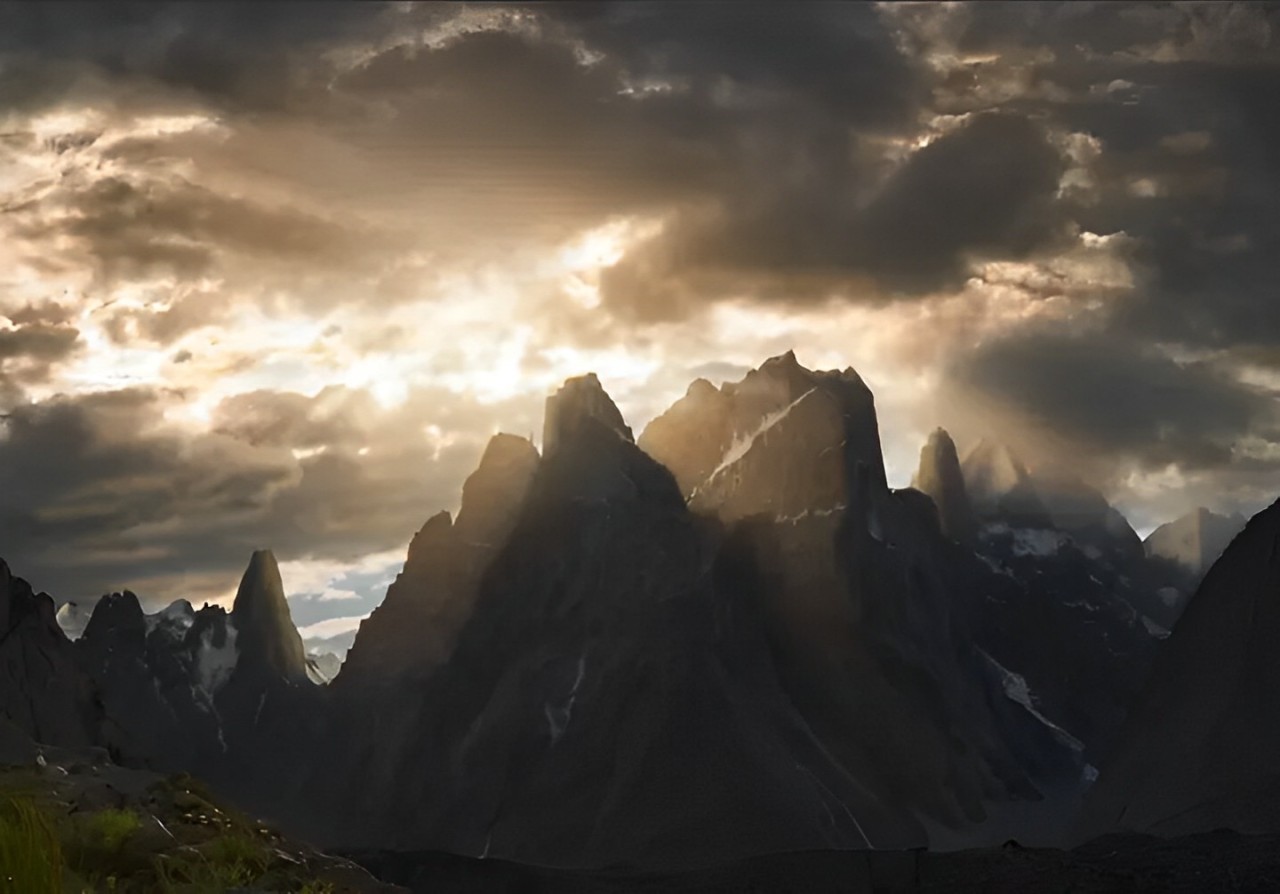
First, duplicate the background layer. Then, select the Clone Stamp tool and sample an area of the sky in the photo.
Next, brush over the area where the mountains and clouds meet. Make sure to sample the blue sky again every few strokes, so the cloned area doesn't look exactly the same as the sampled area.
You don't need to be very precise at this stage. Just cover the entire boundary between the mountain and the clouds.
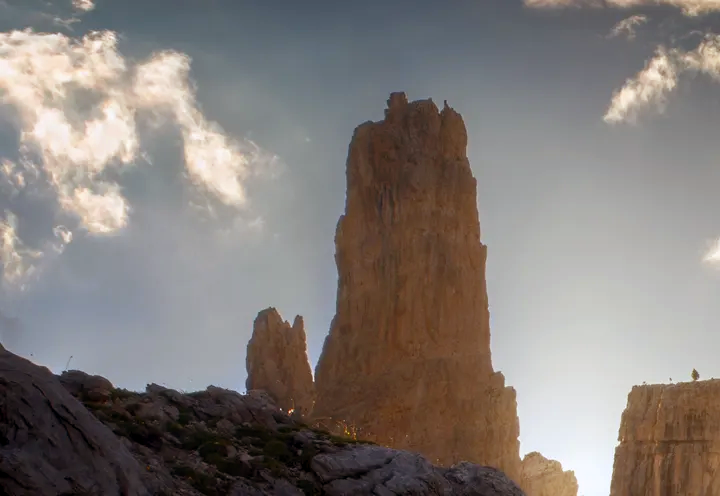
You can then use layer masks to refine the transition between the mountain and the blue sky. Use a white brush (with hardness set to 0) to carefully brush along the boundary of the mountain and the sky. Then, use a soft brush with 20% opacity (with hardness set to 100) to blend the transition between the blue sky and the clouds above, making it look more natural.
Since the Clone Stamp tool can separate the mountain from the cloud layer, it can also put the mountain back into the misty clouds.
For example, in the image below, the mountain peak is surrounded by swirling clouds, but the mist only lingers on the side of the mountain. In this case, you can use the Clone Stamp tool to clone more clouds and enhance the dreamy atmosphere.
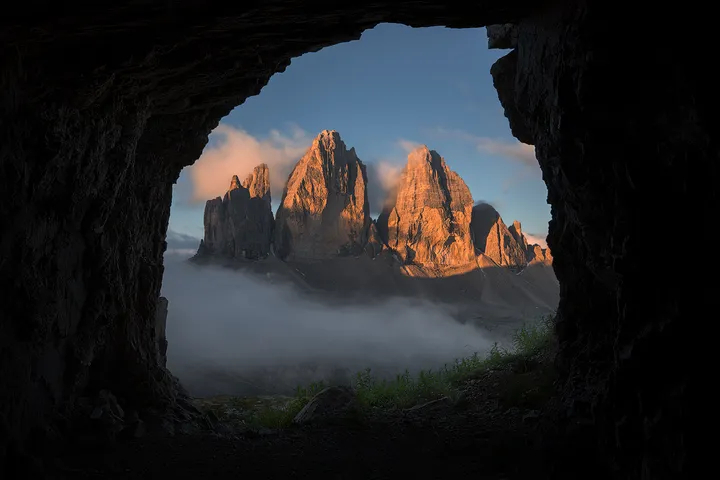
By sampling the cloud area with the Clone Stamp tool and then using a layer mask for simple brushing, you can create the effect of clouds flowing over the mountain peak.

2. Compensating Shadow Details
When shooting scenes with a high dynamic range, such as backlit shots, you often find underexposed shadows that turn completely black during post-processing. Take the photo below as an example, where the shadowed areas of the tree roots are pitch black without any detail.
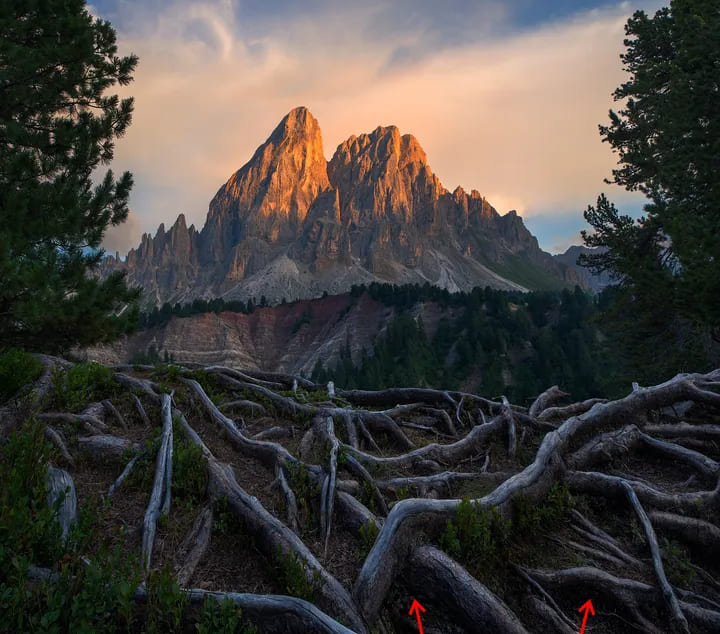
Even if you try to brighten the shadows, there is no detail to be recovered. In such cases, you can use the Clone Stamp tool as a last resort to salvage the situation.
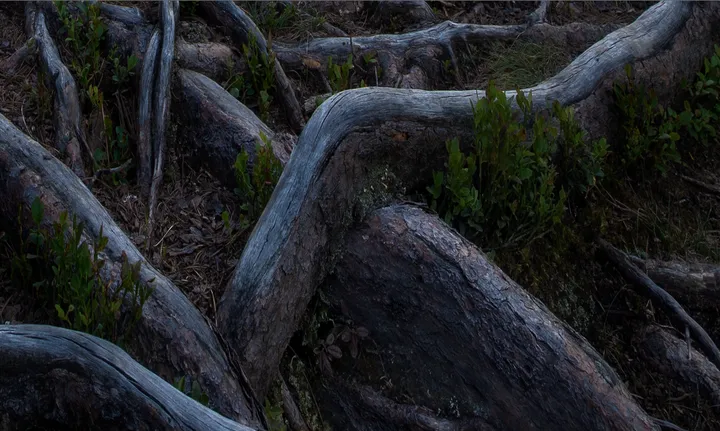
You can adjust the opacity of the Clone Stamp tool to around 20% and sample the brighter parts of the tree roots as your source point. Then, using the Clone Stamp tool, brush over the pure black areas in the shadows. This way, you clone the details into the shadowed regions, giving them a hint of detail.
3. Restoring Highlight Details
Since the Clone Stamp tool can be used to enhance shadow details, it can also help recover blown-out highlights.
The only difference is that when compensating for highlight details, you will set the opacity of the Clone Stamp tool higher, usually between 50% to 100% (compared to 20% for shadow repairs).
For example, in the image below, the highlight areas are overexposed and completely blown out, making it impossible to recover any details. Yes, this is where the Clone Stamp tool comes into play.
Similarly, you can use the Clone Stamp tool to sample the surrounding clouds that still have details and then brush over the blown-out highlight areas. As you can see, the large areas of blown-out highlights are easily repaired.
4. Removing White Edges
Improper post-processing, such as excessive sharpening or poorly handled layer masking, can result in annoying white edges along the contours of objects in an image.
Take the photo below as an example, where the edges of the mountain have noticeable white edges. These white edges are challenging to remove using conventional methods, but they can be easily eliminated using the Clone Stamp tool.
Select the Clone Stamp tool and set the mode to "Darken". Then, you can sample the sky around the border of the white edges and brush along the contours of the edges, allowing the pixels from the sky to cover the white edges.

Since you've chosen the "Darken" mode, it will only affect the brighter white edges and not the darker mountain. This ensures that even if you brush hastily, the result will still be precise enough.
Frequently Asked Questions About Photoshop Clone Stamp
Question: How to Change the Size of the Clone Stamp Tool?
You can find the size slider in the options bar and adjust it to change the size of the Clone Stamp tool. You can also use TourBox, a one-handed controller, to easily adjust the size of the Clone Stamp tool.
Question: How to Select a New Cloning Source?
Simply hold down the Alt key and click on the area of the image that you want to use as the new cloning source.
Question: How to Undo a Cloned Area?
You can use the History panel to undo the cloning. Just go to Window > History and choose the history state you want to revert to.
Question: How to Ensure That the Cloned Area Matches the Surrounding Colors?
You can try reducing the opacity of the Clone Stamp tool so that the cloned area blends more naturally with the background.
Question: How to Clear the Cloning Source?
Currently, there is no direct way to clear the cloning source in Photoshop. However, you can "overwrite" the old cloning source by selecting a new cloning source.
Product Recommendation:
If you are interested in TourBox but haven't had the chance to try it yet, you might want to consider the latest product, TourBox Lite. It has a lower price and is easier to get started with, making it a reliable companion for your creative journey.

That concludes our tutorial on the Clone Stamp tool in Photoshop. Thank you for watching, and we hope it has been helpful to you.