How to Use HSL Qualifier in DaVinci Resolve?
In DaVinci Resolve, secondary color grading is the key to improving an image's look. The HSL qualifier is the go-to tool for precise color control in that step. Many beginners hit the same problem: they try to change one element (like skin or a subject), but end up shifting the whole image's color. The picture becomes messy and loses its focus.
If you learn how to use the HSL qualifier, that problem goes away. It works like a precision filter. You can isolate the part you want by Hue, Saturation, and Luminance. Then you can tweak that element without touching the background or ruining the overall tone. Even beginners can pick it up quickly.
In this tutorial, we'll walk through how to use the HSL qualifier in DaVinci Resolve from a few angles. Whether you're new to Resolve or trying to get more precise with color, you'll be able to use it after reading. Let's get started.

In this article, you will learn:
- What Is the HSL Qualifier?
- How to Use HSL Qualifier in DaVinci Resolve?
- 3 Common Mistakes Beginners Should Avoid
- Concliusion
What Is the HSL Qualifier?
Before you try it, let's make clear what the HSL qualifier does.
HSL stands for Hue, Saturation, and Luminance. These three things describe every color in an image.
Further Reading:
An Ultimate Guide to Understanding Hue & Saturation & Luminance
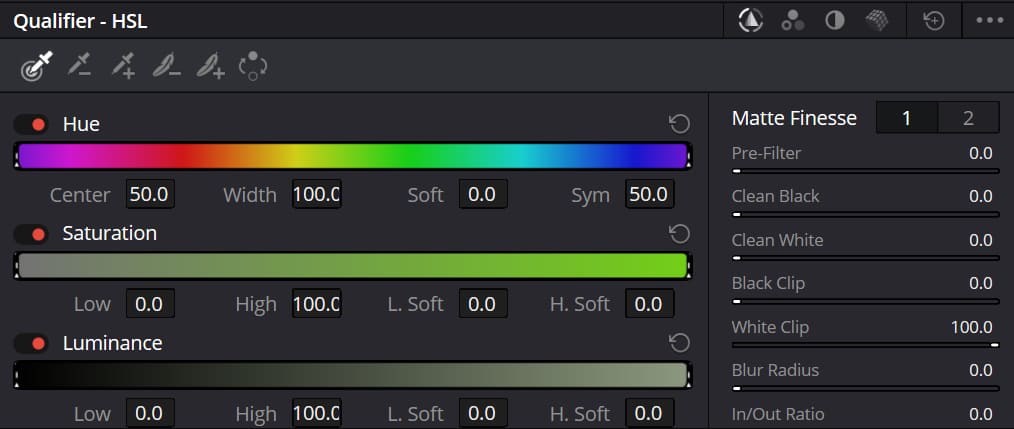
In DaVinci Resolve, the HSL qualifier works by sampling a color and then tweaking settings. You pick a color (or a group of colors). Then you adjust the H, S, and L ranges to lock that color down. That creates a mask that isolates those pixels from the rest of the image.
After that, any color work you do only affects the masked area. The background and other parts stay the same. Put simply, it's like a precise filter for the image. You don't use it to hide things. You use it to edit one part on its own. For example:
- Brighten just the skin.
- Change only the red flowers.
- Lower the background saturation without touching the subject.
One rookie mistake to avoid: the HSL qualifier is not for global changes. It is a tool for local, isolated edits. Its power is precision, not full-image shifts.
How to Use HSL Qualifier in DaVinci Resolve?
Let's start with two common uses.
Scene 1: Skin Touch-Ups
Skin work is needed a lot — in portraits, short videos, and movies. Often skin looks yellow, gray, or flat because of mixed lights (warm lights, cool lights, color reflections). The HSL qualifier can fix this fast.
Steps:
1. Go to the Color page. In the Nodes panel, add a new serial node (shortcut: Alt/Opt + S). This keeps the original grade safe.
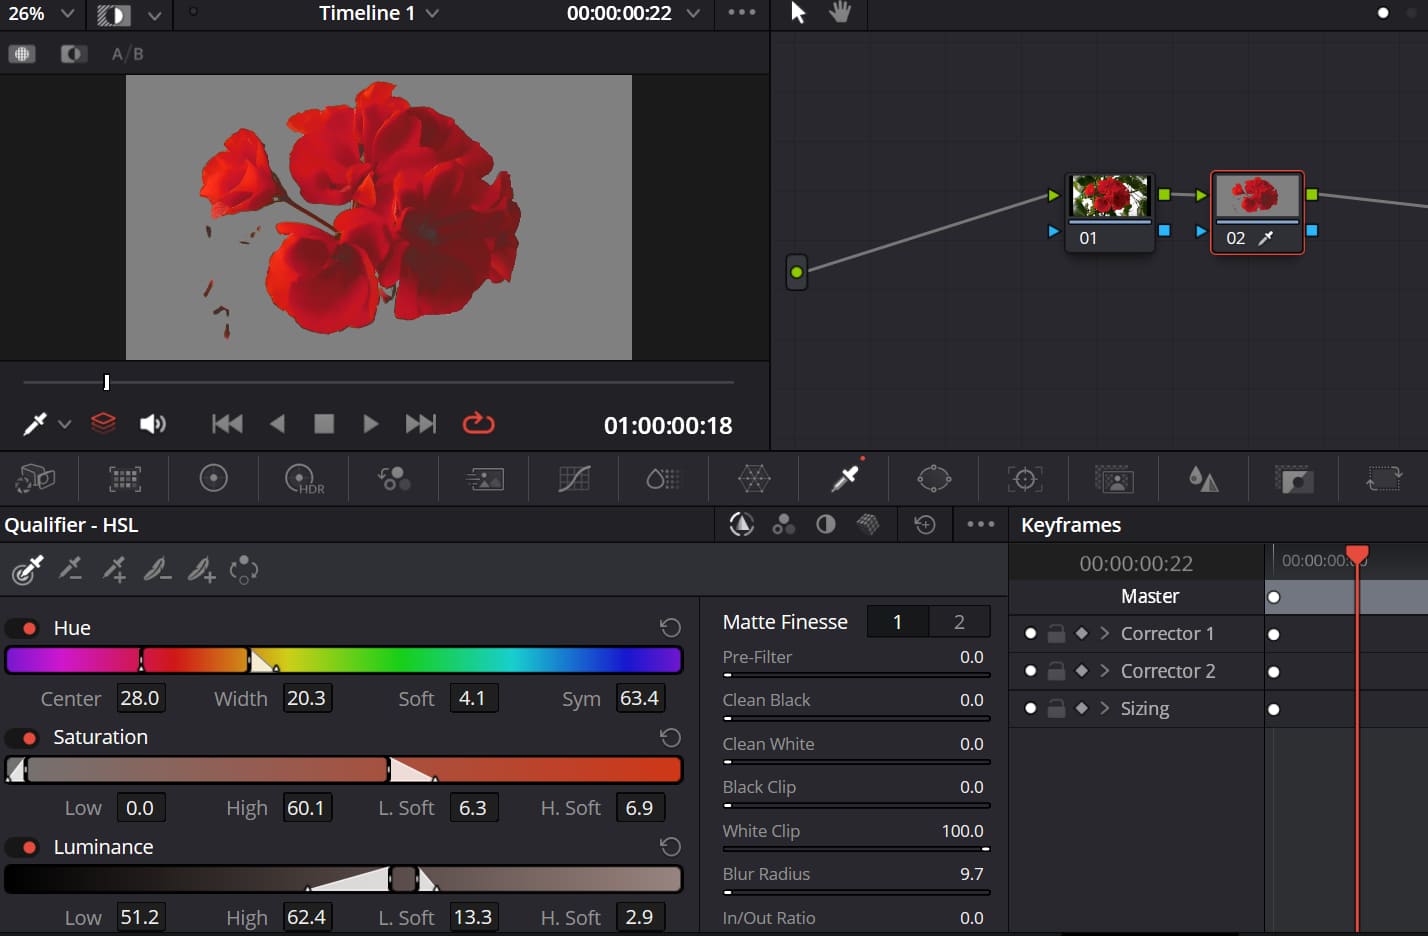
2. Select that node. In the Qualifier panel, use the Picker tool to sample a healthy skin area on the subject (cheek or forehead). You will see a mask preview (red by default).
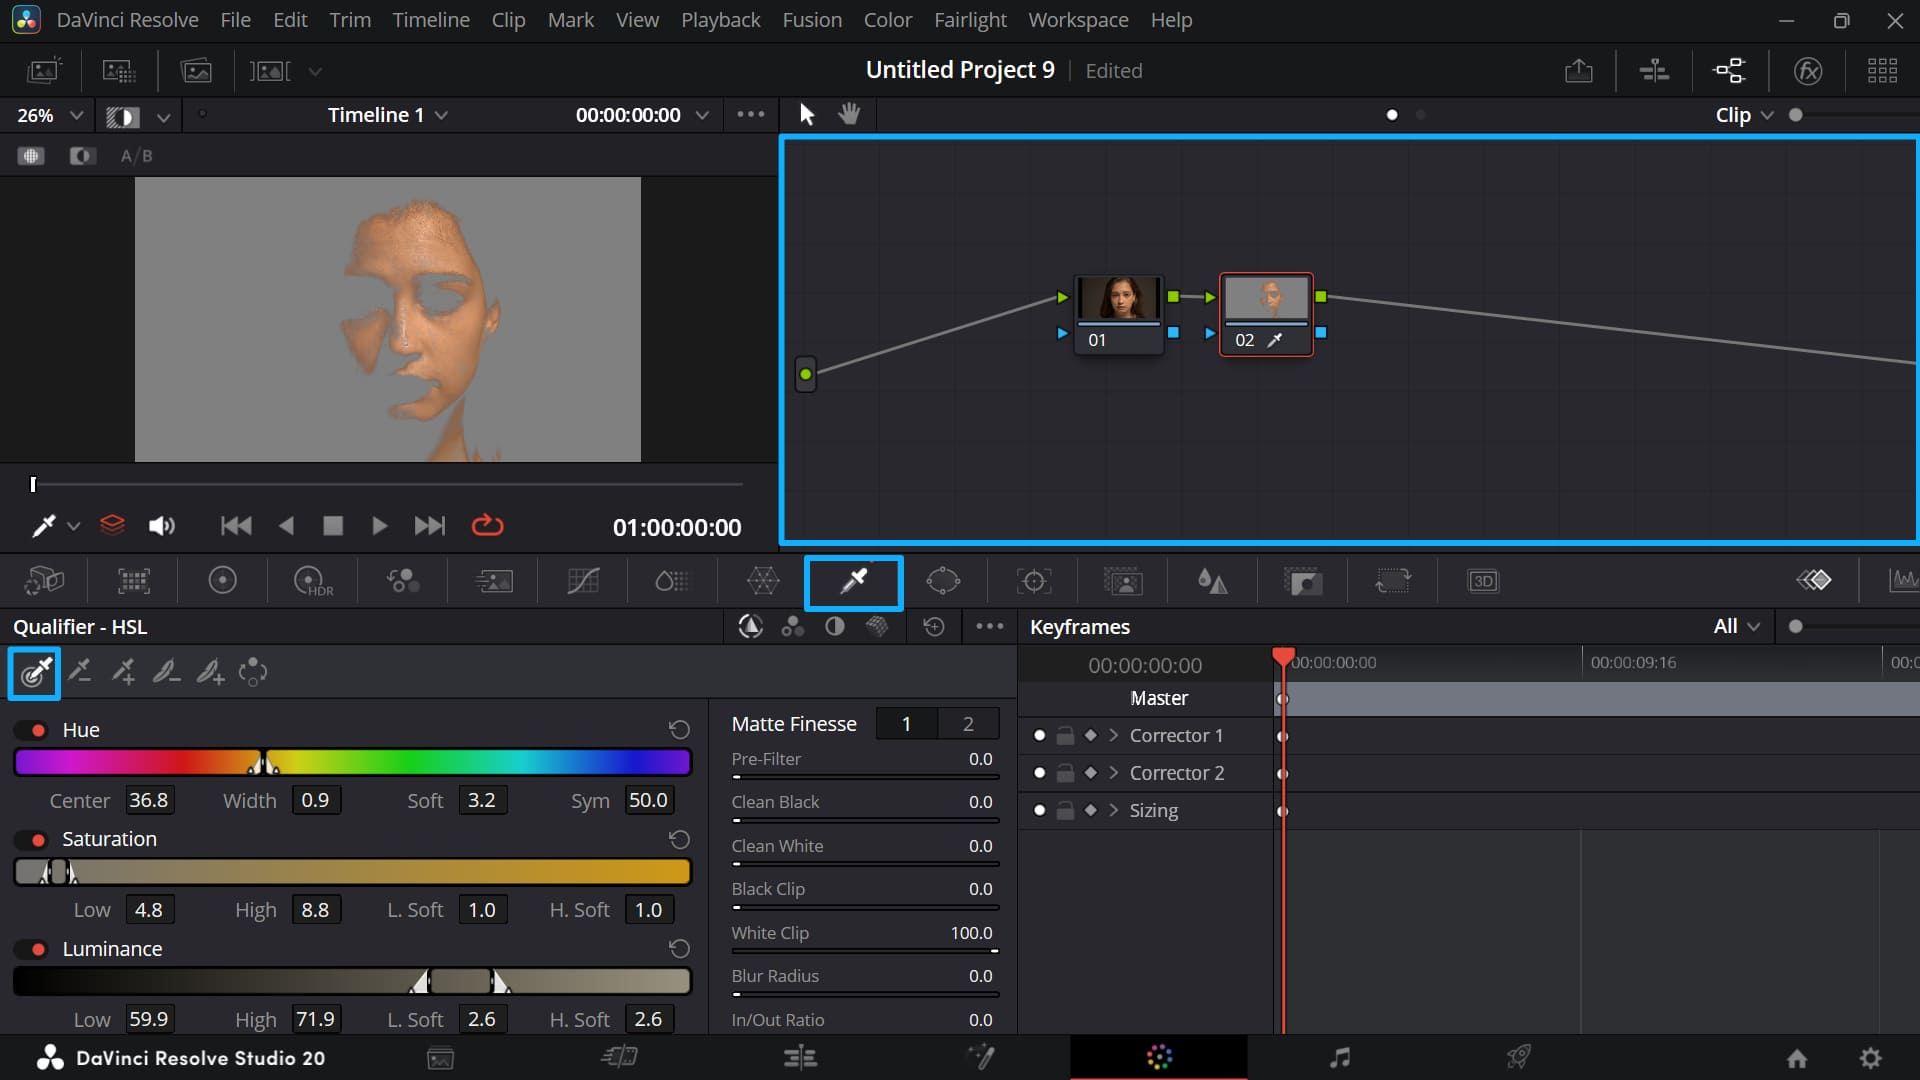
3.Move the Hue slider to fine-tune the selection. Make sure you only pick skin, not similar colors in the background (for example, yellow objects). Move the Saturation slider to shrink the range and drop colors with similar saturation. Then move the Luminance slider to cut out very bright or very dark areas. This makes the mask cleaner.
4. Soften the edges. Increase the Blur Radius. This avoids a hard cutout and makes edits look natural.
It's okay if you don't know exactly what a setting does when you're tweaking color values. Changes show up live in the viewer, so you can nudge a control and watch what happens until it looks right.
The problem is that dragging sliders with a mouse isn't precise. You can't easily make tiny changes like +1 or −1. With TourBox, turning a knob lets you make those fine tweaks. You'll find that for editing and color grading in DaVinci Resolve, TourBox makes the workflow more intuitive and faster.

If you're interested, click our DaVinci Resolve page to learn more.
5. With the mask set, raise exposure, add texture, or correct color cast (for example, cool a yellow skin tone). The background stays untouched.
Tip: Sample mid-tones on the skin. Don’t sample highlights (like shiny foreheads) or deep shadows (like under the jaw). Those can make the mask inaccurate.
Scene 2: Color Replacement
Besides basic skin fixes, the HSL qualifier is great for creative color swaps.
For example, you can change a blue sky to pink, turn green leaves yellow, or recolor a product or a flower. The qualifier lets you swap colors cleanly. Edges stay good, and you won't get weird color fringing.
Steps:
1. Add a new serial node. Open the HSL qualifier and use the Picker to sample the color you want to change (for example, a red flower).
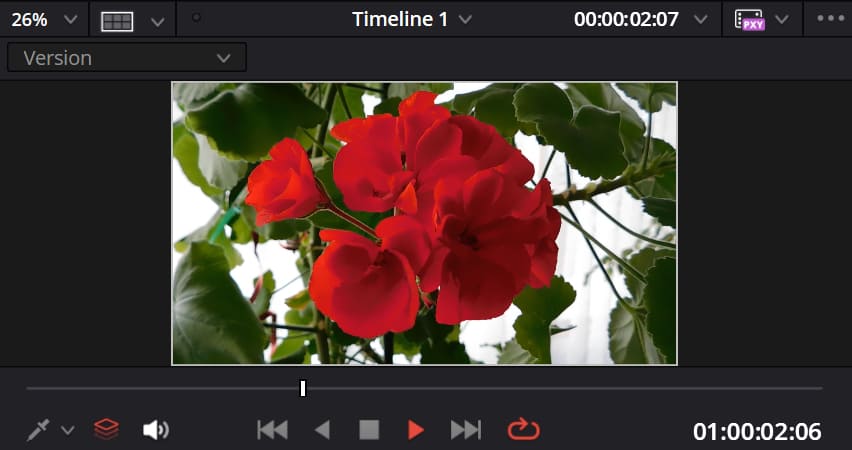
2. Drag the HSL sliders to set the selection range. Make sure you only select the target — not too little, not too much. In our case, the target is the red flower in the shot.
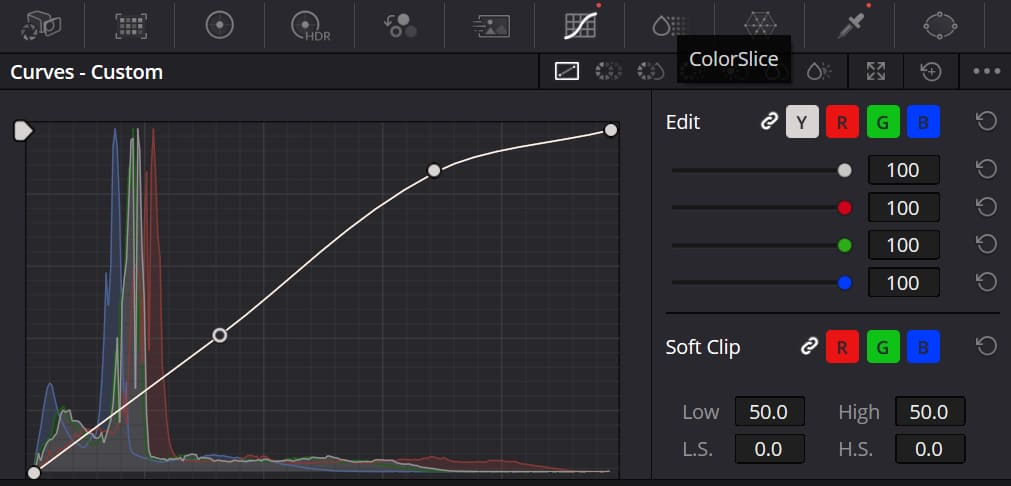
3. Switch to the Color Wheels. Move the wheel or the hue control to shift the sampled color to the new color (for example, red → orange, blue → purple).
4. Adjust the new color's saturation and luminance so it fits the rest of the shot. Make sure it doesn't look out of place.
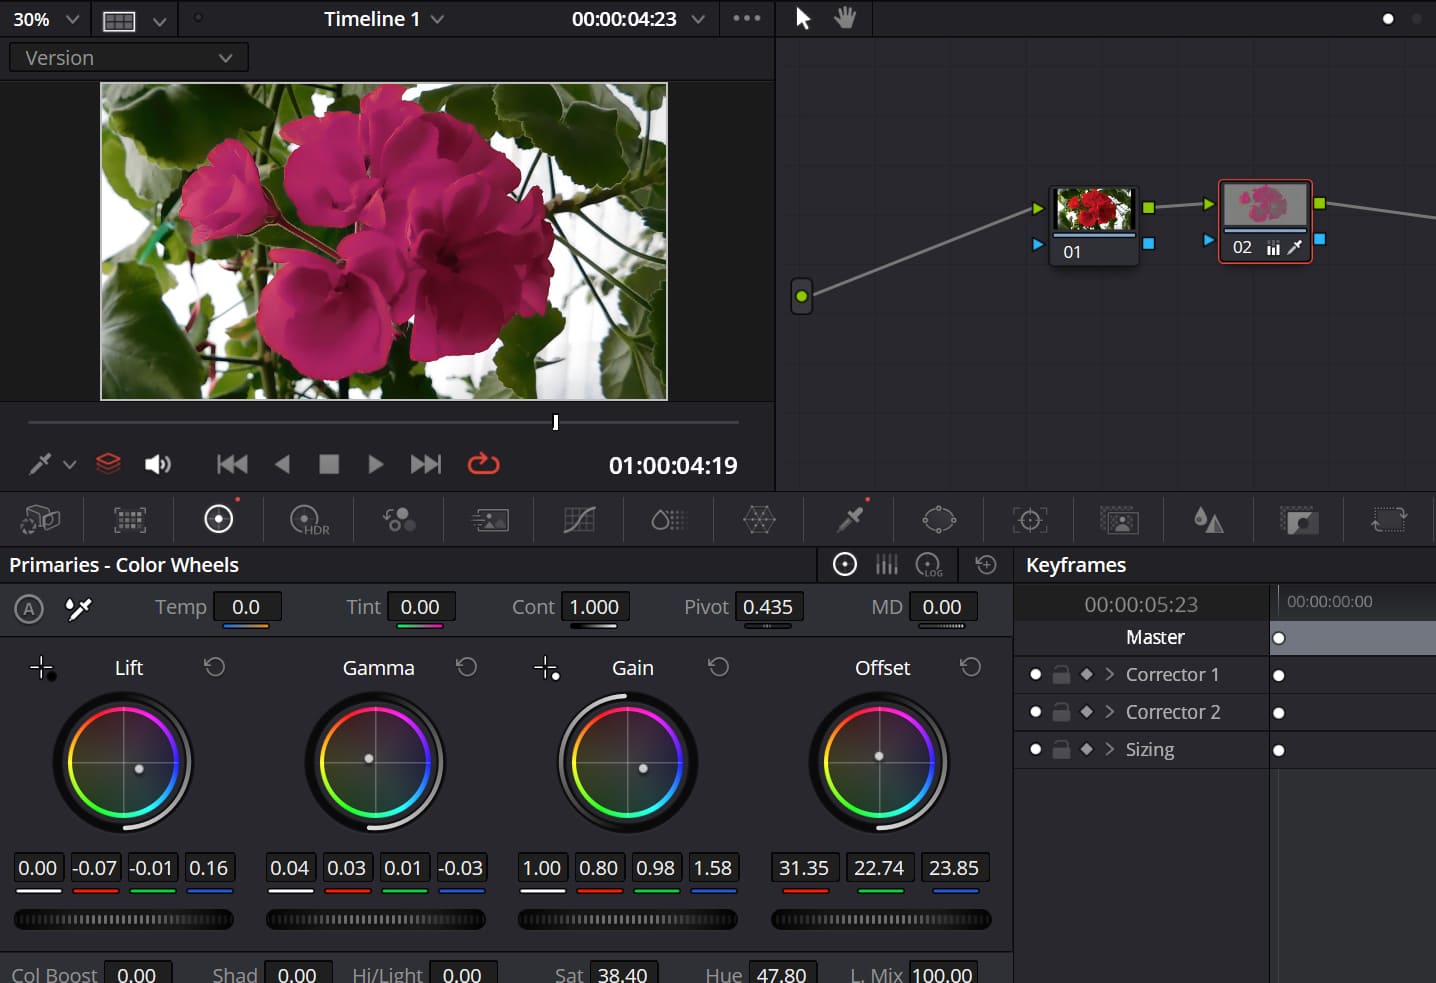
Why this works: the HSL qualifier isolates the object first. That means the background won't change. Edges are cleaner than many other masking methods. It's fast and natural-looking, so even beginners can make creative color changes with ease.
3 Common Mistakes Beginners Should Avoid
1. Skipping Slider Cleanup After Sampling
Many beginners sample a color and then start grading right away. That often changes the background by mistake. Always use the Hue, Saturation, and Luminance sliders to tighten the mask and remove stray colors. Make the selection precise before you grade.
2. Setting the Blur/Softness Wrong
If the blur (softness) is too small, the mask edge looks hard and cut-out. If it's too big, the mask grows and pulls in the background areas. A good starting point is around 1–3. Tweak it to match the shot.
3. Pushing Adjustments Too Far
Whether you're fixing skin, swapping colors, or making the subject pop, don't overdo it. Too much brightening, extreme color shifts, or heavy background desaturation will look fake. Aim for subtle changes so the shot still feels natural.
Conclusion
The core of the HSL qualifier is "isolate + precise adjust." Whether you're fixing skin, swapping colors, or making a subject stand out, learn these four steps — sample → lock → soften → grade — and you can use it easily.

It doesn't need fancy tricks, but it does speed up grading and improve image quality a lot. The HSL qualifier is a must-learn secondary grading tool in DaVinci Resolve for beginners. Open Resolve now, pick a clip, try it a few times, and you'll get the hang of it fast.