[TourBox Tips] Quick Clip Speed Adjustments in Premiere Pro
Premiere Pro doesn't have a shortcut to directly change the clip speed to a specific rate. You need to first press the keyboard shortcut ("Ctrl + R" or "Cmd + R") to bring up the "Clip Speed/Duration" panel and then enter the desired value for the transformation.
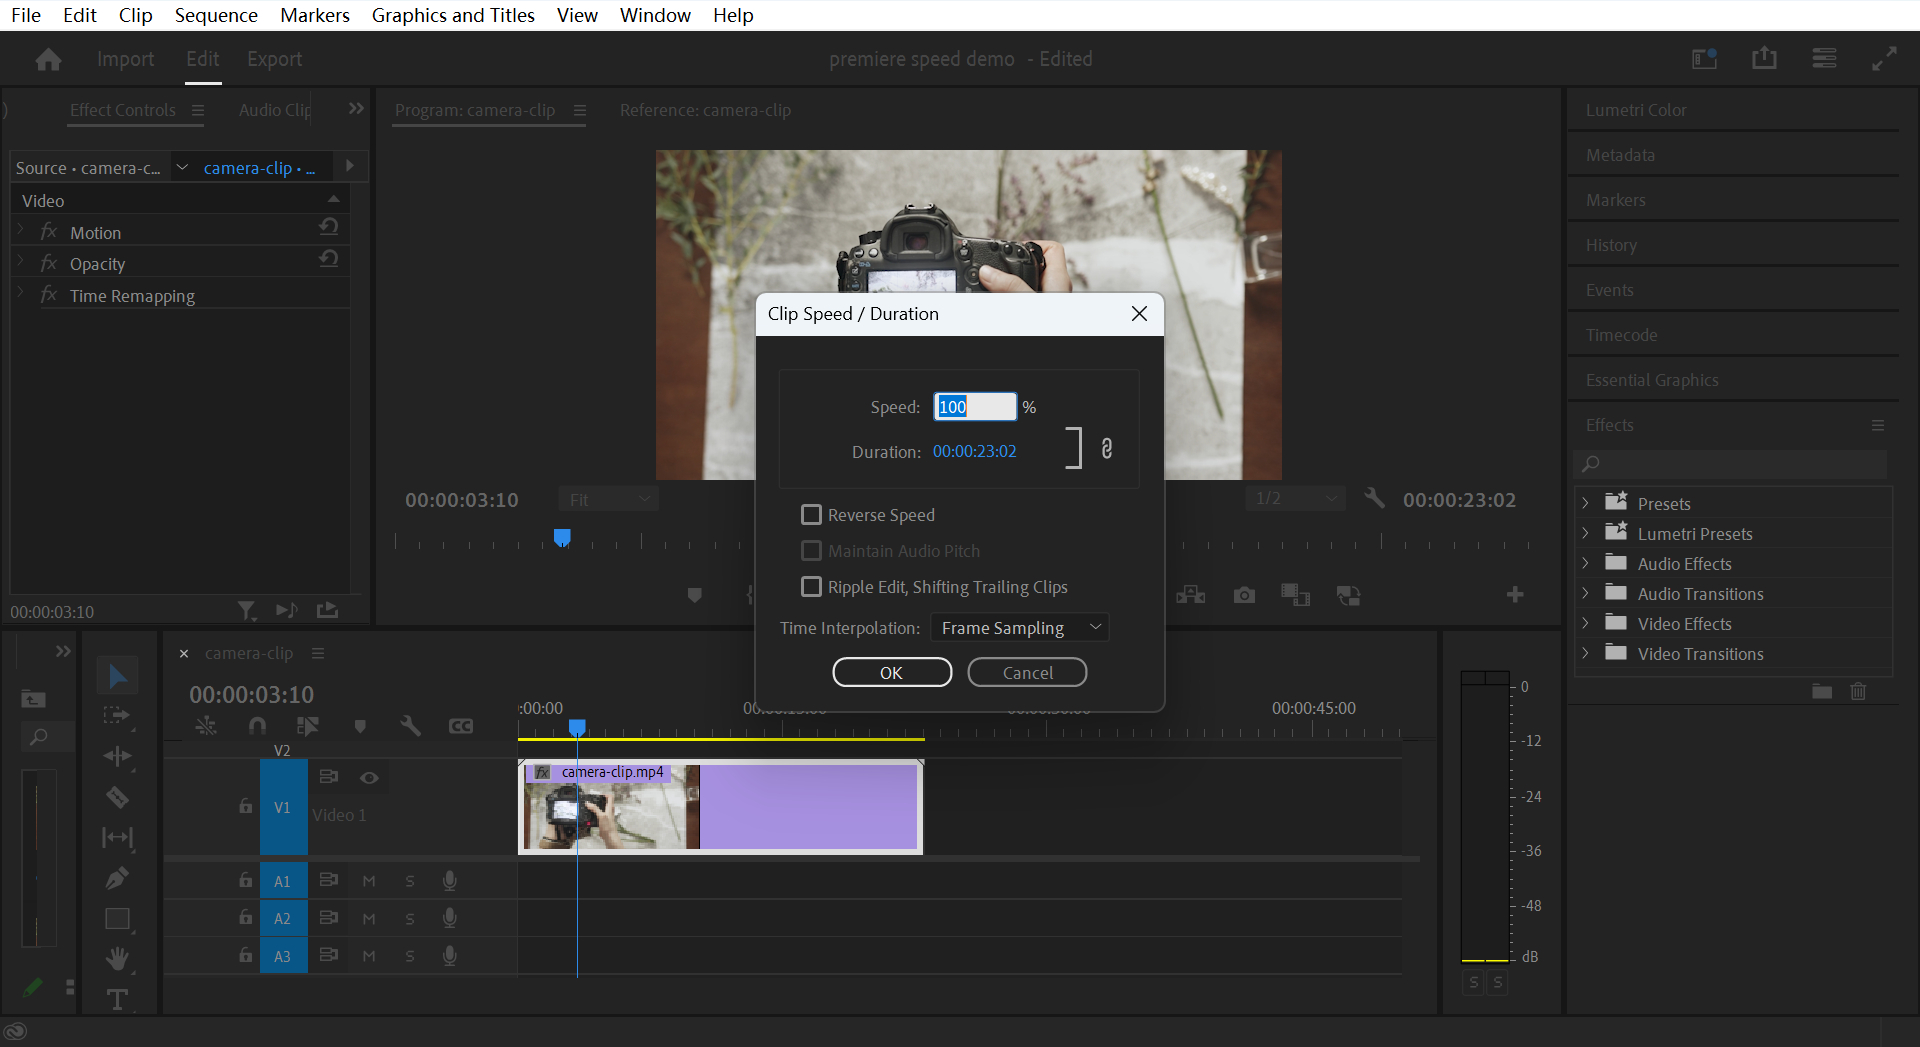
However, with TourBox's macro function, you can easily achieve common speed changes like 200%, 50%, or 25% with just one click, eliminating the hassle of manual input!
So, how do you use TourBox to change the speed with just one click in Premiere Pro?
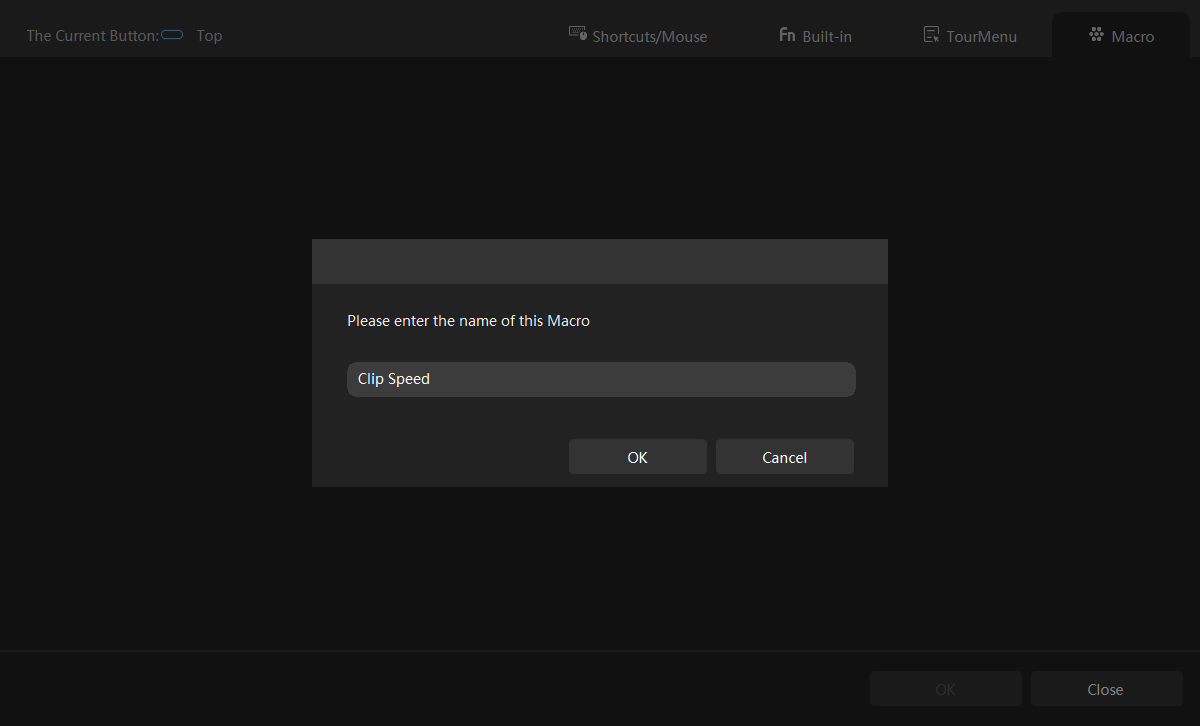
First, you need to create a macro for a button you like on TourBox.
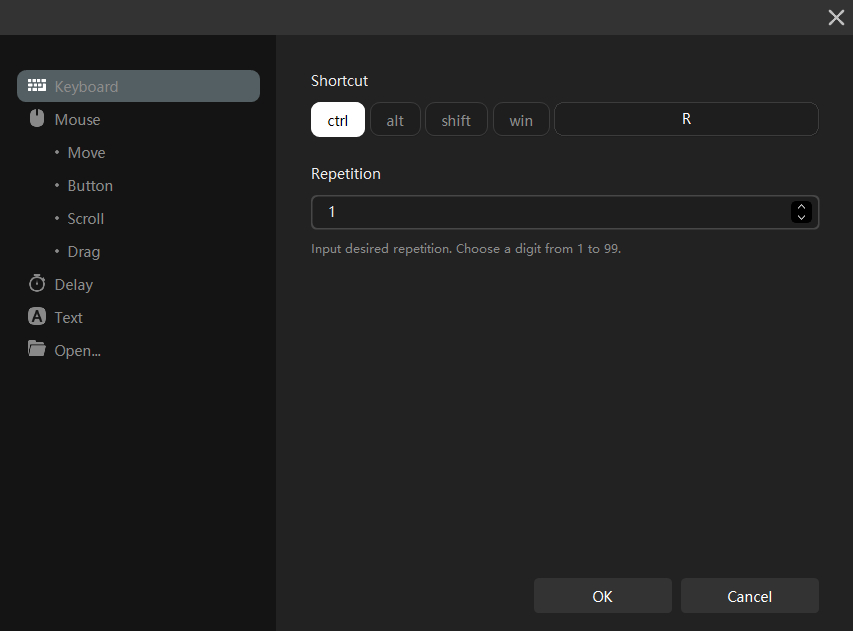
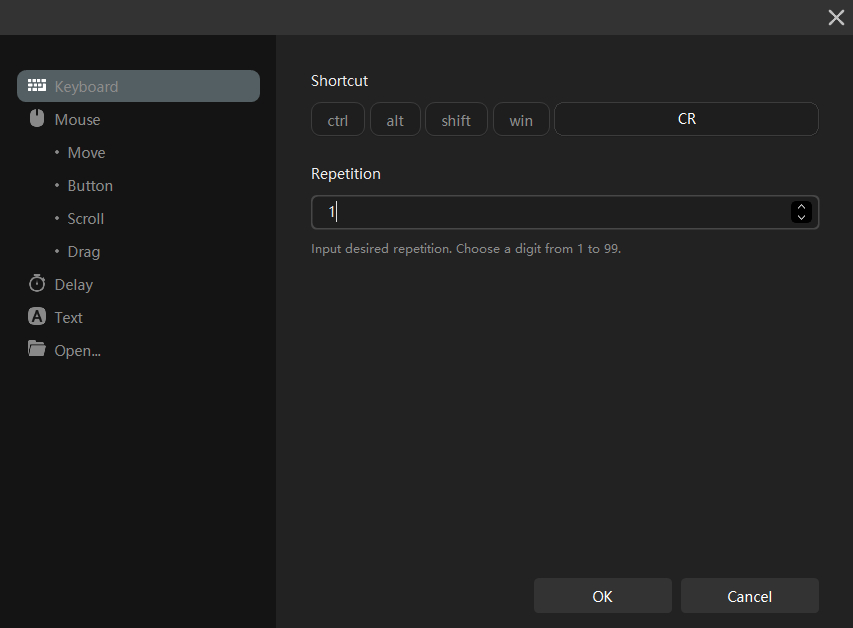
Within the macro, start by creating a Keyboard shortcut and input "Ctrl+R" or "Cmd+R".
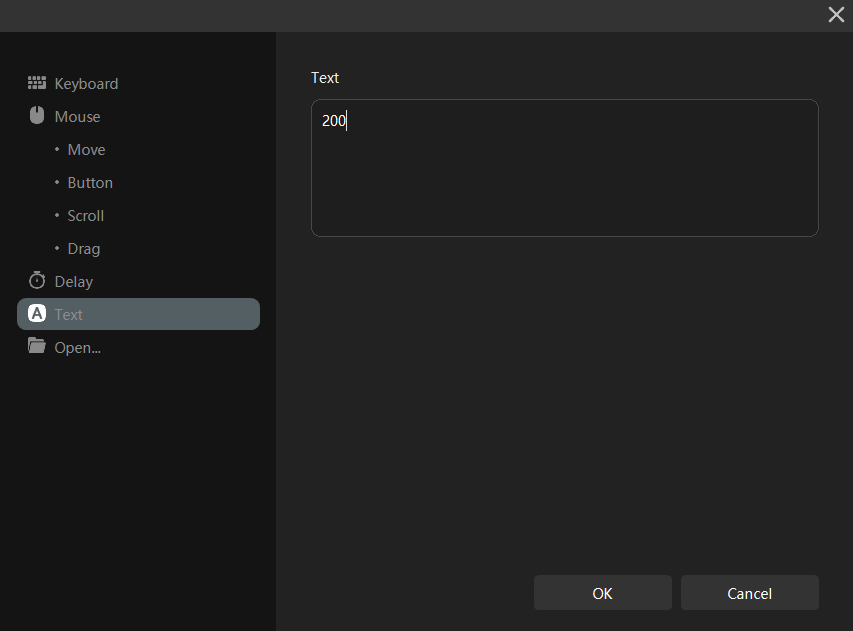
Then click on the Text option and enter 200 (or any commonly used speed value that you can modify at any time).
Next, create a Keyboard shortcut for "Enter" to confirm the settings.
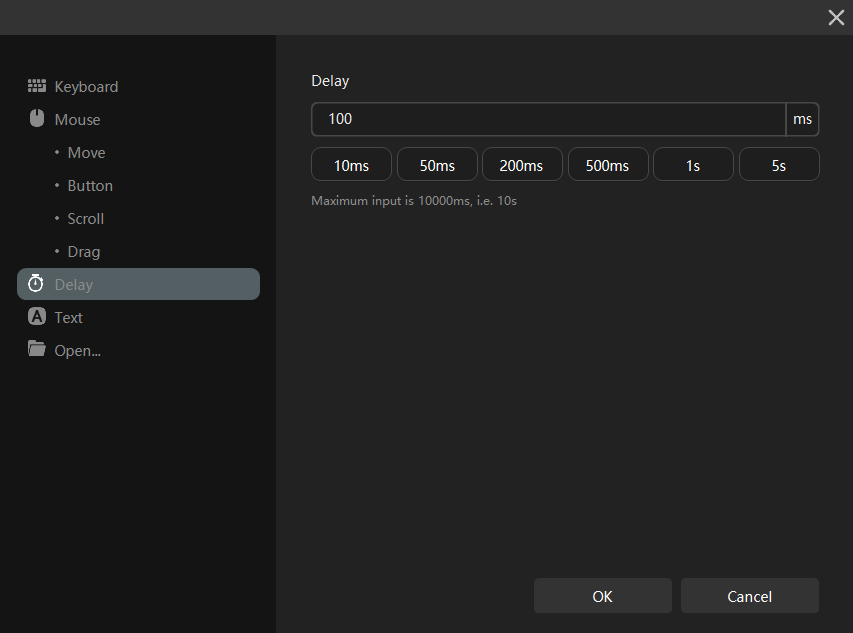
Lastly, don't forget to insert a 100ms delay between each action.
The complete macro action settings are shown in the following image.
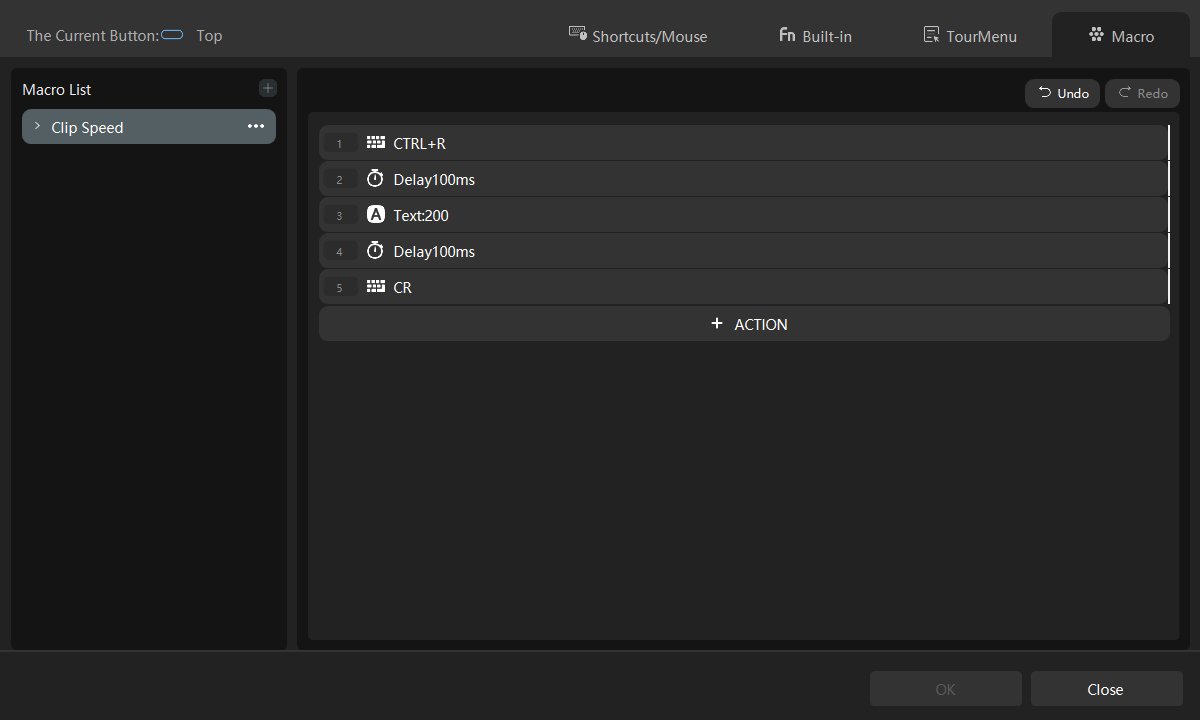
Now you can go back to Premiere Pro, select the clip, press the assigned key, and the video will instantly change to 2x speed. Similarly, you can set it to any other desired speed at any time.
Feel free to watch the detailed step-by-step video below to better understand how TourBox macros make complex operations a breeze.