TourBox Console 5.5 New Feature | Effect Controls for Premiere Pro
TourBox Console version 5.5.0 now supports Adobe Premiere Pro Effect Controls.
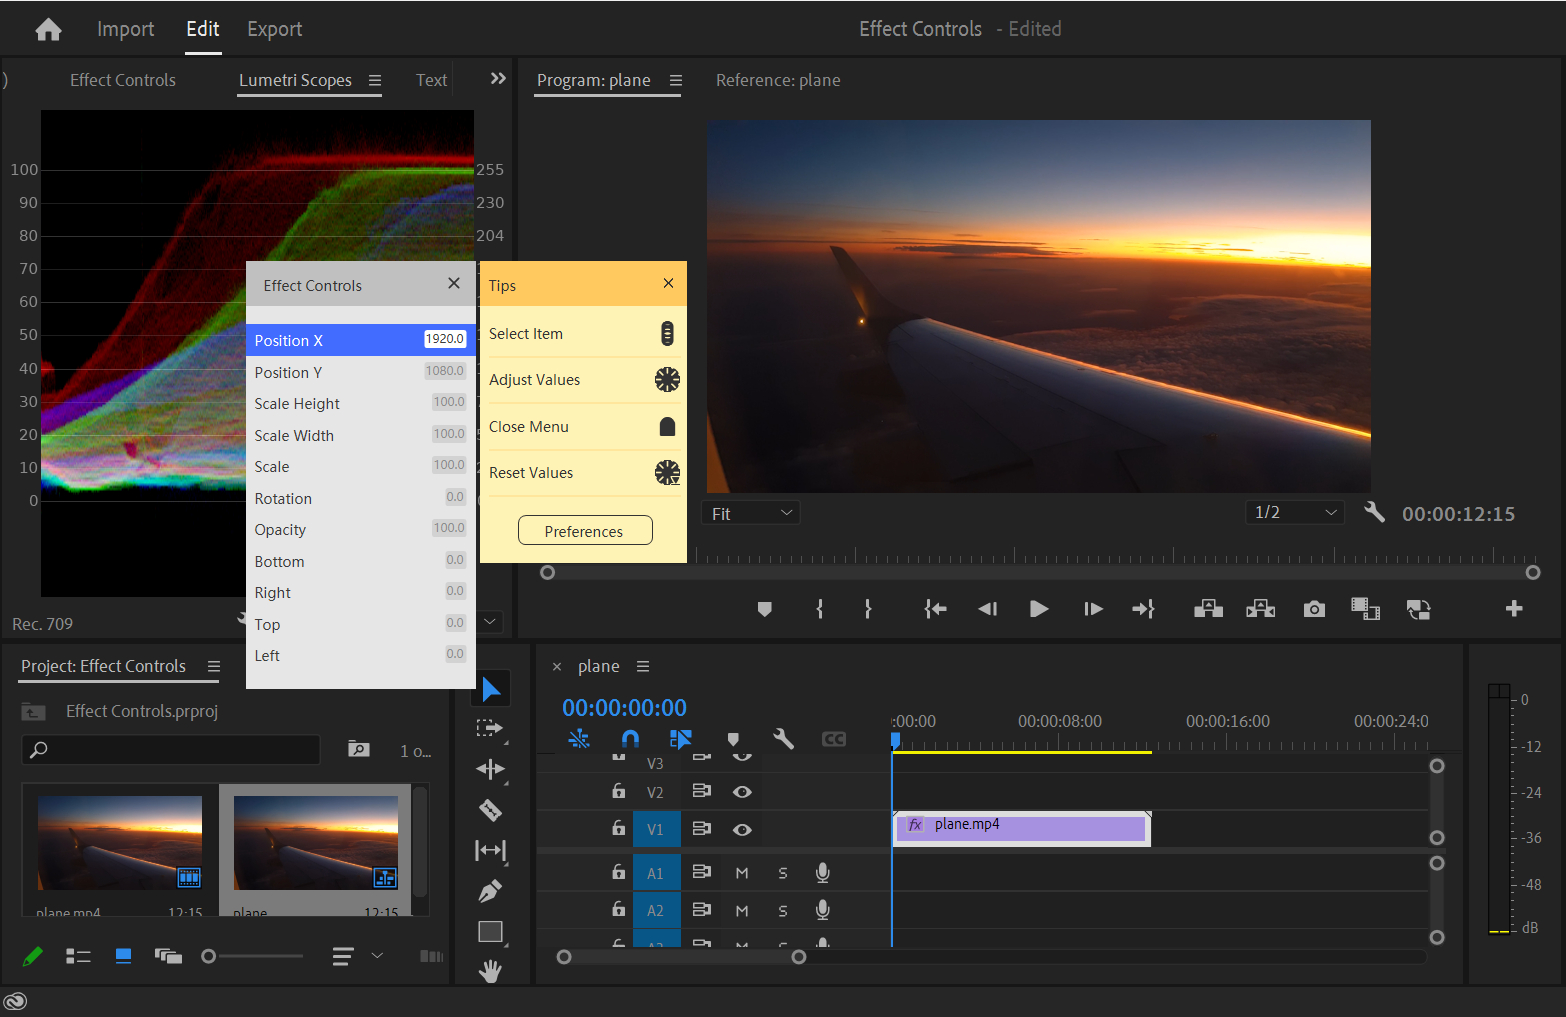
With this update, you can easily control the position, scale, rotation, anchor point, crop, opacity, and other Effect parameters in Premiere Pro using just one hand on TourBox.
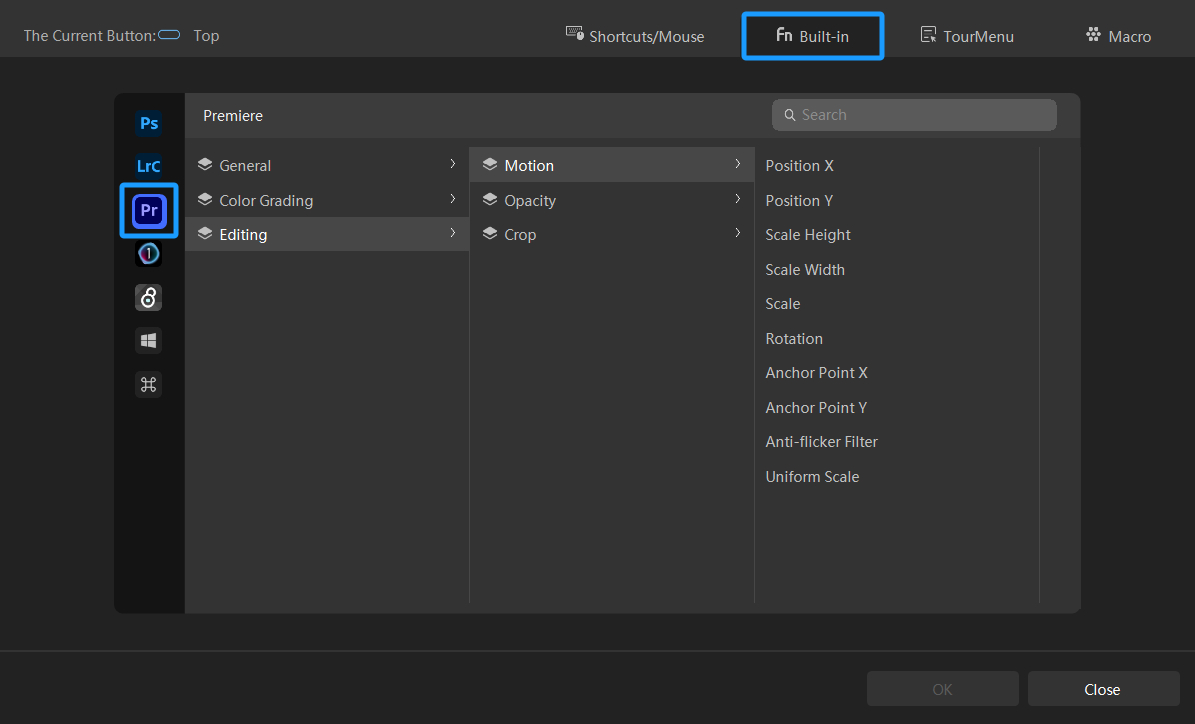
Setting it up is a breeze. Simply click on any button in the TourBox Console to enter the settings page, switch to the "Built-in" tab, and select the Premiere Pro logo from the application list on the left.
Next, click on "Editing," and you'll see three dropdown menus: Motion, Opacity, and Crop, which contain various parameters for Premiere Pro Effect Controls.
Of course, the best practice is to gather these Effect Controls in a TourMenu.
This way, when you're working in Premiere Pro, you can simply press a button on TourBox to quickly bring up the menu that contains all the Effect Controls. This makes it effortless to adjust the parameters with ease.
Setting up a TourMenu is also straightforward. Select a button on TourBox, enter the settings page, switch to the TourMenu, and create a new one.
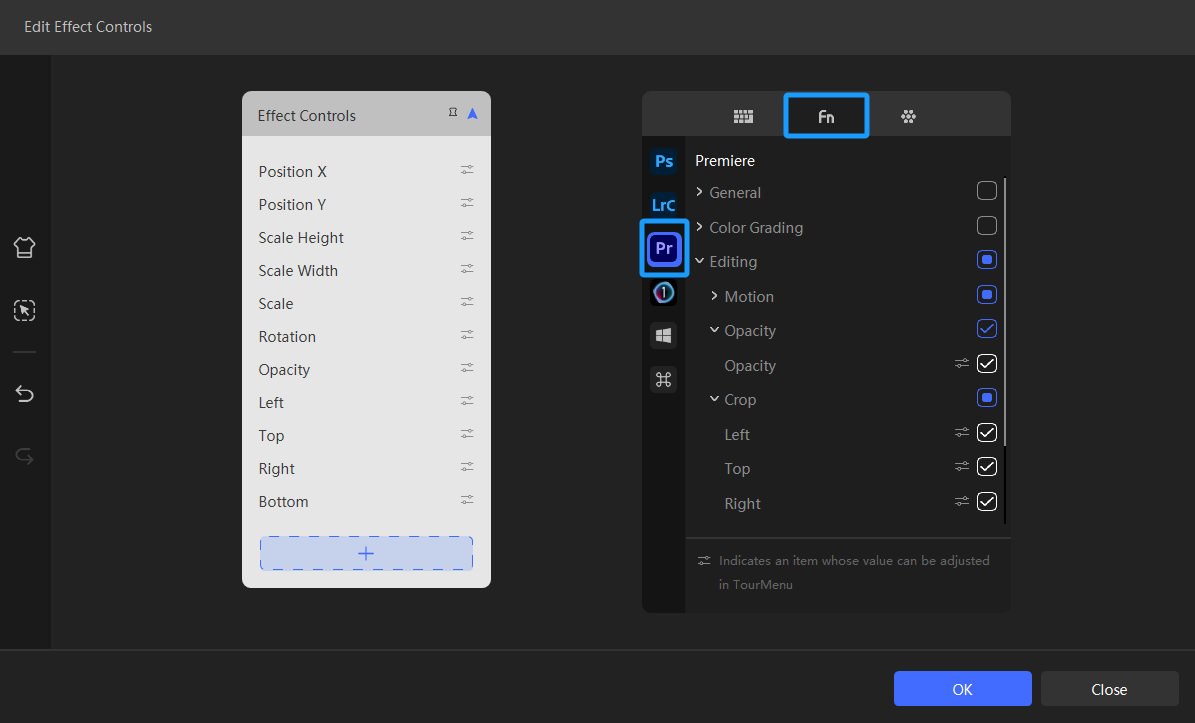
In the TourMenu settings page, switch to the "Built-in Functions" tab, choose Premiere Pro, and select multiple Effect Controls you frequently use under the "Editing" dropdown menu. These controls will be added to the TourMenu.
Back in Premiere Pro, you can summon the TourMenu and use the Scroll control to select the Effect Controls parameter you want to adjust. Use the Dial control to fine-tune the parameter value.
This process of adjusting effect control parameters is efficient and intuitive. Give it a try and experience the convenience for yourself!