[TourBox Tips] How to Switch DaVinci Resolve Pages?
DaVinci Resolve is a powerful post-production software that organizes and provides various specialized workspaces and toolsets through different "pages". Each page is dedicated to specific tasks, making the workflow more efficient and intuitive.
This page-based mechanism allows DaVinci Resolve to offer an all-in-one post-production solution. You can accomplish it all within DaVinci Resolve, whether it's editing, color grading, visual effects, or audio processing.
With a simple setup, you can control TourBox single-handedly, swiftly switching between different pages in DaVinci Resolve, thereby enhancing your work efficiency.
First, in the TourBox Console, select a button on TourBox and create a TourMenu.
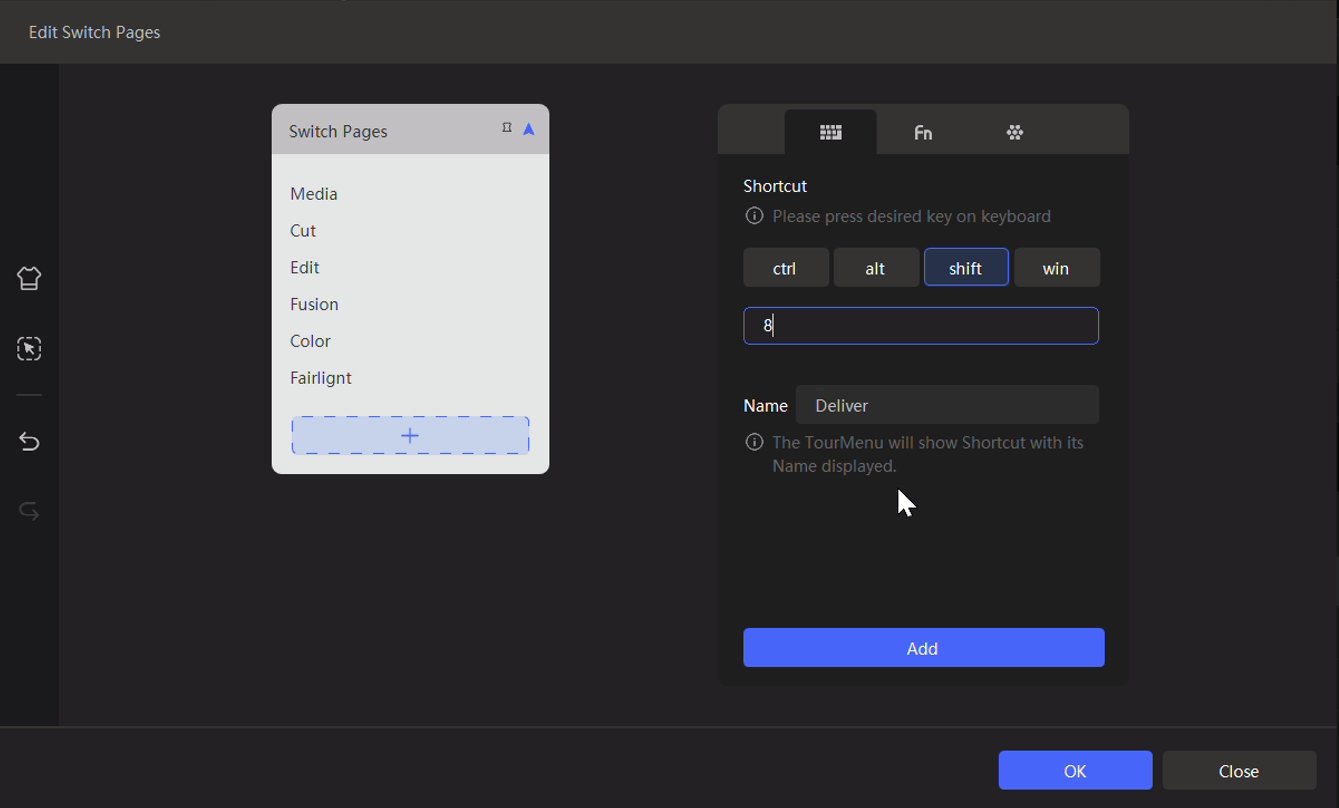
Next, gather the different pages of DaVinci Resolve into the TourMenu.
The keyboard shortcuts for different DaVinci Resolve pages are as follows:
- Media Page: Shift + 2
- Cut Page: Shift + 3
- Edit Page: Shift + 4
- Fusion Page: Shift + 5
- Color Page: Shift + 6
- Fairlight Page: Shift + 7
- Deliver Page: Shift + 8
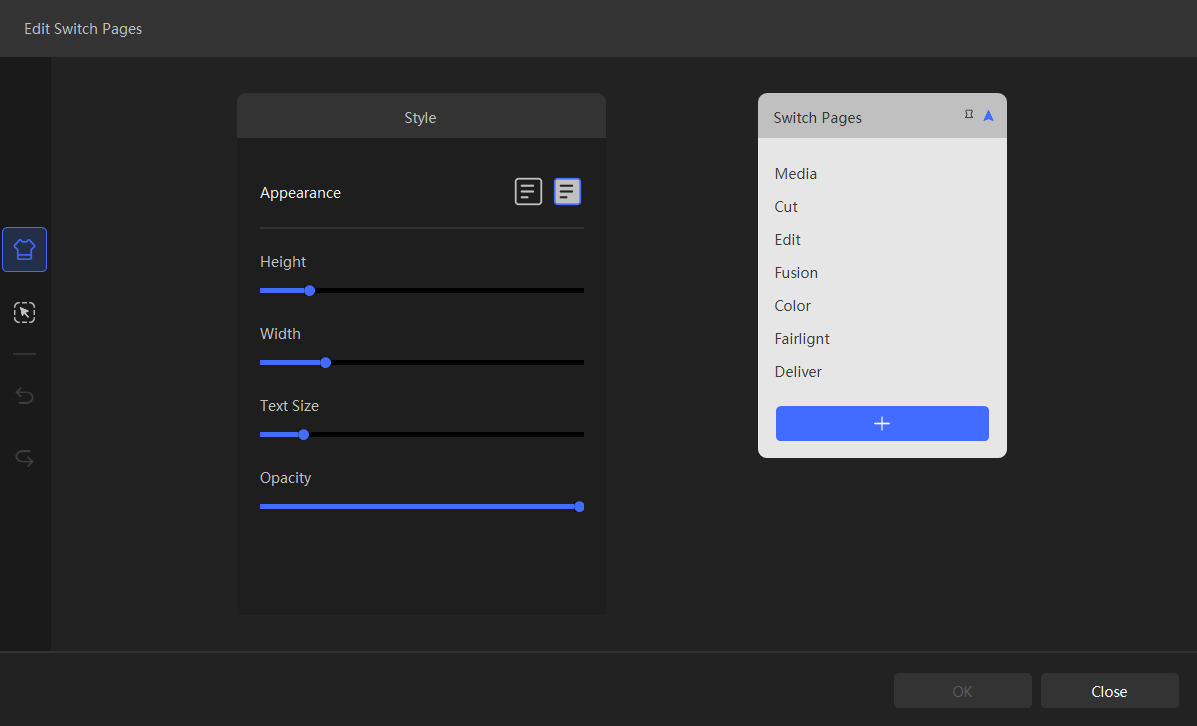
On the TourMenu settings page, you can further customize the appearance and font size of the TourMenu to fit your preferences.
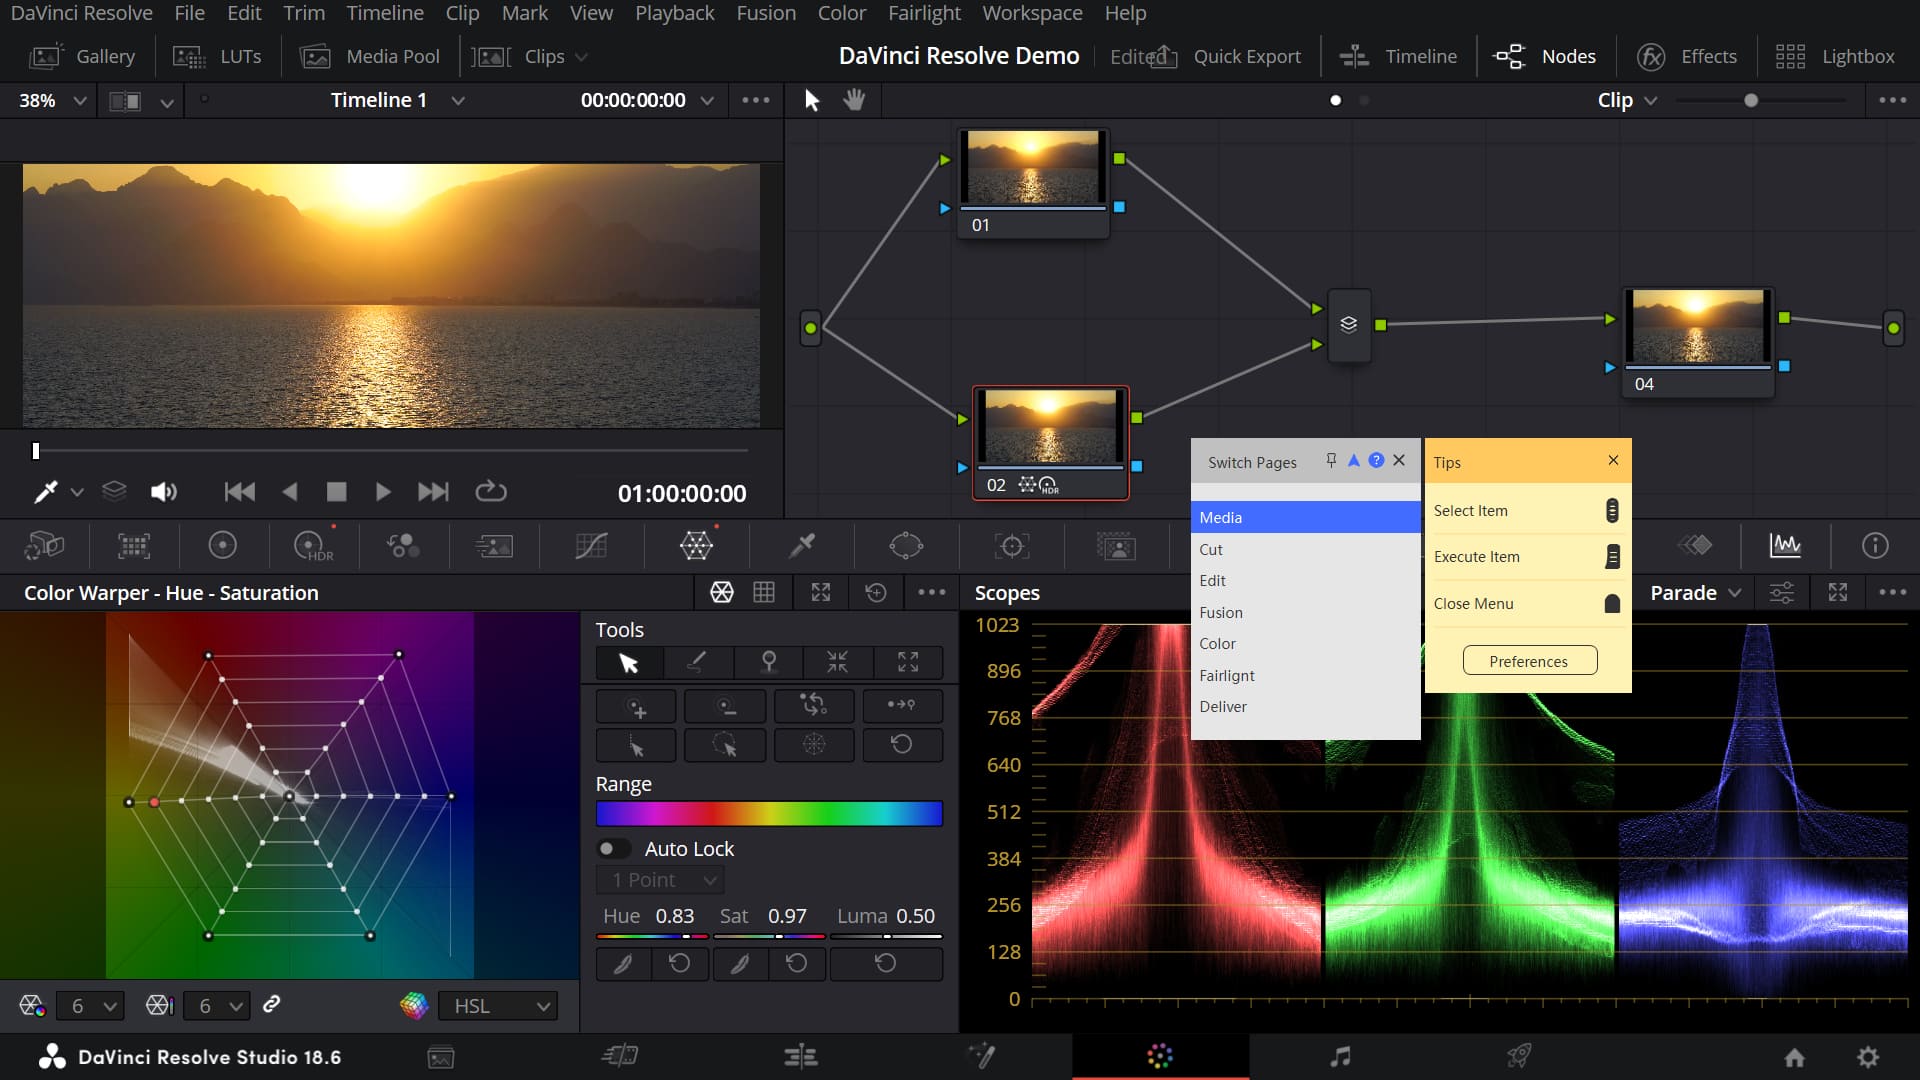
Once the setup is complete, return to DaVinci Resolve, press the button to summon the page-switching TourMenu, scroll using the Scroll control to select the desired page, and press the Tall button to execute the switch.