Time-Lapse Photography: Shooting and Editing Tips
Have you ever heard of time-lapse photography? Time-lapse is a way to squeeze long processes into short clips. You can show everything from sunrise to sunset, traffic rushing by, or stars moving, all in just a few seconds.
So, how do you get a great time-lapse shot? Next, we'll share some handy tips for both shooting and editing. These pointers will help you easily create an awesome time-lapse video.

In this article, you will learn:
- What Is Time Lapse Photography?
- How to Shoot Time-Lapse Photography?
- How to Edit a Time-Lapse in Photoshop?
- Conclusion
What Is Time Lapse Photography?
Time-lapse photography, sometimes called fast-motion or stop-motion photography, is a way to squeeze time.
It works by taking a series of pictures or a video. Later, you link those pictures or pull fewer frames from the video. This lets you show things that change slowly over hours, days, or even years in just a few seconds or minutes.
You can speed up time by tens or even hundreds of times. When you watch the final video, you see cool changes that your eyes would normally miss.
Time-lapse is the opposite of high-speed photography. It shines when you want to capture slow changes or movements. That's why people use it for city skylines, natural landscapes, stars in the sky, building projects, plant growth, and science experiments.
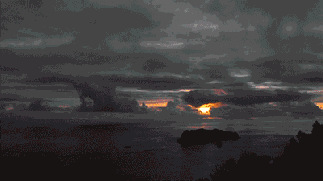
Photographers can also pick fun scenes and subjects, like sunrise, sunset, city lights at night, starry skies, clouds drifting by, ocean tides, or flowers blooming.
How to Shoot Time-Lapse Photography?
Shooting time-lapse with a camera is like making a stop-motion movie. You take many still images and then play them back quickly, so slow changes appear fast.
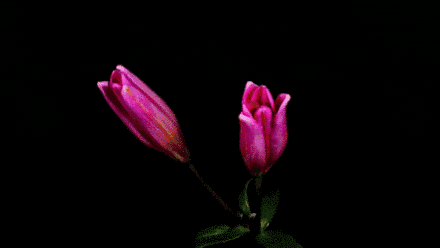
For example, let's say you want to capture a flower blooming. Some flowers might open fully in about three days (72 hours), but others can take more or less time.
If you take one photo every 30 minutes, you'll end up with 144 pictures over 72 hours. When you play them at 24 frames per second, the entire blooming happens in about six seconds.
That example shows how you can record something very slow. Things like sunrise, sunset, or moving clouds change more quickly, so you can use shorter intervals.
1. Shooting Preparation
- Camera & Lens: Use a wide-angle lens if you can. A wide frame shows more of your scene, and big shifts in light look more dramatic.
- Tripod & Remote Shutter Release: You need a steady tripod. You also need a timer or remote cable to trigger the shutter. (If your camera has built-in interval shooting, like many Nikon models, you may not need the cable.)
- Avoid Zooming or Panning: If you don't have a motorized slider, refrain from moving the camera side to side or zooming during the shoot.
- Camera Mode & Basic Settings: Switch to your camera's time-lapse mode (if it has one) or set it to full manual (M) mode. Before you start, pick your shutter speed, aperture, ISO, and white balance.
- Extra Gear (Optional): You can use a neutral density (ND) filter to cut down light when shooting in bright scenes. You might also use a motorized time-lapse rail or an equatorial mount for very precise movement.
2. Shooting Settings
- ISO: Keep ISO low to reduce noise. If light is very low, you may need a higher ISO, but that can add grain.
- Exposure (Manual Mode): Use Manual (M) mode. Set aperture, shutter speed, ISO, and white balance once, and leave them the same for most of the shoot. This keeps your frames from flickering. If the light changes a lot, like shooting sunrise into daylight, you can adjust exposure by changing only the shutter speed. Don't touch aperture, ISO, or white balance after you start, unless it's absolutely needed.
- Focus: Use manual focus. Focus once at the start and lock it. That keeps your subject sharp and avoids focus hunting.
- Shutter Speed vs. Interval: Your shutter speed (exposure time) needs to be shorter than your shooting interval. For smooth motion, a good rule is to set shutter speed to about half of the interval time. For example, if you take a picture every 5 seconds, use a shutter speed of around 2 seconds. This gives your camera time to save each image before taking the next one.
- Aperture: Keep your aperture fixed throughout the shoot. If you change aperture, the depth of field shifts and the video can look uneven. For long exposures, avoid very large apertures (like f/2.8) or very small ones (like f/22 or f/32). Large apertures can create unwanted lens aberrations, and small apertures can cause diffraction blur. A good range is around f/8 to f/11.
- Interval Timing: Choose your shooting interval based on how quickly your subject moves. For fast scenes like busy city streets, use about a one-second interval. For very slow changes like flowers blooming, you might space shots minutes or even hours apart, and for clouds drifting across the sky, an interval of roughly three to five seconds usually works well.
- Disable Noise Reduction & Stabilization: Turn off in-camera long-exposure noise reduction. Also, turn off any lens or sensor stabilization. When the camera is on a tripod, stabilization can actually introduce tiny shifts that blur the image.
3. Formulas for Time-Lapse Photography
Time-lapse calculations are pretty simple once you know the formulas. First, to figure out how long you need to shoot, use:
- Shooting time (minutes) = Interval (seconds) × 24 × Final video length (seconds) ÷ 60
You use this to match the scene's light changes or your subject's movement to how long you want the finished clip to be.
Here's an example with a 10-second final clip at 24 frames per second:
- For busy scenes like people walking or a sunrise/sunset, use a 2-second interval: Shooting time = 2 × 24 × 10 ÷ 60 = 8 minutes.
- For clouds moving across the sky, use about an 8-second interval: Shooting time = 8 × 24 × 10 ÷ 60 = 32 minutes.
- For shooting stars in the night sky, use a 25-second interval: Shooting time = 25 × 24 × 10 ÷ 60 = 100 minutes.
Next, to know how many photos you'll need, use:
- Number of shots = 24 × Final video length (seconds)
For example, if you want a 20-second time-lapse and you're shooting one frame every 3 seconds, then:
- Shooting time = 3 × 24 × 20 ÷ 60 = 24 minutes
- Number of shots = 24 × 20 = 480 photos
How to Edit a Time-Lapse in Photoshop?
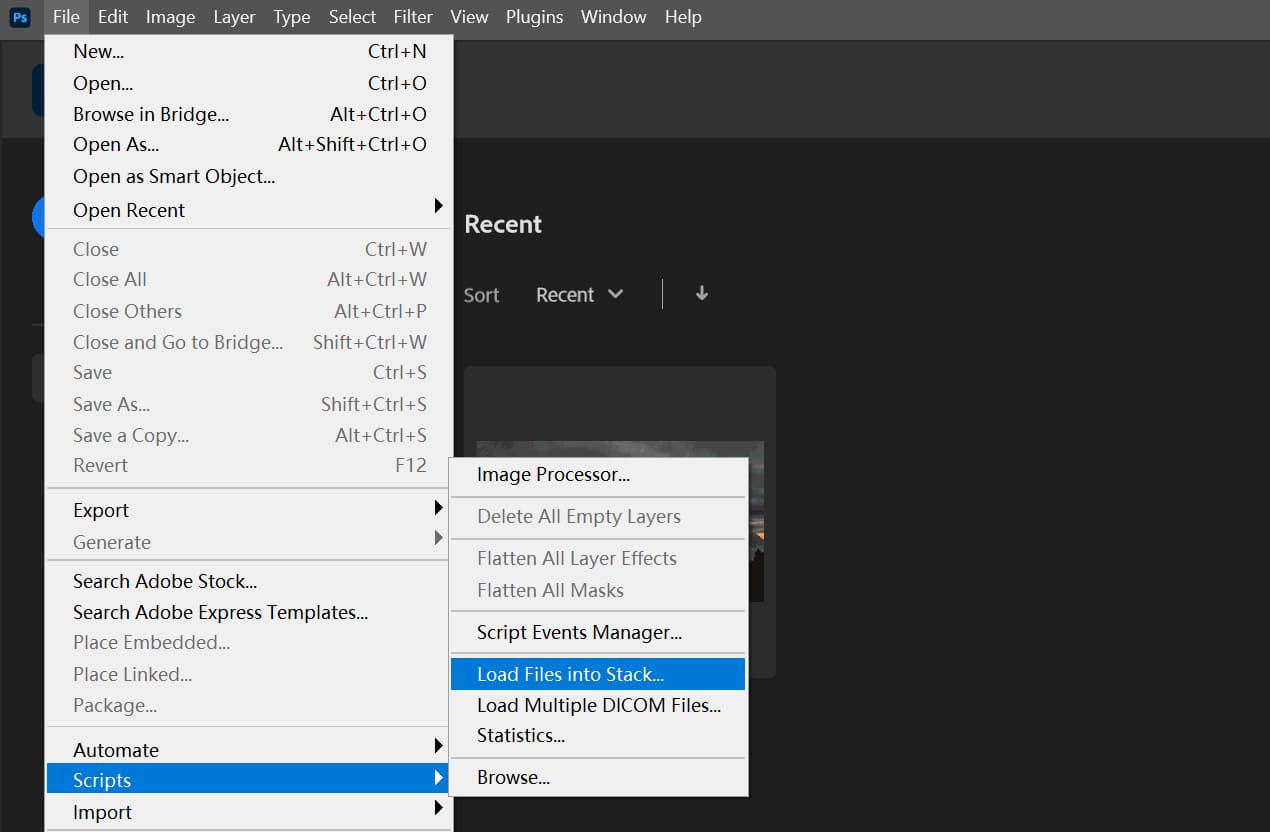
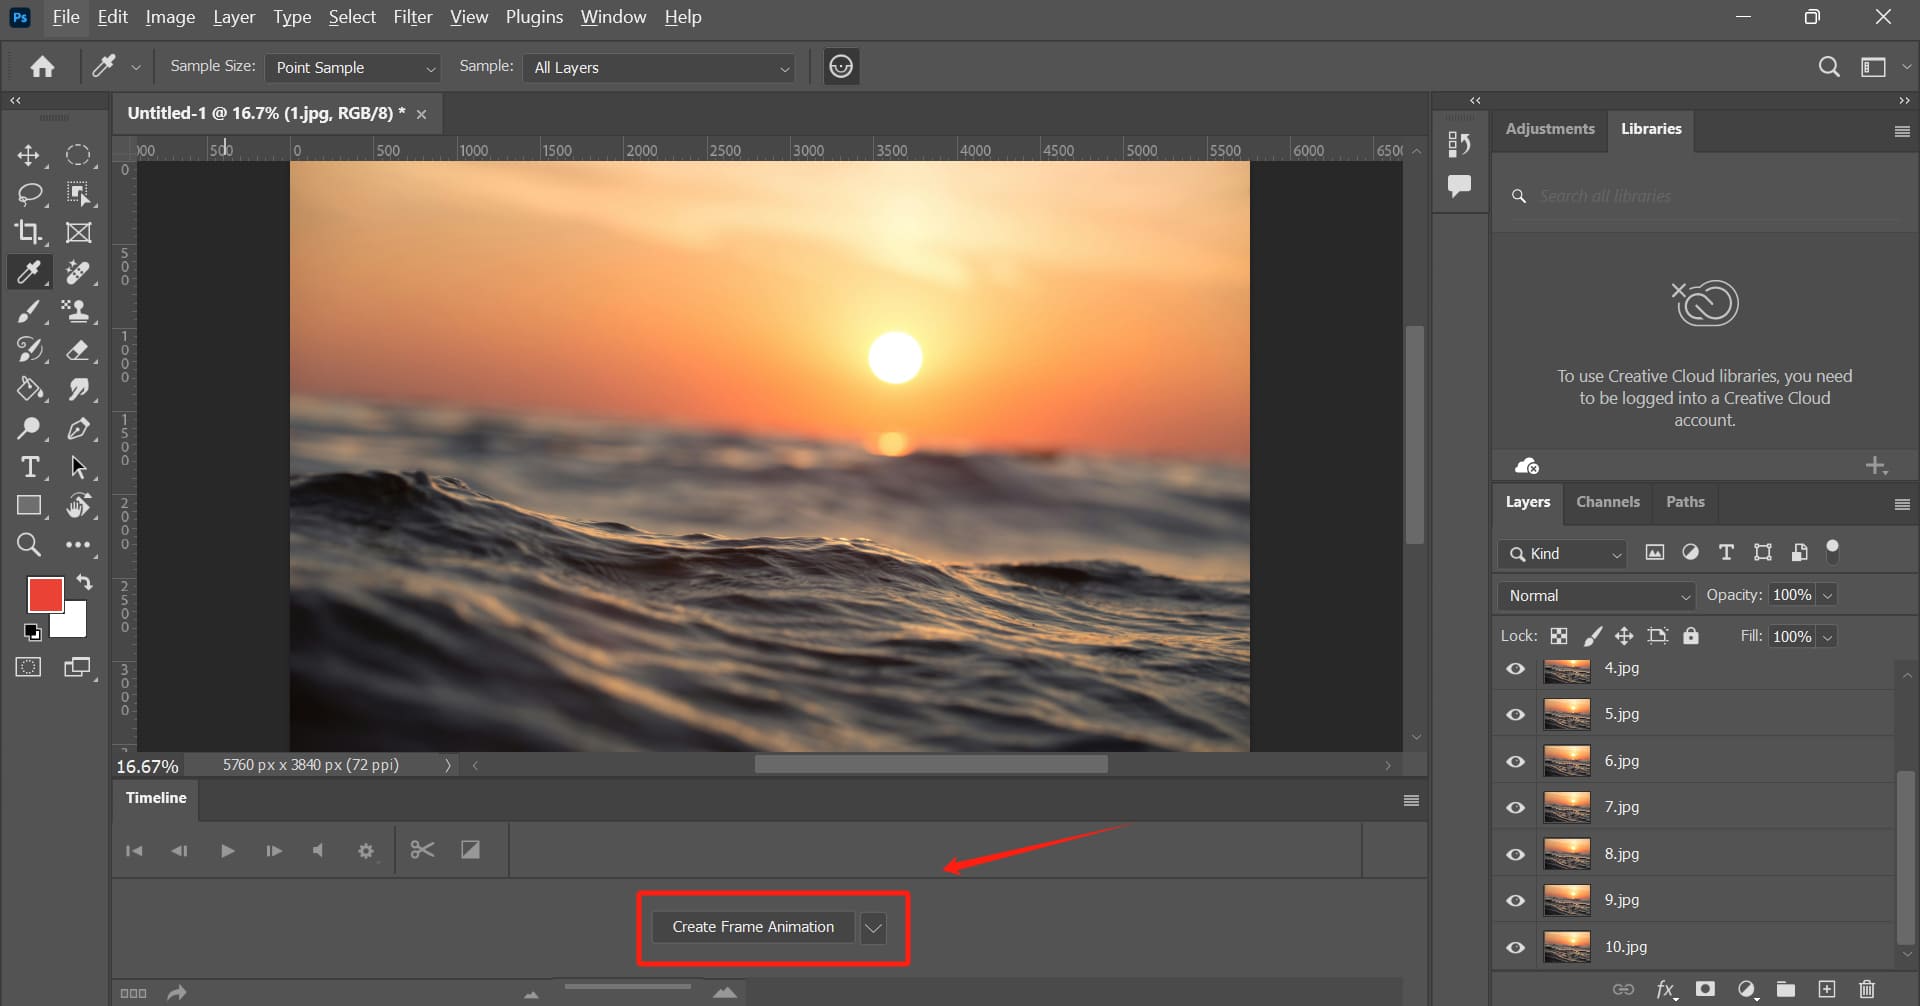
Open Photoshop. Go to File > Scripts > Load Files into Stack. Import all the photos you want to use for your time-lapse.
Go to Window > Timeline. A timeline panel appears at the bottom. Click "Create Frame Animation."
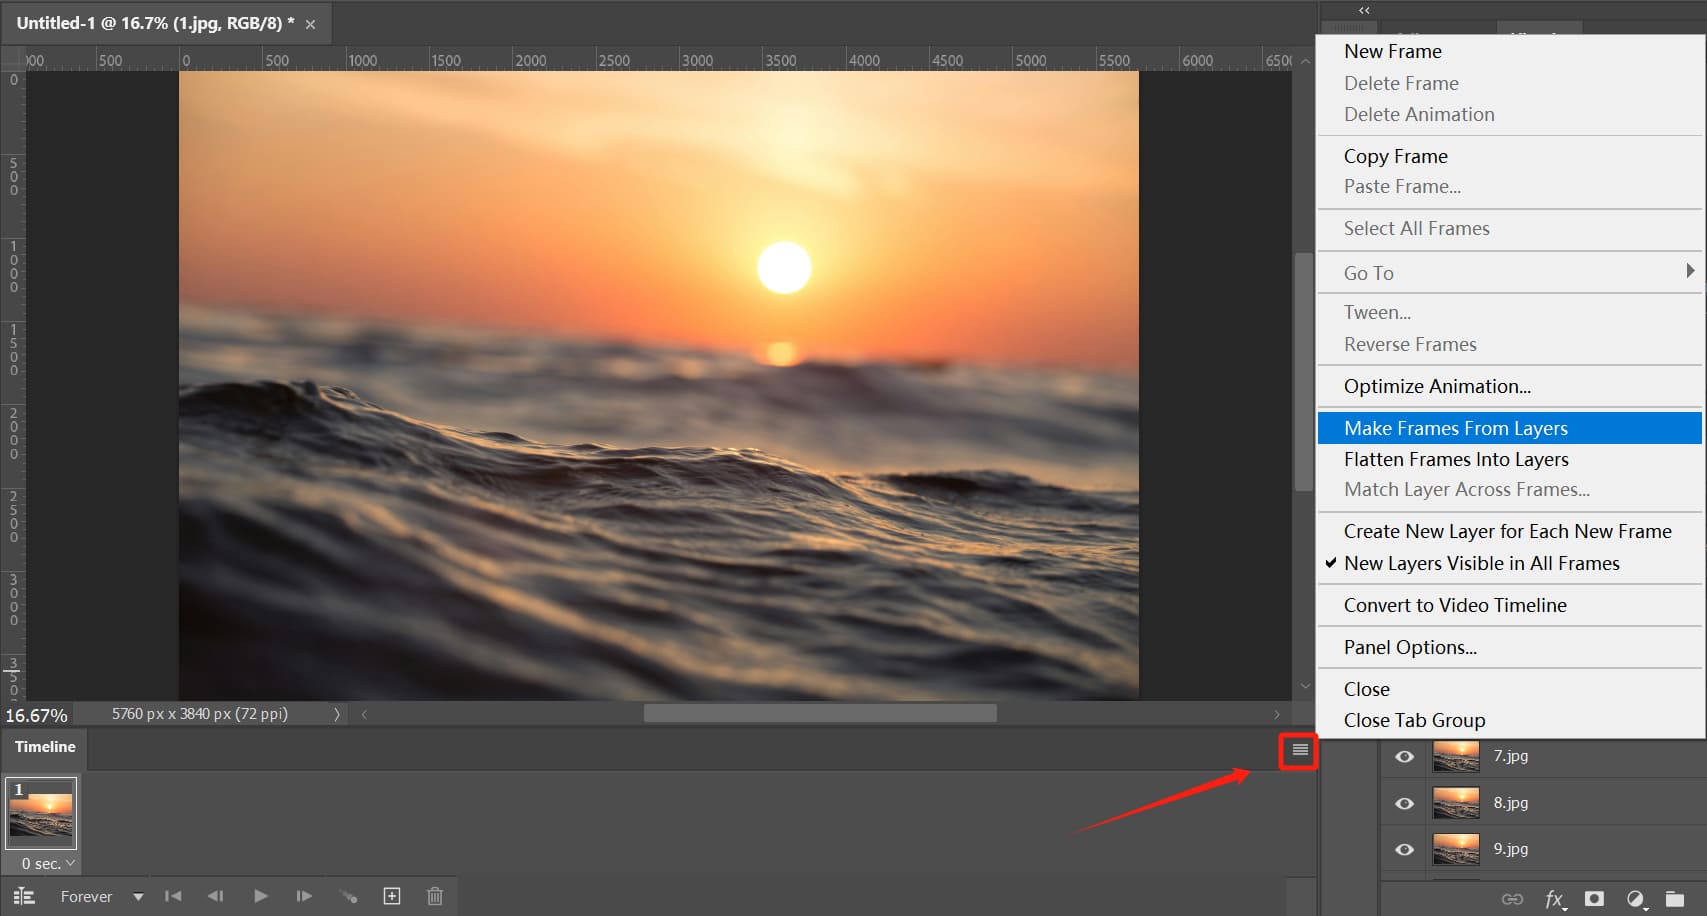
In the timeline panel, click the hamburger menu icon (three lines in the corner) and choose "Make Frames From Layers." Now, each layer becomes a frame, but in the wrong order.
Click the menu icon again and choose "Reverse Frames." This makes sure your frames play in the correct sequence.
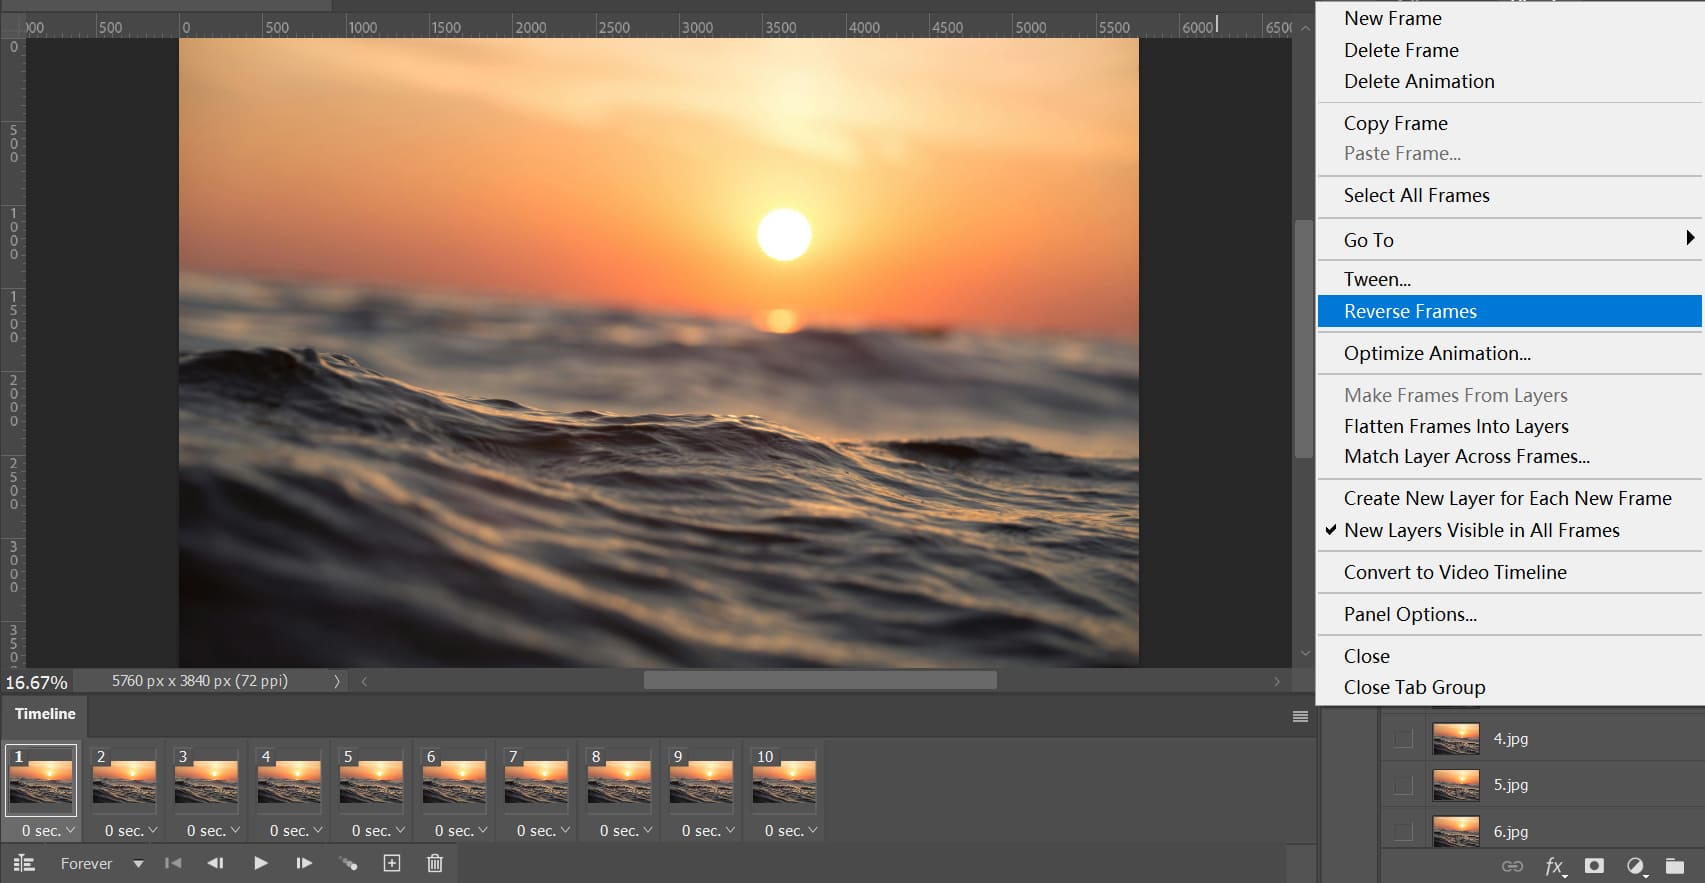
Click the menu icon once more and choose "Select All Frames." At the bottom of any frame, you'll see a time value (usually 0 seconds). Click it, pick 0.1 seconds, and all frames will update to 0.1 seconds. Also, set the looping option (bottom left) to "Forever."
Hit the play button (a small triangle) to preview your animation.
Now you'll learn how to save your time-lapse. You can save it as a video or a GIF.
1. Save as a Video
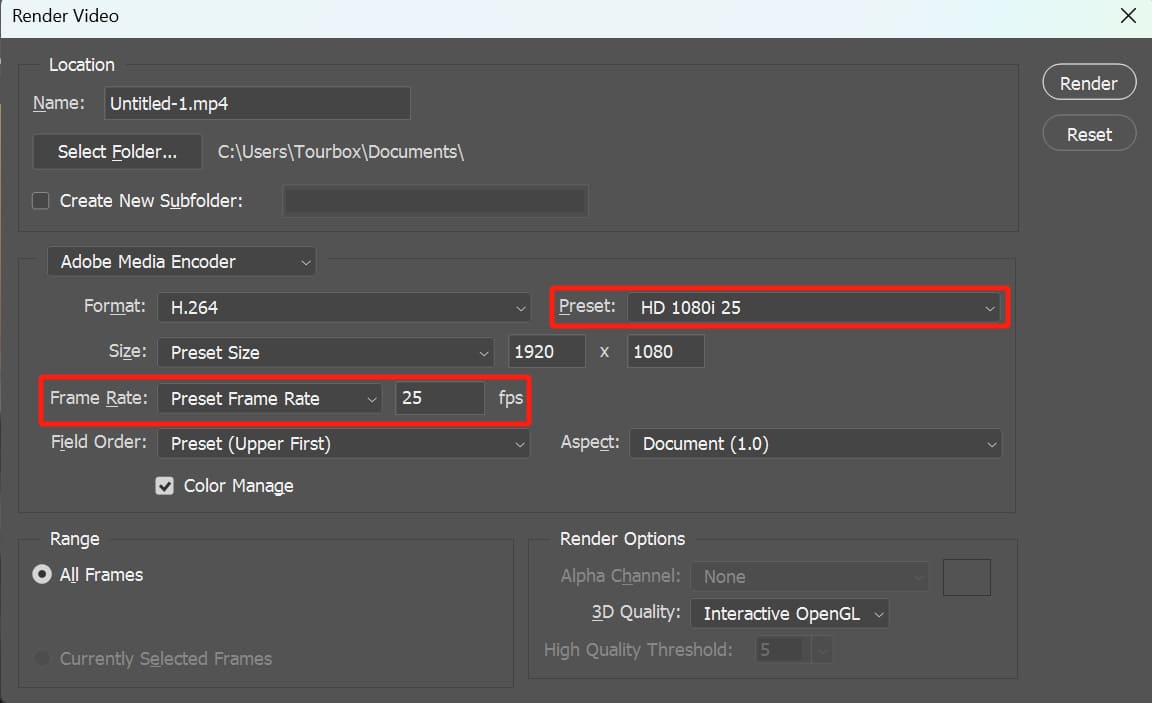
Go to File > Export > Render Video.
In the settings window, change the preset from "High Quality" to "HD 1080i P25." Change the frame rate from "Document Frame Rate" to 25.
Give your video a name, pick a folder, and click Render.
2. Save as a GIF
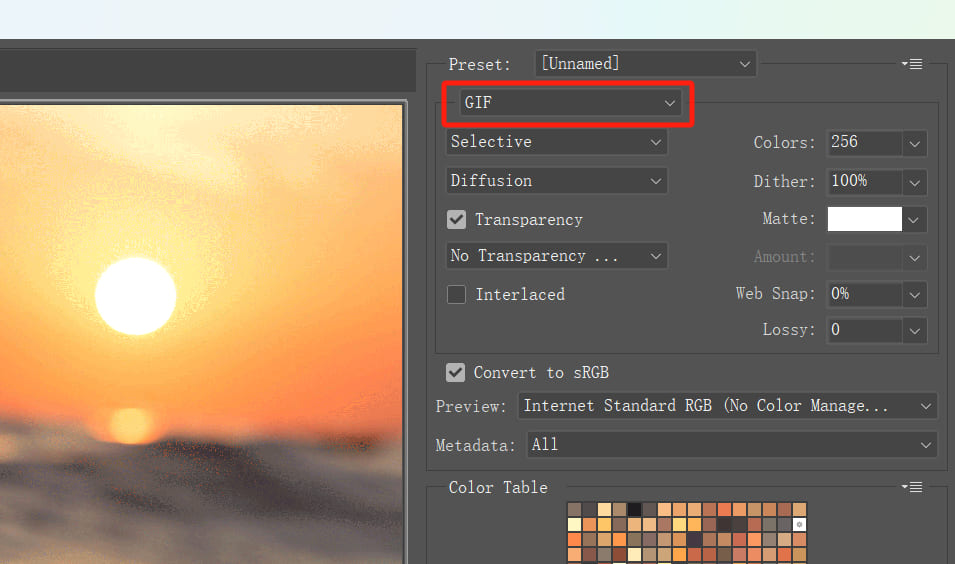
Go to File > Export > Save for Web.
In the dialog, choose "GIF" as the format and click Save.
All done! Now you've created a time-lapse photography work in Photoshop!
Conclusion
That's all the shooting and editing tips you'll need for a time-lapse project. As you can see, making a great time-lapse isn't easy. You'll spend a lot of time and effort just to get that final clip.
We also want to tell you about a creative controller called TourBox that can save you tons of time in post-production. With TourBox, you can use just one hand to manage, edit, and color your photos instead of wrestling with a mouse and keyboard to open tools and drag sliders.

You can even take advantage of TourBox's macros, which run a series of commands automatically — perfect for repetitive tasks, like handling a huge batch of time-lapse images.

If you're interested, check out our photo editing page to see what TourBox can do.