What Is Clarity in Photo Editing: A Simple Guide
Clarity is a basic requirement in post-processing and a key goal when editing. Many beginner photographers know they want clarity, but don't really understand what it means. In this article, let's explore what clarity is.

In this article, you will learn:
- What Is Clarity?
- Why Raising Resolution Afterwards Won't Make a Photo Clearer?
- How to Boost Clarity in Photo Editing?
- Conclusion
What Is Clarity?
In photo editing, "clarity" describes how clear an image looks. The higher the clarity, the sharper the picture appears.
A clear photo shows lots of fine detail and keeps textures intact. Its edges are crisp, shapes are well defined, and you can easily tell one object from another. The colors stay true, too. That's what we mean by clarity.
There are lots of factors that affect clarity, but what you do when you shoot is key.
Camera resolution is one of the biggest. Think of resolution like the size of a canvas: a bigger canvas can hold more content and show more detail. That extra detail lays the groundwork for a clear image.
So, in general, the higher your camera's resolution, the clearer your photos will be.
Why Raising Resolution Afterwards Won't Make a Photo Clearer?
As we know, an image's resolution can be changed in post. But even if you crank the resolution up, the picture won't actually get clearer.
That's because resolution only sets the stage — it's not the main actor. You can make the canvas bigger, but you can't invent new data that wasn't there to begin with. No extra pixels mean no extra detail.
What really matters is how much detail you captured in the first place. If the photographer used good settings and lighting, the camera recorded more information, and the photo looks naturally sharper. The lens quality also plays a role.
How to Boost Clarity in Photo Editing?
In post-processing, the key to clarity is contrast, light-and-dark balance, and color.
To make a photo look clearer, you'll typically:
- Increase contrast
- Sharpen edges
- Tweak tonal balance (the lights and darks)
- Adjust colors
Keep in mind, if a shot has serious issues from the start, like poor focus or bad exposure, it's tough to fully fix in post.
Of all these steps, sharpening the edges is the most powerful and common.
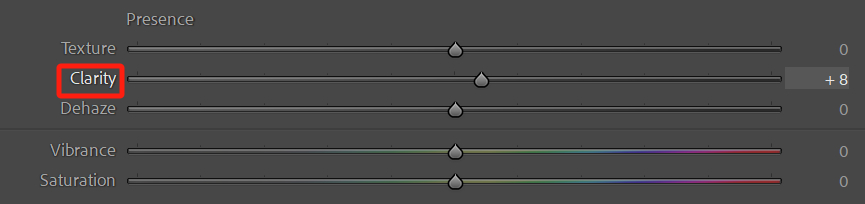
In Camera Raw and Lightroom Classic, you'll find a Clarity slider. Just move it left or right to add or reduce clarity in seconds.
You might think that more clarity is always better, so you crank it up without a second thought. But that's not right. If you want a soft, dreamy look, you actually need to lower the clarity.
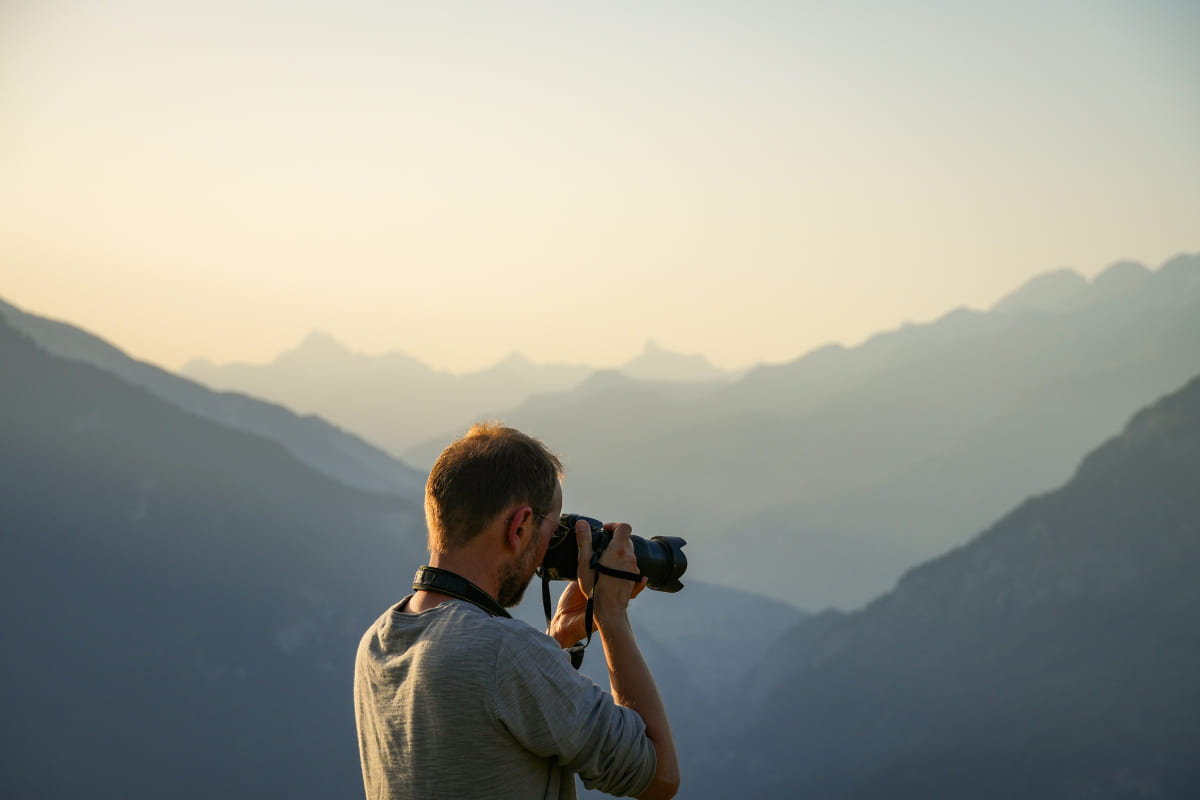
For landscapes and architecture, we usually boost clarity. But for portraits, we sometimes dial it down.
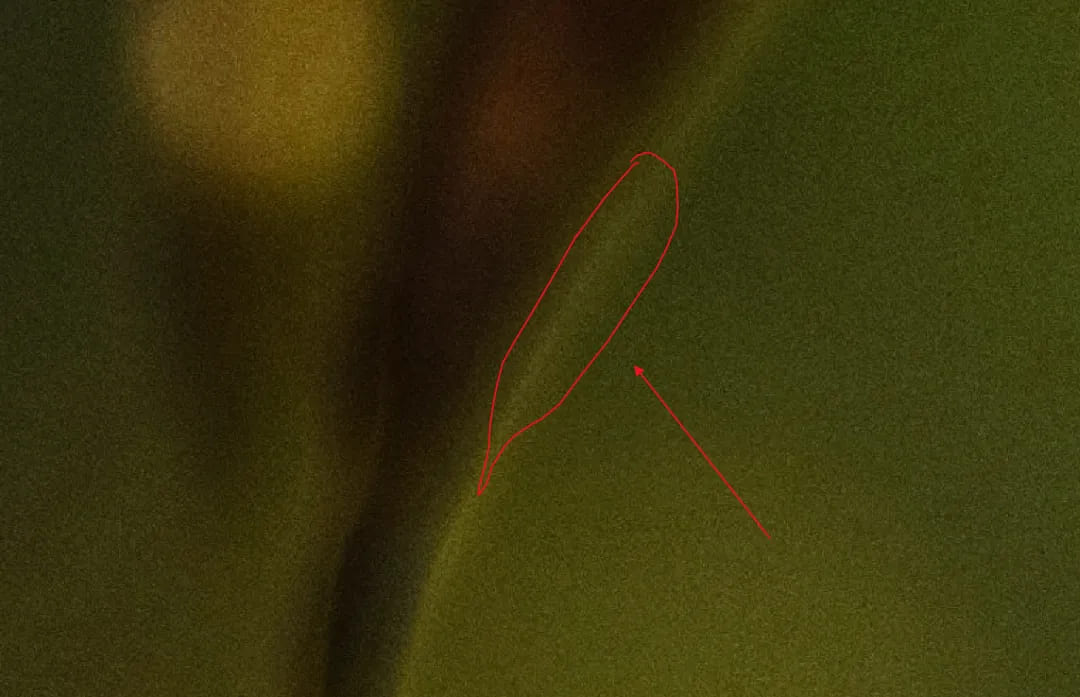
Also, too much clarity can add white halos around edges, making the photo look unnatural.
This happens because boosting clarity also sharpens edges. In our article on sharpening photos, we explain how this works. Click the link below if you want to learn more.
Further Reading:
Most sharpening tools work by boosting the contrast between pixels at an edge. When you turn the amount too high, the light-and-dark difference at that edge gets stretched out, and you see a thin, light or white line right at the border. That's a dead giveaway of "too much contrast."
The harder you sharpen, the more obvious those white lines become, making edges look harsh and fake.
Clarity in editing uses the same trick, so cranking up clarity too far also causes white halos around edges, just like over-sharpening.
That's why some people mix up clarity and sharpening, thinking they're the same. They're not.
Sharpening is only one way to boost clarity. Just turning up sharpening alone isn't enough. You also need to tweak colors and balance your lights and darks to really make a photo look crisp.
Conclusion
Of course, to make your photos both clear and natural, without harsh white halos, you need more than just the Clarity slider. You might also tweak your sharpening Amount, Radius, and Threshold. Or you could use more precise tools like the High Pass filter, Smart Sharpen, or Frequency Separation.
If you're a photographer with dozens of photos to edit, opening each tool and dragging sliders with a mouse isn't intuitive or efficient.

That's where a creative controller like TourBox helps. TourBox has a built-in TourMenu feature. You load your favorite controls into one menu, press a button to open it, and then twist a knob to bump any setting up or down by one.
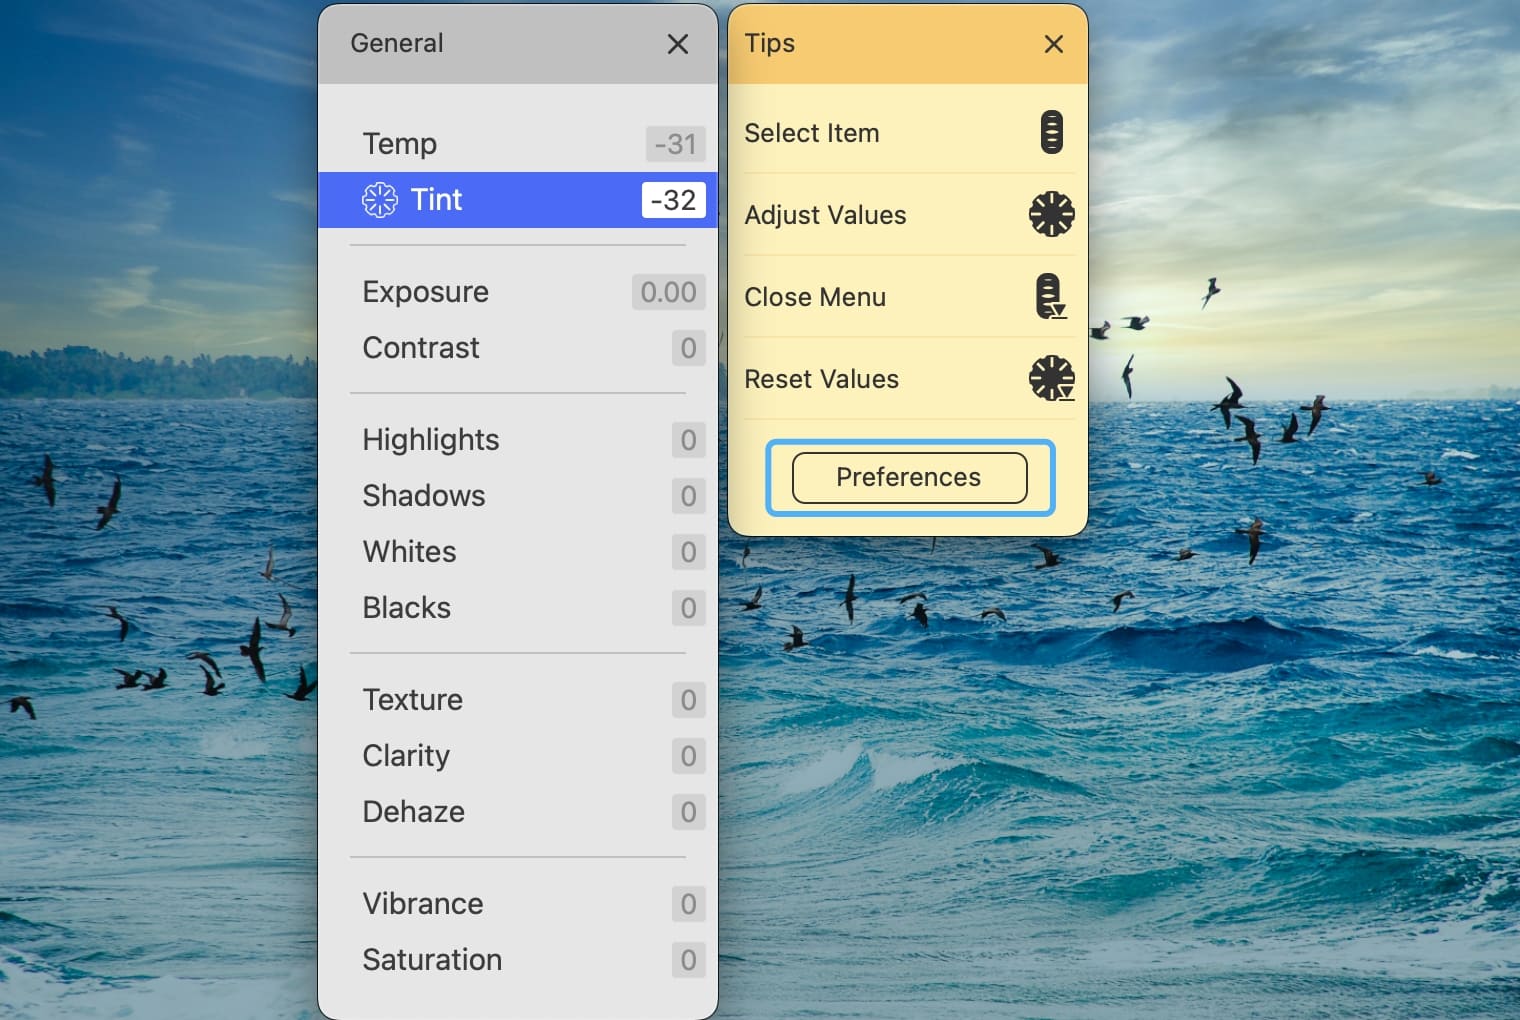
This keeps your eyes on the image so you can see every change in real time. It's like using a game controller, and it makes editing smoother and more fun.

Want to see more ways TourBox can speed up your photo edits? Check out our Photo Editing page.