Photoshop Liquify: An Ultimate Guide for Photographers and Designers
Welcome to our hands-on tutorial about the Liquify tool in Photoshop – a versatile feature that can push the boundaries of your creativity and elevate your photo editing skills.
Whether you're looking to subtly tweak facial features, create surreal images, or just have some fun distorting photos, the Liquify tool can make it happen.
In this guide, we'll dive straight into how you can effectively use this tool to achieve your desired effects with precision and ease. Let's get started!

In this article, you will learn:
- What Are the Pros and Cons of the Photoshop Liquify?
- How to Liquify in Photoshop?
- What If Make a Mistake While Using the Photoshop Liquify Tool?
- Having Trouble Using Liquify Tool in Photoshop?
- Final Thoughts About Photoshop Liquify
What Are the Pros and Cons of the Photoshop Liquify?
The Liquify tool in Photoshop provides an intuitive and straightforward way to edit your images, offering opportunities to create unique, artistic effects that can be difficult to achieve with other tools.
Before we dive into our tutorial, let's outline some of the key advantages and disadvantages of this remarkable tool to give you a preliminary understanding and impression.
Advantages:
- The Liquify tool is highly versatile, allowing you to push, pull, rotate, reflect, pucker, and bloat any area of an image. This makes it useful for various applications, from subtle corrections to dramatic transformations.
- By adjusting the size, pressure, and density of the brush used for the Liquify tool, precise edits can be achieved with ease.
- Photoshop's Liquify tool features advanced facial recognition, making editing facial features easier and more intuitive. A few clicks can adjust the eyes, nose, mouth, and overall face shape.
- When used with a Smart Object, the effects of the Liquify tool can be applied non-destructively. This means the original image remains intact, and you can remove or adjust the Liquify effect later if needed.
Disadvantages:
- Although the Liquify tool allows adjustments using both mouse movements and numerical values, it is a tool that relies heavily on the user's operation. If not done correctly, the photo might look odd. The only way to overcome this is through practice!
- Despite the powerful capabilities of Photoshop's Liquify function, overuse can lead to images looking unnatural and overly processed.
How to Liquify in Photoshop?
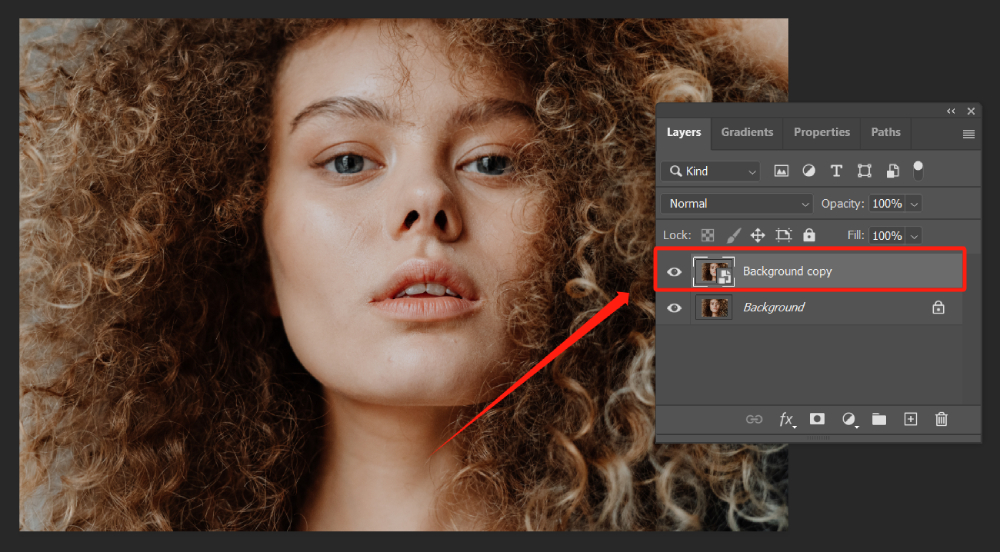
Let's kick off a new Photoshop project by importing the image you want to modify. First, we need to create a copy of the background layer. You can do this by pressing "Command + J" or "Ctrl + J".
Next, we'll right-click and convert the newly duplicated layer to a Smart Object.
Why convert the layer into a Smart Object, you might ask?
Well, if we make adjustments using the Liquify tool and later realize that some areas require fine-tuning, or if we want to revert the changes, a Smart Object provides us with the flexibility to make revisions and rollbacks.
Extra Tip:
If you're looking to practice using the Liquify tool in Photoshop, we recommend working with portraits. The Liquify tool is frequently used for retouching people in photos, and it also gives you a chance to experience Photoshop's impressive feature, the Face Tool.
Let's navigate to the toolbar at the top and select Filter. In the dropdown menu that appears, you'll easily find Liquify. Alternatively, you can also access it quickly by pressing "Shift + Ctrl + X".
Upon doing this, a dialogue box will appear. Don't be intimidated by all the numbers and options. Once you grasp the key points of the Liquify tool, you'll find it's a breeze to use within Photoshop.
The workspace of the Liquify tool is quite well-organized. On the left-hand side, you'll find the toolbox for the Liquify tool.
Here's a brief rundown, but we encourage you to try these tools out for yourself to get a real feel for them:
- Forward Warp Tool (W): This is your go-to tool for pushing and pulling pixels around. It's like molding clay with your fingers.
- Reconstruct Tool (R): Made a mistake? No sweat. This tool lets you dial back changes you've made.
- Smooth Tool (E): If things are looking a little rough around the edges, the Smooth tool can help even out those wrinkles.
- Twirl Clockwise Tool (C): Just as it sounds, this tool spins pixels in a clockwise direction, creating a whirlpool effect.
- Pucker Tool (S): Need to tighten things up? This tool sucks in pixels, making things look smaller.
- Bloat Tool (B): The opposite of the Pucker tool, the Bloat tool inflates areas to make them larger.
- Push Left Tool (O): This tool pushes pixels to the left, regardless of the direction of your stroke.
- Freeze Mask Tool (F): Don't want to change certain areas? Use this tool to protect them from being affected by other tools.
- Thaw Mask Tool (D): This tool undoes the protection applied by the Freeze Mask tool, allowing you to make changes again.
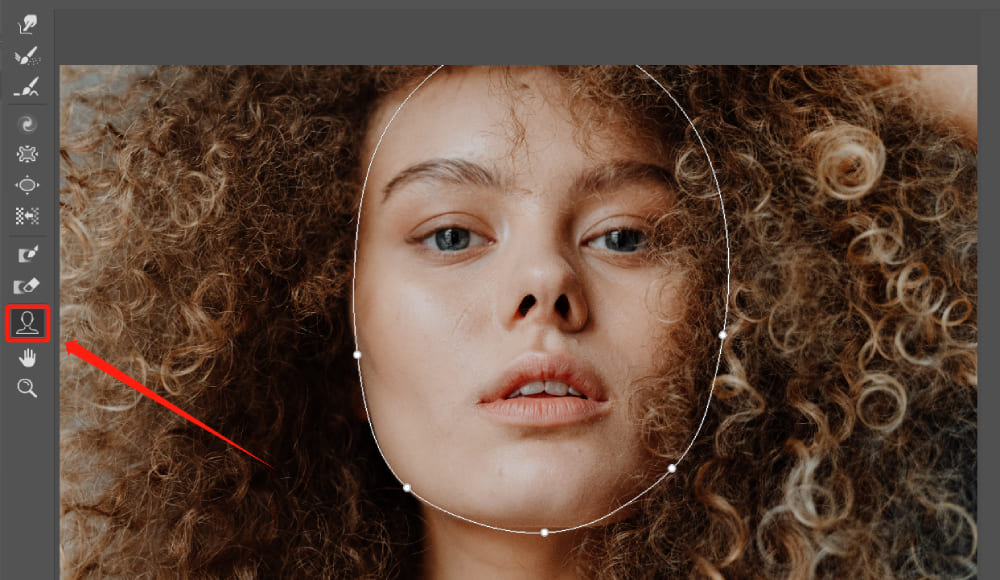
- Face Tool (A): It allows you to effortlessly tweak facial features in a photo like a digital plastic surgeon.
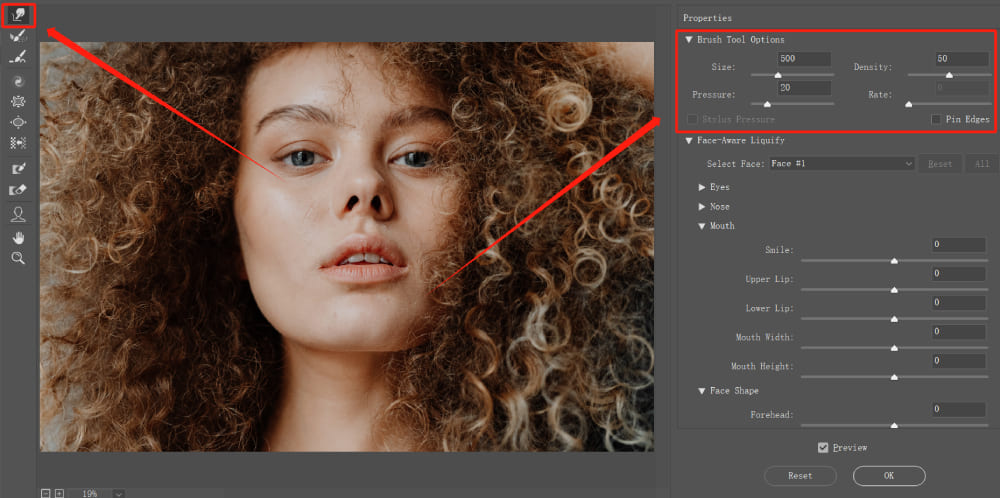
Here, we are going to focus on the Forward Warp Tool in the Liquify toolbox in Photoshop.
To start, we'll select and activate this tool, then turn our attention to adjusting two key values in the Properties panel on the right.
First up is the size value, which we'll adjust based on the area we're looking to modify. If we're working with a larger area, we'll want to crank up the size a bit. Conversely, if we're focusing on a smaller area, we'll dial down the size.
Next is the pressure value, which we can tweak downwards. If you're new to using Photoshop's Liquify tool, a pressure value of around 20 is generally a good starting point. Once you get the hang of it, feel free to increase this value based on your needs.
Using the Forward Warp Tool is a breeze. After you've set your brush parameters, you can make adjustments wherever needed.
As shown in the video demonstration below, if we want to soften the facial lines of the subject, we just click the left mouse button and gently push inward along the edges of the face.
When working with photos that have complex backgrounds, be careful with the Forward Warp Tool so as not to disrupt the horizon line of the background image.
Your adjustments should follow the horizon line rather than dragging the image roughly up or down. The key here is to be meticulous and make the image look as natural as possible.
Of course, if you realize you've gone a bit overboard, the Reconstruct Tool located below the Forward Warp Tool acts like an eraser, allowing you to undo changes.
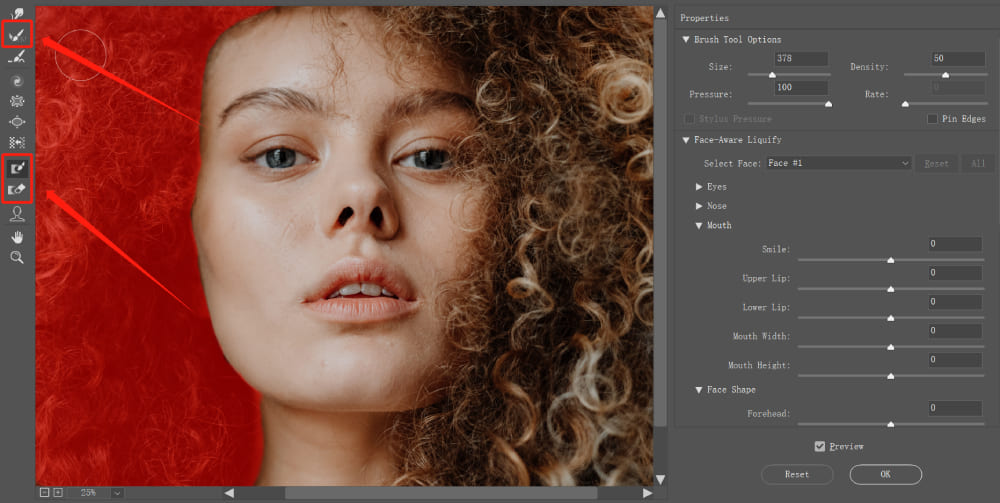
Also, utilizing the Freeze Mask Tool and Thaw Mask Tool effectively can protect areas of the image you want to keep safe from distortion.
As shown in the image below, we use the Freeze Mask Tool to paint over the area we want to protect. The red area represents the frozen selection, which won't be affected by the Liquify tool.
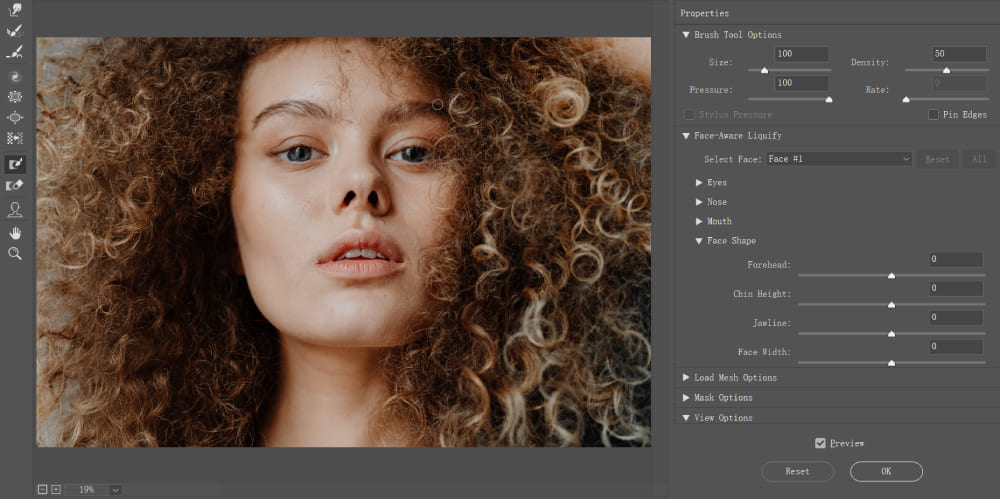
Besides adjusting the brush tools, the Properties workspace on the right side of Liquify also allows for further fine-tuning of the image.
In a typical Liquify tool workflow, the usual practice is to first make edits using the tools on the left, then refine using the Properties on the right.
Let's do a quick experiment to test out the functionality of the Properties workspace on the right. In just a second, we can make the person in our image smile or look sad.
All you need to do is look at the right side of the Liquify tool. Under the Face-Aware Liquify section, once the tool has recognized the mouth, you'll see a slider for a smile.
By sliding it right or inputting a value of 100, you can make the person in the image smile.
If this sounds a bit confusing, the video below should give you a clear sense of this tool's capabilities.
Additionally, the Properties workspace offers a host of other features you can play around with, such as the height and width of the nose, the size and height of the eyes, even the distance between the eyes, the width of the face, and so on.
It's like the character customization feature in computer games; you can try out different values and adjust the image as if you're sculpting a face.
Of course, adjusting values might not be as intuitive as manually dragging and reshaping. In this case, you could try the Face Tool function found on the left of the Liquify toolbox.
This tool intelligently detects different parts of the face in the photo. By moving your cursor over different facial features, Photoshop will smartly identify them, allowing you to manually adjust parts like the eyes, nose, mouth, and so on.
What If Make a Mistake While Using the Photoshop Liquify Tool?
No worries at all! You have two easy ways to fix it:
- Select the Reconstruct Tool on the left side of the Liquify toolbox, and then use the brush to return the image to its previous state.
- Use the "Ctrl+Z" keyboard shortcut to perform a significant undo operation.
The first method allows you to adjust using the brush size and is more of a way to tweak the image. On the other hand, the second method offers a quicker way to revert the changes. Which method you choose typically depends on your specific needs.
Having Trouble Using Liquify Tool in Photoshop?
There could be numerous potential reasons, such as issues with the color mode or insufficient computer memory. Here's the official answer from Adobe that might help you, or you could also contact Adobe customer service for assistance.
In most cases, the problem is likely due to the color mode.
Photoshop filters require the RGB color mode, so if your project is in CMYK, you'll need to navigate to the top menu bar in Photoshop and sequentially select Image > Mode > RGB Color. Also, adjust to 8 Bits/Channel, and you should be able to operate it.
Usually, designers adjust to RGB mode here, use the Liquify tool as needed, and then switch back to CMYK mode when they're done.
For a deeper understanding of the differences between RGB and CMYK, check out our dedicated article on this topic: RGB VS CMYK: An Ultimate Guide to Mastering Color Models

Final Thoughts About Photoshop Liquify
In this final section of our Photoshop Liquify tutorial, we want to emphasize that the Liquify tool is extremely well-suited for photographers and designers. However, how effectively you use this tool depends largely on your skill and experience.
Aside from constant practice to hone your proficiency with the tool, having some essential auxiliary tools can greatly enhance your photo editing and content creation process.
Beyond commonly used tools like digital tablets and digital pens, the TourBox is an exceptional tool that can boost your productivity and allow creators to focus on the essence of their creativity.

As we've discussed in this tutorial, while using the Liquify tool in Photoshop for image refinement, you often need to adjust the brush size and pressure according to the specific needs of the image.
Now, imagine being able to adjust these parameters simply by twisting a dial on the TourBox.
The TourBox is more than just a tool - it's a game changer. It allows for quick, intuitive adjustments that can dramatically speed up your workflow and make the process of using complex tools like Liquify feel second nature.
With the TourBox at your side, your focus can stay where it needs to be: on your creative vision and the creation of stunning visuals.