What a Photo-Editing Workflow Is — And How to Build One
Have you ever felt this way: you know the basic functions of photo-editing software, but when it's time to actually edit a photo, you don't know where to start. Anyone can learn how to use the tools, but developing an editing approach and a good eye for aesthetics isn't so easy.
So in this article, we'll share a photo-editing workflow. Use it as a reference, and you'll have a clear plan for editing. Let's get started.

In this article, you will learn:
What Is a Photo-Editing Workflow?
There are practical ways to train your editing mindset and taste. Follow these principles:
- Your image style should not contradict the facts. It should also be acceptable to most viewers.
- First imagine the final look you want. That makes your editing plan clear.
- Your plan should be evidence-based. Let the photo's problems guide you.
- Every editing step depends on solid basics. Know your tools well.
Keep those four points in mind. Now let's look at the editing workflow.
A RAW image usually has many issues:
- Internal factors: A camera does not process image information the way the human brain does. So the RAW file often has problems with exposure, color, or distortion.
- External factors: Shooting conditions — like weather, environment, and shooting angle — also affect the image.
So the editing workflow has two main steps:
- Step 1: Fix the RAW file's shortcomings and restore the real scene as much as possible.
- Step 2: Add the artistic look and mood you want.
Step 1 includes basic fixes for exposure, color casts, and distortion. It can also include removing distractions and reducing noise. For portraits, this step may include skin smoothing and liquifying. The goal is to remove flaws and bring the scene back to its true appearance.
Step 2 includes adding tone and color, adjusting lights and shadows, creating artistic effects, boosting details, and adding texture. The goal is to move the real scene closer to the image you had in mind.
Now the key question: we know the workflow, but how do we form an editing plan in our heads?
A plan comes from spotting the photo's problems. Every editing step should solve a problem. Use these four steps to form your plan:
- Identify the photo's problems and your editing goals.
- For each problem and goal, find a solution.
- Put the solutions in a sensible order.
- That ordered list of solutions is your editing plan.
Example: In the photo below, we might find many issues.

For each issue, we match a fix:
- Overall shadow detail is missing → brighten the shadows.
- Image looks too cool → adjust saturation and use the HSL tools.
- Mountain peaks lack presence → enhance details.
- Ice looks dull → use Curves to lift exposure and correct color cast.
- There are blemishes → remove them with the Healing Brush or Patch Tool.
- The dusk mood is weak → add color and texture with color grading tools.
- The water brightness is uneven → use a brush + mask for local corrections.
These are only some possible editing methods, not the only solutions. The fixes above are listed as ideas and are not yet in order. In photo retouching, the order of steps matters.
Next we will show how to link these fixes in a reasonable sequence. In other words, what a sensible photo-editing workflow looks like.
What Does a Sensible Photo-Editing Workflow Look Like?
Here's a short answer first:
- Adjust the light before the color.
- Restore before stylizing.
- Work globally (overall) before local (small areas).
- Fix the subject before the background.
So a sensible workflow should start with overall exposure correction. Then fix overall color balance, pick the main tone, and correct distortion.
Next, remove spots and blemishes. Use selections, masks, and curves for local fixes and to strengthen the light. Finish by color grading, boosting details, and adding texture.
Following that order, the edit sequence for the sample photo looks like this:
- Brighten shadows and adjust overall exposure.
- Fix overall color cast.
- Remove spots and blemishes.
- Locally adjust the mountain peaks and floating ice.
- Remove glare on the water.
- Add color and dusk mood.
- Add texture and tactile detail.
With the plan clear, you need to match problems to the right tools. There are many editing tools, and beginners often mix up their purposes. Below is a simple overview.
Tools in most editors broadly do these jobs:
- Adjust light
- Adjust color
- Reduce noise
- Fix image problems
- Create selections
- Enhance details
- Add special effects
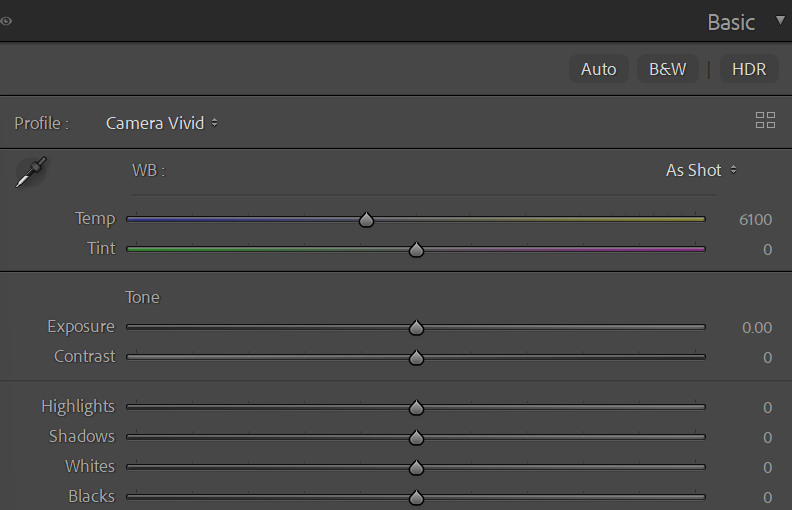
1. Exposure Tools: ACR / Lightroom Classic Basic Panel, Curves
- Adjusting exposure in the Basic panel is necessary for a RAW file's initial edit.
- Exposure is only one thing the Curves tool can do, but Curves also lets you make very precise, detailed adjustments.
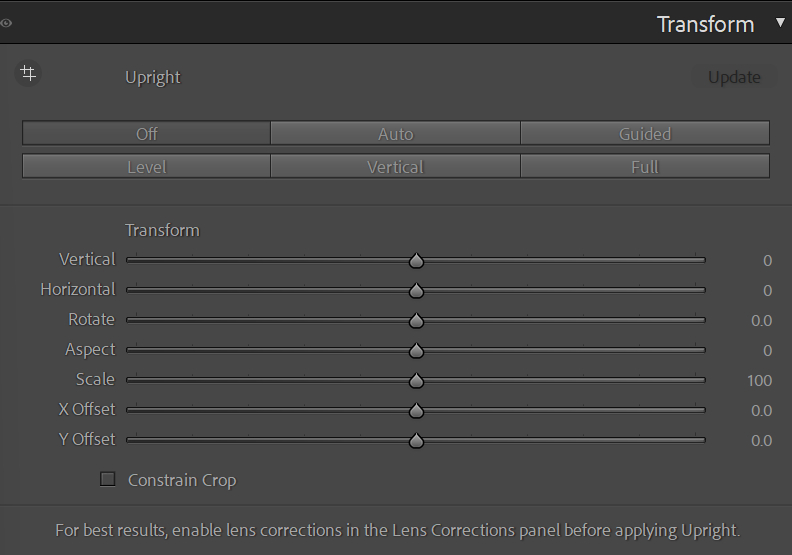
2. Image-Fix Tools: Lens Correction, Crop, Healing / Patch Tools
Distortion comes from two main causes:
1. Objective (lens construction and optics)
Wide-angle lenses cause unavoidable distortion. Large-aperture lenses can also make purple or green color fringing. Use the Lens Corrections panel to fix distortion and remove fringing.

Subjective (how you shot it). If your camera was tilted or you shot from an extreme angle, use the Transform panel to correct perspective.
Remove distractions like dust or stray objects with the Healing or Patch tools.
3. Noise Reduction: Built-in or Third-Party Plugins
- Built-in noise reduction in Camera Raw or Lightroom Classic is easy to use but can blur details if overdone.
- Third-party plugins (for example, NIK Dfine) are usually finer and allow manual sampling, but they cost extra.
Further Reading:
How to Reduce Noise in Images: Tips for Shooting and Editing
4. Color Tools: HSL, Curves, Color Balance, Selective Color, 3D LUTs
Each color tool has a different use. Pick the right one for the job. Common roles:
- HSL — change hue, saturation, and lightness of specific colors.
- Curves / Color Balance — correct color casts and set the overall tone.
- Selective Color — change color purity or hue shifts.
- 3D LUTs — add a finished look or film-like tone.
A common order: correct color cast and set the overall tone, then adjust saturation, then add color grading or shift color direction. In practice, you may repeat these steps as needed.
It's worth mentioning the HSL color panel — a tool many photographers use to adjust photo colors. If you're not familiar with this powerful tool, check out the related tutorial below.
Further Reading:
When you color-grade in Lightroom Classic or edit images in Photoshop, you'll be tweaking sliders a lot. Dragging sliders with a mouse can be slow and imprecise.
That's where TourBox can help. You can map your favorite tools and shortcuts to TourBox's physical buttons and knobs. TourBox also has many built-in functions, so you can get started quickly and get a game-controller-like feel for photo editing.

It's also worth noting the Dynamic Panel feature. That lets you open a custom floating color panel anywhere, so you can grade a full-screen photo without blocking the main display. It helps you stay focused on the image itself. If you're curious, give it a look.

5. Detail Enhancement: Sharpening, High Pass, Third-Party Plugins
- Sharpening is great for edges and small details, like the eyes in a portrait.
- High Pass Filter is quick and works well for larger areas and surface texture.
- Third-party plugins (for example, NIK) can be more complex but often give more thorough improvements.
Further Reading:
That covers the main tools and their roles. Use the right tool for the problem, keep your steps in a logical order, and your edits will be clearer and more effective.
Conclusion
This article explains what a photo-editing workflow is and what a sensible one looks like. If you follow our approach — analyze the photo first, then start editing — and keep practicing, your edits will become more systematic and efficient. Hope this helps!