How to Make a New Photo Look Old in Photoshop
Imagine you've stumbled upon an old dusty box in your grandparent's attic. As you open it, you find a bunch of faded and yellowed photographs, each telling a story of a different time. The nostalgia hits you hard, and you can't help but feel a sense of longing for the good old days.
What if you could turn a new photo into an old one and give it that same sense of history and character? In this tutorial, we'll show you how to make a new photo look old in Photoshop - transform a new photo into a vintage masterpiece, complete with scratches, dust, and all the charm of a bygone era.
So grab a cup of tea and let's get started on this journey back in time.

In this article, you will learn:
How to Make a New Photo Look Old in Photoshop?
In this section, we will discuss how to create a vintage feel for new photos using Photoshop. When you look at these photos, you may feel that they have an aged appearance with spots, yellowing, and some damage. Let's explore how to use Photoshop to make new photos look old.
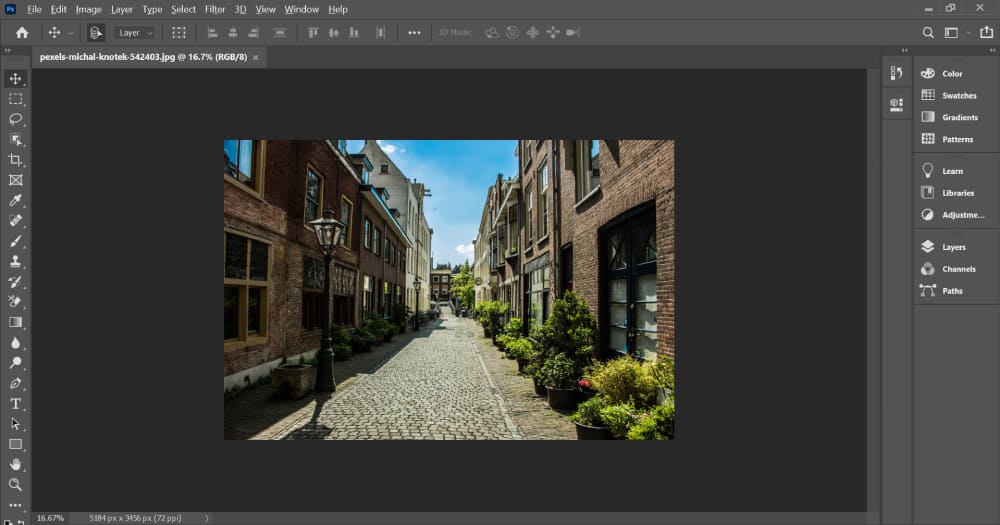
Step 1: Create a New File
Open Photoshop, create a new file and load the photo. Then, duplicate the layer, ensuring that the original file is preserved.
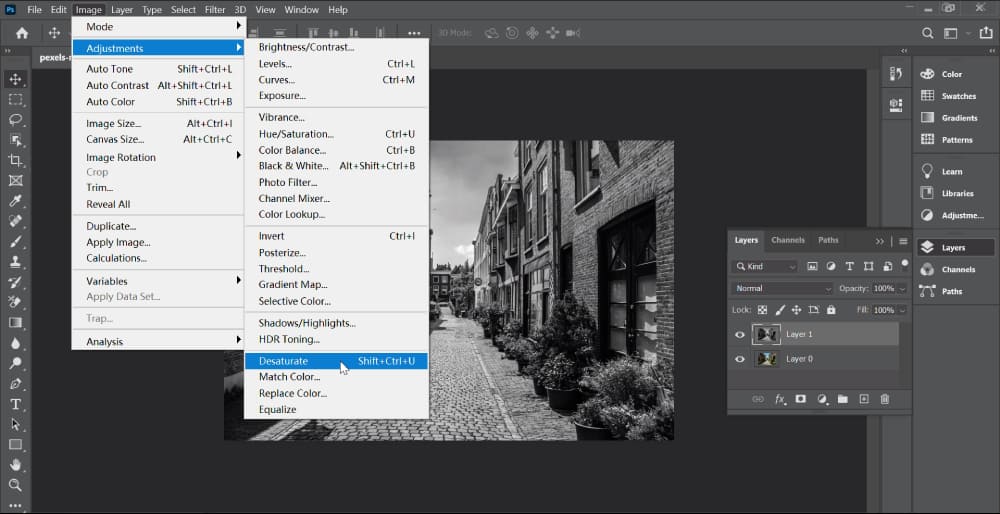
Step 2: Make the Photo Black and White
Click on the menu bar in Photoshop, select "Image," then "Adjustments," and finally "Desaturate" (keyboard shortcut Shift + Ctrl + U) to obtain a black and white image.
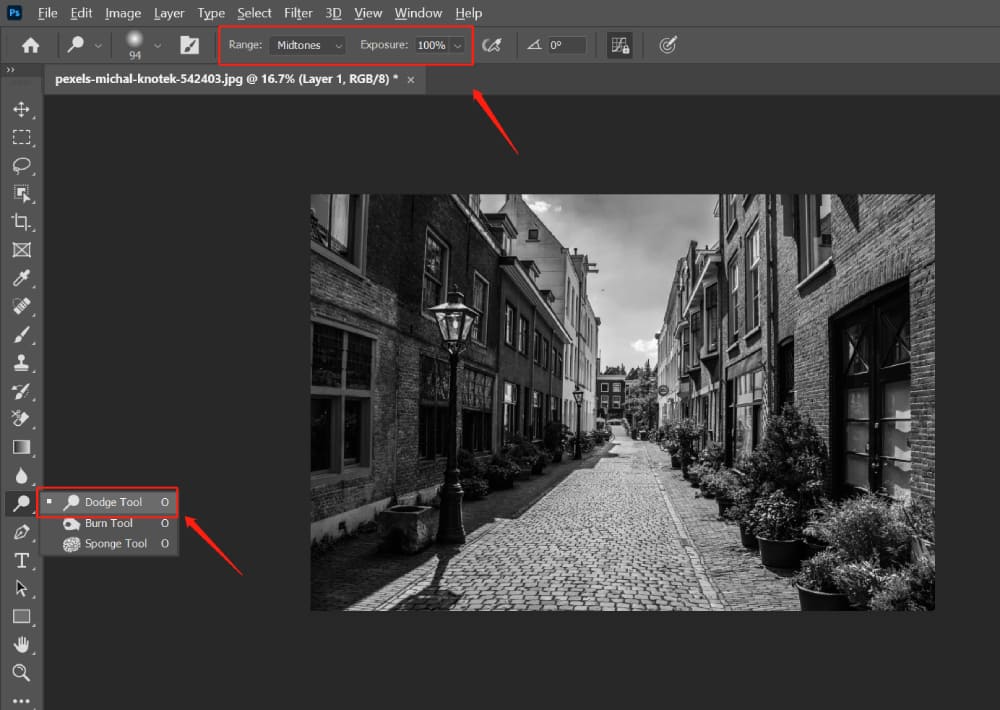
Step 3: Brighten the Dark Areas With the Dodge Tool
In black-and-white photos, some areas may appear too dark. To address this, select the "Dodge Tool" and use it to brighten the darker areas of the photo.
To use the tool, select the "Midtones" range and set the exposure to 100%.
Step 4: Load the Texture Image
Search the internet for "Daguerreotype texture" and download related image textures. Choose black and white or grayscale textures.
If your preferred texture image does not have a black-and-white or grayscale color scheme, you can use the steps mentioned above to convert the texture to black and white.
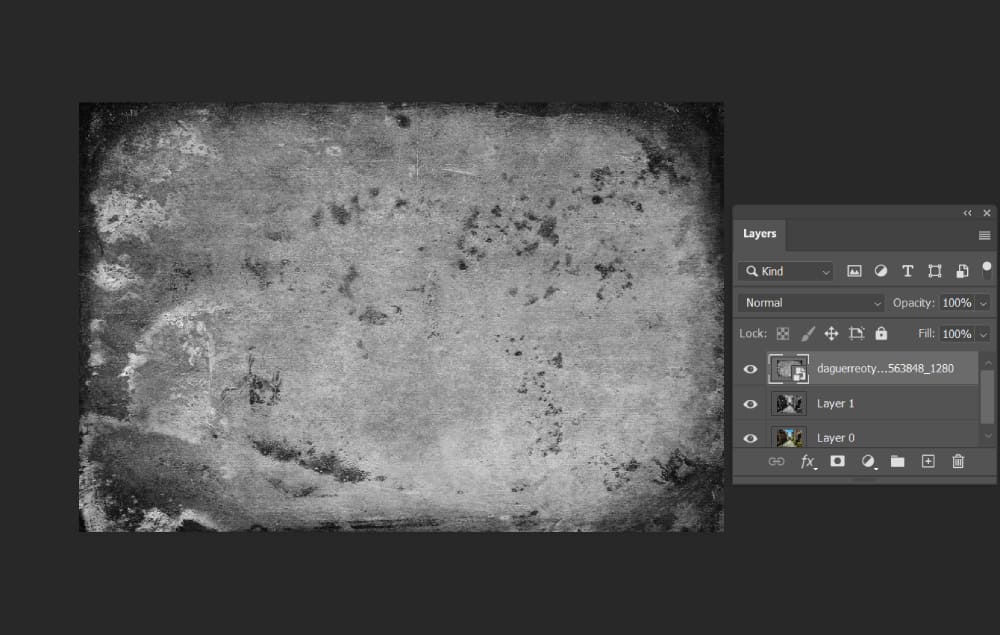
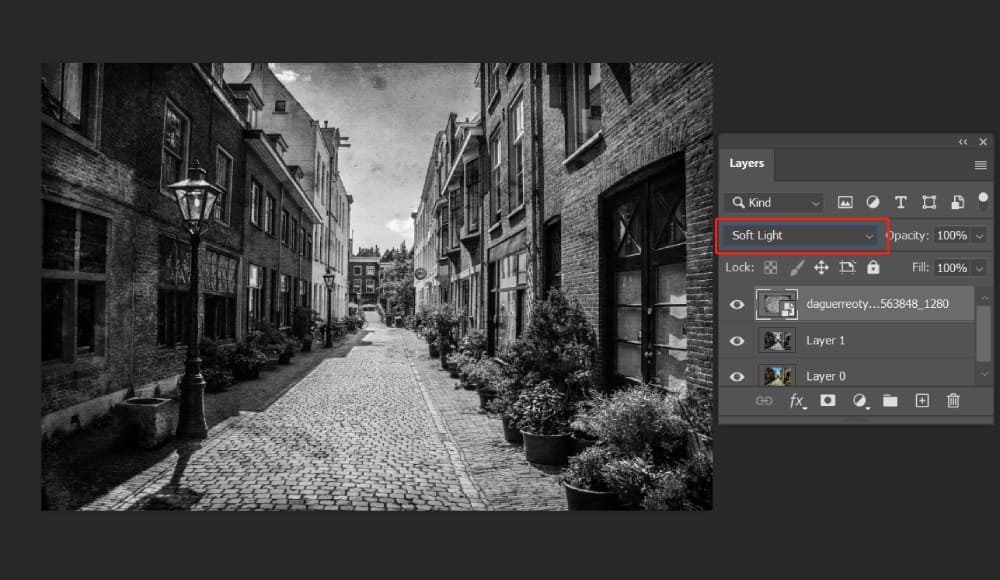
Step 5: Adjust the Layer Blend Mode
Click on the texture layer and adjust the "Layer Blend Mode" to "Soft Light."
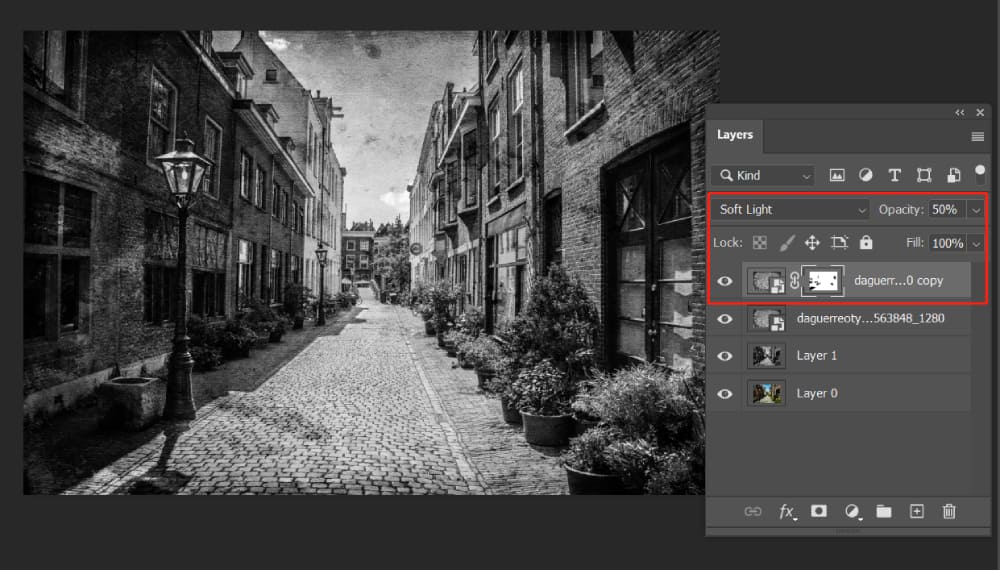
Step 6: Duplicate the Texture Layer
After checking the effect, you may find that the texture effect is not strong enough. To enhance the texture, duplicate the texture layer and keep the blend mode as "Soft Light."
Adjust the opacity to 50%. Then, add a "Layer Mask" because the two texture layers may appear too dark. Use a brush tool on the layer mask to brush off the overly dark areas.
Step 7: Add Different Textures
Previously, we added two layers of texture, but I wanted to increase the level of wear and tear even further. Therefore, we found another black background texture with some scratches.
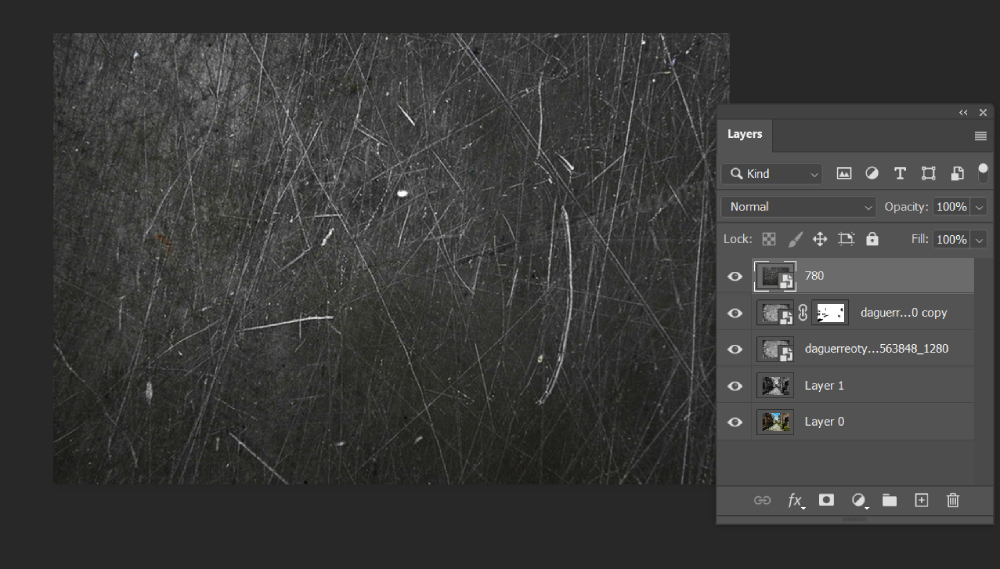
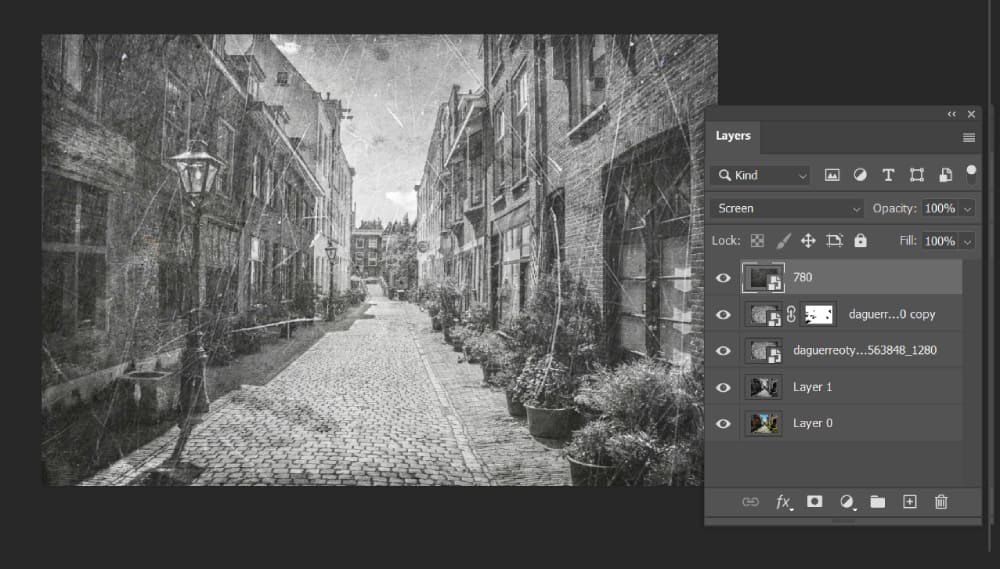
In the same way, we need to adjust the layer blend mode, this time changing it to "Screen." This will create a more authentic vintage atmosphere.
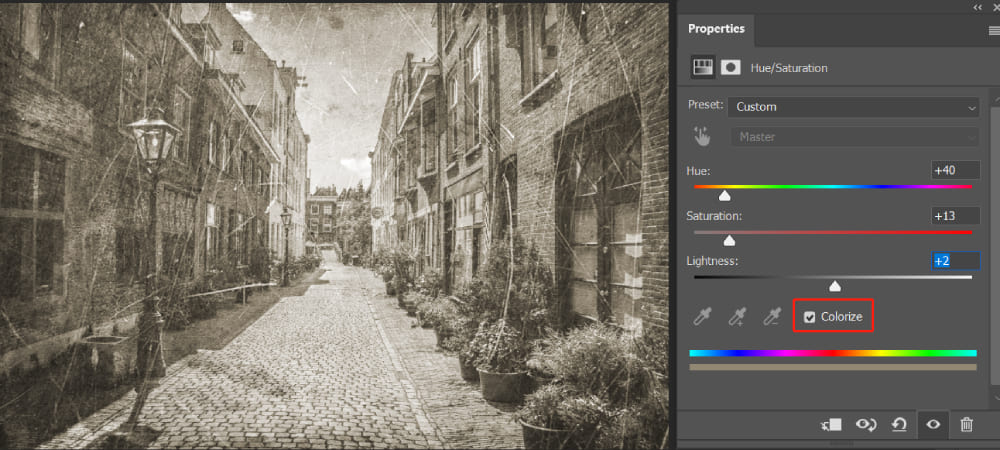
Step 8: Adjust "Hue/Saturation"
We want to add a bit of yellowing to the photo. Therefore, add a "Hue/Saturation" layer and select "Colorize." Adjust the values to match the yellowing tone in your photo.
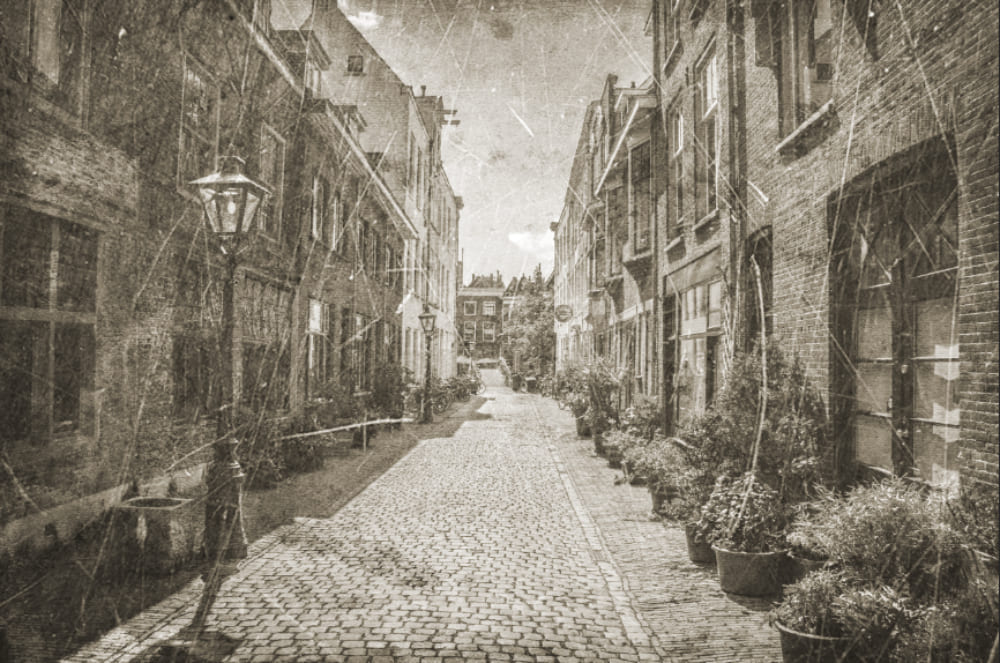
Successfully Accomplished
As mentioned above, the layer blend mode may differ depending on your photo, so feel free to experiment with other options until you achieve the desired effect. This is the process for making a new photo look old in Photoshop. We invite you to try it out yourself and see the results.
Additional Techniques and Improving Your Workflow
In the journey of learning how to make a new photo look old in Photoshop, there are more techniques beyond those basic methods discussed above:
- Use 'Sepia' Filter: This filter, when applied, adds a warm, brownish tone to your images, mimicking the aging effect seen in old photographs.
- Add Grain or Noise: The inclusion of such imperfections can give your picture a distinctly vintage feel, reminiscent of the film photography era.
Experimenting with these methods can yield a variety of different effects, deepening the sense of nostalgia in your images.
Producing a vintage effect in Photoshop, or in other words, making a new photo look old, involves many parameter adjustments. The process of finding the exact style that suits your vision might involve repeated tweaks and adjustments. This cycle of trial and error might be overwhelming and detract from the creative process itself.
This is where TourBox comes into the picture. TourBox is a controller specially designed for creative software like Photoshop. It allows you to map frequently used functions and adjustments, thus significantly improving your workflow.

With the help of TourBox, you can focus more on the creativity involved in making a vintage effect in Photoshop rather than getting bogged down in the minutiae of parameter adjustments.
Try different methods, experiment with parameters, and equip yourself with the right tools like TourBox to make your Photoshop experience enjoyable and rewarding.